James Bond's Aston Martin DB5

zathros

*****SENIOR ADMINISTRATOR*****
Staff member
Administrator
Moderator
Apr 5, 2013
13,496
9,548
228
Amazing models out of Pepakura, but I loath that program. Anything good is a reflection of your abilities Marcel. ;)
 
  • Like
Reactions: Revell-Fan

Revell-Fan

Co-Administrator
Staff member
Administrator
Moderator
Aug 1, 2009
11,589
12,328
228
Vreden
Thank you!

I'll post more pictures of the single components when I'm getting back to them in the build process. So far nothing of the interior has been permanently attached because there are no glue marks for the seats. I don't want them to sit too close to the front or too far away from it so I'm assembling the body first to determine a sweet spot. :)
 
  • Like
Reactions: micahrogers

Chuffy70

Well-Known Member
Jun 5, 2022
842
1,708
75
Norwich UK
A fine job so far... of arguably one of the most famous cars in the world! with so many curves and roundy-bits it must be a tough one?
 
  • Like
Reactions: Revell-Fan

Revell-Fan

Co-Administrator
Staff member
Administrator
Moderator
Aug 1, 2009
11,589
12,328
228
Vreden
Work on the chassis continues.

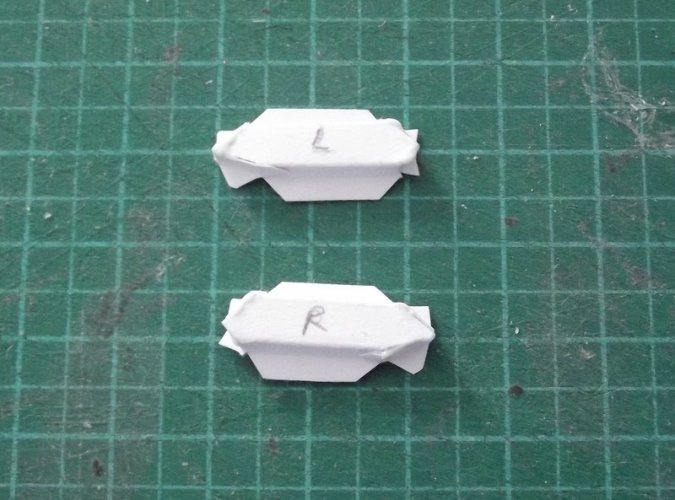
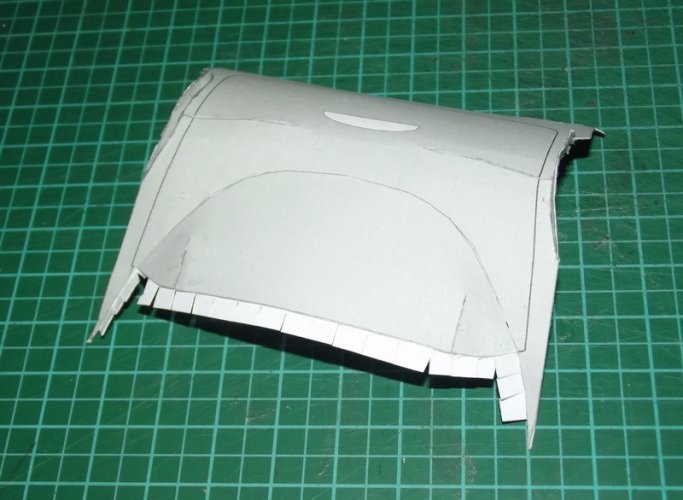
These are two pieces used to close the holes in the sides:

DSCF0468.jpg

DSCF0471.jpg

DSCF0475.jpg

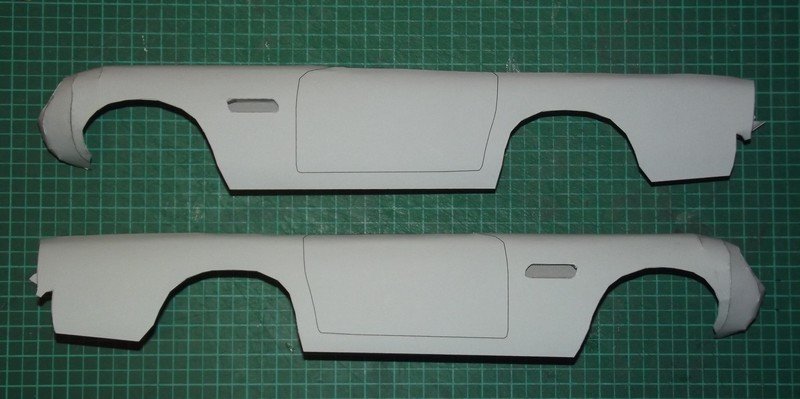
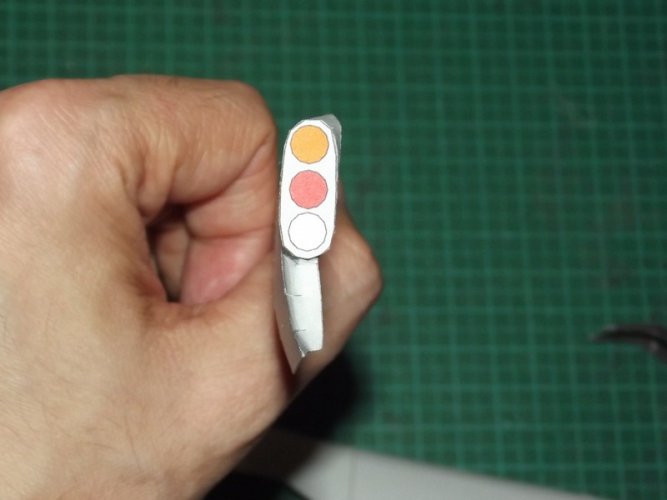
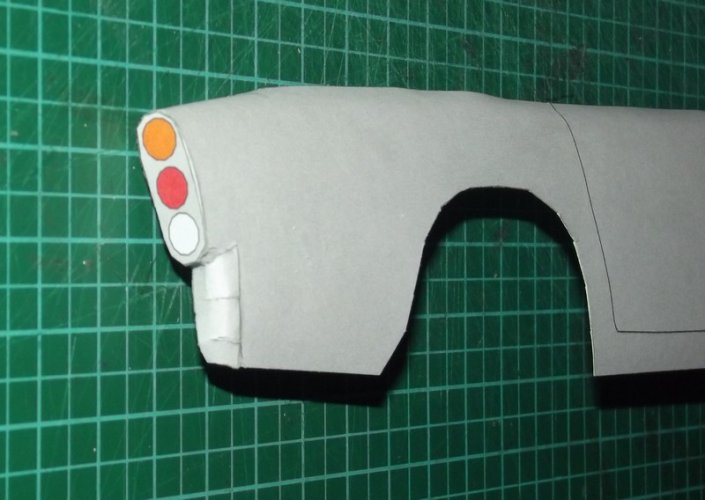
As you have already seen I have attached the front light section to the side. This was done in order to determine the curvature of the body. I used a bit of water and rods of various sizes to pre-shape the sides. Much to my surprise everything went very well. The fit is very good, BTW. I have skipped attaching the light inserts for the time being because I want to have as much space available for applying pressure and adjusting the parts while the glue is curing. That way I can reach inside the body through the light cutouts.

DSCF0472.jpg

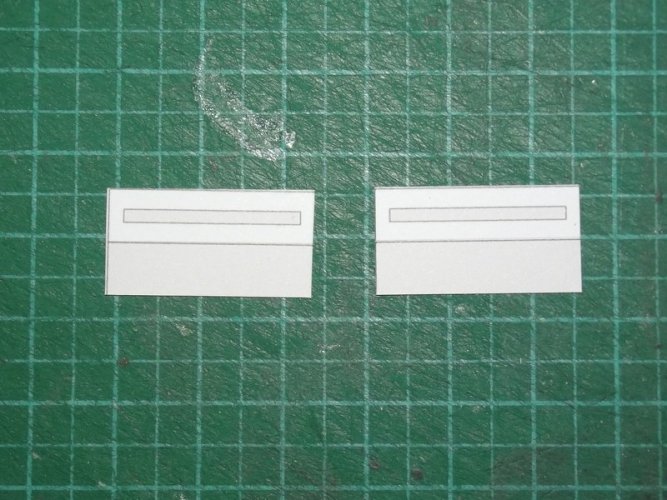
Two bars are prepared which are glued across the cutouts on the sides. I have skipped them for now in order not to rip them off during the course of the build.

DSCF0474.jpg

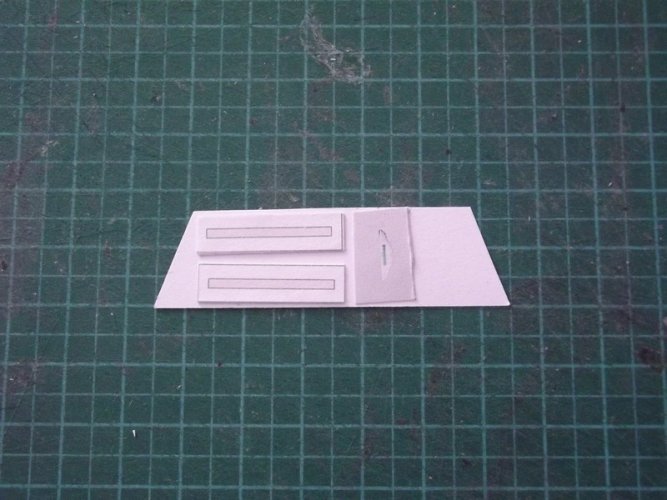
I laminated them to an additional layer of paper because of the increased scale. I also salvaged the AM logo badge from one of the previous prints to beef it up a bit. ;)

DSCF0476.jpg

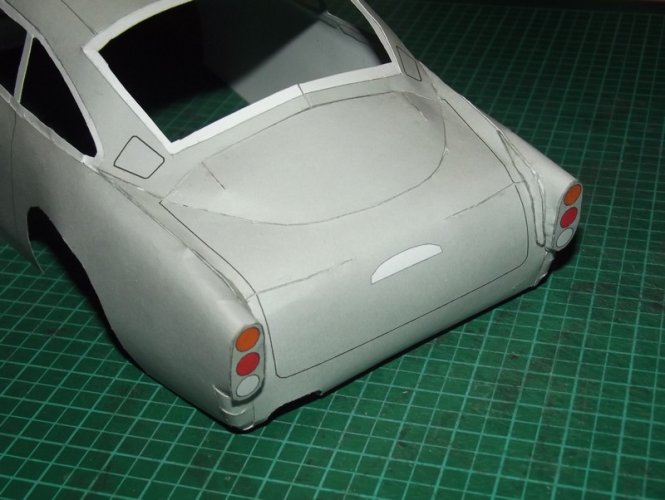
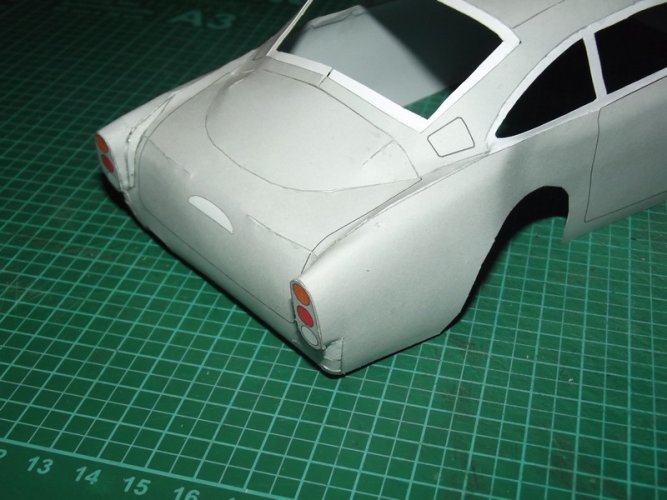
Another surprise: The rear lights fit perfectly. The curvature is really nice and I am amazed at the fact that the creator was able to translate those shapes using so few cuts. :)

DSCF0477.jpg

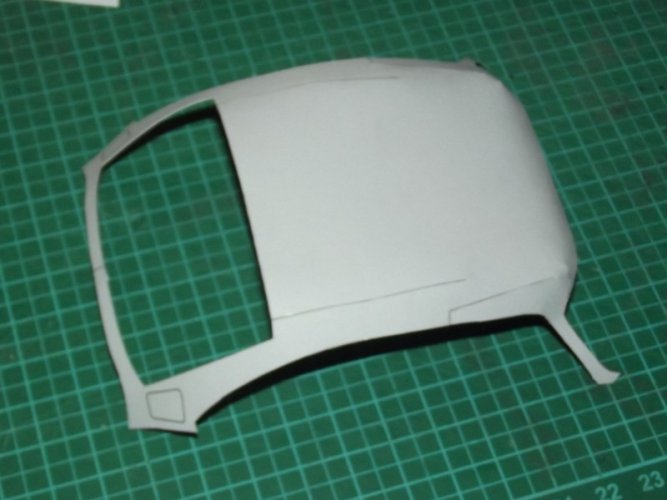
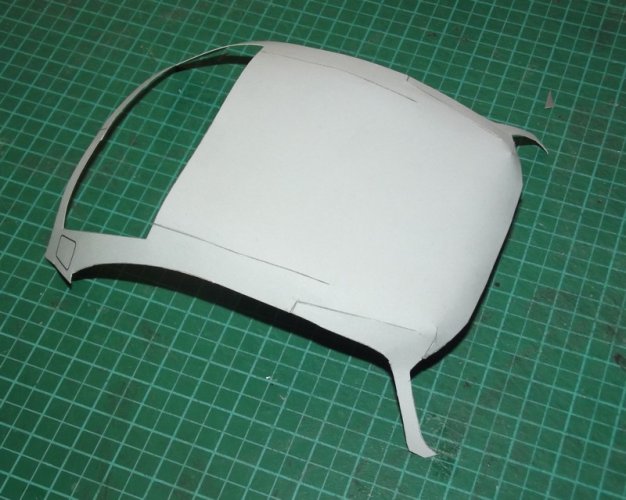
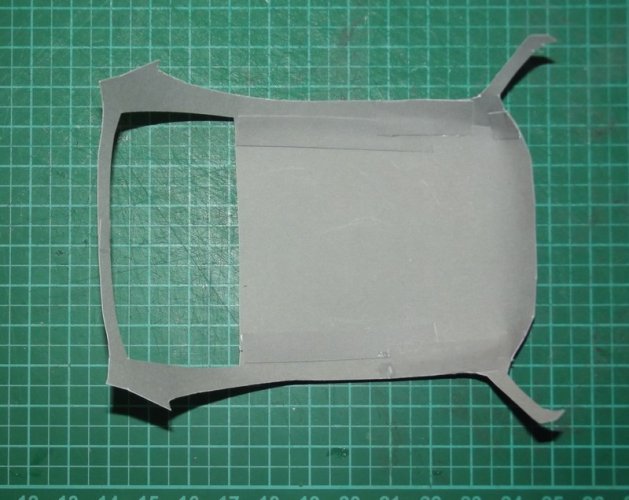
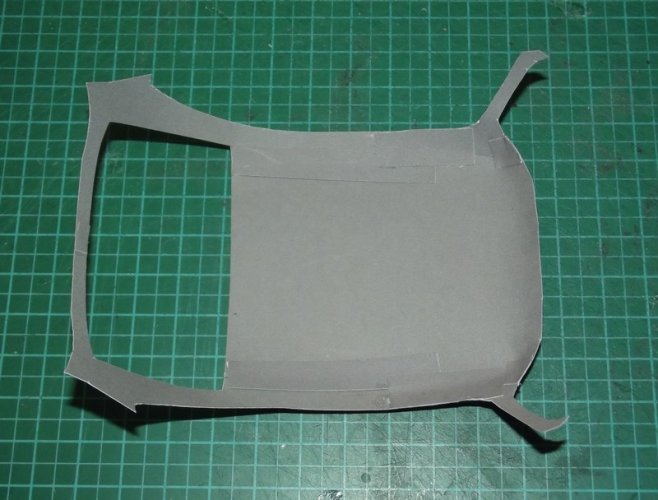
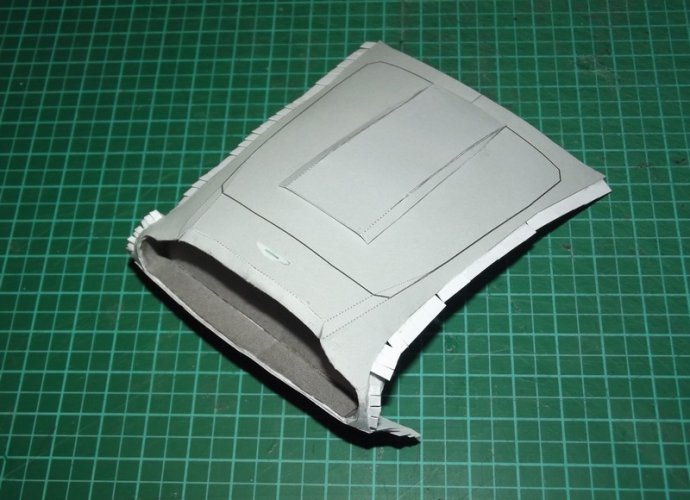
Just take a look at the roof:

DSCF0478.jpg

Excellent cutting solutions give a marvellous result.

DSCF0479.jpg

The back side was printed dark grey. I used dark grey strips to glue the part together:

DSCF0480.jpg

DSCF0481.jpg

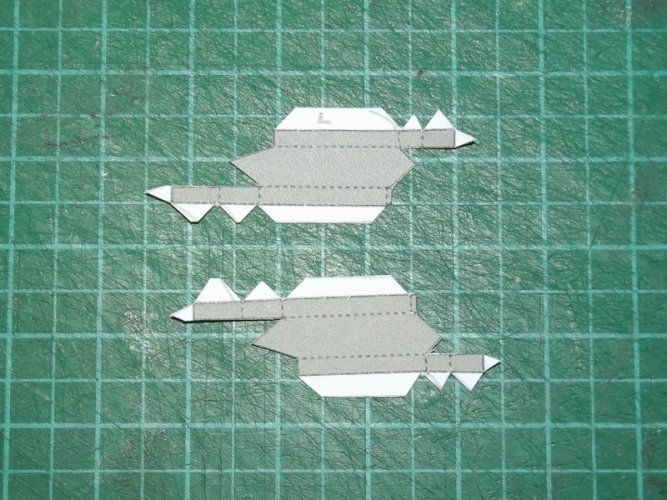
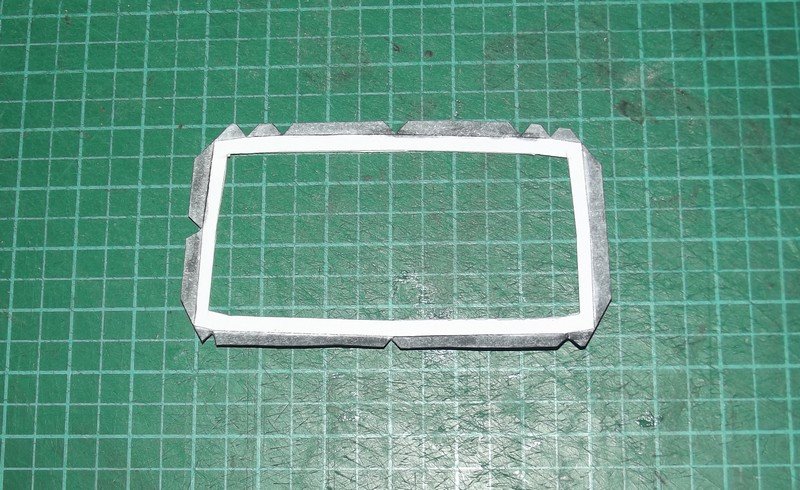
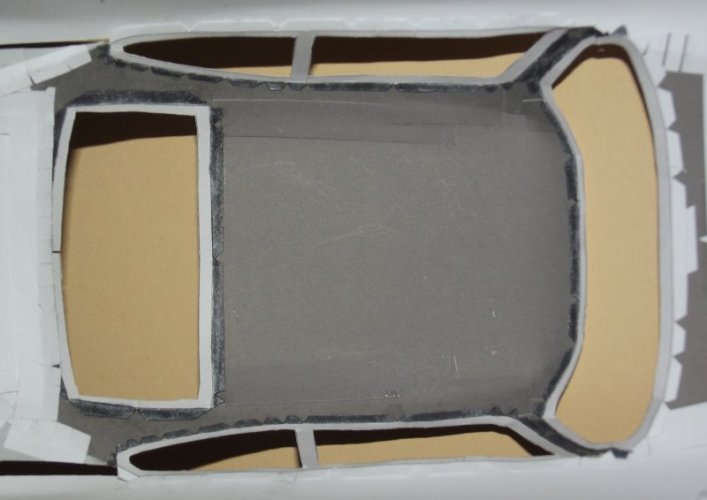
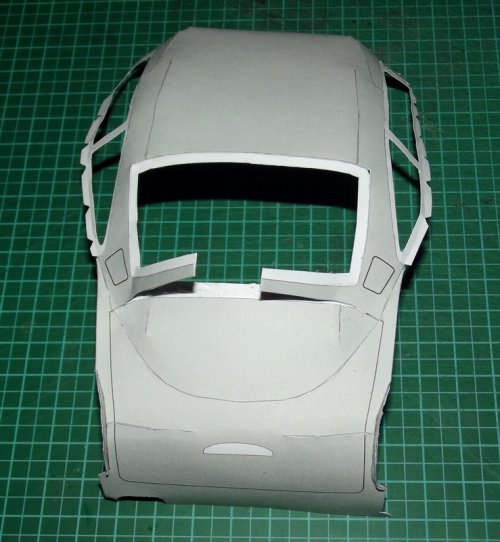
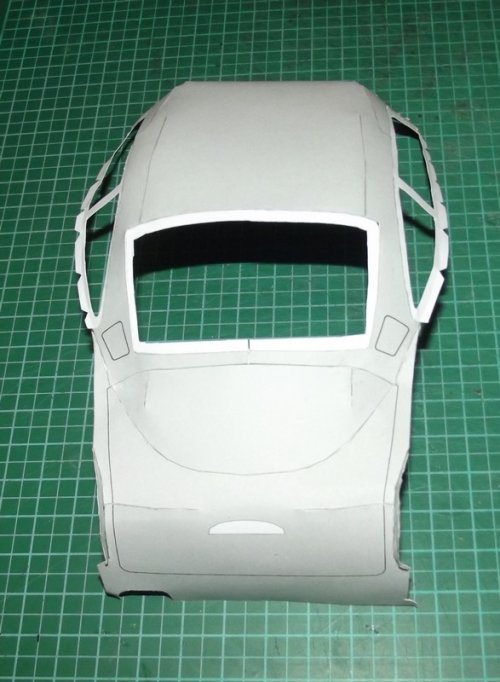
The windows proved to be a small challenge. Since the model does not come with any flaps I had to come up with a creative solution to give the windows something to attach to. As a result I added flaps to one of the two frame pieces provided by the creator, painted the flaps dark grey and glued one of the frame pieces to the inside of the roof.

DSCF0483.jpg

DSCF0509.JPG
 

Revell-Fan

Co-Administrator
Staff member
Administrator
Moderator
Aug 1, 2009
11,589
12,328
228
Vreden
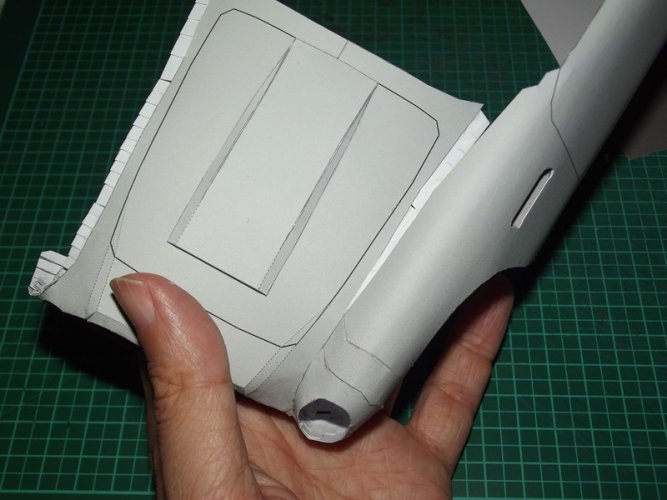
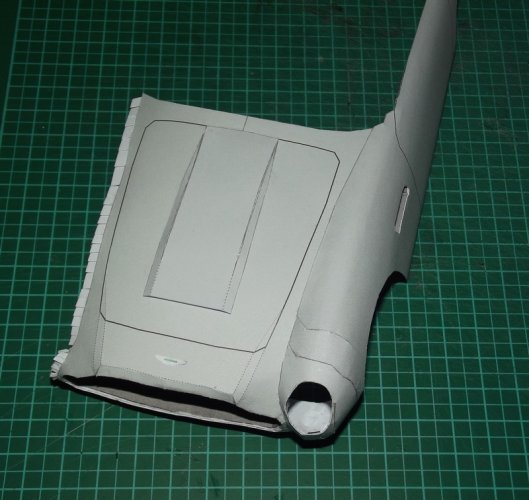
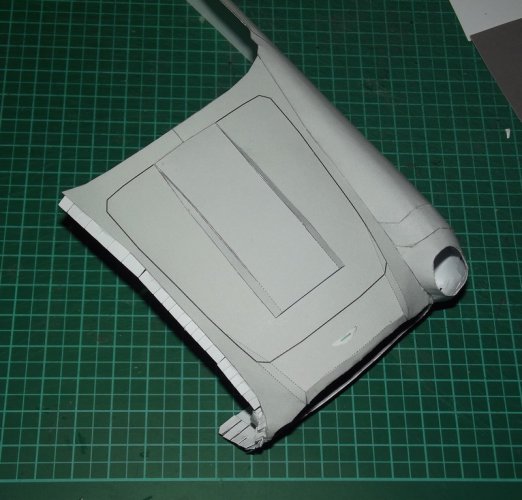
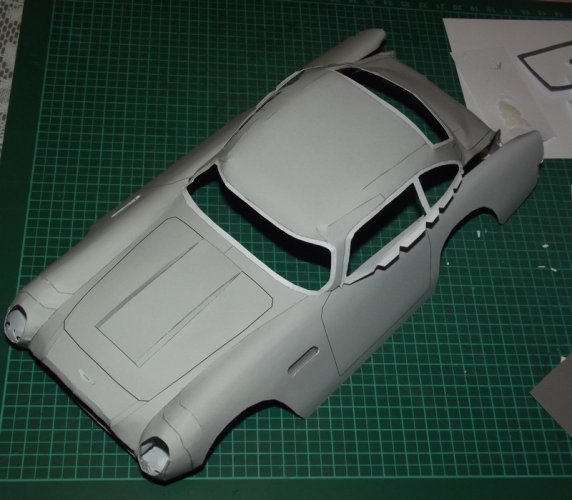
Now it was time to decide which parts to attach first.

I decided to start with the trunk.

DSCF0499.jpg

DSCF0500.jpg

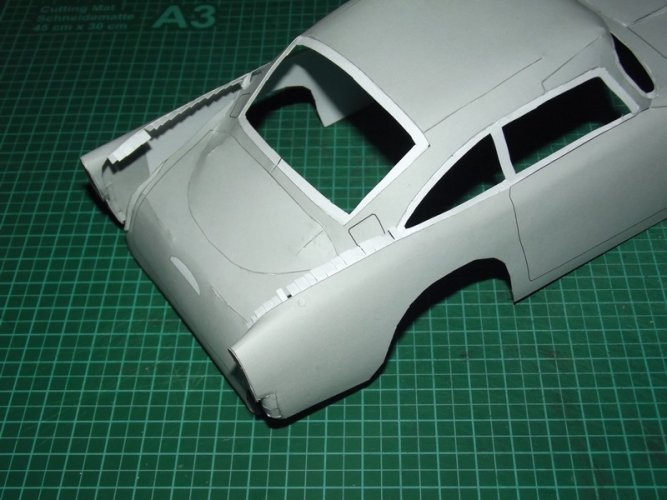
The first fitting problem: Somehow the back of the roof was slightly broader than the front of the trunk. I shortened it with a small incision.

DSCF0501.jpg

Some flesh was removed to cllose the gap and to achieve a smooth result. I cut off a bit from the frame, too, because it would show now. I hope that the surgery does not affect the fit of the rood.

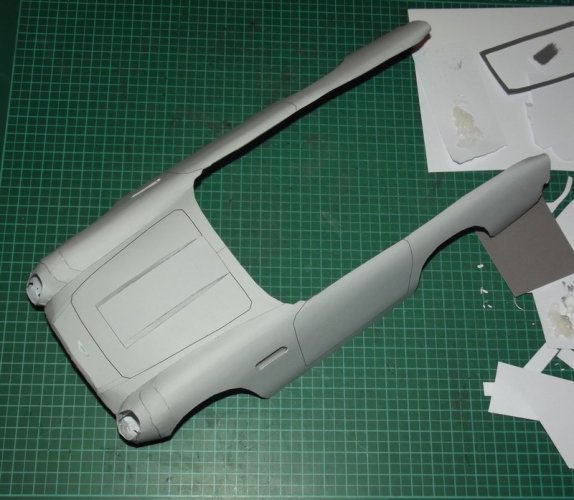
Then I attached the front to the side parts. A test fit was promising. I started with the bottom of the front light and worked my way carefully through to the back.

DSCF0502.jpg

DSCF0504.jpg

DSCF0505.jpg

DSCF0506.jpg

That went very well!

However, I got a bit too enthusiastic with the other side and started with the rear, then I feared something might go wrong and continued with the front area. Needless to say, the strategy did not work out very well and I ended up with a small crease right beside the light cutout. I'll address that later.

DSCF0507.jpg

DSCF0508.jpg

Finally all pieces came together. I started glueing the front window frame to the front and worked my way through to the back of the model. It was a good decision not to attach the windows yet. That way I was able to apply pressure to the flaps and to tweak things on-the-fly. Right now the sides are attached to the frame, the trunk is still floating. I'll continue with that and will post some new pic of the finished frame later today. Stay tuned! :)
 
Last edited:

zathros

*****SENIOR ADMINISTRATOR*****
Staff member
Administrator
Moderator
Apr 5, 2013
13,496
9,548
228
If that body where made, then sanded, and the radii and compound curves made into plugs from 2 part epoxy, you could water form one of the fenders without any seams on the corners, and trunk lid. That would take this model way over the top. ;)
 

Revell-Fan

Co-Administrator
Staff member
Administrator
Moderator
Aug 1, 2009
11,589
12,328
228
Vreden
If that body where made, then sanded, and the radii and compound curves made into plugs from 2 part epoxy, you could water form one of the fenders without any seams on the corners, and trunk lid. That would take this model way over the top. ;)
That is a great tip. I had the idea to pre-shape the clear sheet for the windows using heat. Hot water was ineffective, the temperature was too low for that. The sheet requires higher temperatures which only a heat gun or oven can provide, however, I would need a buck like you described to press the piece onto so that it takes its shape. I'm a few steps ahead of this thread and I am amazed at how good this kit looks. Despite those horrible instructions I am so glad that I have picked this one for my friend. Anyway, the cuts do not bother me much. They are like wrinkles on a face, only here they tell there was some work involved in the making and they make the viewer think of what material the model was made of. :)
 
  • Like
Reactions: zathros and mijob

Revell-Fan

Co-Administrator
Staff member
Administrator
Moderator
Aug 1, 2009
11,589
12,328
228
Vreden
Thank you all for your nice comments! :)

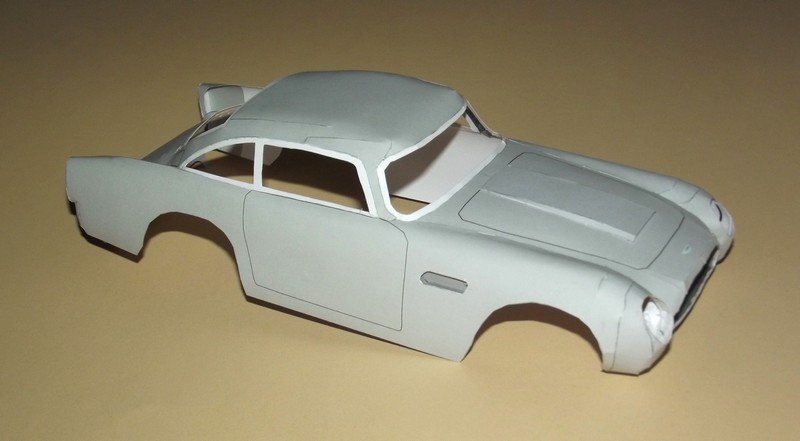
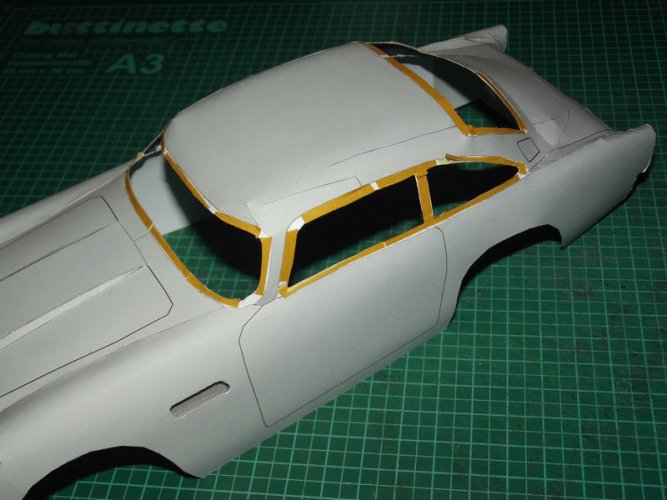
The high temperatures slow down my building speed. It is not advisable to assemble parts with sweaty fingers. You could ruin them by leaving stains. Nevertheless I managed to completely attach the roof to the body:

DSCF0518.jpg

DSCF0520.jpg

DSCF0521.jpg

DSCF0522.jpg

I added double-sided tape to the frame which was supposed to keep the clear windows in place:

DSCF0523.jpg

Some clear sheet was cut to shape to make the windows.

1656260332681.jpg

1656260332702.jpg

The front window wanted to detach at the sides, so I had to reinforce the bond. I removed the tape and added a stronger double-sided tape. In addition I added a thicker strip of tape to the inside and applied some additional glue to the sides. So far everything is holding together nicely.

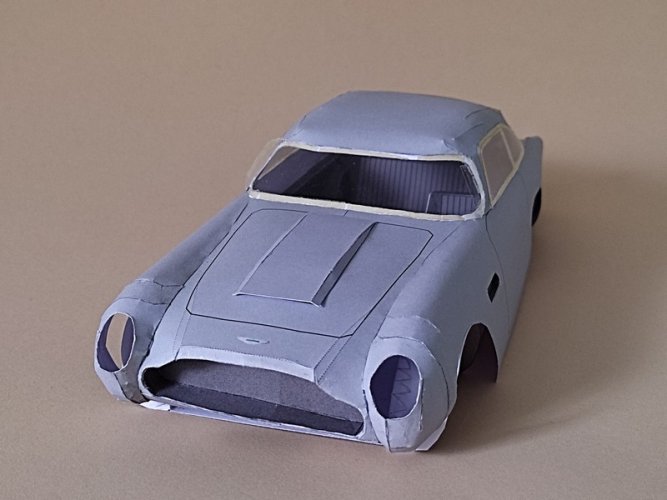
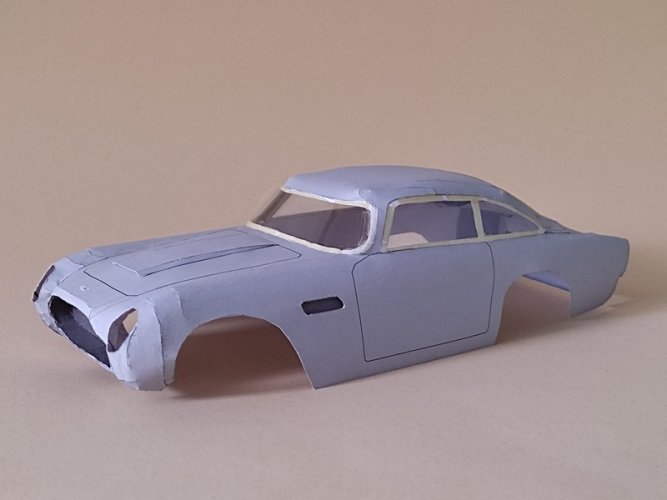
With the windows installed the roof piece got stronger immediately and is holding its shape nicely. You can already see what a beauty this model is going to be. :)
 

zathros

*****SENIOR ADMINISTRATOR*****
Staff member
Administrator
Moderator
Apr 5, 2013
13,496
9,548
228
You really showed the potential this model has. If someone took the time, reinforced the seams, then sanded them smooth, repainedted them, you would end up with a great looking body. The same with the interior, the steering wheel could easily be made into something more realistic, all the templates are there, it just needs a lot of greebling, but the result would beexcellent. This car provides an excellent basis for greeebling up, and looks good just built the way it comes too. Great job!! ;)
 

Revell-Fan

Co-Administrator
Staff member
Administrator
Moderator
Aug 1, 2009
11,589
12,328
228
Vreden
Thank you all! :)

Here come the wheels. The construction is very weird and I don't know why the creator designed the wheels like this. There are a lot of areas which could be improved easily and more than once the instructions fooled me. They do not show which side of the parts are up or down, inside or out, and part 62 does not look like in the instructions at all.

Ah well. So here we go.

So far the light grey parts are the ones which should be "chromed". So I painted them with a silver marker.
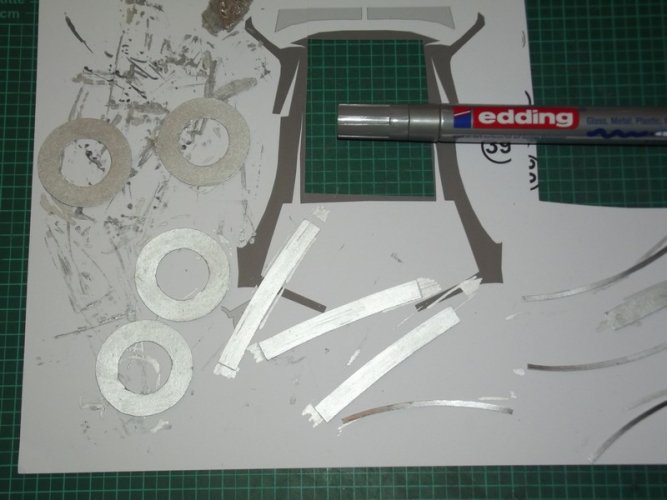
DSCF0573.jpg

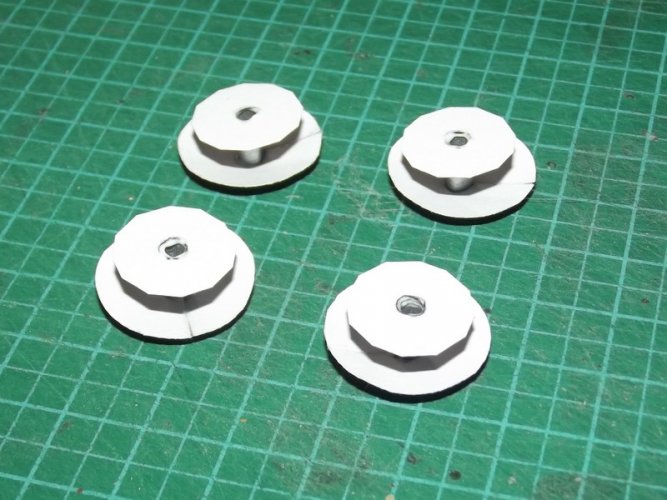
Parts 56 & 57 are cones but the instructions do not show if the smaller or the bigger end attaches to 55. So I choose the smaller end "up" which was a good idea. Since I had no idea which face would be visible on the finished model I painted both sides of the parts in question.
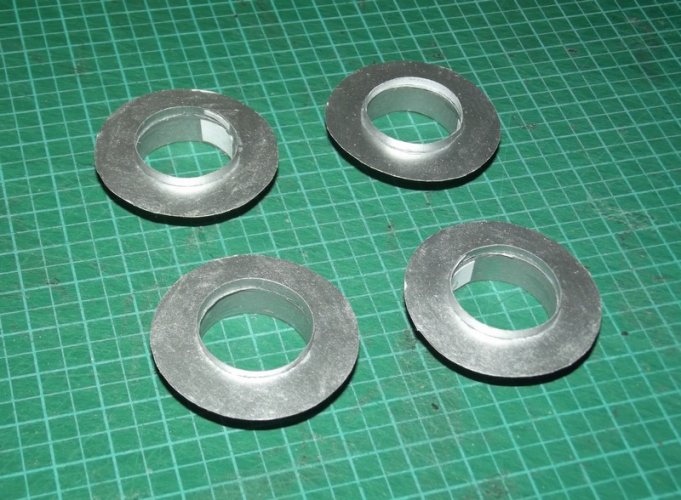
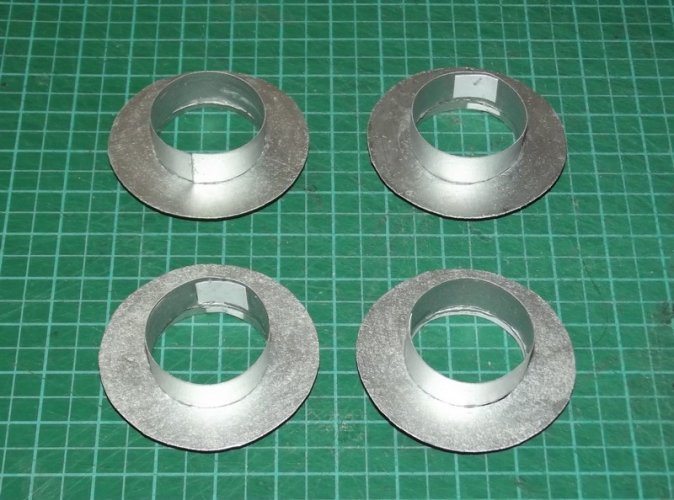
DSCF0574.jpg

DSCF0576.jpg

As you can see I used a small paper strip to glue 56 & 57 together.

The hub caps were straight forward.
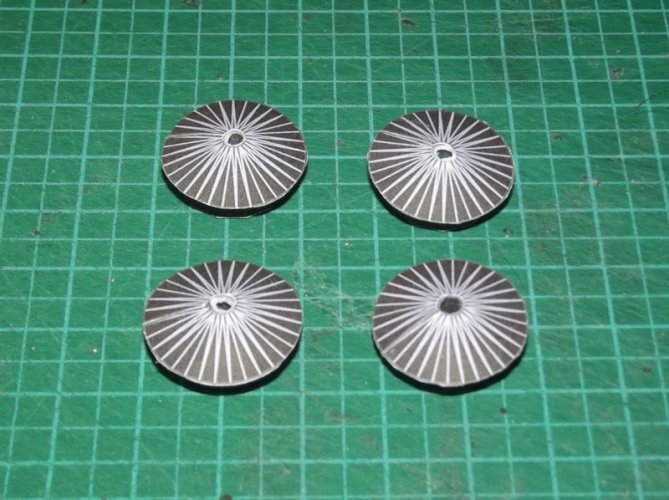
DSCF0577.jpg

DSCF0575.jpg

However, in the end I saw that the textured side of 59 is best glued down so that it is visible when you turn the assembled cap pieces around. I used a grey felt-tip to paint the back side.

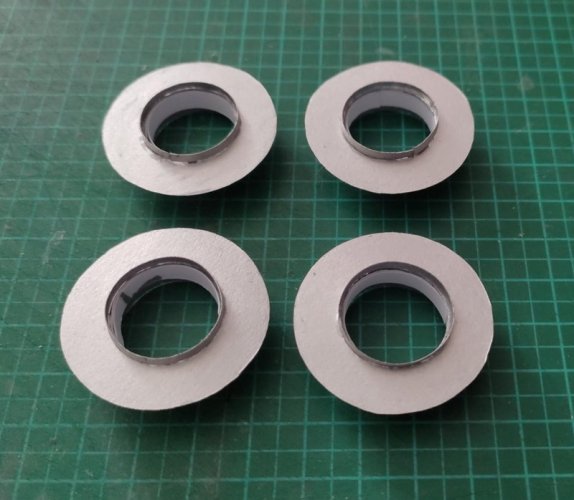
The hub caps are supposed to be glued inside 56-57. This proved to be a big problem since the hole is as big as the cap and the cap had absolutely no area to hold on to. I attached a simple strip of paper to the inside right where 56 meets 55.
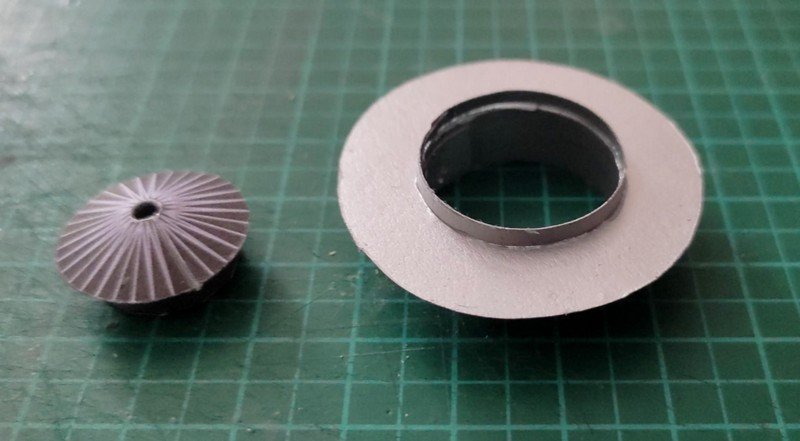
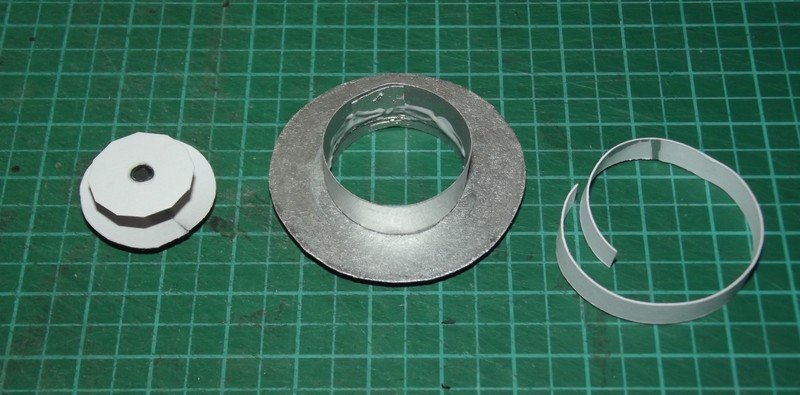
1656880123894.jpg

DSCF0581.jpg

1656880123819.jpg

The addition now gave the cap some space to lock on.
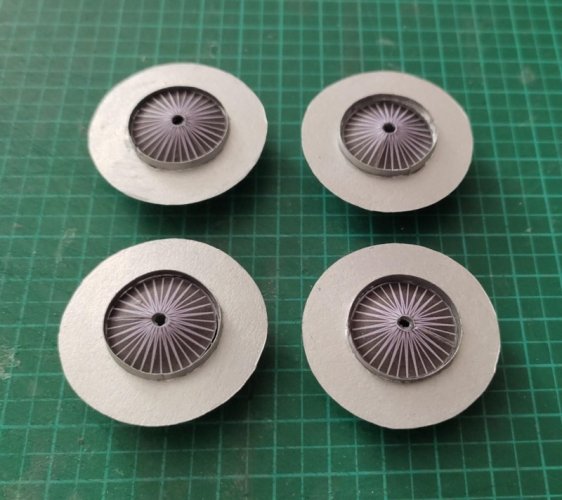
1656880123805.jpg

The tires were pretty easy but as I already mentioned parts 62 look different from the images in the instructions.
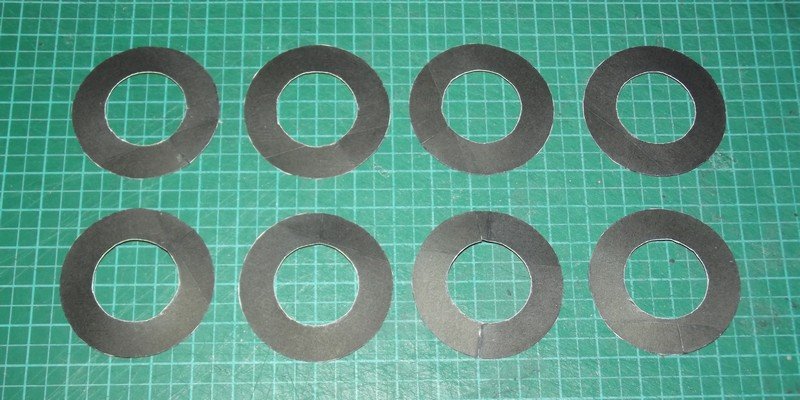
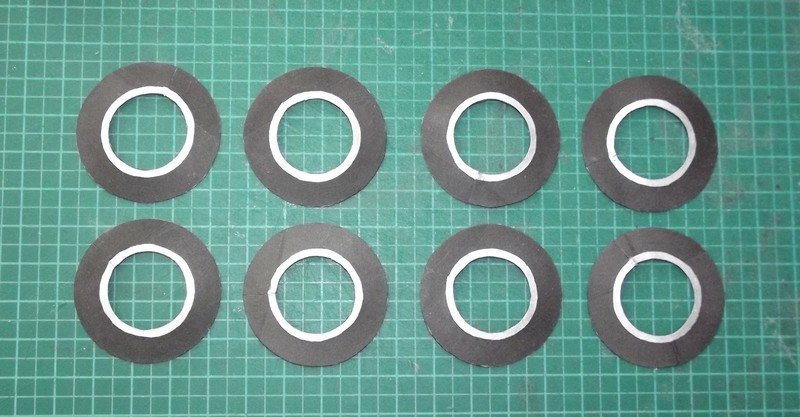
DSCF0578.jpg

DSCF0580.jpg

Parts 63 do not have to be attached separately. You can glue them directly to 62. Everything fits.
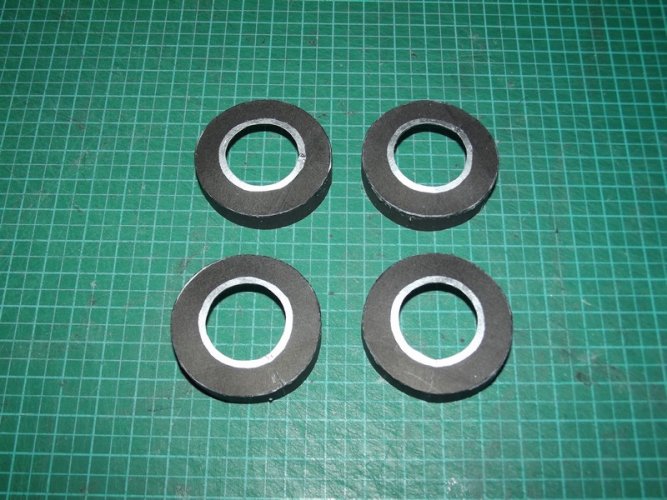
DSCF0583.jpg

Due to the missing flaps the fit depends solely on the builder's accuracy. If you do not cut out the parts carefully you will get some minor gaps. I filled those up with glue.

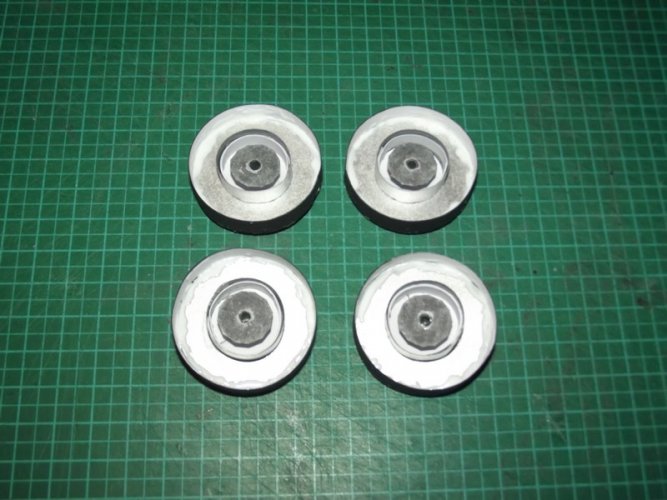
61-63 are pushed over the hub cap piece and glued into place.
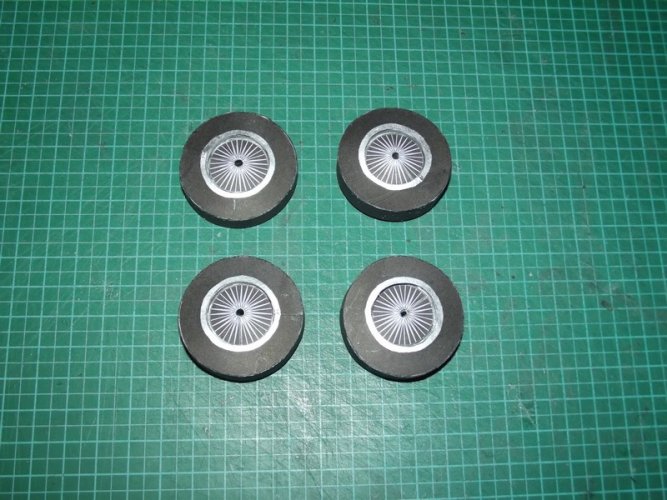
DSCF0585.jpg

A view from the back side:

DSCF0584.jpg

I added a good amount of glue to the inner ring 55 to make sure that the cap is firmly attached.
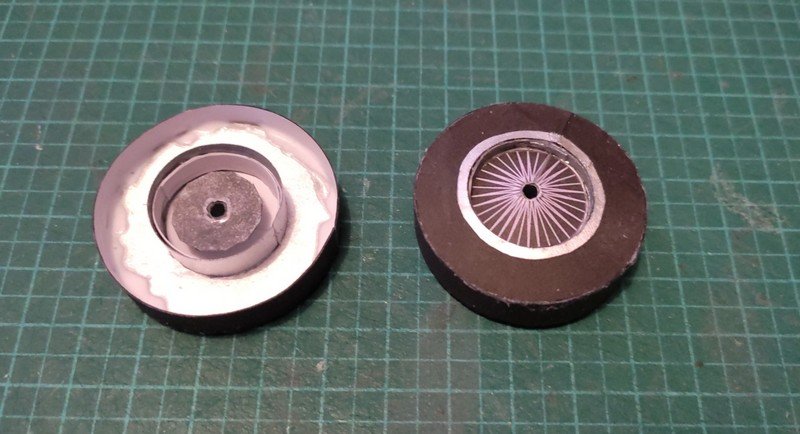
1656880123793.jpg

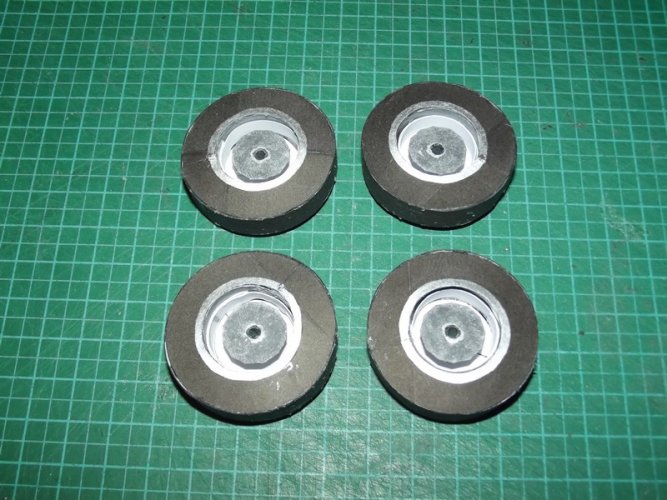
Finally the tire is closed using another part 62:
DSCF0586.jpg

This is it. The middle section (part 59) is not attached to the other end of the tire. This contradicts every wheel construction I know and makes the axles highly unstable. Looking at the finished wheels I can say that parts 55 do not need to be painted silver.