Tie Phantom Design Thread
- Thread starter mijob
- Start date
You are using an out of date browser. It may not display this or other websites correctly.
You should upgrade or use an alternative browser.
You should upgrade or use an alternative browser.
Thank you starbuck for these kind words. This weekend I hope to start with printing some of the main parts and the its alpha building time.
Thank you micah. I didn't know that I could make these designs. I yust tried it with recoloring the Tie Interceptor, and then making the Tie fighter wing. It was a big step for me to work on the Tie advanced it cost me 200 hours to design it and 50 hours to build it.
I can't even draw anymore, just holding a pencil or pen causes too much pain. And my hand eye coordination sucks too bad to draw with a mouse. When I cut out a paper model, I have to do real short sessions, the knife hurts... Doctors say disk degeneration in my cervical column causes that.
I am medically retired, so I have to do something to stay sane.So sorry to hear this and still your are working with paper.
Thank you, no I didn't use internal formers. Not sure if it needed those on the other hand its better to have them inside. Most of the work will be done on the main body. So this is the first modification on the list.It looks good thus far!
Are you putting internal formers in the main body part?
Agree with Christopher, internal formers will help with stability.
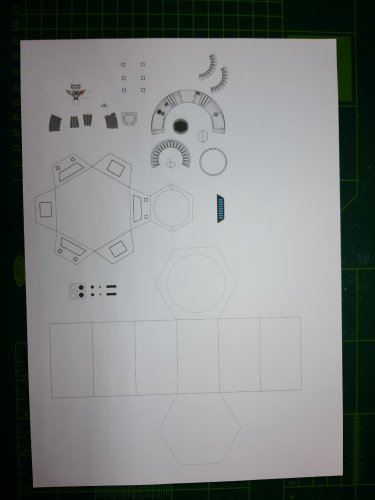
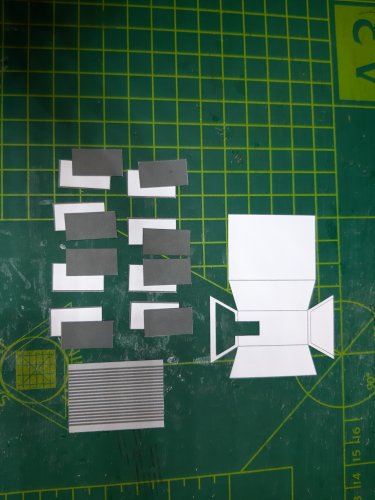
Next episode.Next template contains the parts for the clocking device.
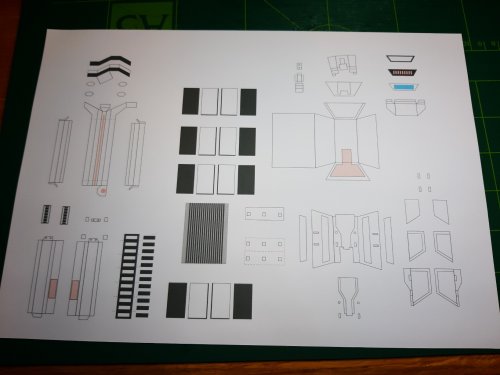
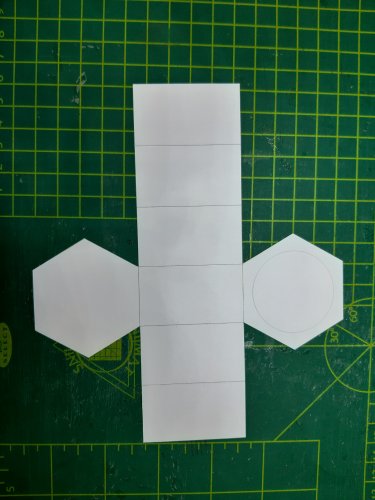
The parts cut out.
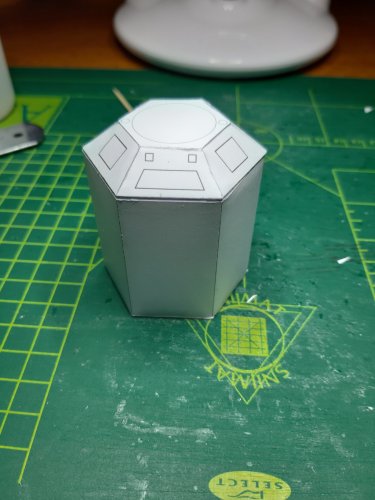
The parts assembled.
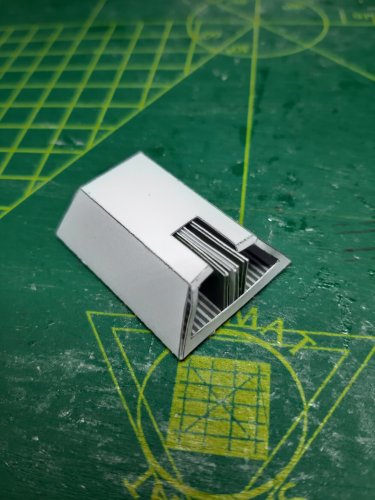
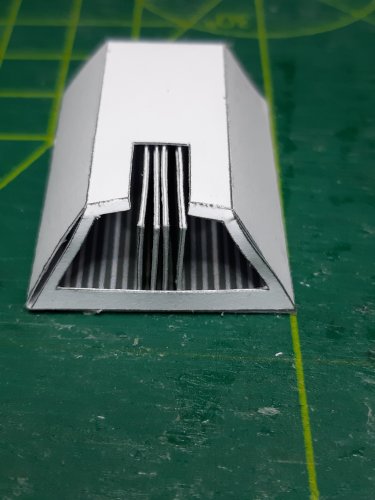
I used three plates instead of four. Otherwise the plating was too thick. If you look at the image you notice that the plates are to high. I will correct this.
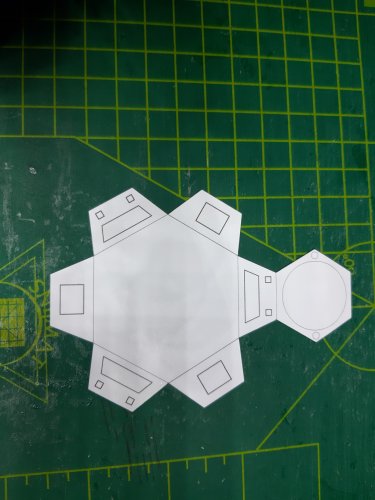
Next parts cut out.
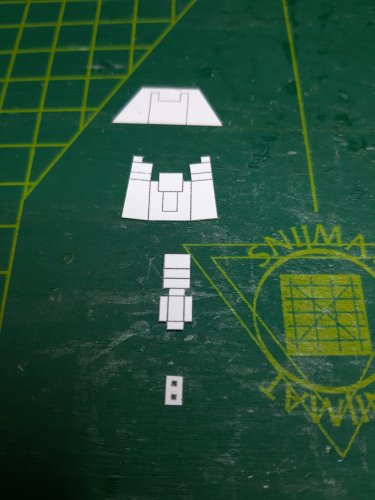
And the parts assembled.
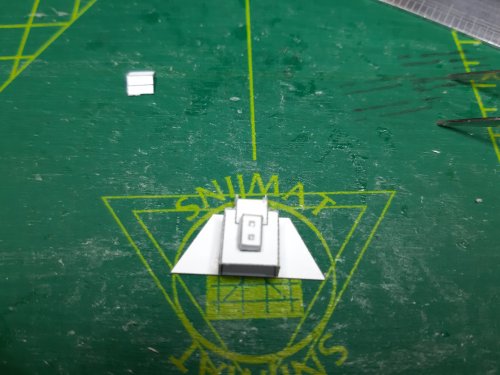
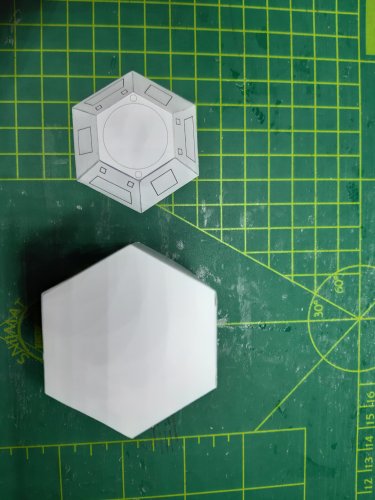
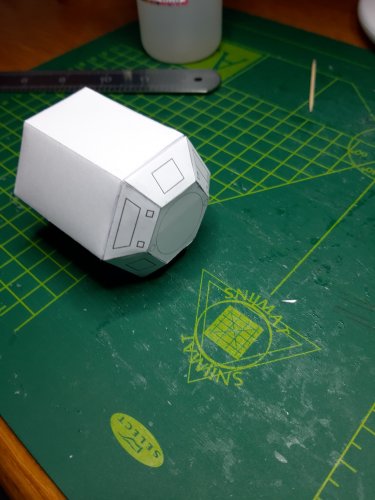
And here I need to make some modifications. I messed up the upper half off the lid. You can see it on the nect pictures.
Both parts koined toghetter.
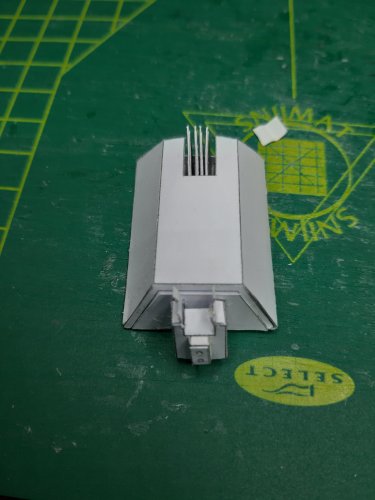
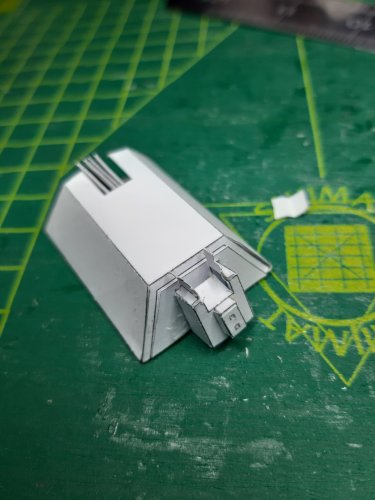
And the last parts cut out for this day.
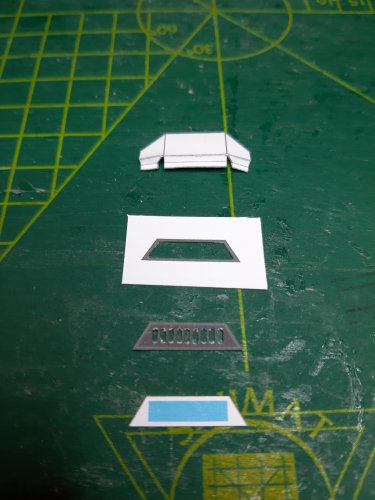
And the parts assembled.
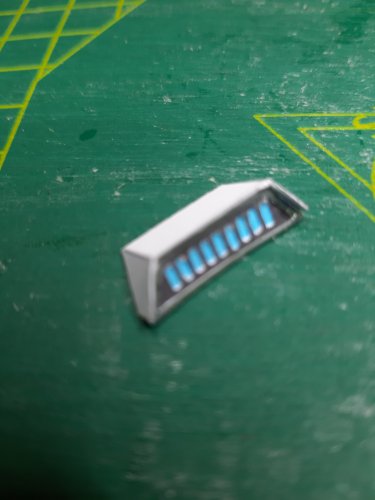
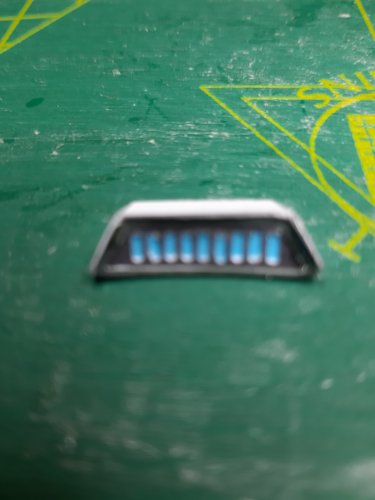
Thats it for today. Some parts need a litle correction. I will do this at a later moment.

The parts cut out.

The parts assembled.


I used three plates instead of four. Otherwise the plating was too thick. If you look at the image you notice that the plates are to high. I will correct this.
Next parts cut out.

And the parts assembled.

And here I need to make some modifications. I messed up the upper half off the lid. You can see it on the nect pictures.
Both parts koined toghetter.


And the last parts cut out for this day.

And the parts assembled.


Thats it for today. Some parts need a litle correction. I will do this at a later moment.


 nothing more to say.....maybe another