Hello! This is my build report for free model competition #2.
This is my first build report on this forum so I will present myself. I live
in Warsaw in Poland. I stared building paper models last December
after many many years (I was impressed with the new possibilities,
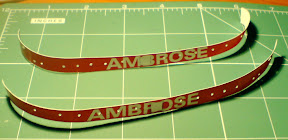
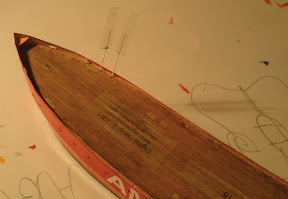
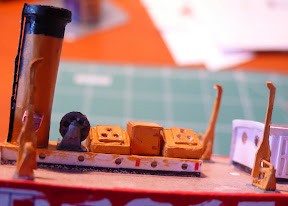
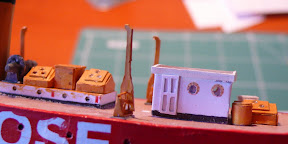
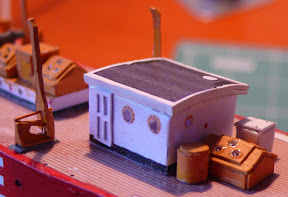
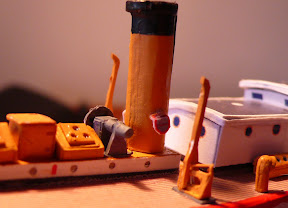
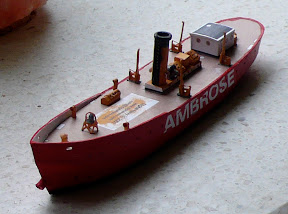
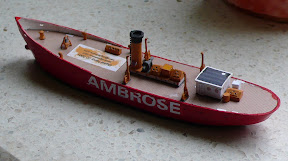
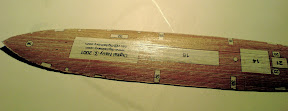
new tools, models, etc). I started building Lightship Ambrose (www.digitalnavy.com)
because its small and looks easy to build (but is not).
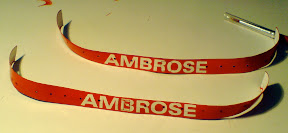
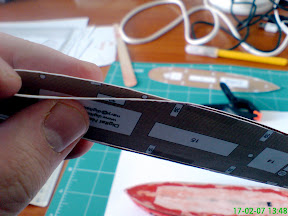
You can see my first try of the build on picture below. It is a lot of fun to build the
ship but the result was not so good.
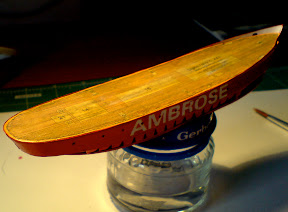
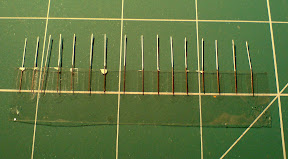
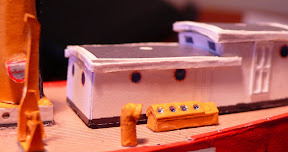
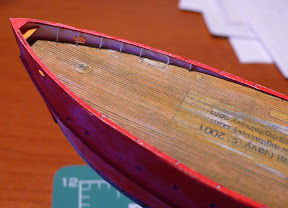
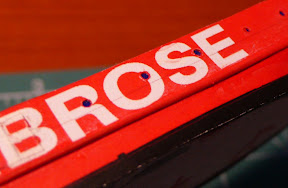
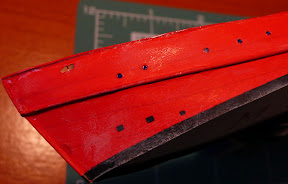
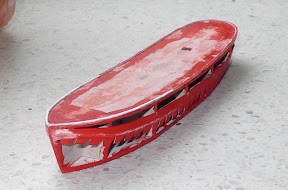
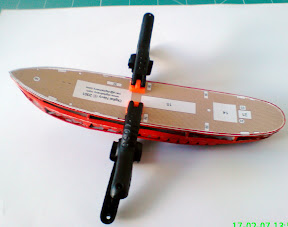
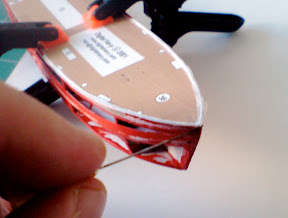
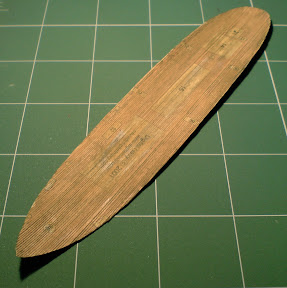
So then I started from the scratch to attend in #2 free model competition.
Here is the picture of the first stage of the hull build.
Michal
This is my first build report on this forum so I will present myself. I live
in Warsaw in Poland. I stared building paper models last December
after many many years (I was impressed with the new possibilities,
new tools, models, etc). I started building Lightship Ambrose (www.digitalnavy.com)
because its small and looks easy to build (but is not).
You can see my first try of the build on picture below. It is a lot of fun to build the
ship but the result was not so good.
So then I started from the scratch to attend in #2 free model competition.
Here is the picture of the first stage of the hull build.
Michal
")