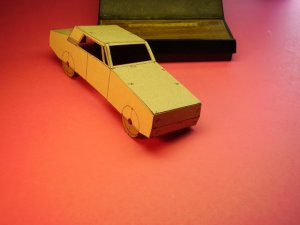
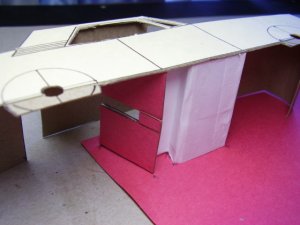
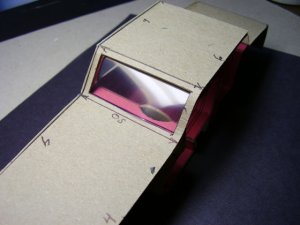
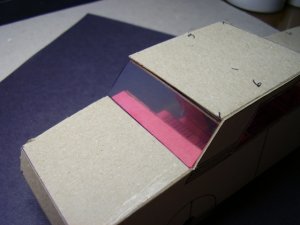
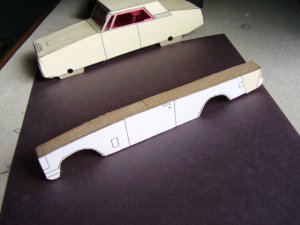
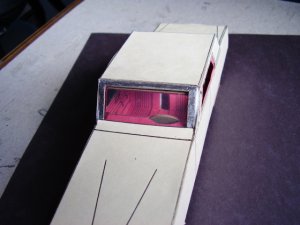
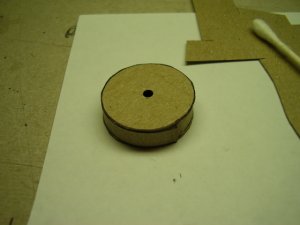
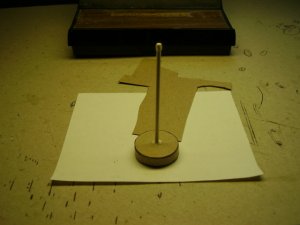
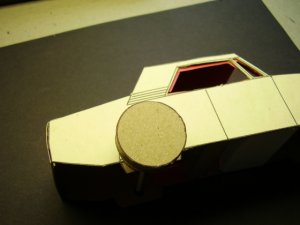
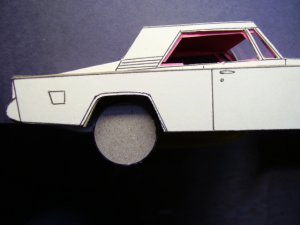
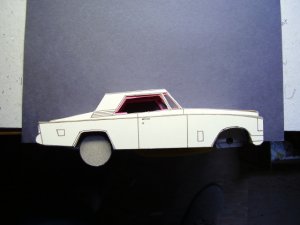
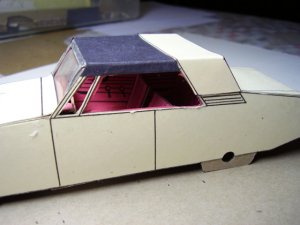
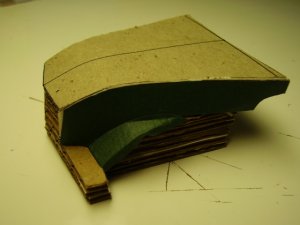
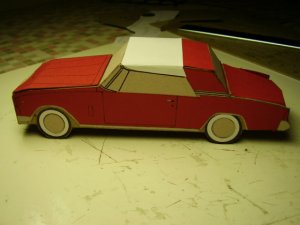
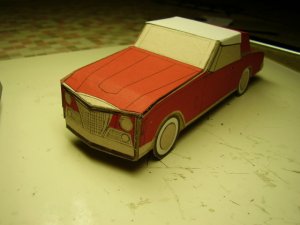
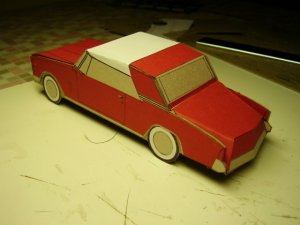
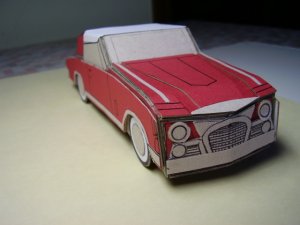
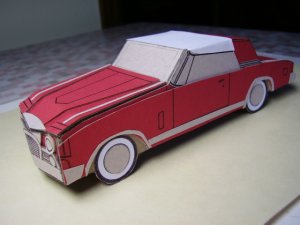
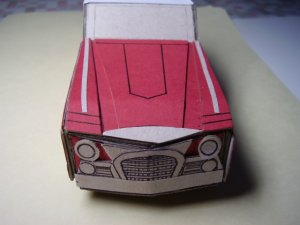
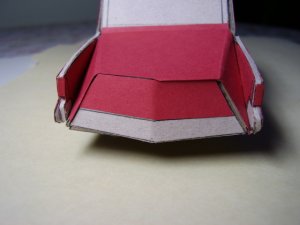
I am currently making a kit of a 1964 Studebaker Gran Turismo Hawk for member Fishcarver. This thread will document the alpha build, to make sure everything fits. Scale is 1/24th.
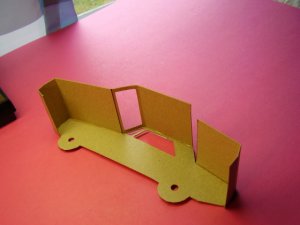
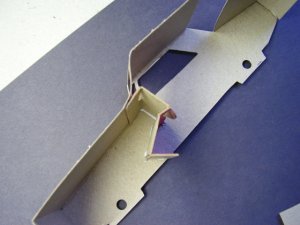
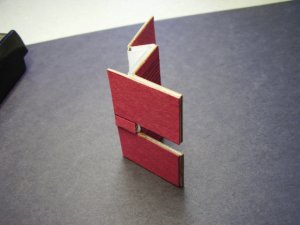
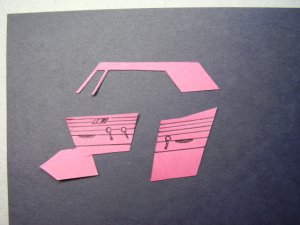
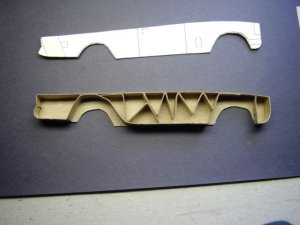
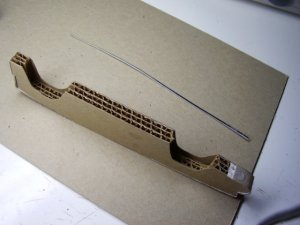
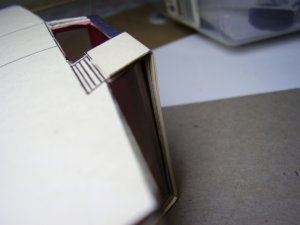
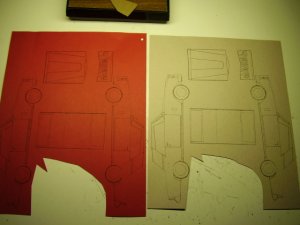
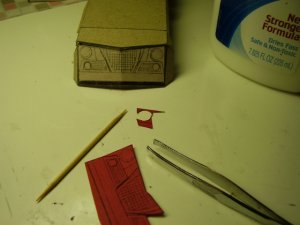
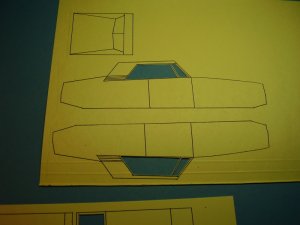
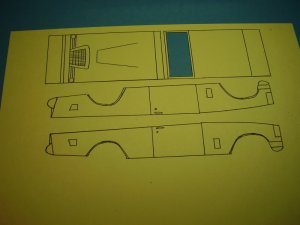
I find it's best to cut out the windows before separating the body panels from the sheet on which I drew the parts, to keep from tearing the thin window pillars.
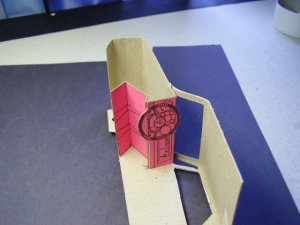
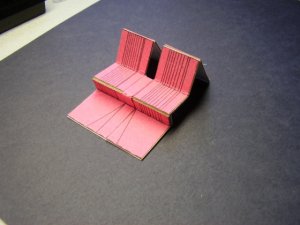
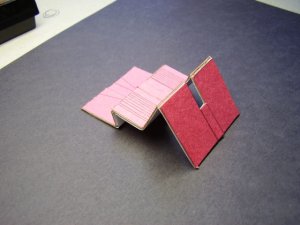
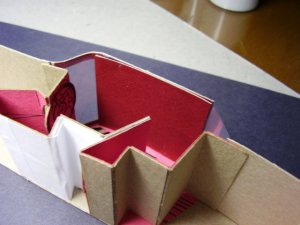
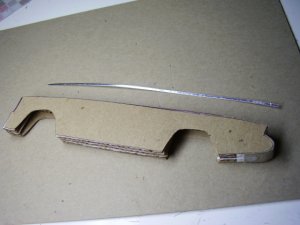
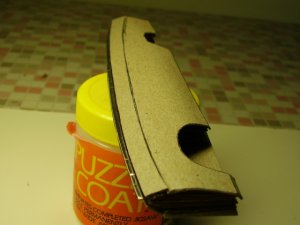
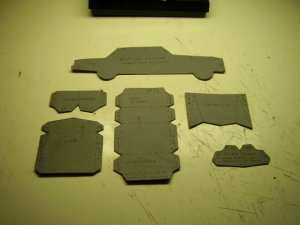
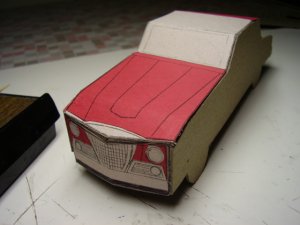
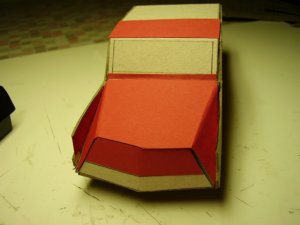
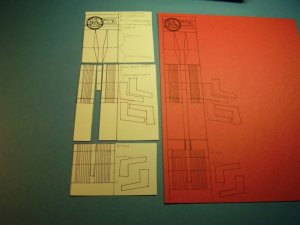
Shown are the center body panels, side pontoon panels, center body strip for hood and roof area, and interior strips, in white and red.
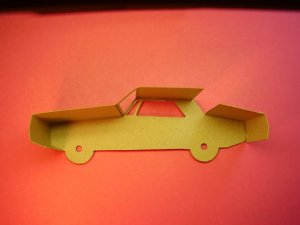
I find it's best to cut out the windows before separating the body panels from the sheet on which I drew the parts, to keep from tearing the thin window pillars.
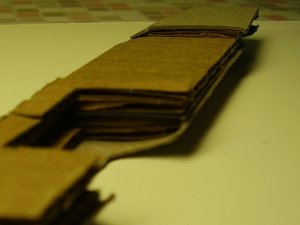
Shown are the center body panels, side pontoon panels, center body strip for hood and roof area, and interior strips, in white and red.
")