Spaceagent-9 2017 build pic threads
- Thread starter spaceagent-9
- Start date
You are using an out of date browser. It may not display this or other websites correctly.
You should upgrade or use an alternative browser.
You should upgrade or use an alternative browser.
Those look good thus far.
I wholeheartedly agree with @mijob, using a clear coat spray (like Krylon), will help seal the printed parts.
I wholeheartedly agree with @mijob, using a clear coat spray (like Krylon), will help seal the printed parts.
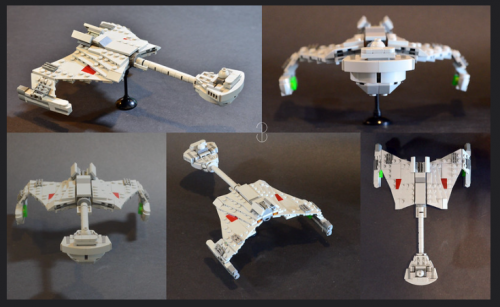
While I am figuring out some details on Ron Caudillo's 1701 that I enlarged, I also have been trying to work out some complex curves and a way to reproduce them easily in an original manner and to my satisfaction. I have given up on modifying the strips and Rawen's pieces on the Klingon D7. I admire his work and also Wulf111 for his KD7 cannon bell shape section, which I feel is the best, with one small modification that is to tip it slightly nose-up to give a less extreme incline of the tail end of that particular piece. So I am exploring this; plasti/rubber dip. It's not paper, but it is a beginning to what might be reproduced by paper paste or paper spackle. Pretty much a non-sanded result as with bondo - [ I can't use that stuff where I live because of the smell offending others]. So I intend to either use a paper form and dip it or use a form as a positive and then peel off the dip and use that for the intended piece. Probably it will end up with two sections to join or spackle the paper form, sand smooth, and then dip or primer with a brush, paint to color.
- Apr 5, 2013
- 13,498
- 9,550
- 228
You have to try the UV Activated Clear glue. That stuff is amazing, hardens in seconds, and can be built up. The tubes come with a Blue UV Light source. 
$10 bucks at Walmart, halve that price on Amazon. Many different brands, get the one that gives you the UV light and the most glue for the money. They're basically all the same, and they are dielectric (don't conduct electricity). You will be amazed on what you can fix and create with this stuff.
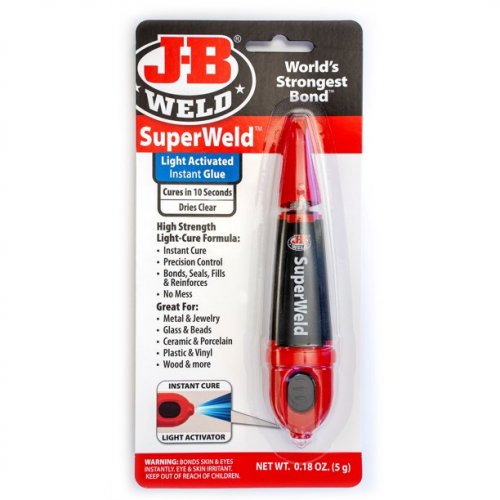
$10 bucks at Walmart, halve that price on Amazon. Many different brands, get the one that gives you the UV light and the most glue for the money. They're basically all the same, and they are dielectric (don't conduct electricity). You will be amazed on what you can fix and create with this stuff.

The cheap Chinese one that I tried was very stiff.I might try that! is it flexy? Is it like fiberglass resin?
- Apr 5, 2013
- 13,498
- 9,550
- 228
It's hard as glass. Amazing stuff. You could build up a LED light with that stuff. Using a clay to make a form, laying the lLED in it, and makeing the shape, filling it with the UV Glue, Hit it with UV light, it will stick to the LED but not to the clay. I have fixed my glasses, stereo knobs, too many things to list. It would also be good for Headlights in a car model, with a LED Behind it, and shiny side up aluminum foil as the reflector. 
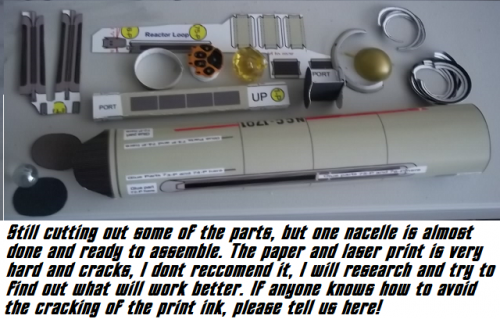
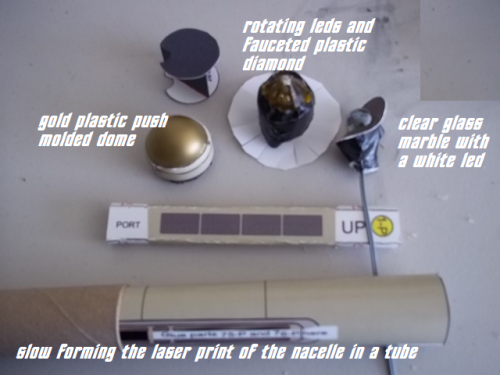
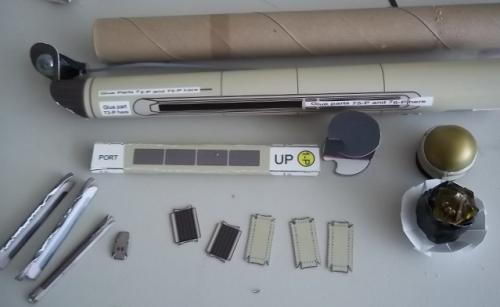
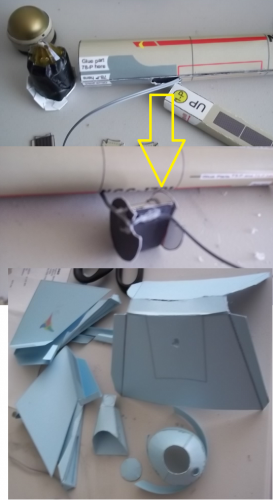
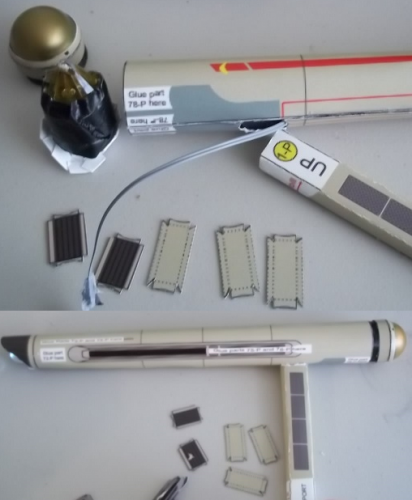
You can plainly see the cracks in the bends, but I have a fix for that after the fact, and it involves a laundry marker. I had to get rid of Ron's excellent rings behind the nacelle cap due to the room of the electronics and substitute bonded computer wire painted with a laundry marker. The petals at the bottom of the jewel and electronic are now folded over and glued to pressure fit into the nacelle, I might glue or leave accessible depending on how tight the fit is. The jewel electronics turn on/off by twisting the bottom of the assembly where the petals are. Since the batteries will need changing I might just leave it unglued.
THE DC
Highly Esteemed Member
- Apr 5, 2013
- 13,498
- 9,550
- 228


