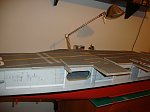
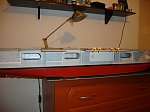
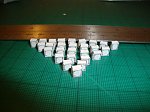
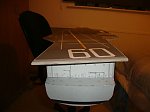
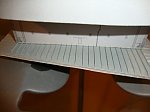
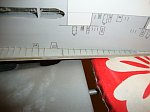
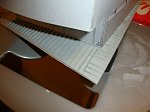
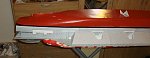
Hi there i am new to this site,since 2 yrs i`ve been working on ship model of USS SARATOGA CVA 60 FORESTAL CLASS issued by Fly Model in the mid 90`s .
For the beginning i attached links to the modeling websites where you can find sufficient detail of building process
http://www.papermodelers.com/forum/ships-watercraft/21457-uss-saratoga-cva-60-1-200-scale.html
http://www.papermodels.pl/index.php?topic=9884.0
I will try to catch up on this site soon.
Best regards.

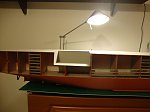
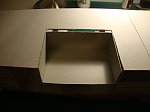
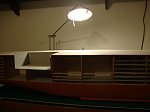
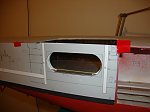
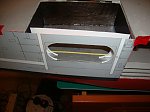
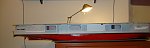
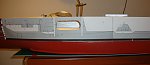
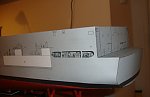
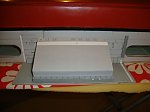
") I will do my best to put more pics with comments in the meantime if you have any questions about assembly this model feel free to ask
I will do my best to put more pics with comments in the meantime if you have any questions about assembly this model feel free to ask