Upgrading an Athearn BB F45

DanRaitz

Member
May 30, 2002
300
0
16
Maricopa, AZ, USA
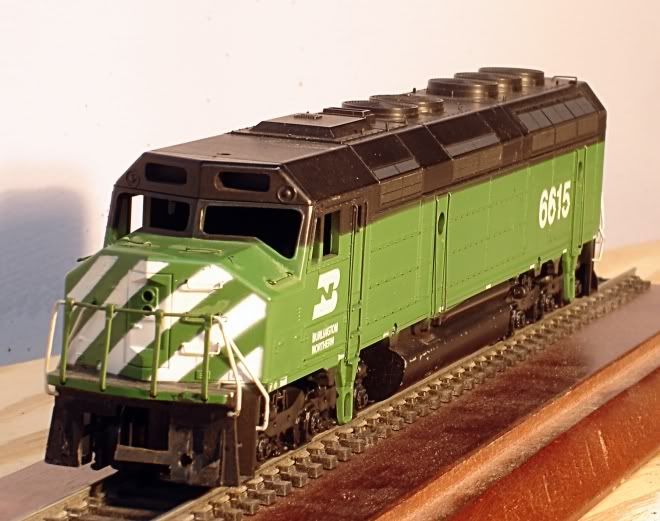
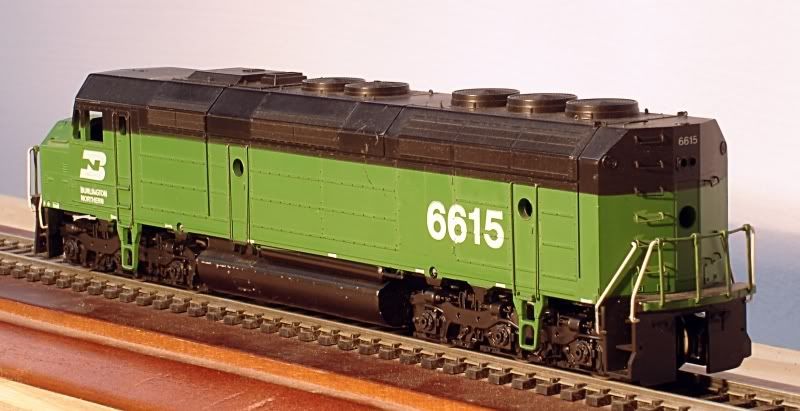
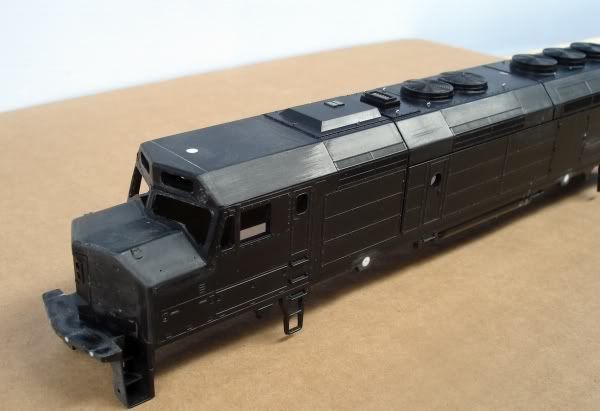
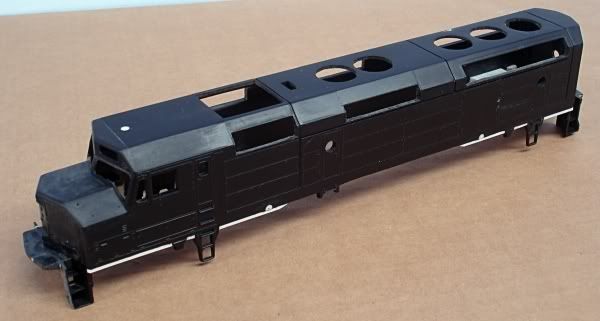
I decided to do an upgrade of a Athearn F45. I've had this loco for over 20 years and it needs some tlc.
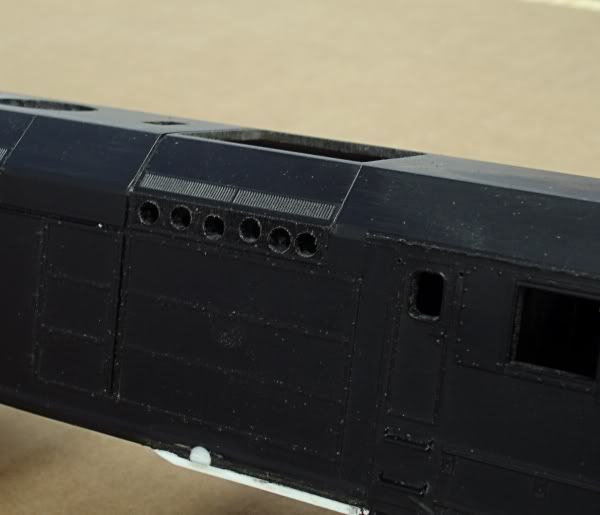
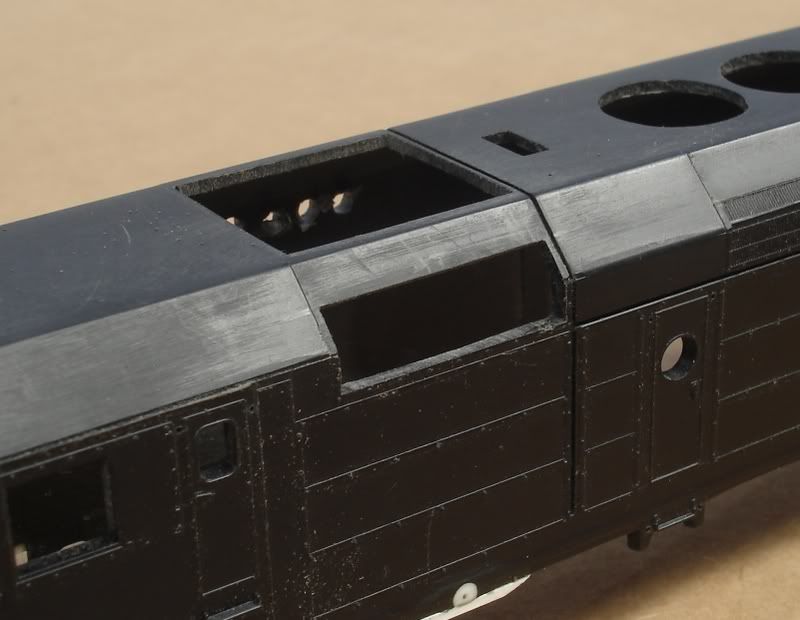
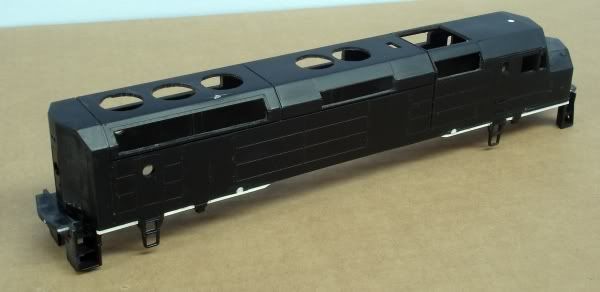
Here are a couple of shots before I start tearing into it.
AthearnBBF45front.jpg

AthearnBBF45rear.jpg


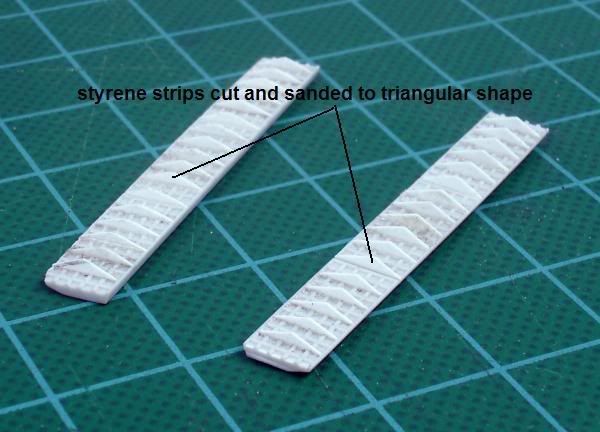
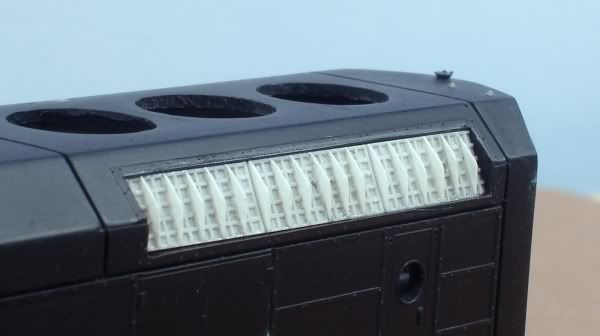
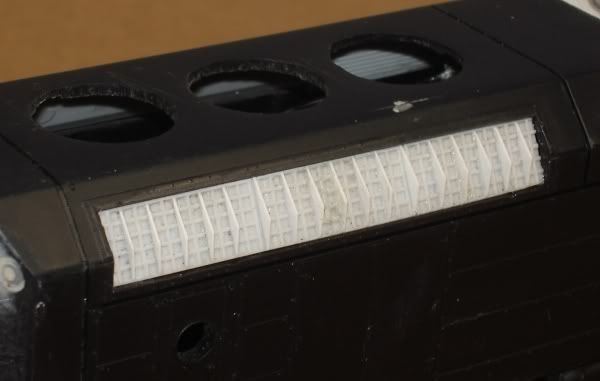
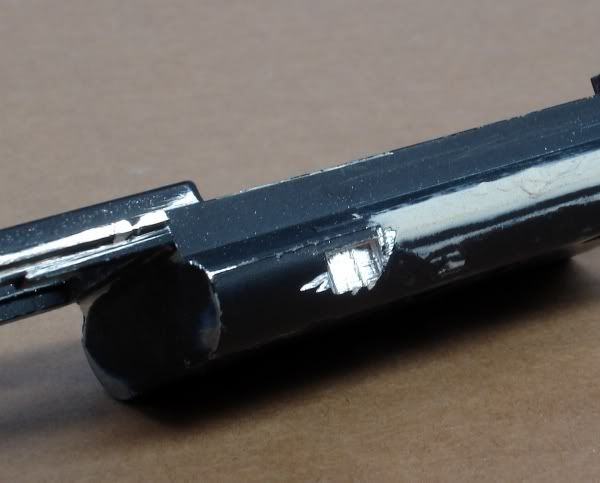
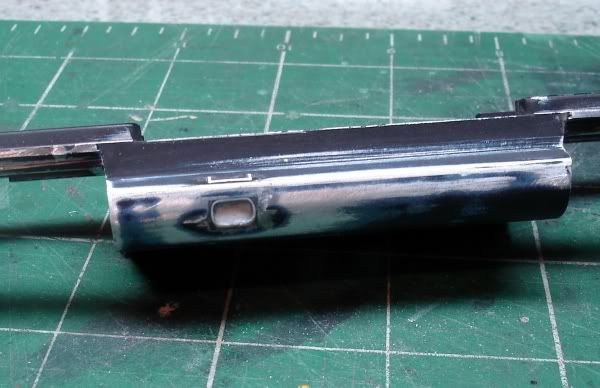
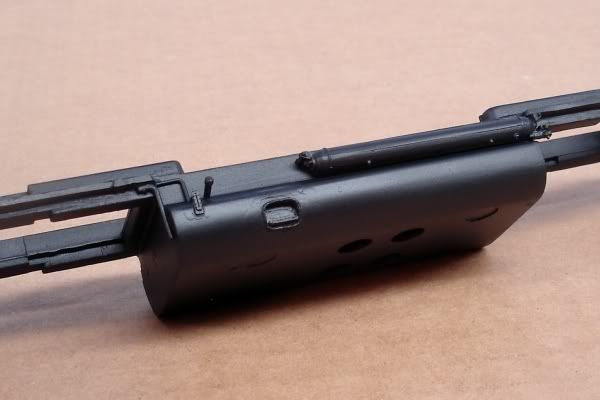
My first step was to redo the chassis, which means rebuilding the recessed step in the fuel tank. I cut out the area with a Dremel tool and then rebuilt the step with styrene and body putty.

F45tankstep.jpg

F45tankstep1.jpg

f45tankstep2.jpg

F45tankstep3.jpg


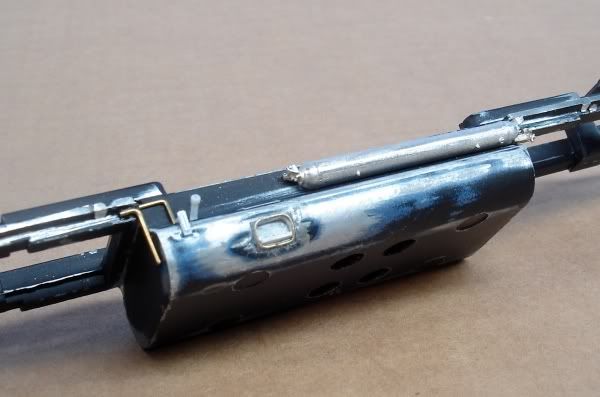
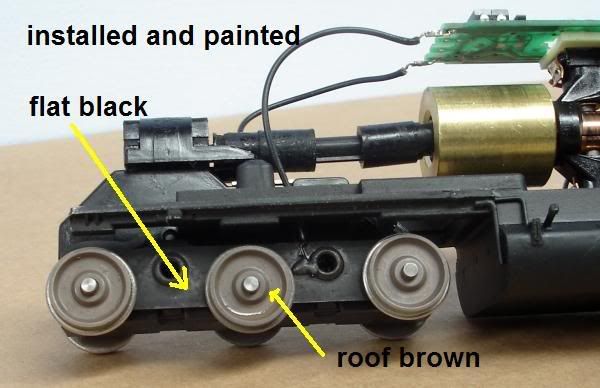
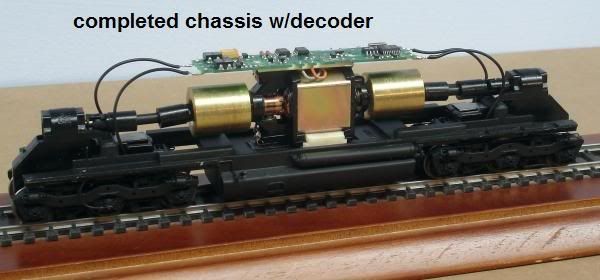
After I finished with the chassis it was time to reinstall the motor and a DCC decoder.
 

DanRaitz

Member
May 30, 2002
300
0
16
Maricopa, AZ, USA
Now to complete work on the chassis. Here I finished the truck sideframes and attached them to the trucks. But before I could do that the trucks and wheels needed to be painted.

Athearntruck3.jpg


I then added the brake cylinders and brake lines to the sideframes. On the left front there is a speed recorder attached to the center axle.

AthearnF45sideframe1.jpg


I then painted the sideframes black installed them onto the trucks.

AthearnF45sideframe3.jpg


Here is a shot of the completed chassis.
Athearnchassiswithdecoder7-1.jpg


p.s. Josh, the air tanks are from Details West #AT-204
 

DanRaitz

Member
May 30, 2002
300
0
16
Maricopa, AZ, USA
Now that the chassis is complete it is time to start working on the body.

The first thing I did was to scrape the mold lines and strip the old paint off.
stripped.jpg


I then started to remove the molded-in detail that will be replaced, fans (both radiator and dynamic), the exhaust hatch, the inertial filter hatch and all the grills along the side.
To do this I first drilled a series of holes in the area that is to be removed, then cut that area out with a hobby knife and used files to square the openings up.
rework1.jpg


rework2.jpg


Here are a couple of shots showing the shell after all this surgery.
rework3.jpg

rework4.jpg
 

CRed

Member
Dec 10, 2006
598
0
16
58
Duluth,MN
You're in Grand rapids,huh?Not so far away from me,about 75 miles or so?

Cool stuff,I wish I could do that.

Chris
 

DanRaitz

Member
May 30, 2002
300
0
16
Maricopa, AZ, USA
I have started to rebuilt the loco. Starting with the inertial air filter area. To rebuild the grills I used a radiator grill from Cannon & Co. #1401. I cut and sanded it to length and then split it lengthwise.

F45inertialairfilters.jpg


I then installed these in the openings and installed the inertail filter hatch.

F45inertialairfilterarea.jpg
 

DanRaitz

Member
May 30, 2002
300
0
16
Maricopa, AZ, USA
Next I attacked the front pilot. First I removed everything from the steps forward.

F45frontpilot1.jpg


I then made a paper template of the rear pilot and transfered that to .020" styrene.

F45frontpilot2.jpg

F45frontpilot3.jpg


I then installed the pilot and cut out the slot for the coupler.

F45frontpilot4.jpg


I then finished installing the details: plow, air hoses, coupler lift bar, etc.

F45frontpilot5.jpg
 

DanRaitz

Member
May 30, 2002
300
0
16
Maricopa, AZ, USA
I also rebuilt the radiator section. To do this I used Robert Zenk's F40PH article in the July 1983 Mainline Modeller as a guide.

F45radiatorgrill1.jpg


F45radiatorgrill2.jpg


Here is a view of the left side rad.
F45radiatorgrill3.jpg


and the right side
F45radiatorgrill4.jpg