TWE Porter Build

cjwalas

Member
Nov 28, 2006
74
0
16
70
Santa Barbara, Ca.
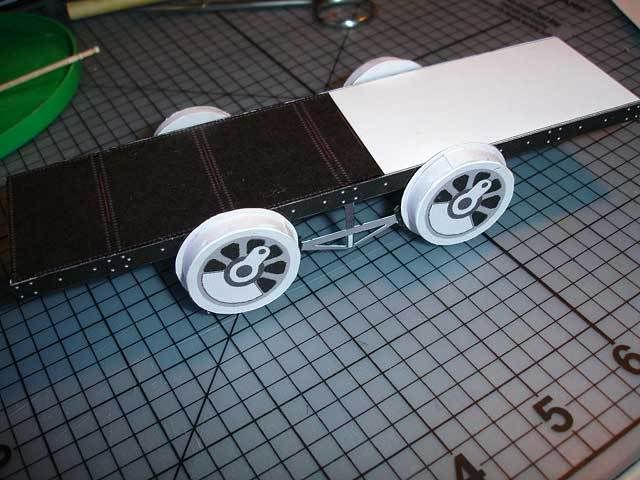
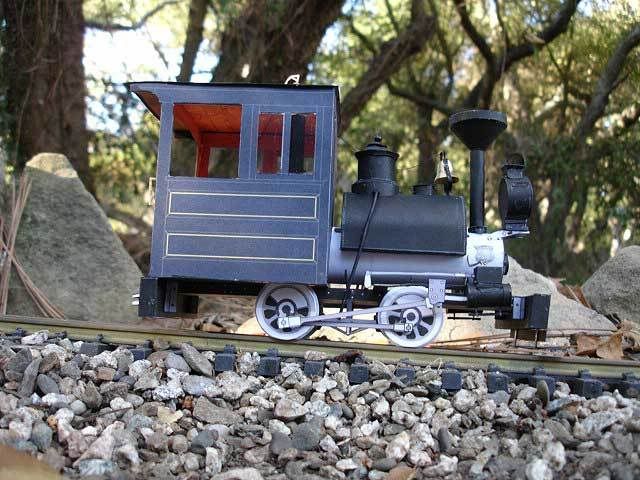
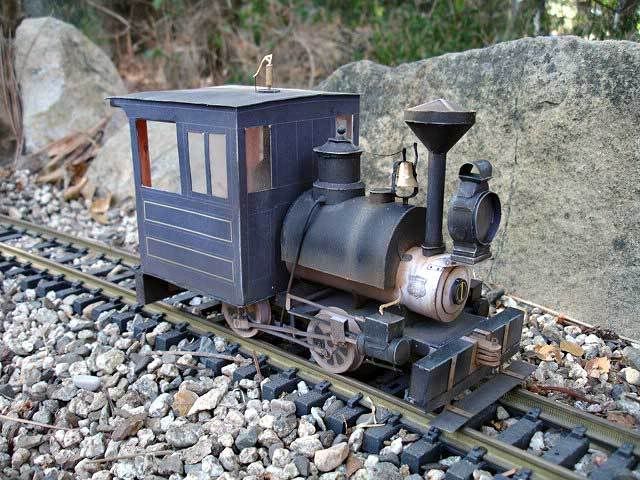
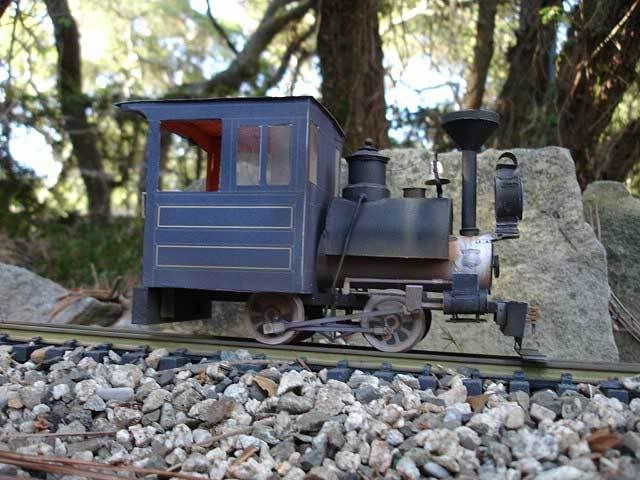
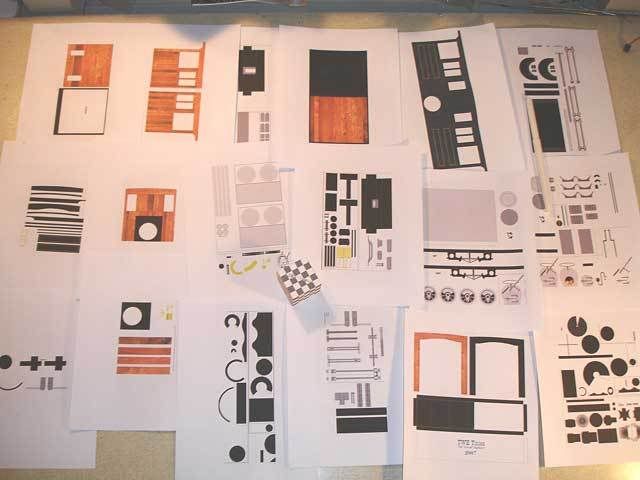
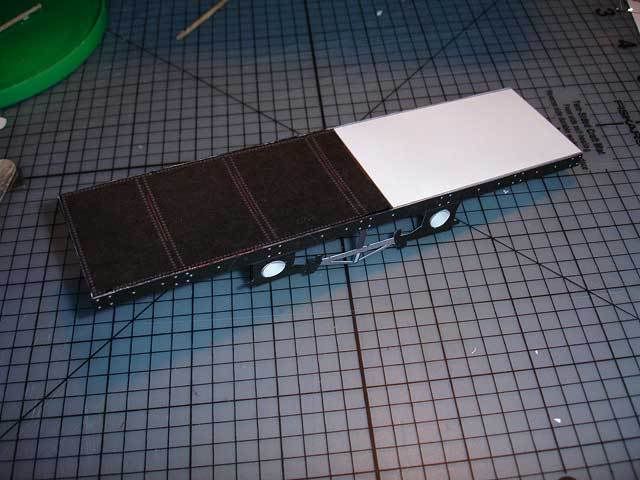
I'm taking a break from my Stuka building to do a scaled up version of TWE's great little Porter model. The kit is in 1/32 scale, but my train modeling is in 1:20.3 scale, so I've enlarged Phil's work 157.6% ( I think that's right; it's close enough for me!). Here it is on all eighteen pages!
twep1.jpg

My schedule is all over the map the next month or so and I really want to take my time and enjoy this one, so updates may be a little slow in coming, but have faith! I'll get there!
Chris
 

Clashster

Member
Dec 1, 2006
238
0
16
61
The Conch Republic
Whaaa???? Doesn't fly.... There's no "Stuka" in it's name... Boy are you confused! Looking forward to this build! Phil did a great job with this! Let the building begin!

Chris
 

cjwalas

Member
Nov 28, 2006
74
0
16
70
Santa Barbara, Ca.
Got a real start on it today! I don't think I've built a model with no instructions or part numbers before and I was a little intimidated at the prospect. I was pleasantly surprised at how easy the parts are going together!
twep2.jpg

These photos are in no particular order, but here's the cab underway. The fit in general is very good and a fun and easy build so far.
twep3.jpg

The frame is a simple flat, rectangular box that assembles easily.
twep4.jpg

The wheels are simple as well and the fit is fine!
twep5.jpg

The one problem I've had so far is due to my own haste. I've decided to build this model as Phil has designed it so that I get a feel for what I hope to bash on it next time, so I may be rushing things a bit too much!:eek:
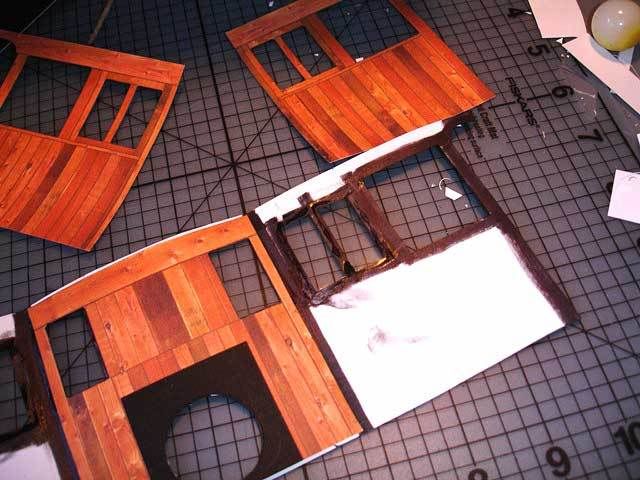
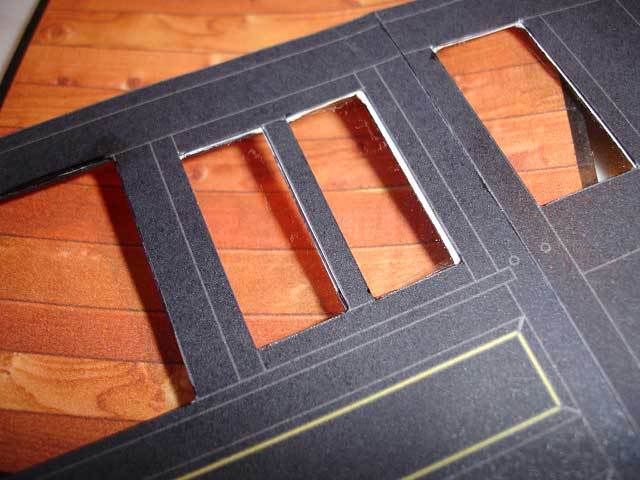
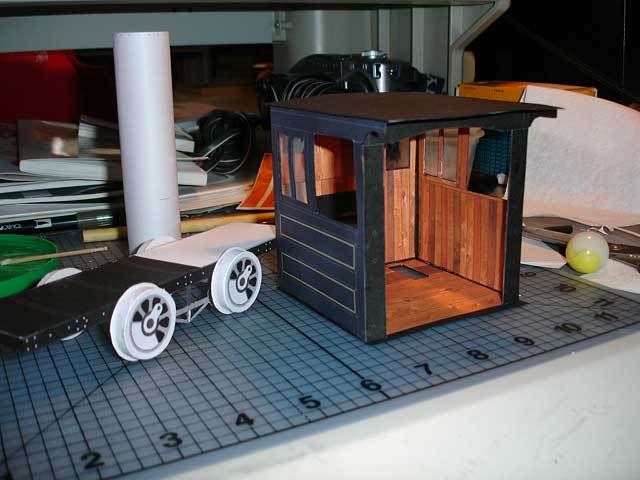
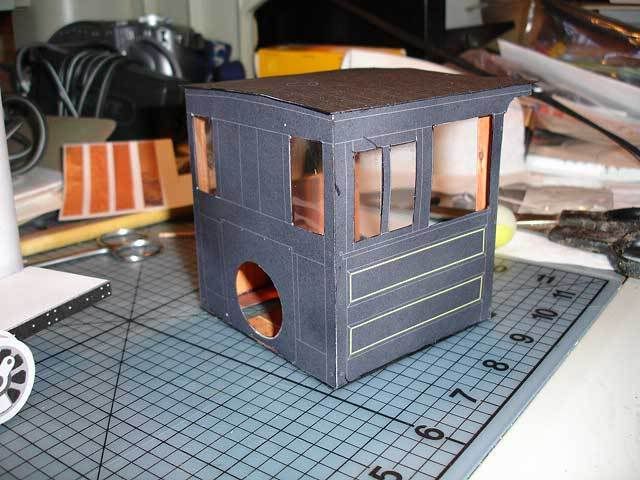
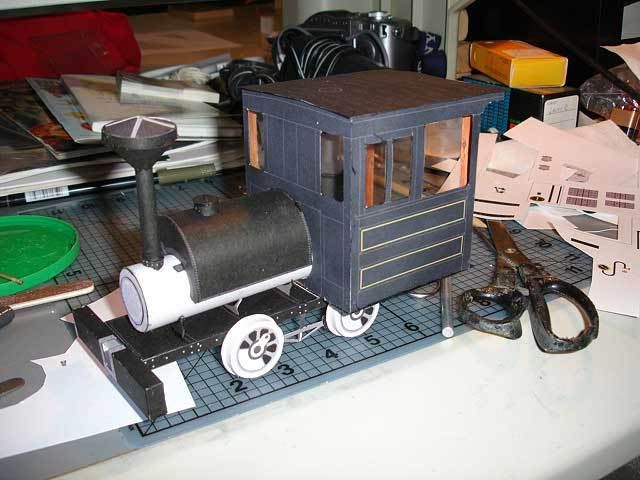
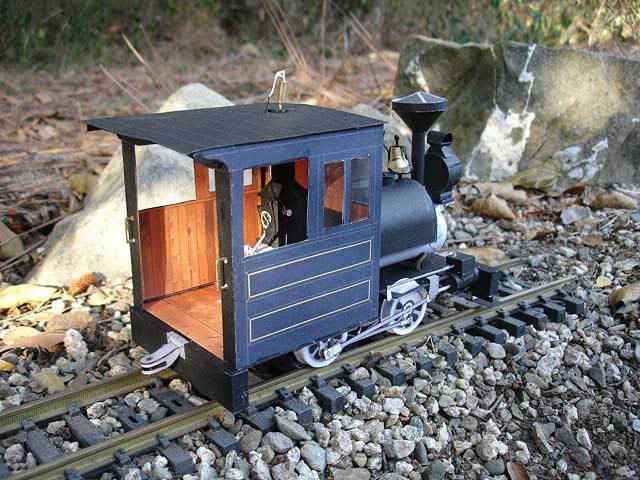
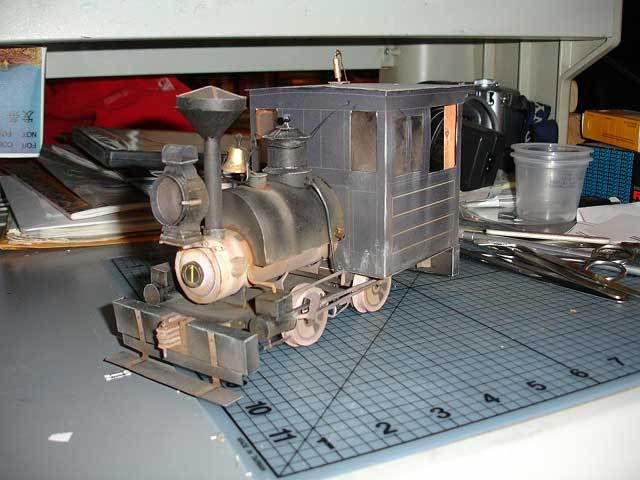
ops: First off, I forgot some sections of the cab when I colored the inner surfaces and my alignment of the parts is a bit off, so some of the white shows at the windows. I'll try to fix that later.
twep6.jpg

The kit can be adapted to have rolling wheels by extending the axles, I'm sure, but I've simply glued them in place.
twep7.jpg

Today's effort. Frame, wheels and cab. Plus the boiler tube. So far, this is a fun build. The hardest part is not getting excited and gluing the wrong stuff together!
twep8.jpg

I only wish I had better A4 paper. Because I enlarged the cab, it would only fit on A4 and my A4 doesn't come out as nice as the regular stock. BUt it still looks good! I hope the rest of the build goes this easily!
Chris
 

cjwalas

Member
Nov 28, 2006
74
0
16
70
Santa Barbara, Ca.
A little further today. Ran into my first real problem this morning. The boiler didn't want to sit straight on the boiler supports and drooped toward the front.
twep9.jpg

I cut a new front support and that made the difference. Still not sure if it was my mistake or a possible misfit with the kit.
twep10.jpg

Went on to the backhead. Phil supplies options here; the simple one of just a fully printed backhead with details, or a more detailed version with open firebox door and separate details. I had to be able to see that fire! I cut slivers of carboard to put behind the water glass, tri-cocks and throttle to give them a little more dimension.
twep11.jpg

However, in my haste, I also glued the firebox door hinges on upside down!:eek:ops:
twep12.jpg

Also got the saddle tank with filler cap done, the smokestack, front endbeam and smokebox front on.
twep13.jpg

I'll keep the fire stoked till I can get back to it, hopefully tomorrow!
Chris
twep14.jpg
 

cjwalas

Member
Nov 28, 2006
74
0
16
70
Santa Barbara, Ca.
Plugging along on this one. I think I made a mistake in enlarging this one before building a test in the original scale. Some of the fit is very exact and what works well in 1/32 gets to be a bit more of a challenge almost 60% larger!
The headlight is a nice little model in itself. it's basically a series of boxes with a cylinder in between. I chose to add a clear lens on the front and recess the image of the lamp itself to give more dimension.
twep15.jpg

The fit is still overall very good, but I've found some trimming and fitting necessary here and there. This may be due to the enlarging issues or just my poor building!
twep16.jpg

So today I did the light, the sand dome, bell, whistle, and rear end beam. Also did the number plate on the front and the connecting rods on the wheels. Got a start on the cylinders, but it just got too hot to do anything and I quit. Time for a glass of wine on the front porch with the wife.
twep17.jpg

I'm liking the way this is going together, but if I do another one in this scale, I'll glue another sheet of card behind everything for strength. I'm thinking of possibly doing some weathering on this one when it's done. These little industrial locos were rarely kept clean and fresh!
Chris
 

cjwalas

Member
Nov 28, 2006
74
0
16
70
Santa Barbara, Ca.
FINISHED! :mrgreen::mrgreen::mrgreen::mrgreen::mrgreen: The only real issue I had was the support for the crosshead guide. I didn't understand how Phil had designed it, so I cheated and made supports from scratch.
twep18.jpg

I like the way it came out and Phil's done a fantastic job (especially for someone who's not really a train guy!) on the kit.
twep19.jpg

I'm sure I'll be doing another one at some point, after I figure out exactly what custom changes I want to make. And probably after a few more Stukas!
twep20.jpg

Phil must have got it right in the first place and I must have enlarged it the right amount, because it fit on the rails nicely!
twep21.jpg

But I just had to add a little wear and tear on this little baby. These were working engines! A little airbrushing;
twep22.jpg

And here she is out on the rails. The color is washed out here, sorry!
twep23.jpg

twep24.jpg

twep25.jpg

All in all, a fun little build of a great kit of a great loco! Thanks so much, Phil!
Chris
 
M

Mark_1984

Nice job - especially the weathering !!!!
A great model - a credit to both you and Phil
 

Nomad

Active Member
Sep 26, 2006
1,570
0
36
72
Elks Plain, Washington
Hello all, I snuck over from the model railroad forum and found this thread. I would like to build this model but rescale it to 1:20 like Cjwalas did. Could somebody please tell me how I would go about rescaling it?

Loren
 
C

cgutzmer

As a heads up Phil does plan on building some variations of this train too - he said it might be a while but knowing him they will be stellar models too!
Chris
p.s. to print at a different scale you have to figure out the % difference between the two scales and print it that % larger.... we have a couple threads on that I will try to dig it up! I had a handy dandy little tool but I cant locate it....
 
C

cgutzmer

found it! Its a page I saved to my hard drive eons ago.... I cant find the page on the web now but you would want to print phils porter out at 160% to change it to 1:20
 

mrtazvan

MrTazVan
Aug 31, 2010
8
0
1
Ky.
I Think This is a GO

I'm Going to thy this one as my 1st Locomotive Build,

Many Thanks for the Model Design