The Complete History of My Build

eve_9d9

New Member
Dec 21, 2006
70
0
6
47
Bowling Green, Ohio
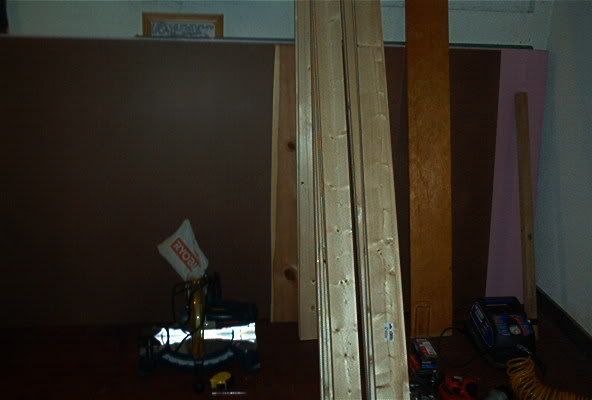
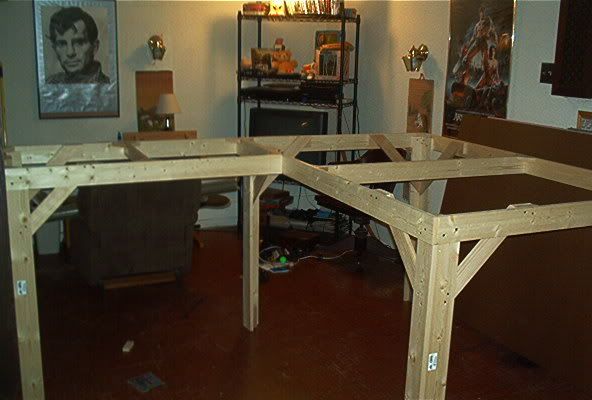
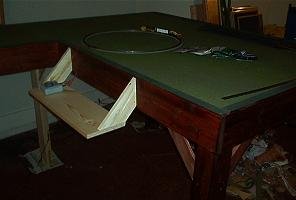
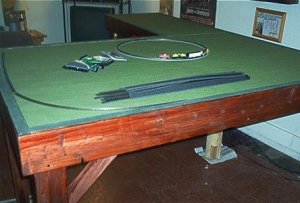
Thought since I was just starting out it would be fun to keep a running thread on my build. Im building a 4x6 table with a 2x4 extension, I got all the lumber for my table this afternoon. By tonight it should be most of a table.........heres the before pic, my pile o lumber. 1x3 's for the frames and legs 3/16 hardboard for the top, and 2 inch foam for the layout.
pileowood.jpg
 

eve_9d9

New Member
Dec 21, 2006
70
0
6
47
Bowling Green, Ohio
Well I got some build time in tonight, building in the basement helps since I can work anytime day or night, heres where I got to tonight. Frames done foam is on, and some of the fascia...... the last pic is an idea of the nice finished look I want for the top eventually Ill have it all dialed in like that....Ill mitre those joints on the face boards too to keep
them from looking too chintzy.......


IM001569.jpg
 

Attachments

  • IM001571.jpg
    IM001571.jpg
    59.7 KB · Views: 387
  • IM001572.jpg
    IM001572.jpg
    59.2 KB · Views: 384

eve_9d9

New Member
Dec 21, 2006
70
0
6
47
Bowling Green, Ohio
thanks cannoball, but Ive had enough woodwork for now.......the table is almost done, just a little finishing to do. I finished the edges with little poplar strips, painted with a textured green paint to try and match the grass mat, and stained it witha dark mahogany stain (which seems to universaly horrify people) Ill start laying track soon, the only thing I need to figure out is how to cover the seam between the table sections in the mat. (any suggestions?) but otherwise Im thrilled with how well it came out (besides the debacle with contact cement) and all for about 75 bucks....cant beat that...:thumb:
 

Attachments

  • IM001573.jpg
    IM001573.jpg
    11.5 KB · Views: 286
  • IM001574.jpg
    IM001574.jpg
    30.6 KB · Views: 291
  • IM001575.jpg
    IM001575.jpg
    35.3 KB · Views: 286

eve_9d9

New Member
Dec 21, 2006
70
0
6
47
Bowling Green, Ohio
I can do ya one better, heres the track.....pics arent great, but gives an idea...theres a big loop, with a little bridge and what will be a tunnel area, then a small loop inside that..a figure 8 that will cut through where the town will be, and a switch off to the staging yard area...overall I think pretty ambitious for a first timer. It all went down pretty well Ill need to patch in the foam roadbed in a few places where it didnt line up quite right, but thats about all....
 

Attachments

  • train 001.jpg
    train 001.jpg
    20.6 KB · Views: 171
  • train 002.jpg
    train 002.jpg
    20.1 KB · Views: 173
  • train 003.jpg
    train 003.jpg
    25.4 KB · Views: 172
  • train 004.jpg
    train 004.jpg
    27.9 KB · Views: 172

eve_9d9

New Member
Dec 21, 2006
70
0
6
47
Bowling Green, Ohio
you know I didnt notice it before but that has a real yin yang thing going huh?? pretty fitting considering trains for me were supposed to be kind of a zen relaxation, stress releiver sort of thing eh?
 

MasonJar

It's not rocket surgery
Oct 31, 2002
5,362
0
36
Ottawa, Canada
Visit site
You can simply scenick right over the tops of the boards where they form the joint between the two tables. No need to have the wood show there (or anywhere else even...).

That mahogany stain looks great. Nice carpentry & finishing!

Andrew
 

eve_9d9

New Member
Dec 21, 2006
70
0
6
47
Bowling Green, Ohio
yeah that stupid reverse loop thing kills me, it was the first thing i noticed after I got the roadbed glued down, I stood there tracing the route with my finger over and over not quite believing it. My zen approach will not let me dwell on it though, Ill fix it somehow, but for the time being thats why they made trains that can back up.........train1 Im amazed you picked that up from those crappy pics. glad you guys dig it though, hopefully Ill come up with some better pics over the week. Im taking the night off to watch my beloved buckeyes so far get trashed by florida.