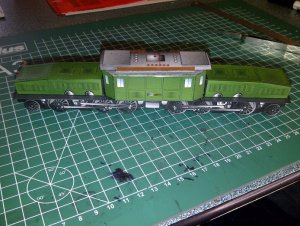
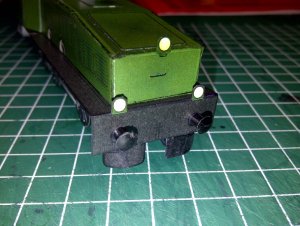
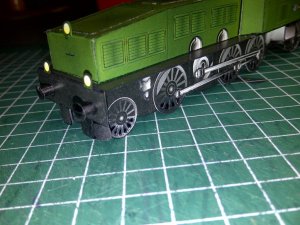
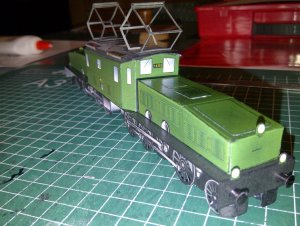
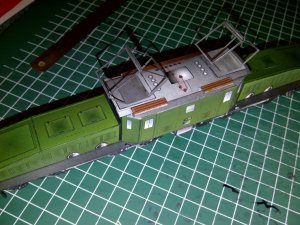
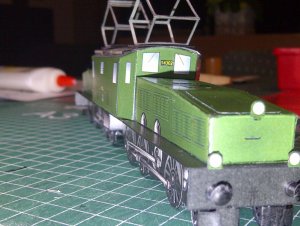
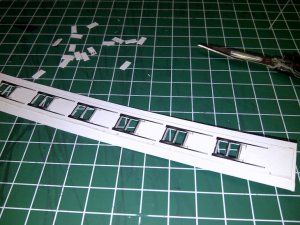
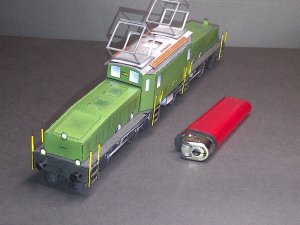
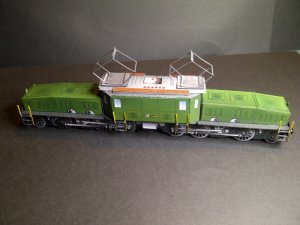
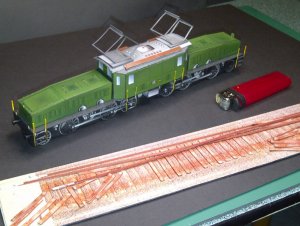
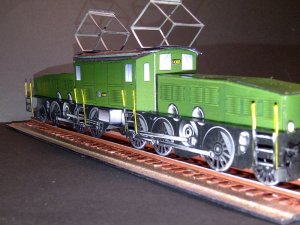
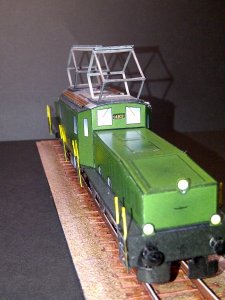
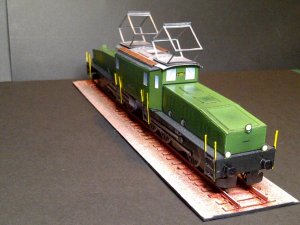
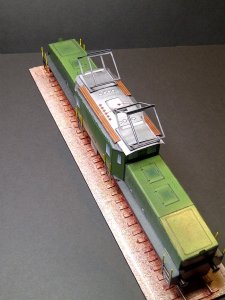
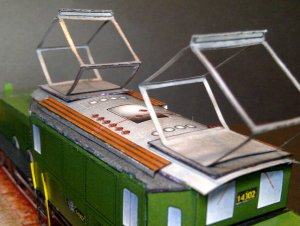
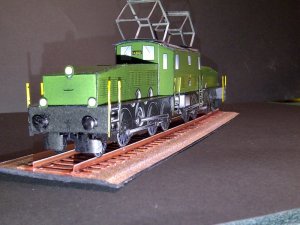
The Baureihe 6/8 "Krokodil" in HO scale including tracks.

DanBKing

Dan the Man
Feb 29, 2012
1,817
1,587
113
Netherlands
As it turned out, my train model of the E94 Krokodil, for my friend, was the incorrect loco. wall1 http://www.zealot.com/forum/showthread.php?t=172995

It is actually the Baureihe 6/8 version.
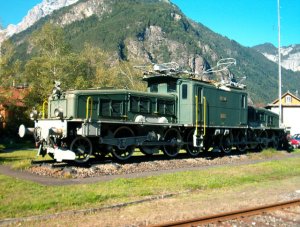
Ce6-8.jpg

More info here:

http://en.wikipedia.org/wiki/Crocodile_(locomotive)

Anyway, my friend is more than happy with his model, but I decided to compensate a little and give him a 'little brother' for his model.

I found the model on the net designed by Martin Weger in 1:87 scale.
I also downloaded the paper tracks to build at the same scale. I'll include that build in this thread too.

We shall start with the (correct) loco.:rolleyes:

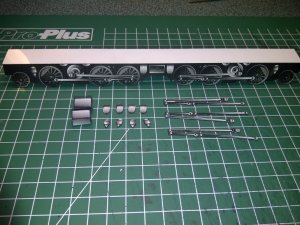
All the major parts are laminated (where neccessary), scored, cut out, pre-folded and edge coloured..
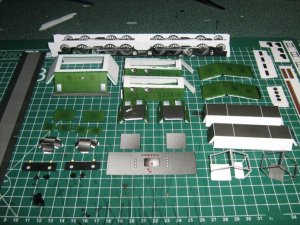
040.jpg

The hatch doors on both 'noses' were laminated in place.
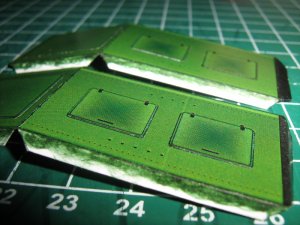
048.jpg

I used 120 gsm stock for the pantographs, and started cutting and forming them. Once I am happy with both, I will soak them in ca glue to strengthen them up.
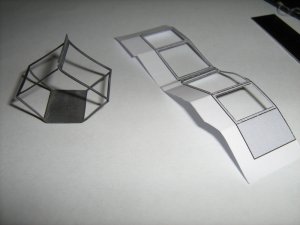
030.jpg

All the sub-structures for the center cab section were assembled 'in the flat' where possible, ready for final assembly.
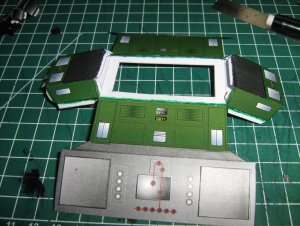
052.jpg

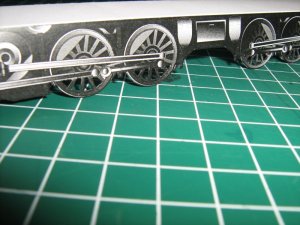
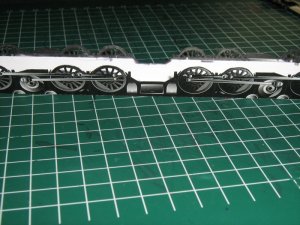
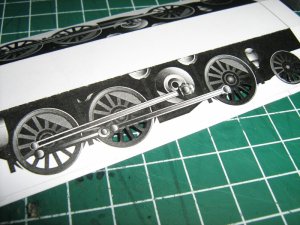
I felt that the 160 gsm card stock I was using was too thin to represent the thickness of the wheels, so I cut out a spare copy of the model and used the wheel pattern in reverse and laminated it to the back, to give the wheel pattern on the back (better than white), and also thicken the wheels. (See first photo.) I lined up everything perfectly by using my light box while gluing.
Then, (why oh why did I decide to do this...:cry:) I started to cut out the white wedges between the spokes of the wheels.....
061.jpg

That will take me some time.....

More later.. :wave:
 
Z

Zathros

What did you do with the original model? That was one sweet train, I look forward to this build. Please, post many pictures! :)
 

DanBKing

Dan the Man
Feb 29, 2012
1,817
1,587
113
Netherlands

DanBKing

Dan the Man
Feb 29, 2012
1,817
1,587
113
Netherlands
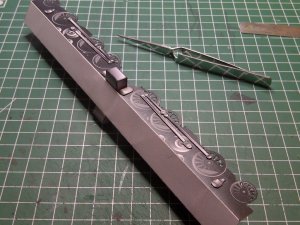
I have finally finished cutting out the spaces between the spokes.
It was a lot of cutting, but the end result was worth the effort.

011.jpg
016.jpg

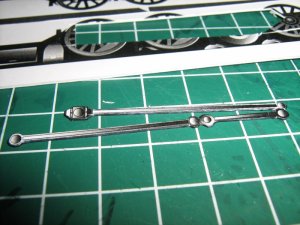
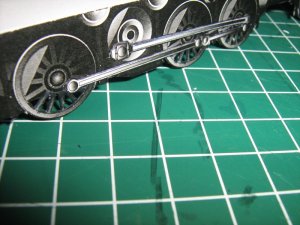
I then laminated a spare copy of the wheel sections to 250 gsm card and cut out the connector arms between the wheels.

023.jpg

They look better, as the detail jumps out at this scale. It enhances it well.

026.jpg

It has been a busy week in life, so not much more progress. Will get more done soon.

:wave:
 

DanBKing

Dan the Man
Feb 29, 2012
1,817
1,587
113
Netherlands
Progress...
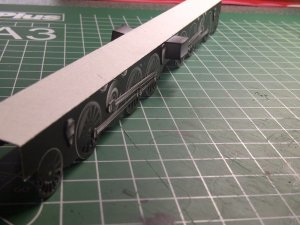
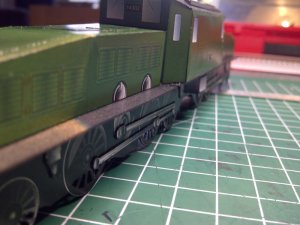
I have finished 'pimping' (Thanks, SandyWenda, and welcome to the Forum :mrgreen:), the chassis. I went a bit further than just the connecting arms, an added the sandboxes too.
066.jpg
089.jpg

With the wheel spokes cut out too, the effect is pleasing at this scale.

084.jpg

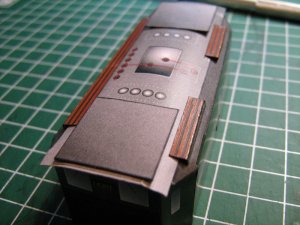
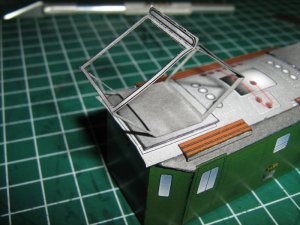
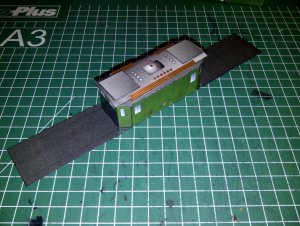
The cab was glued up, the laminated baseplates for the pantographs, and the boardwalks were added.

007.jpg

A test fitted pantograph. These will be attached last in the build.

012.jpg
 

DanBKing

Dan the Man
Feb 29, 2012
1,817
1,587
113
Netherlands
....

The assembled cab was attached to the laminated deck plate, the noses added and the chassis attached.

094.jpg

098.jpg

125.jpg

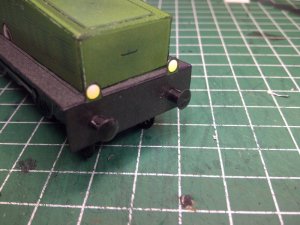
The bumpers and front plates were made up and attached.

021.jpg
119.jpg
133.jpg
 

DanBKing

Dan the Man
Feb 29, 2012
1,817
1,587
113
Netherlands
.....!

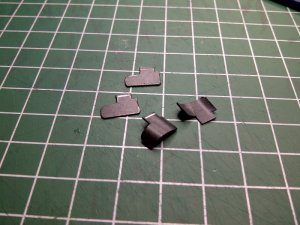
The front wheel protector/deflector plates were shaped and attached to both ends. The third lamp was also added to finish off the noses.

152.jpg

158.jpg

The main build is 90% complete, just have to make up the 8 sets of steps, and apart from any tweaks and final attachment of the pantographs, the loco is done.

168.jpg
171.jpg
177.jpg
181.jpg


More soon.
:wave:
 

DanBKing

Dan the Man
Feb 29, 2012
1,817
1,587
113
Netherlands
The loco is finished... On to the tracks next.

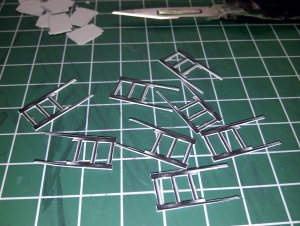
I laminated the 160gsm printstock to 250 gsm and started cutting out the 8 sets of steps...

002.jpg

The handrails are just under a milimeter wide.....

009.jpg

I coloured the edges and the did the handrails in yellow, and attached the steps to the loco. I also attached the pantographs to complete the model...

051.jpg
041.jpg


The build of the paper track and rails is next ...

057.jpg

Laters..! :wave:
 

DanBKing

Dan the Man
Feb 29, 2012
1,817
1,587
113
Netherlands
Keeping it straight.....

With the loco complete, it was time to build the track to put it on.

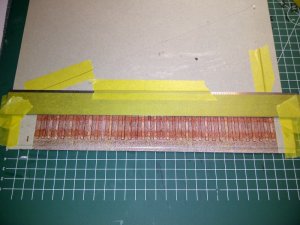
I laminated two 1mm thick pieces of card together to form a contour and glued the gravel bed to these.
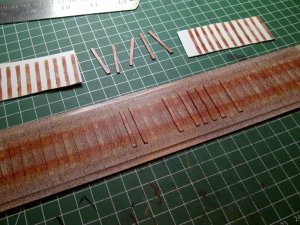
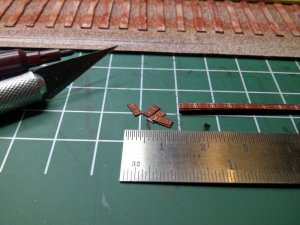
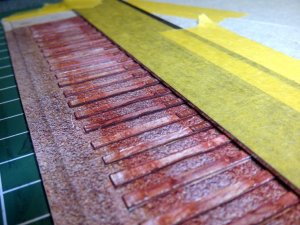
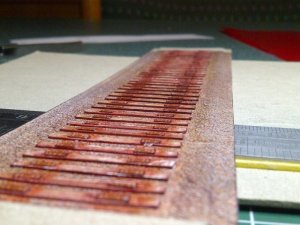
I laminated the sleepers to some thicker card and cut out the individual sleepers and coloured the edges.

017.jpg

I then glued on the individual sleepers to the gravel bed.

007.jpg

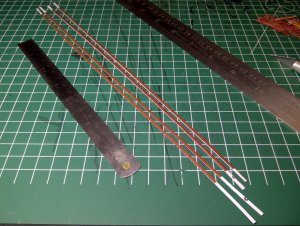
Next I cut out the rail sections and folded the rails, making sure everything was kept straight.

022.jpg

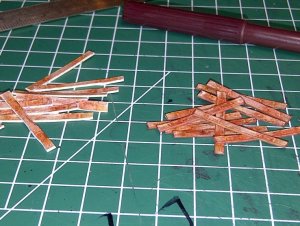
I stacked the strips of rail chairs, cut them out and edge coloured them. By stacking the strips the edge colouring process was made easier as there is more surface area to work on.

017a.jpg

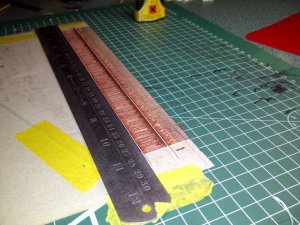
I made up a simple jig using some card stock and my steel rule. This will aid in keeping everything linear for the next steps.

002.jpg
 

DanBKing

Dan the Man
Feb 29, 2012
1,817
1,587
113
Netherlands
...

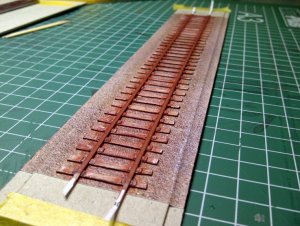
I set the track bed in the jig and started the tedious process of gluing the chairs to the sleepers.

015.jpg
034.jpg

I attached the rail bases to to the chairs by ca gluing one end in position and gently pulling the strip and ca glued the other end in position. Then it was just a case of putting a drop of ca glue on the top of the strip and gluing the strip to the chairs.

040.jpg

Using the jig to keep the rails vertical, I used the same process as the rail bases to attach them, by first gluing one end and then stretching the rail and gluing the other end. Then running ca glue along the bottom of the rail with a toothpick, the rail was glued to the rail base. The steel rule was used extensivly to make sure everything was straight and true. Oh, and of course, measuring everything 4 times before gluing.:rolleyes:

062.jpg

Once dried, everything was trimmed and tidied up. The loco was then ca glued to the rails.

I'll post the completed model in the next post.