Z
Zathros
You are so very blessed to have survived that. Watch yourself the next couple of days. Injuries sometimes show up weeks later! )
") So far nothing serious has been detected on X-ray though, so I am hopeful nothing major will happen.
So far nothing serious has been detected on X-ray though, so I am hopeful nothing major will happen.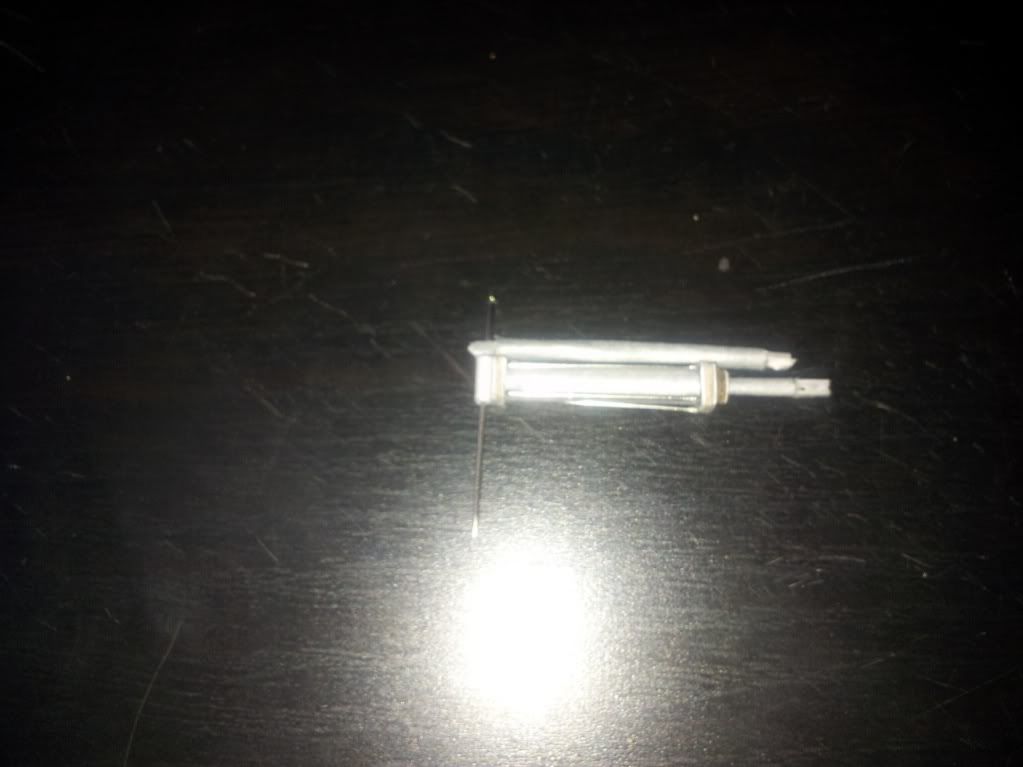


 But no worries, when there is progress to show, I'll update. I haven't abandoned the project, but with my new job and studying for three upcoming exams, I simply don't have time to build :-( As soon as I have something new to report, I'll make sure to do so Thinking positive!
Thanks @Zathros and @Milan
Unfortunately I haven't been able to do as much as I planned. There are two reasons for that, one good, one bad. The good reason is that I finally have a job after being jobless for over two years. The bad reason is that on my way to work on my first day (last thursday), I got caught in a car crash on the highway, escaping with relatively minor injuries (severely bruised thorax - the safety belt caused that - and a mild concussion) but totally wrecking my car in the process (and it wasn't even my fault!). I finally thought my stream of bad luck dried up, but it had a nasty surprise in the end. I did manage to get to work yesterday tho, so all ended up pretty much okay, and as a bonus I might end up with a better car than before
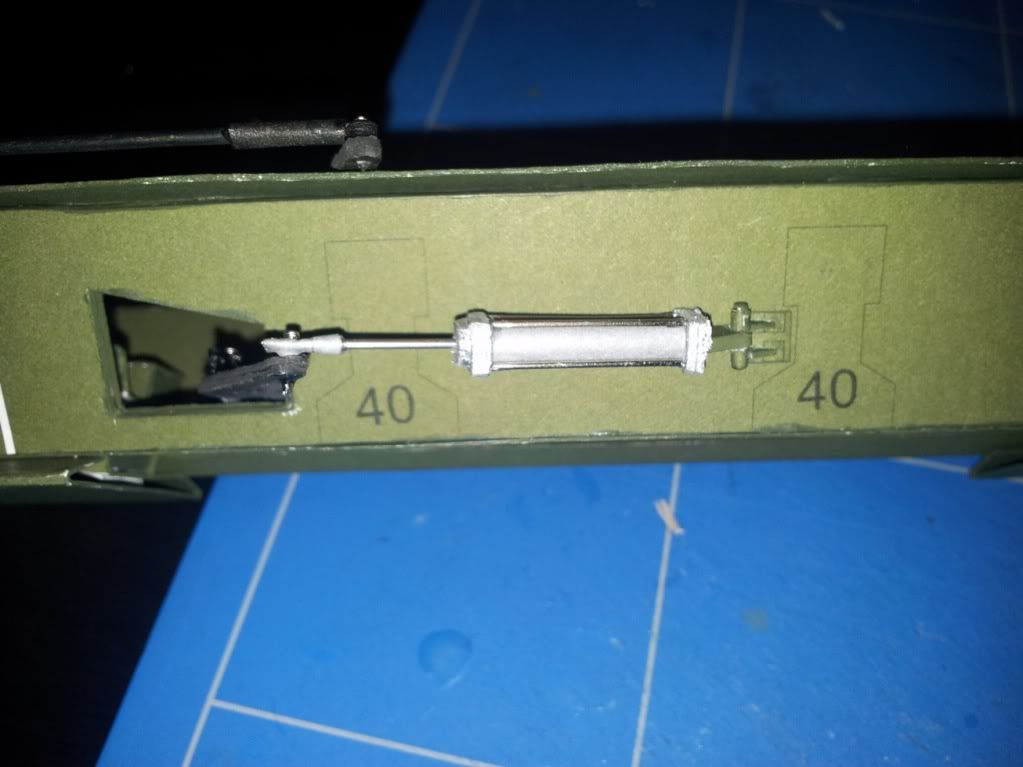
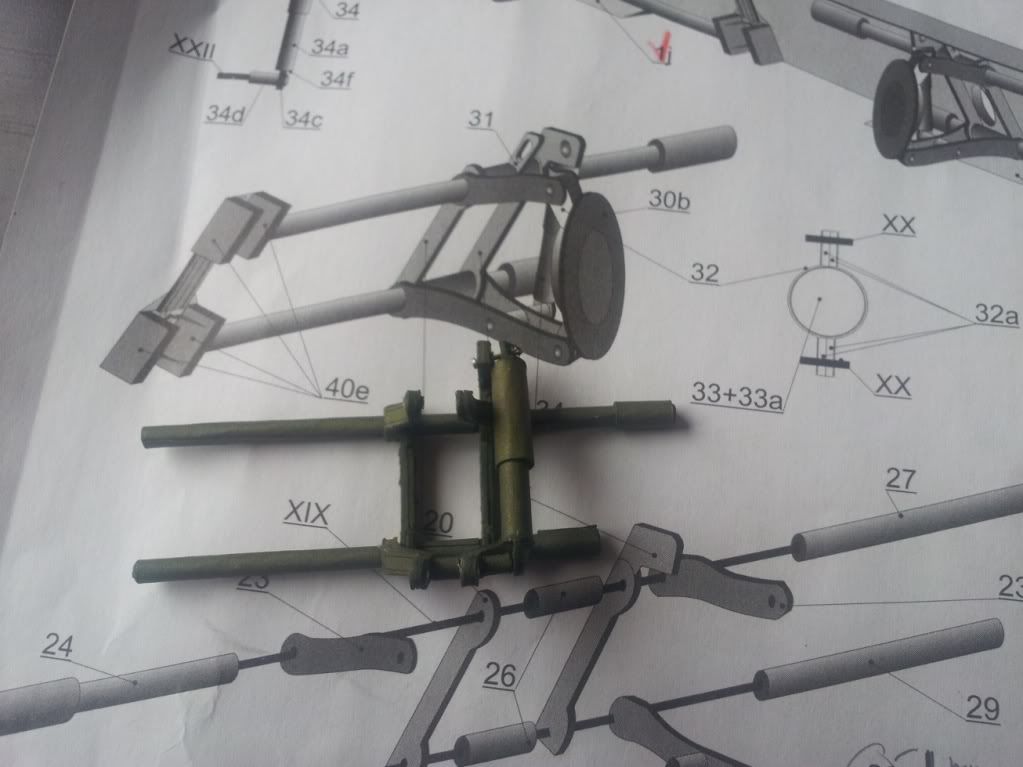
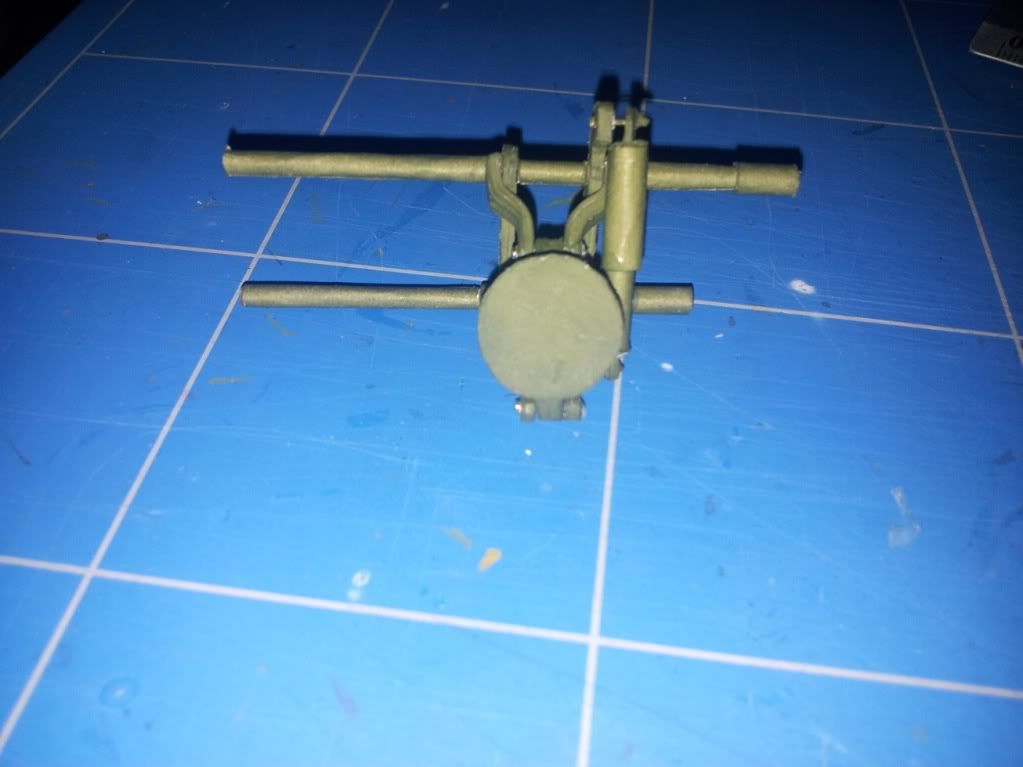
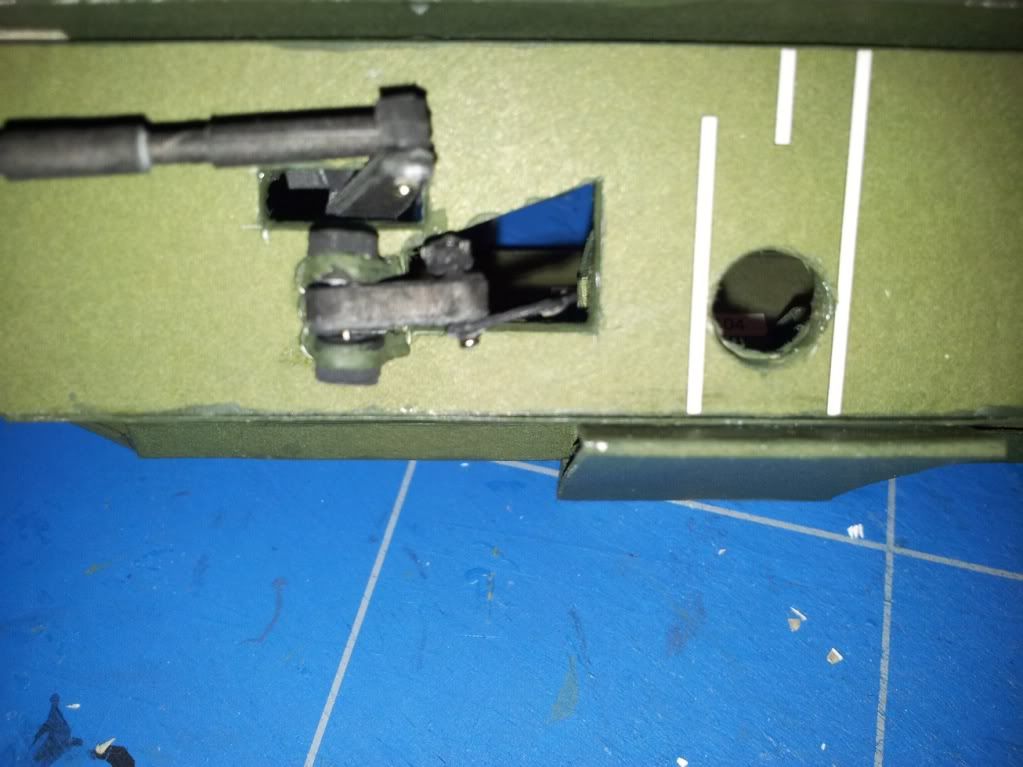
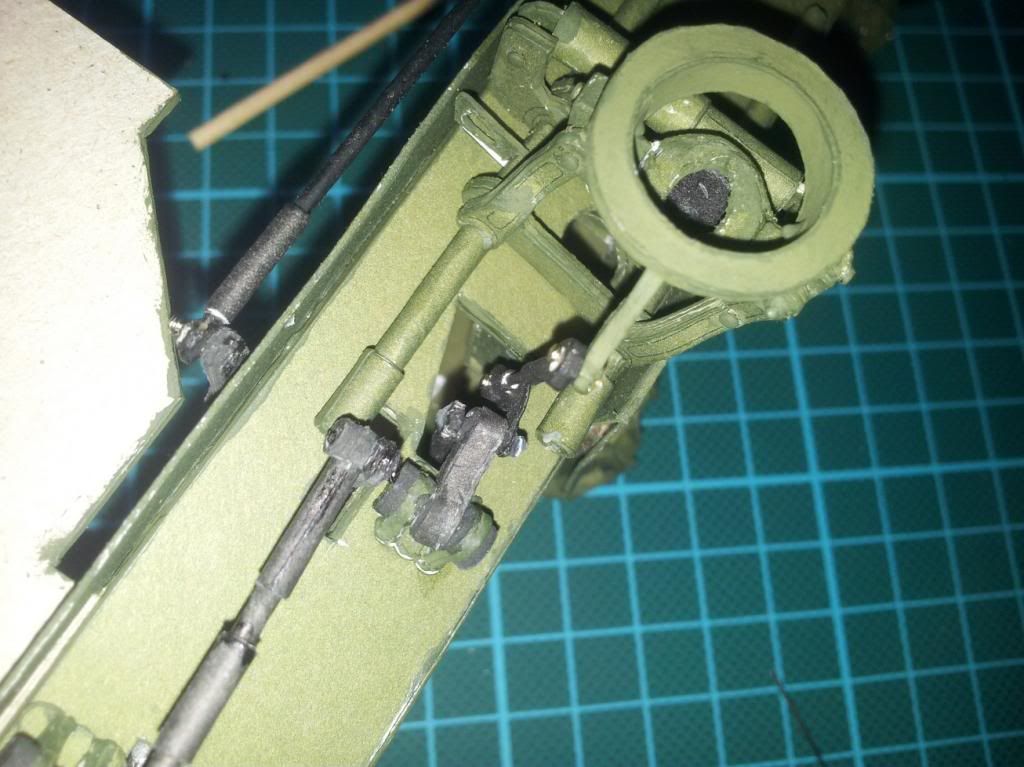
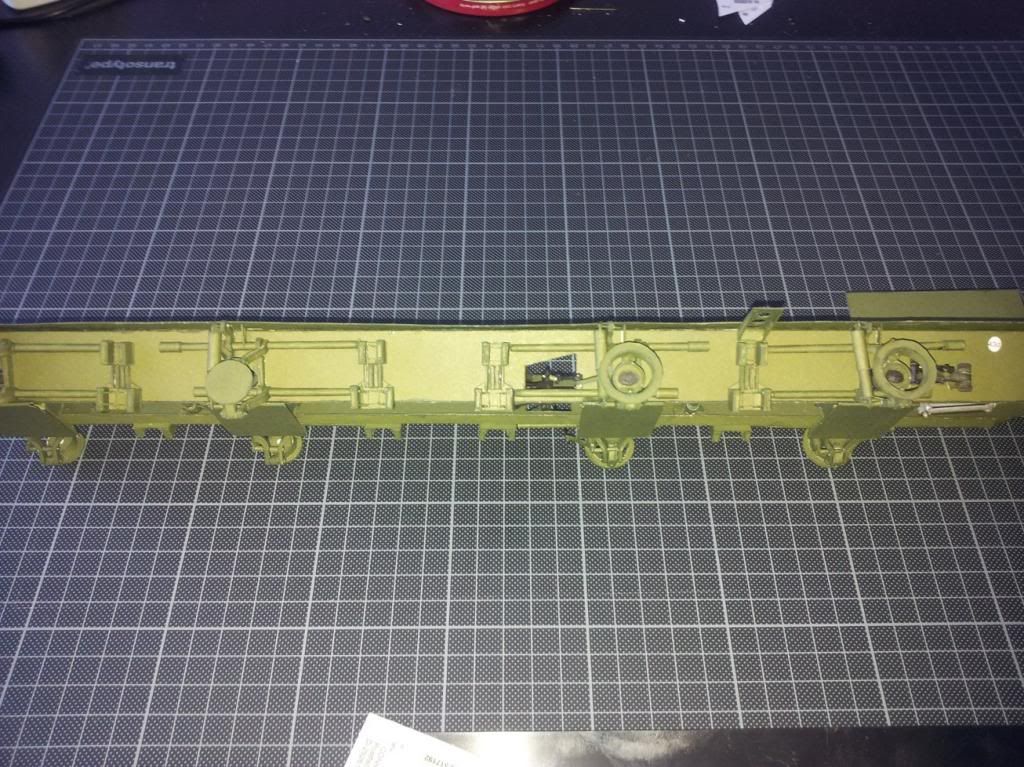
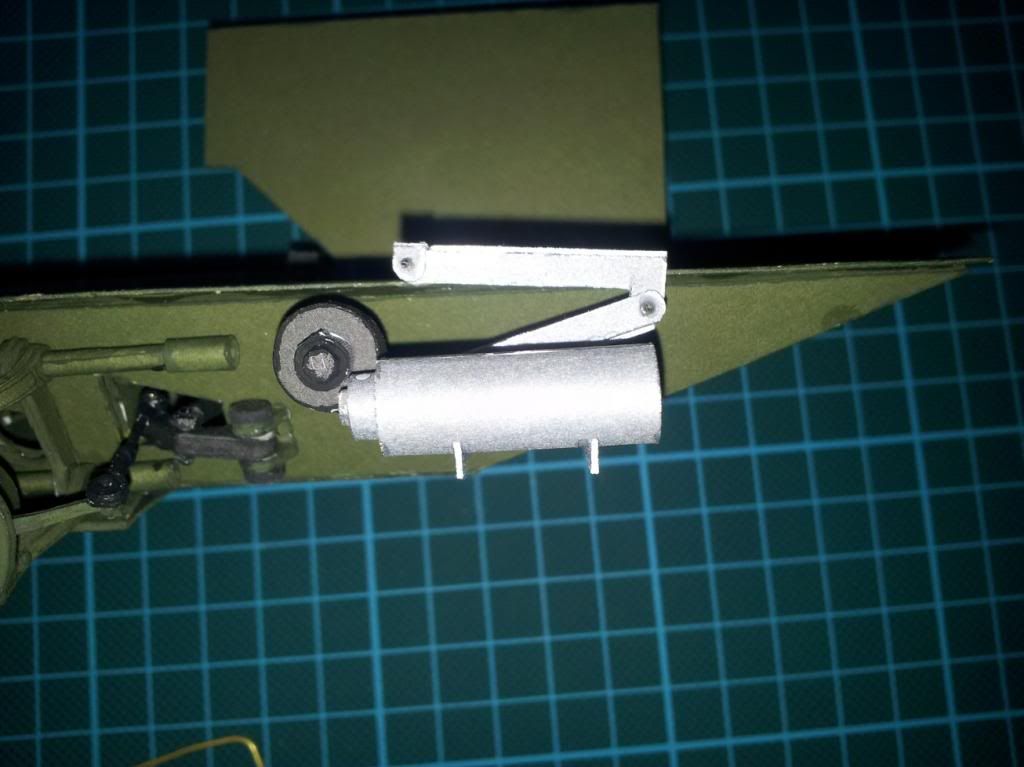
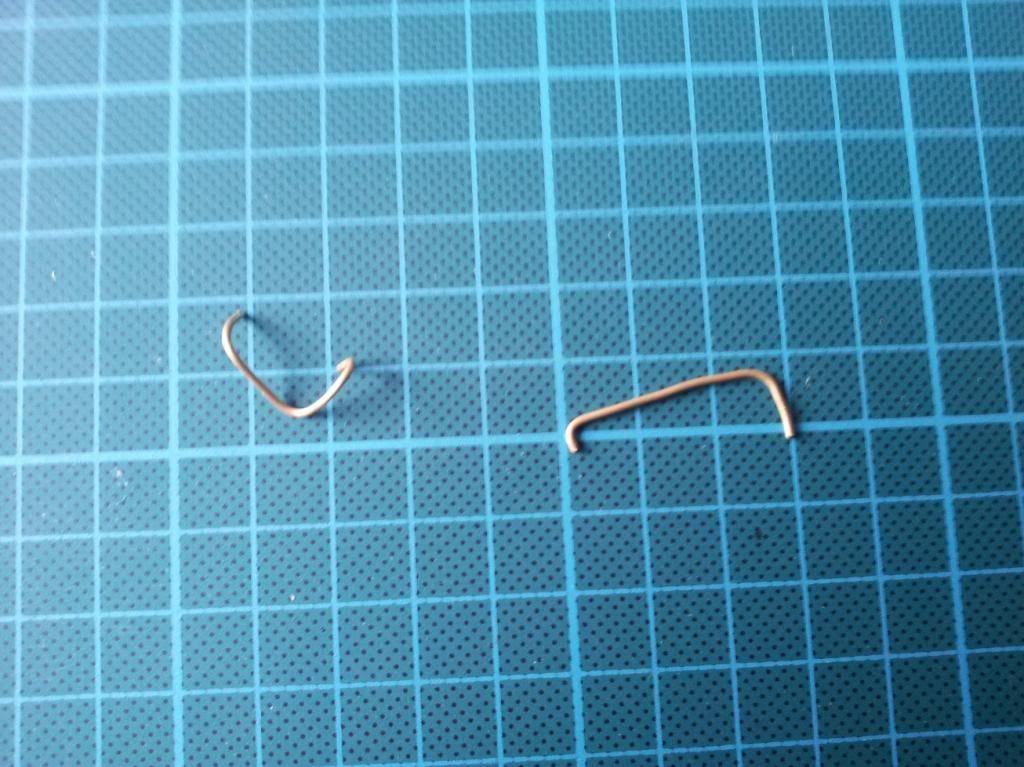
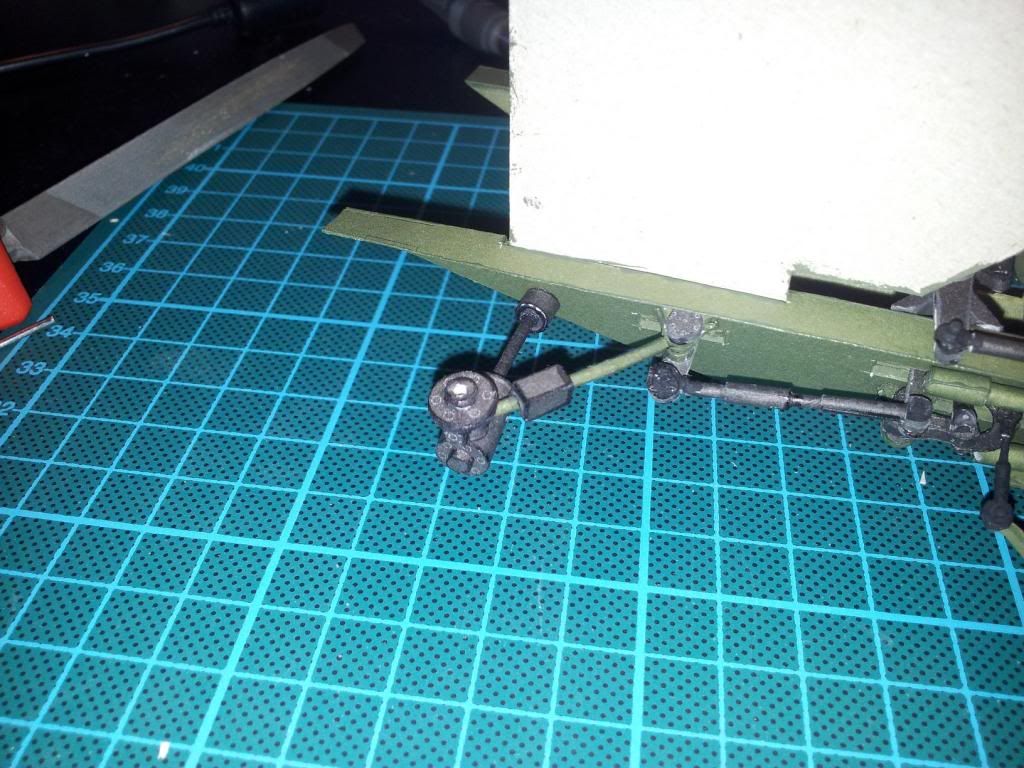
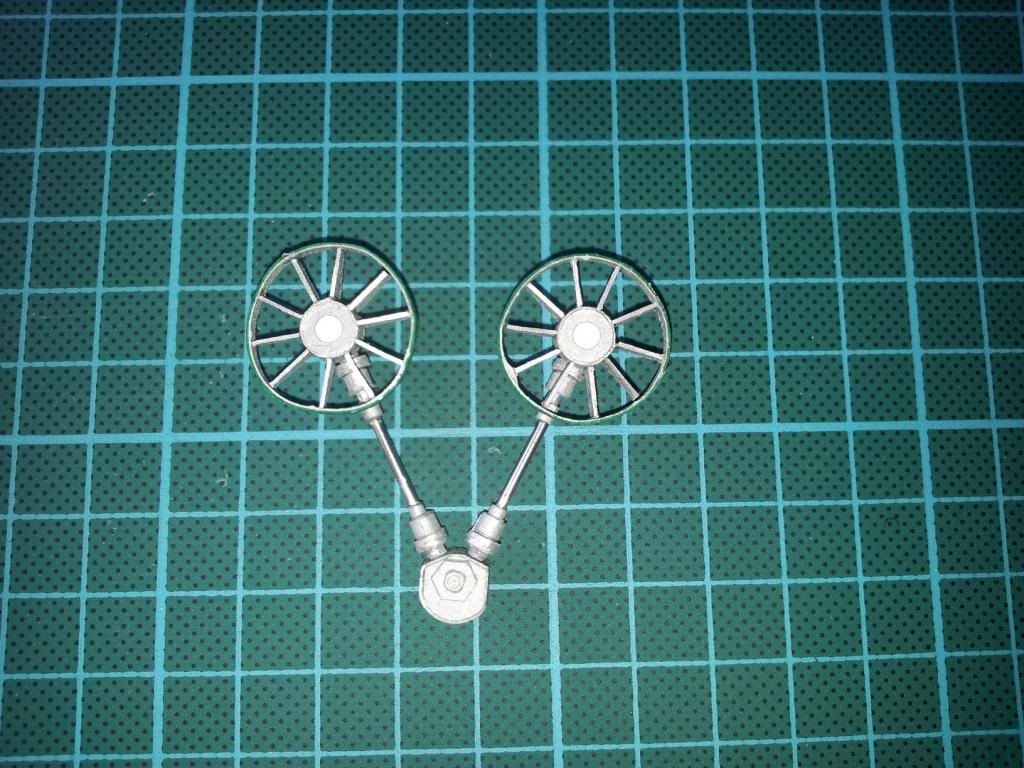
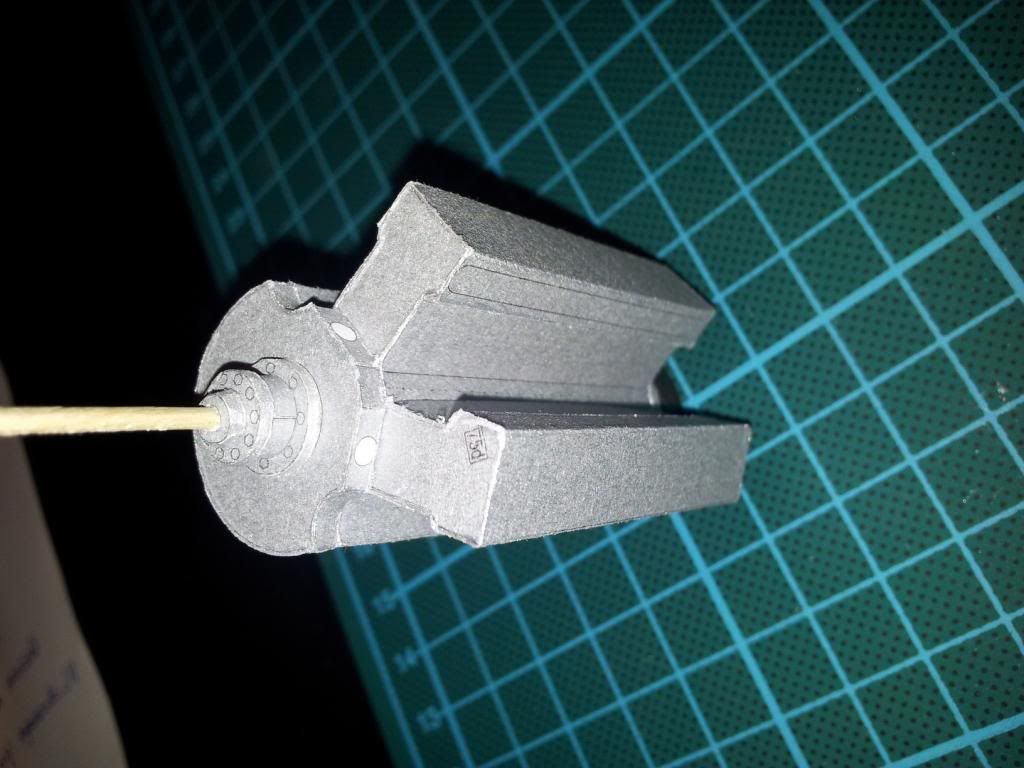
When it comes to the model, I have been working (still) on the steering mechanism. The slightly off angles I mentioned in an earlier post haven't caused me much problems till now, and I hope it'll stay that way. I kinda forgot to make lots of pictures, but I think these will give the general idea (except for the last, that used to be my car, but then 2 feet longer).
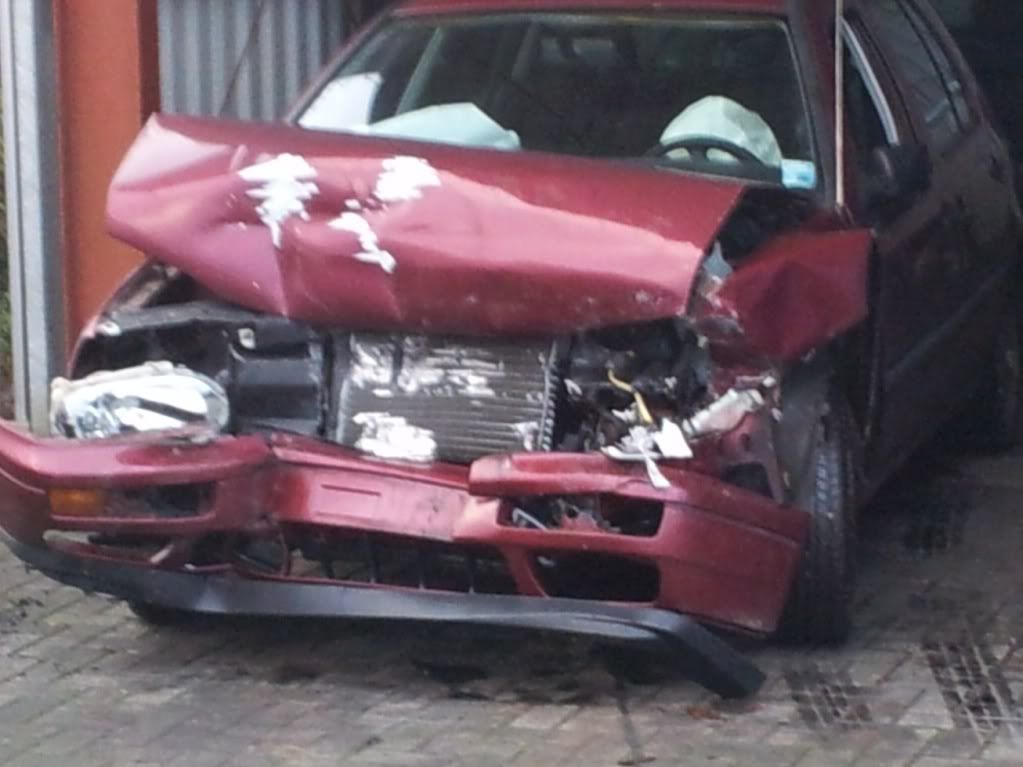
Good lord...I hope you are fine, it seems like a tough road to some better luck. At least you were not too badly injured and still have the new job. As well, maybe you can use some of the parts of what is left of your car for the model!
Milan
the remains of the car were sold, unfortunately including a CD I couldn't reclaim. But I have a better car now (I already planned to get one, but the crash kinda made it necessary to put my plans into practise a bit sooner than anticipated) and my health is back to normal again, no permanent damage done it seems (and some complaints I had before the crash have magically disappeared as well, so in the end, it was all for the better )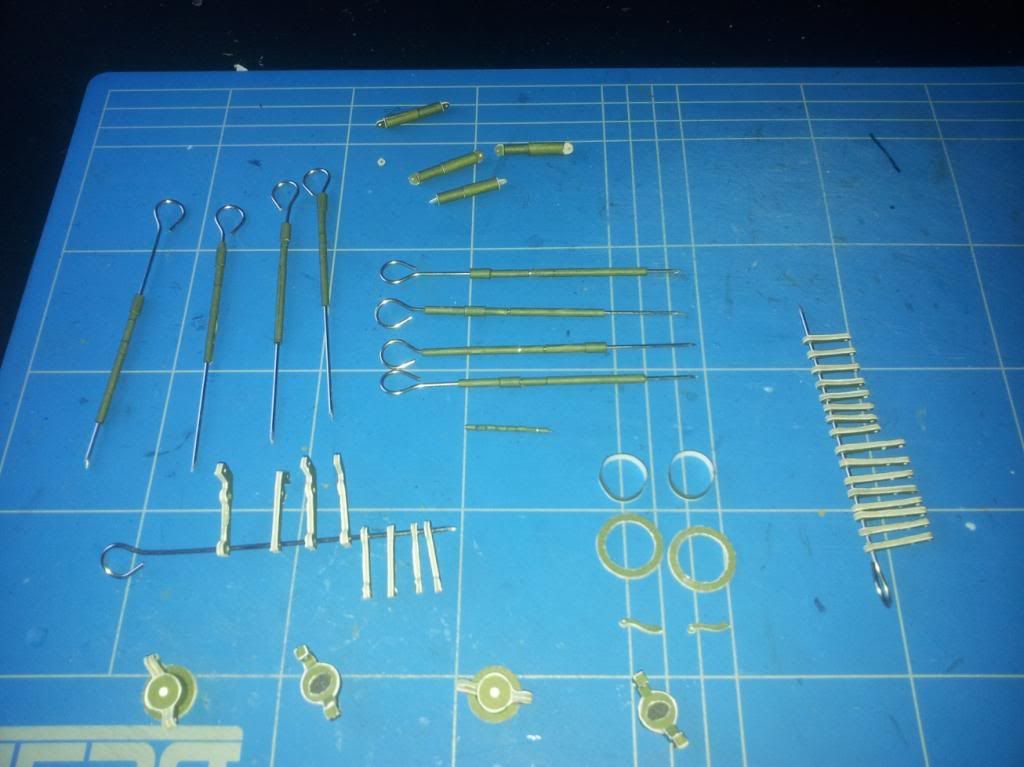
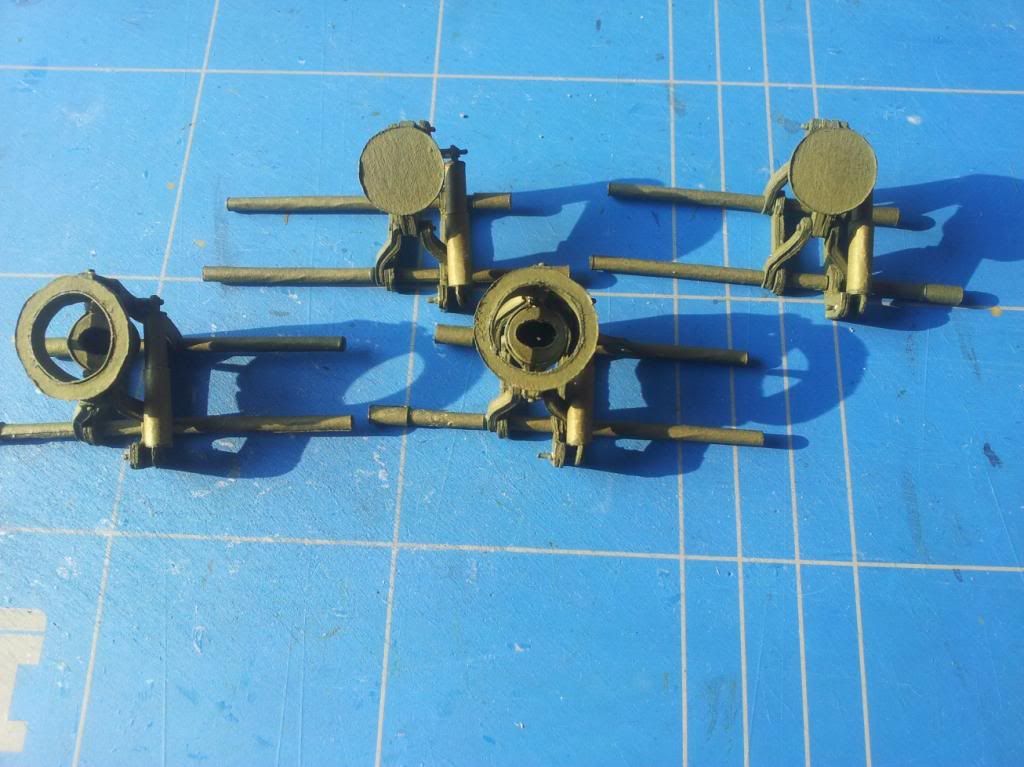
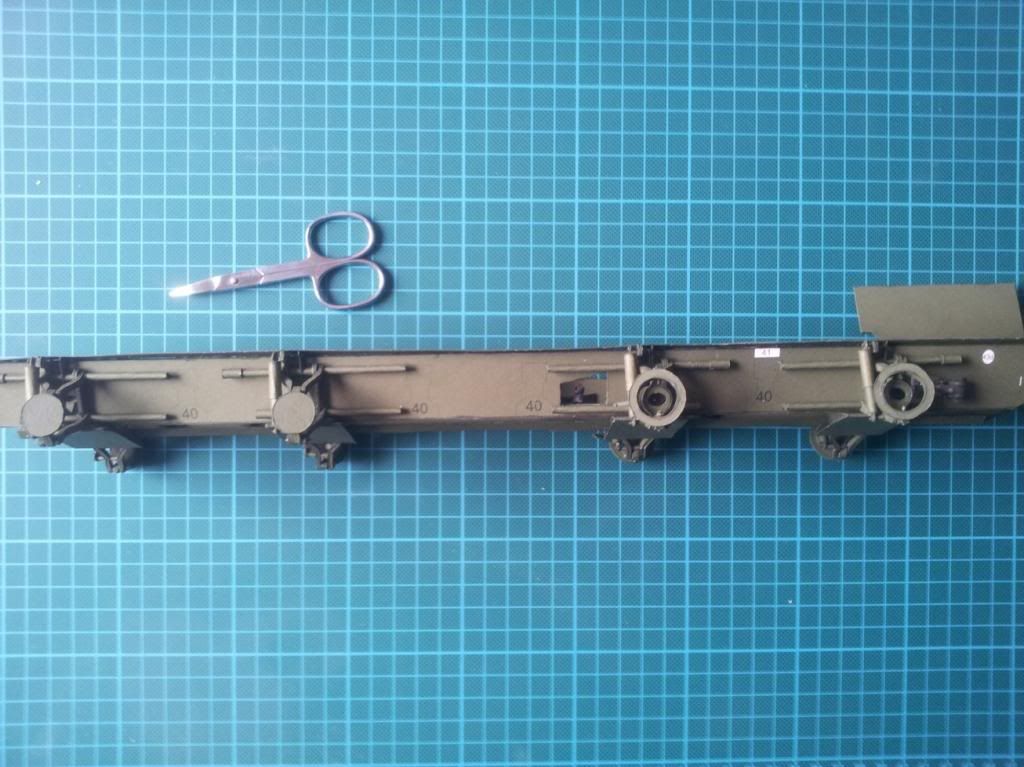 It was the only way to make sure the wheels won't all go in a different direction.
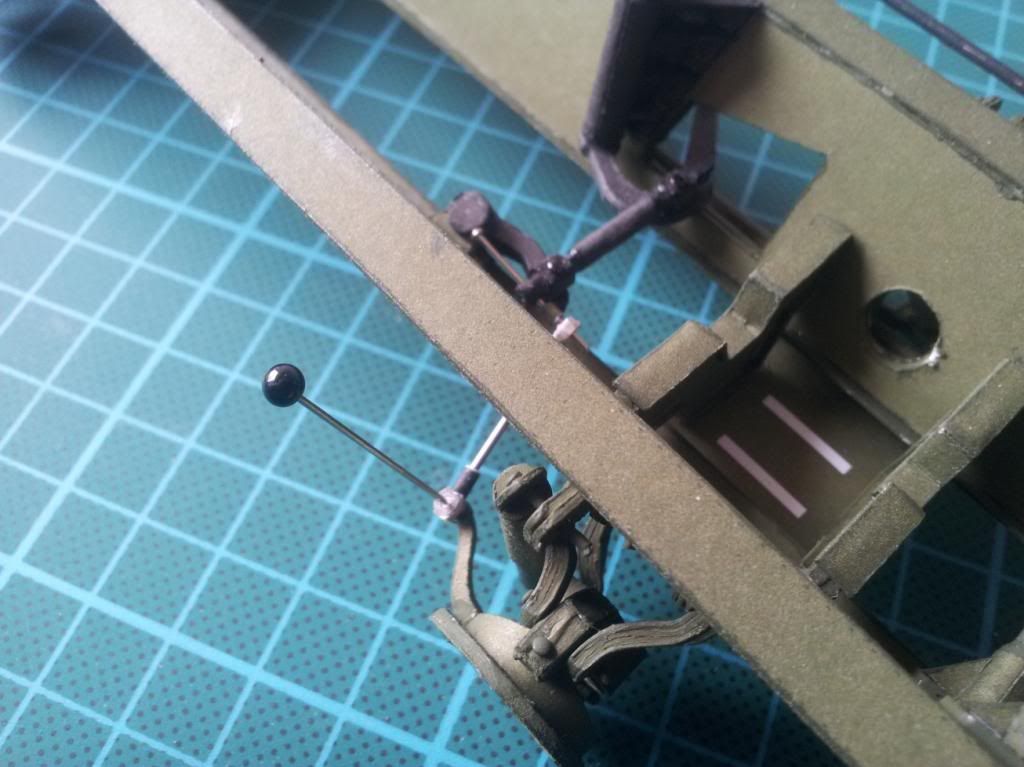
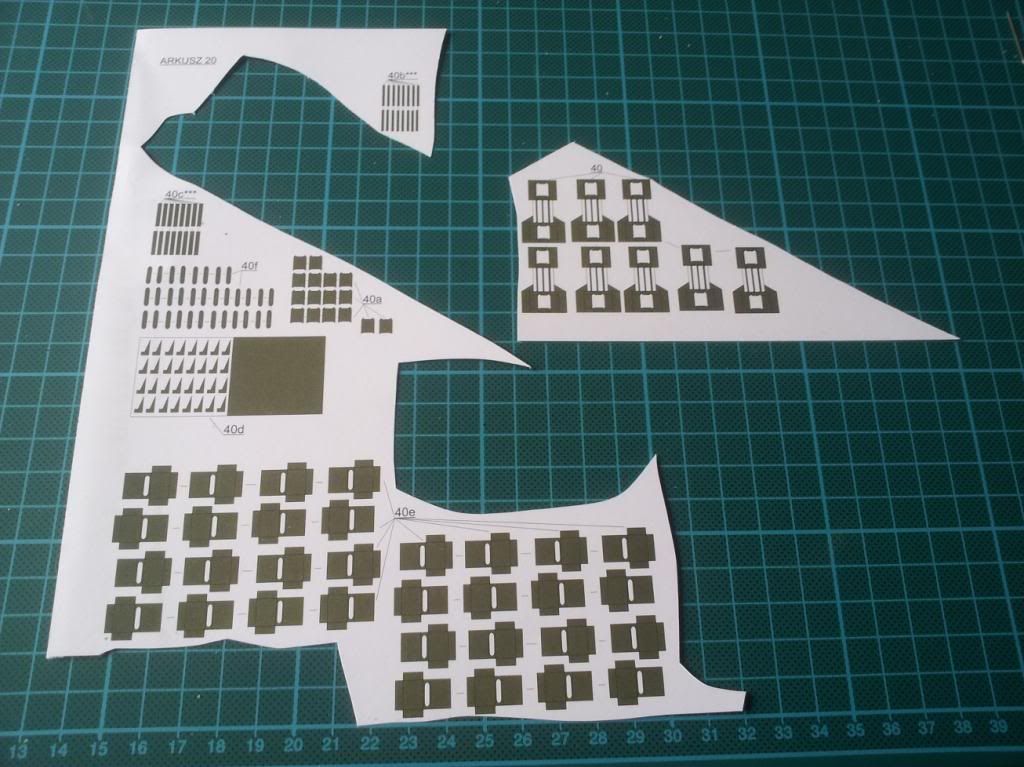
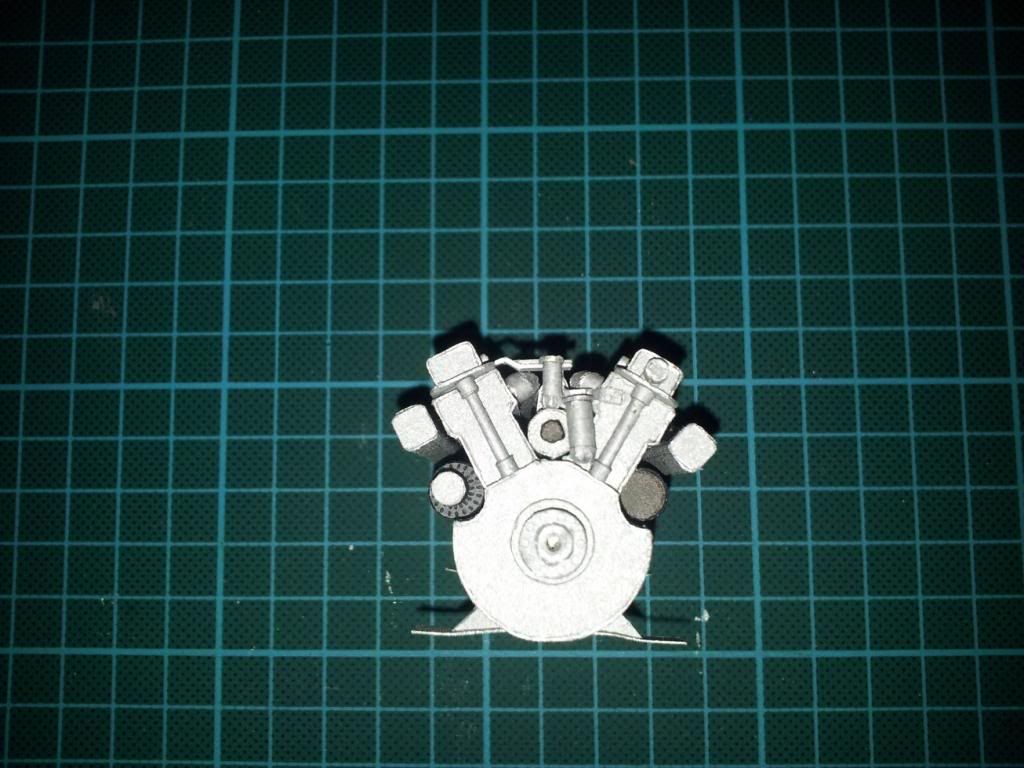
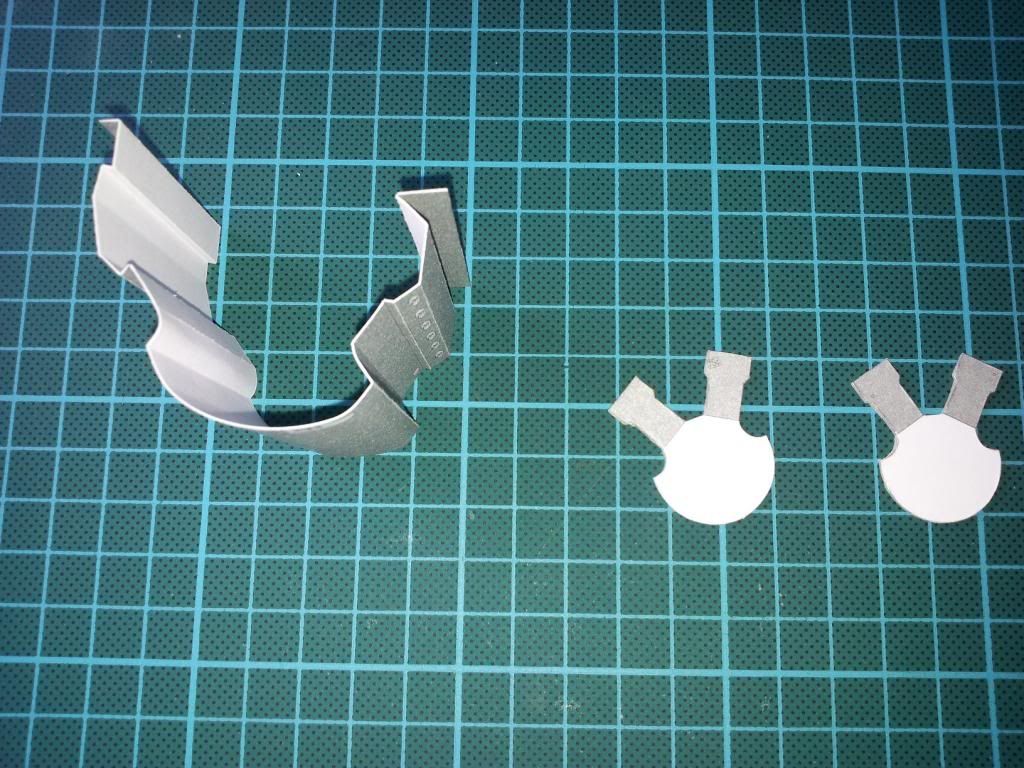
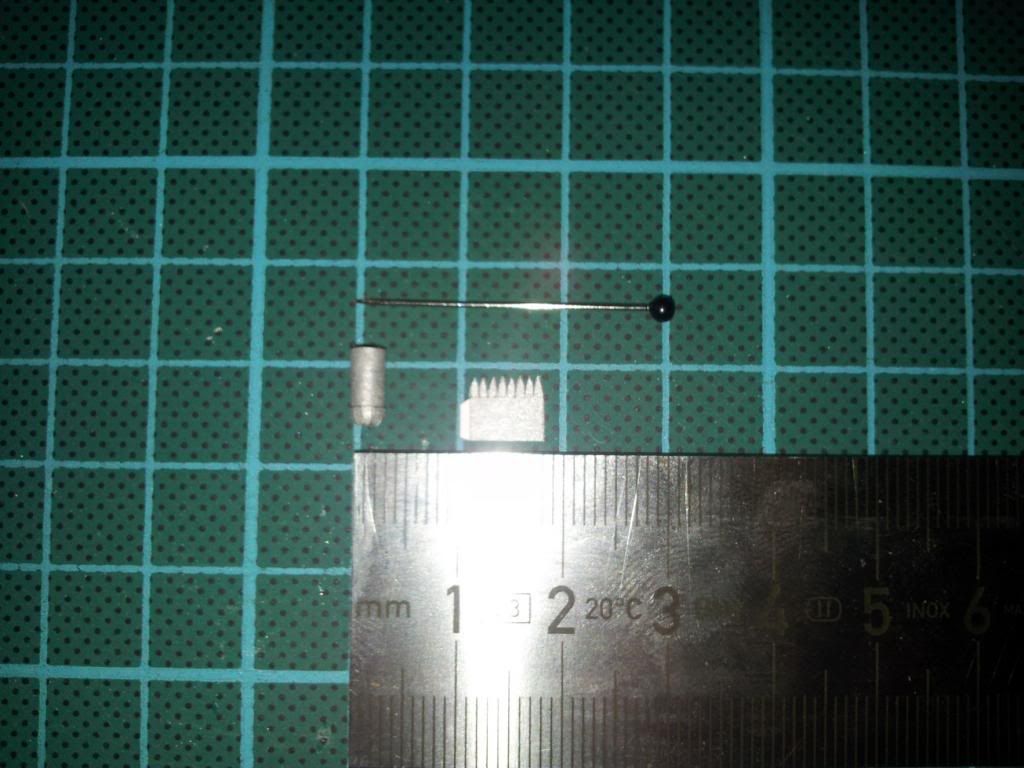
 I finished the 8 parts of which I still don't know what they do. )
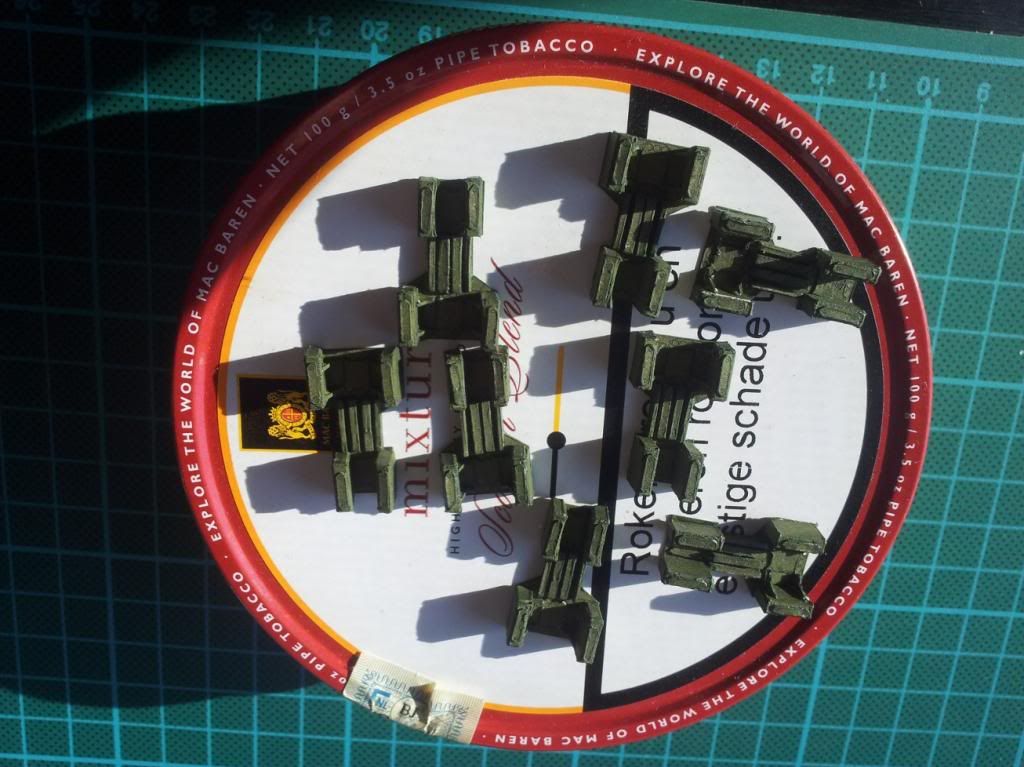
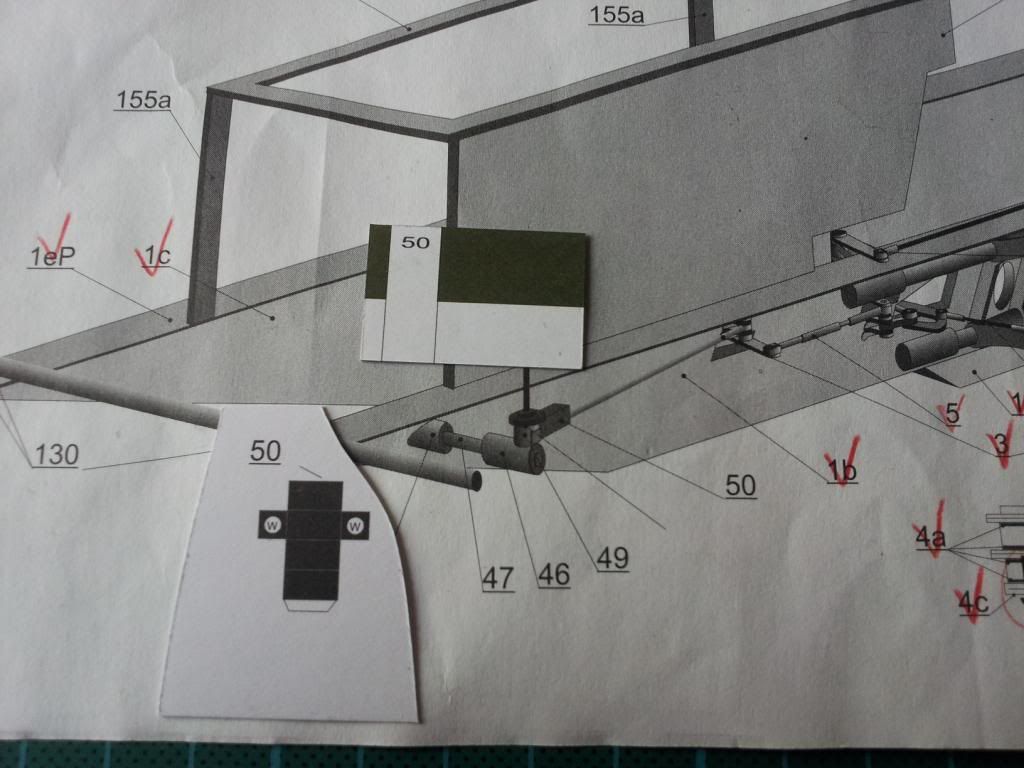
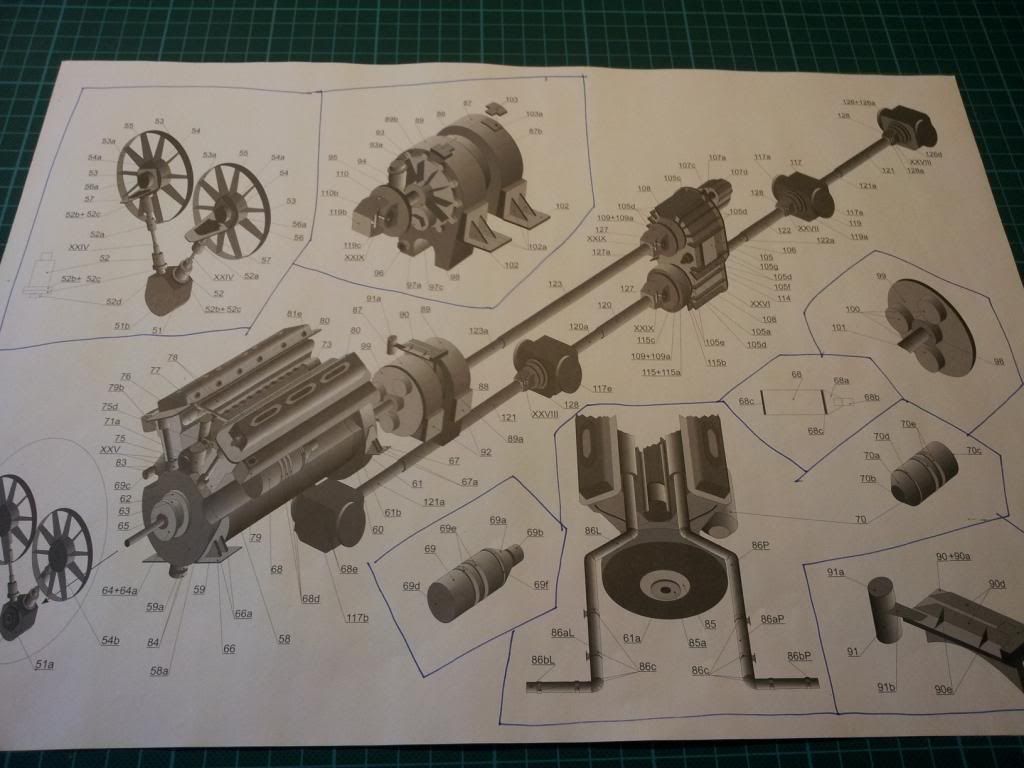
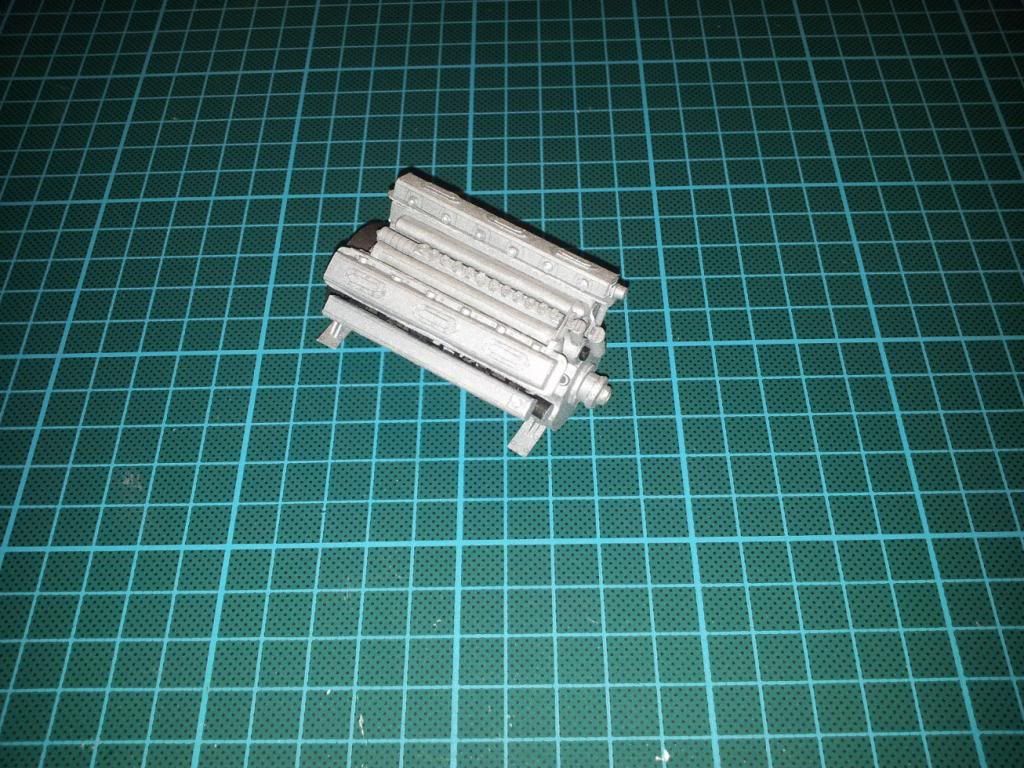
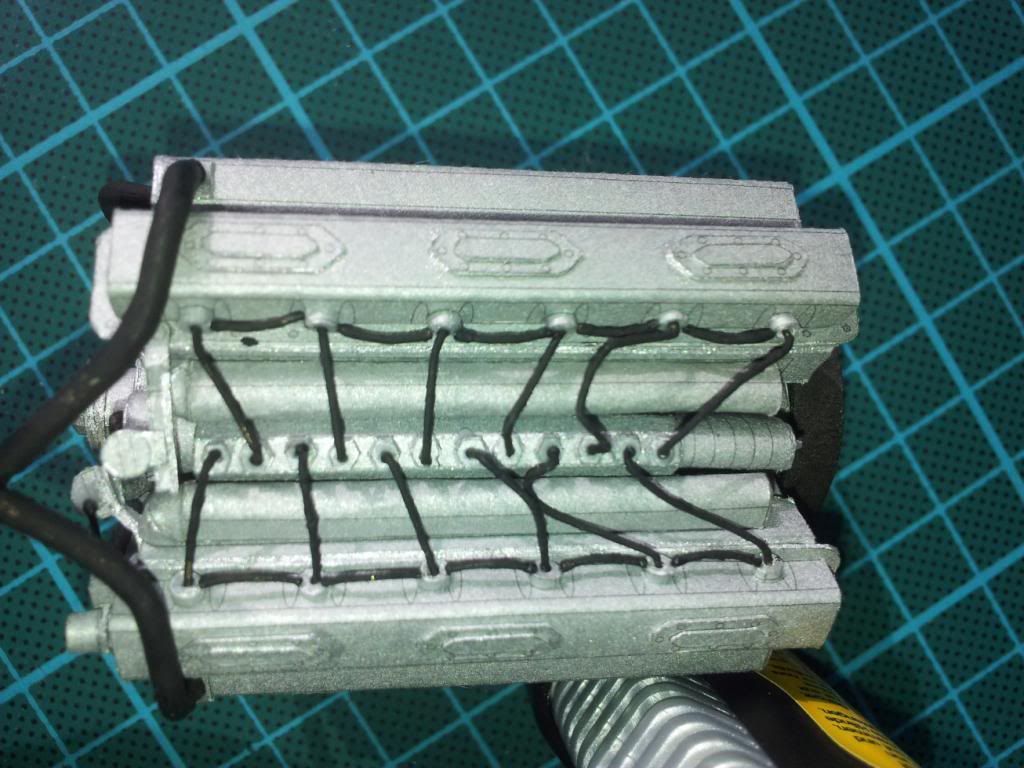
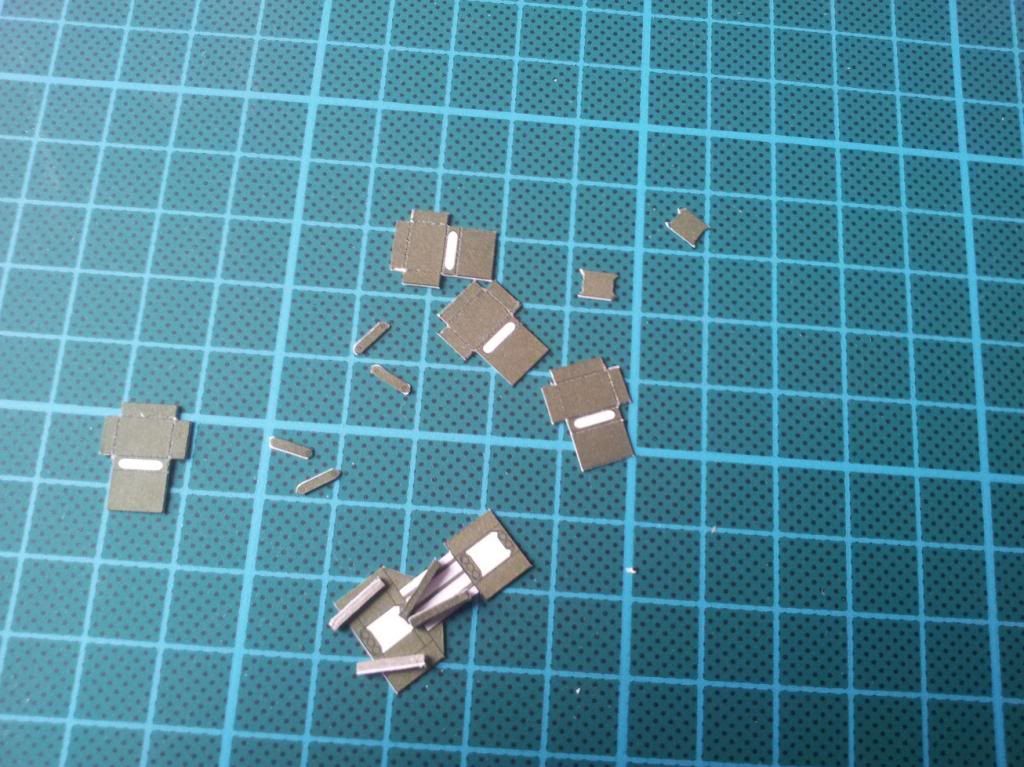
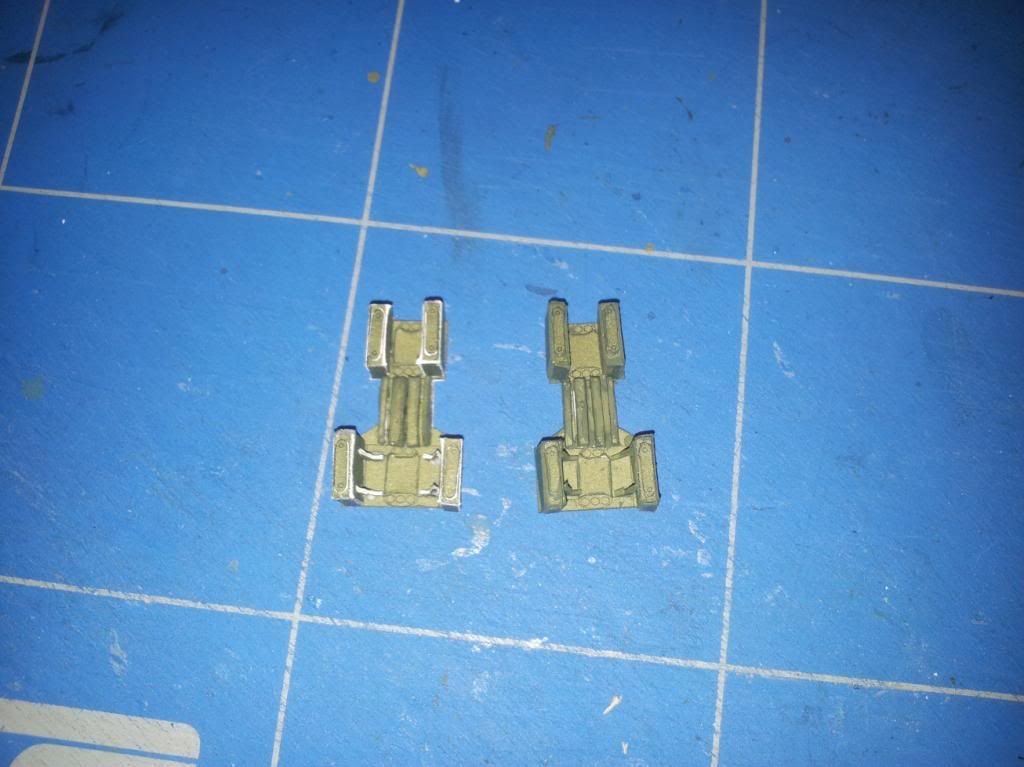
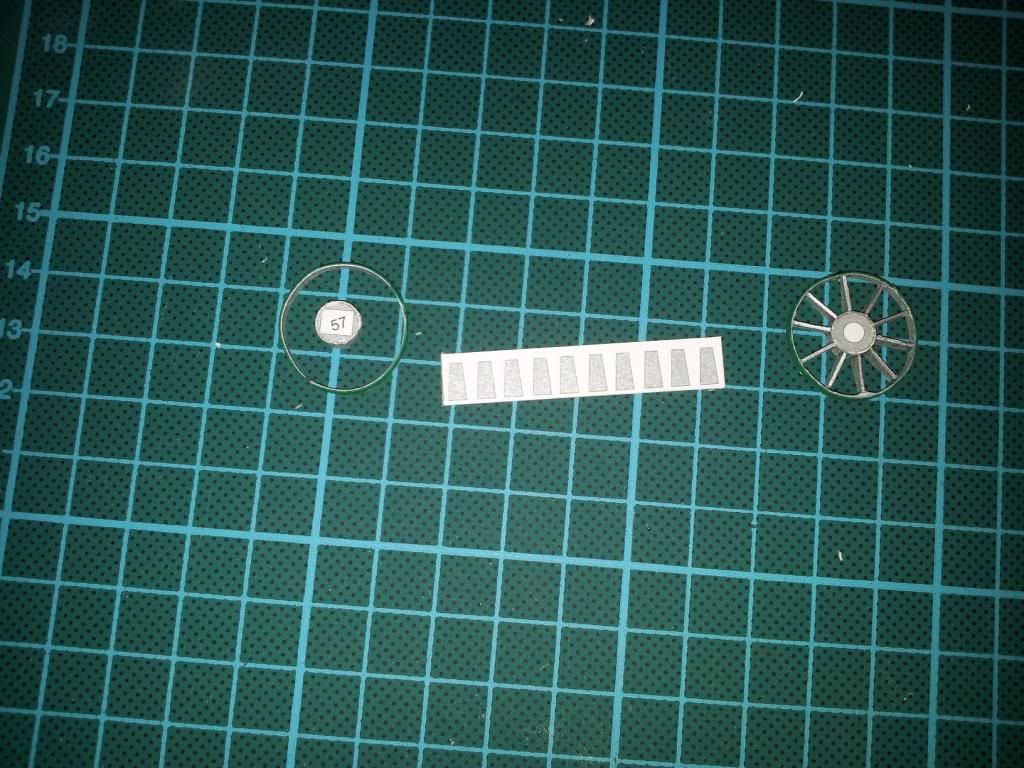
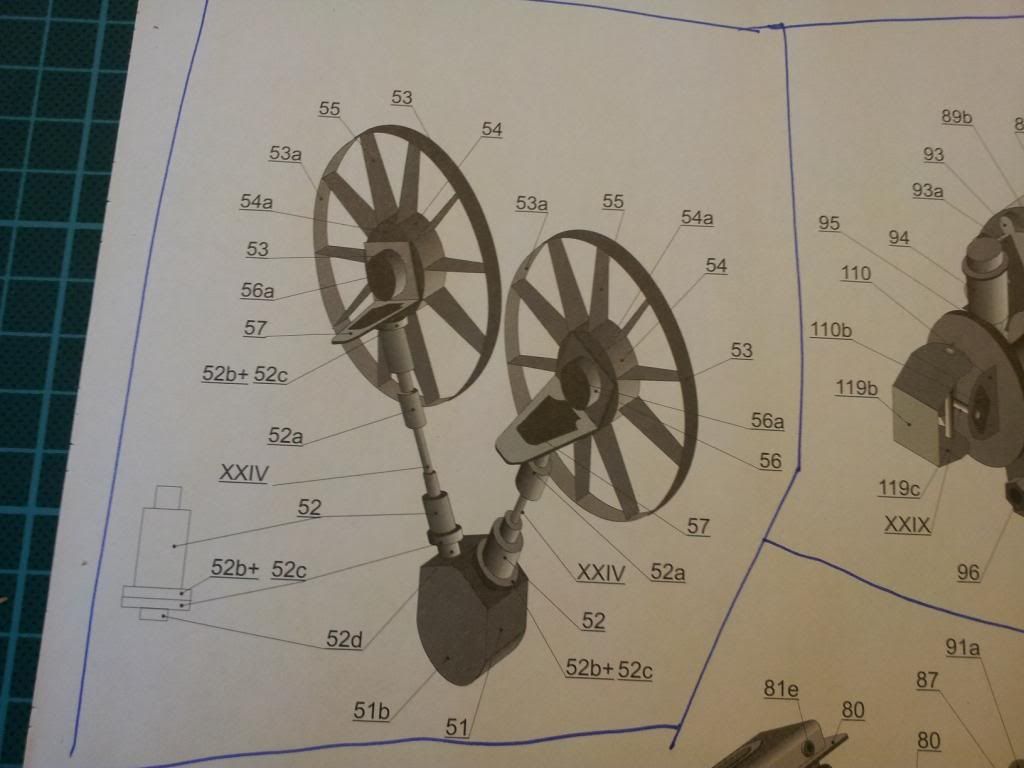 I have finished the what I think is the cooler. Lots of small parts, and a lot of nasty shapes to cut out of thick cardstock (Building groups 51 - 57).
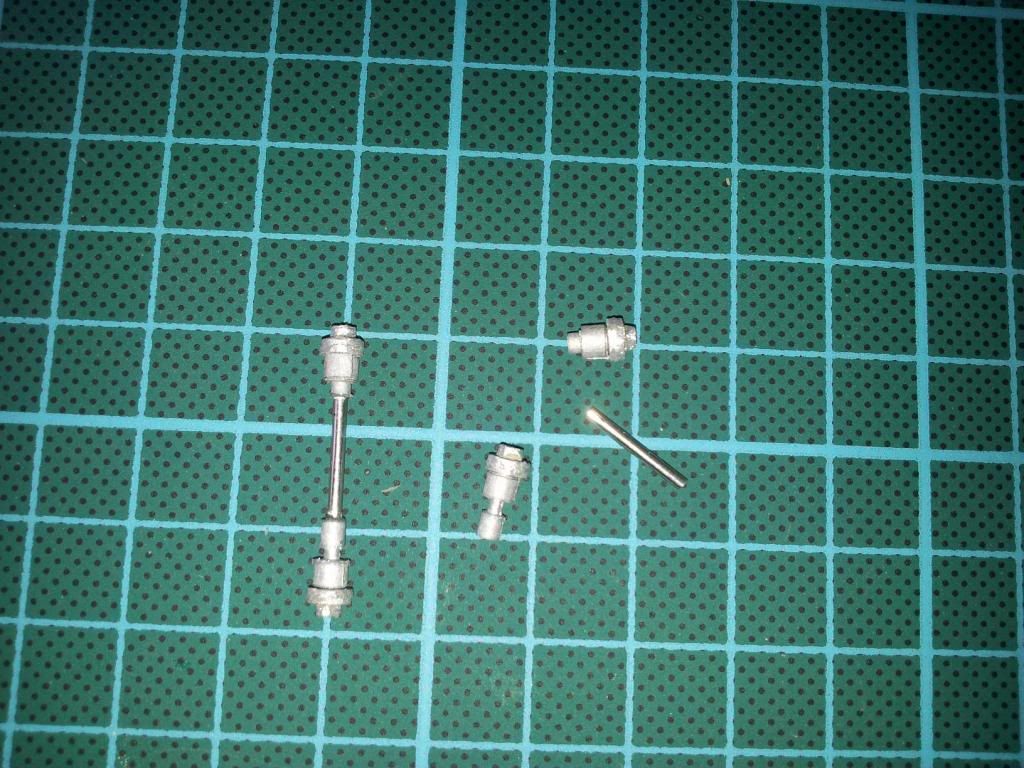
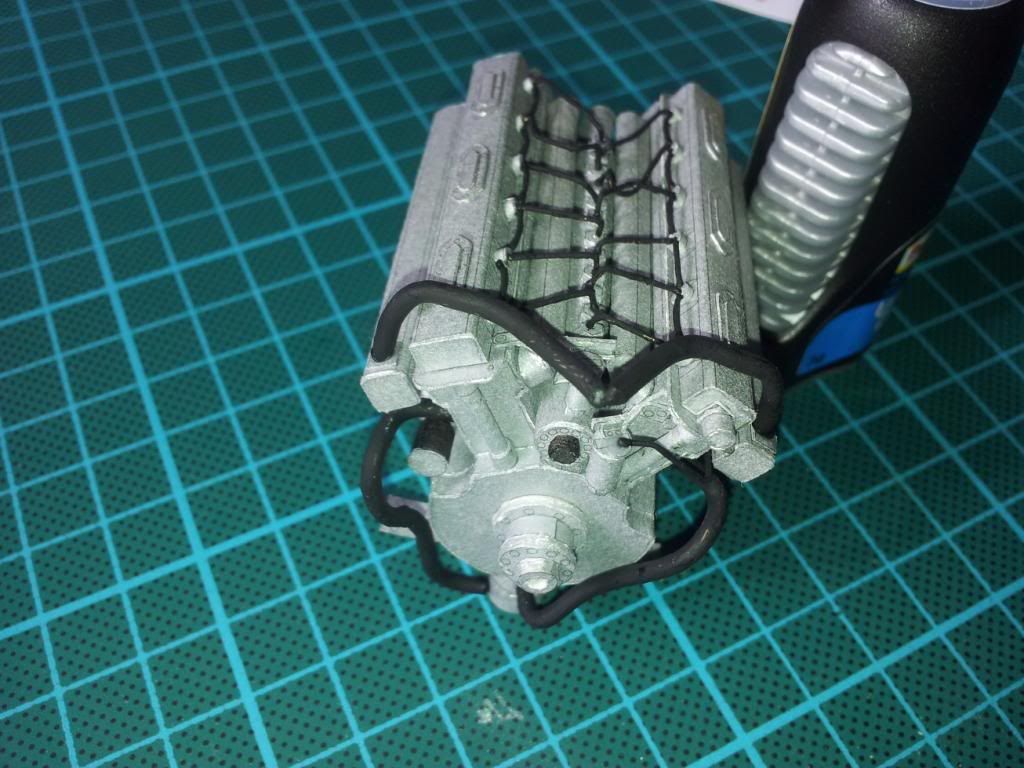
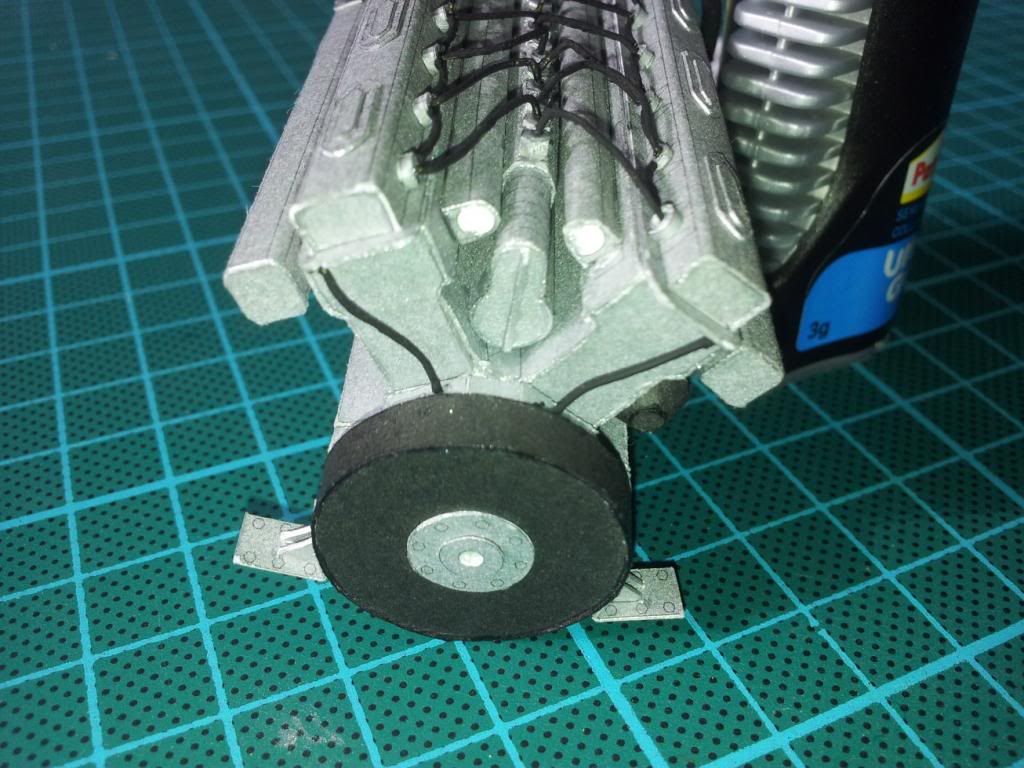
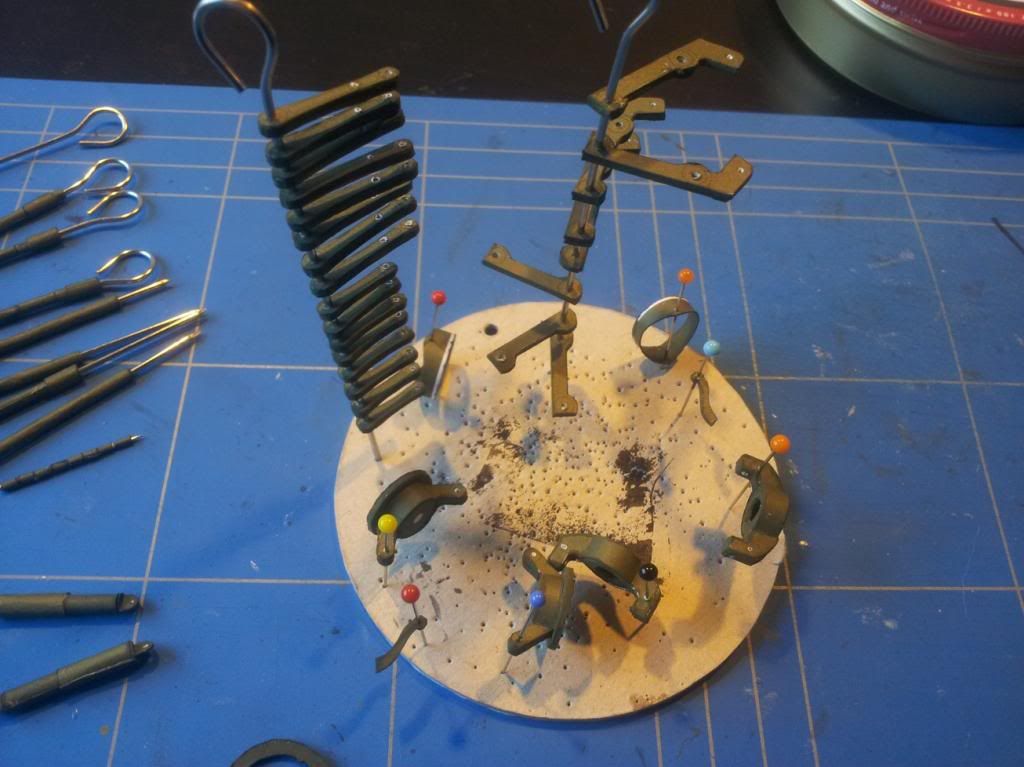
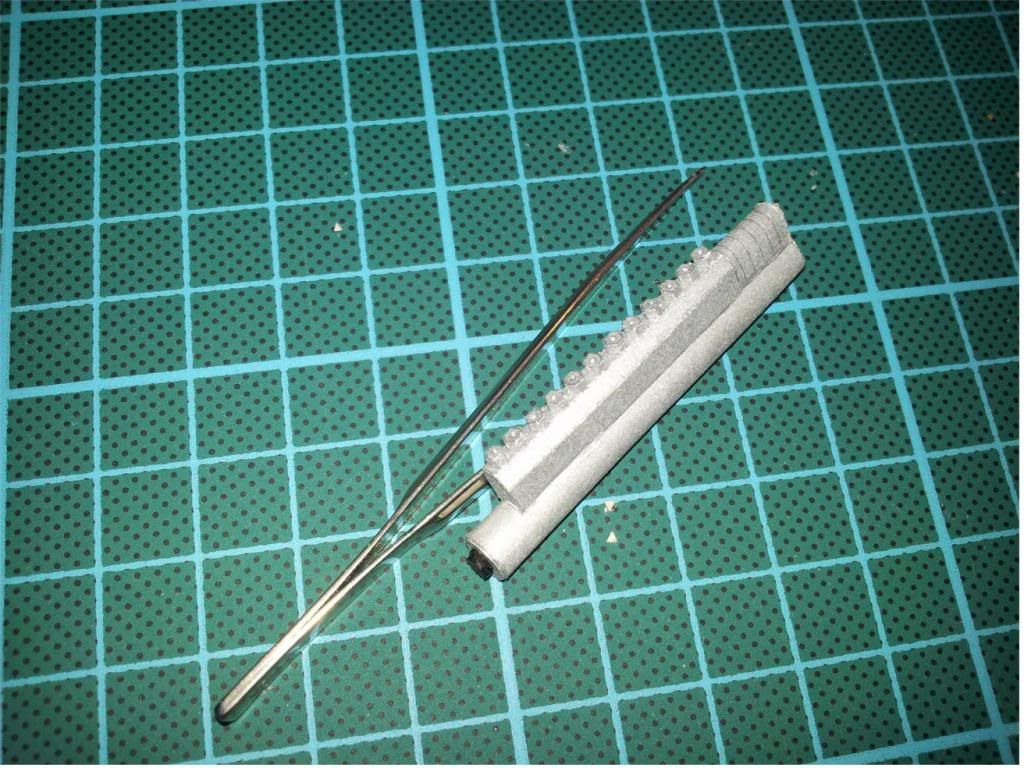
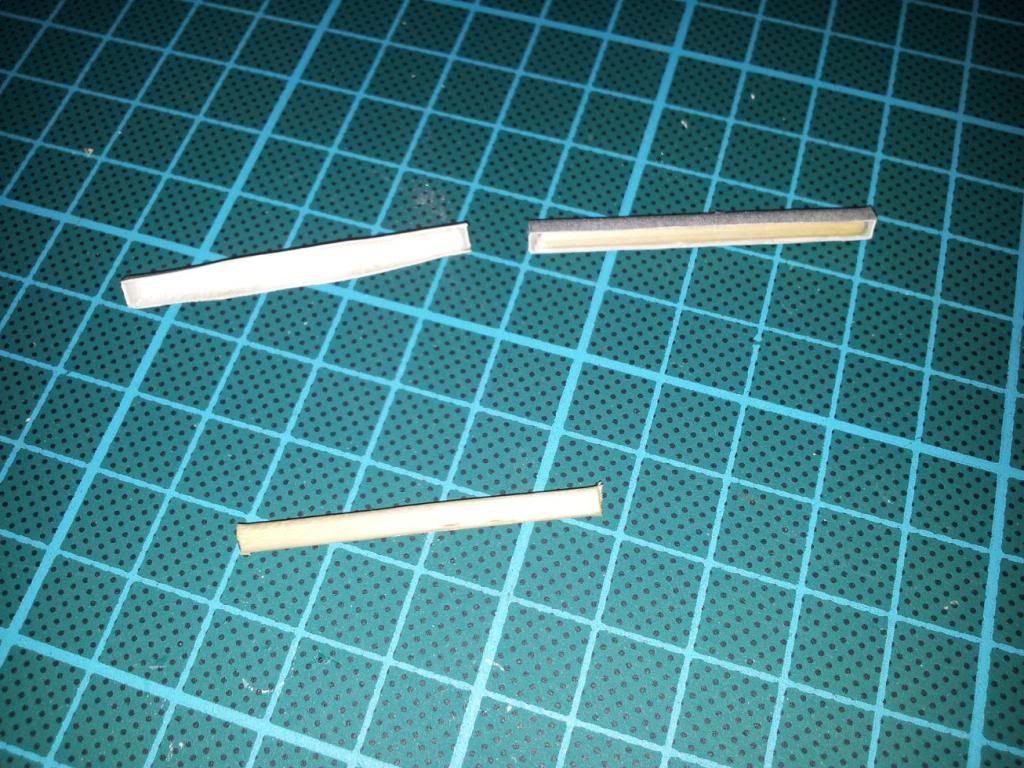
 Especially with complicated shapes, I find it easier not to use internal formers, because it leaves some room for corrections during the glueing. For simpler shapes tho, like U-shaped profiles, formers are great
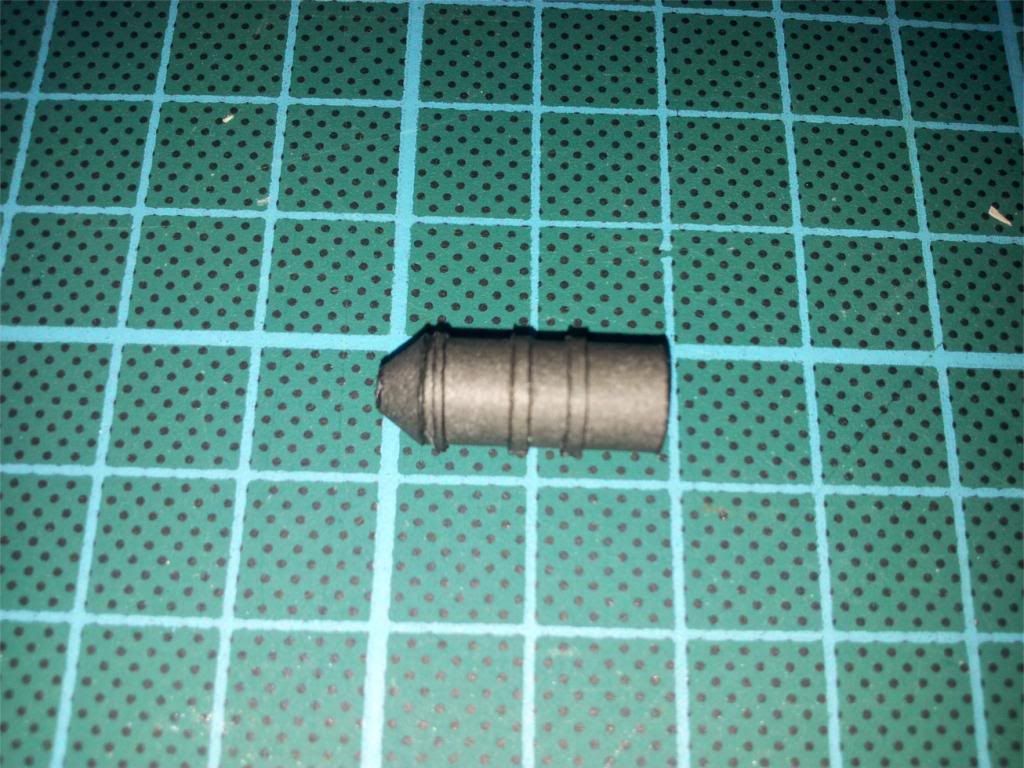
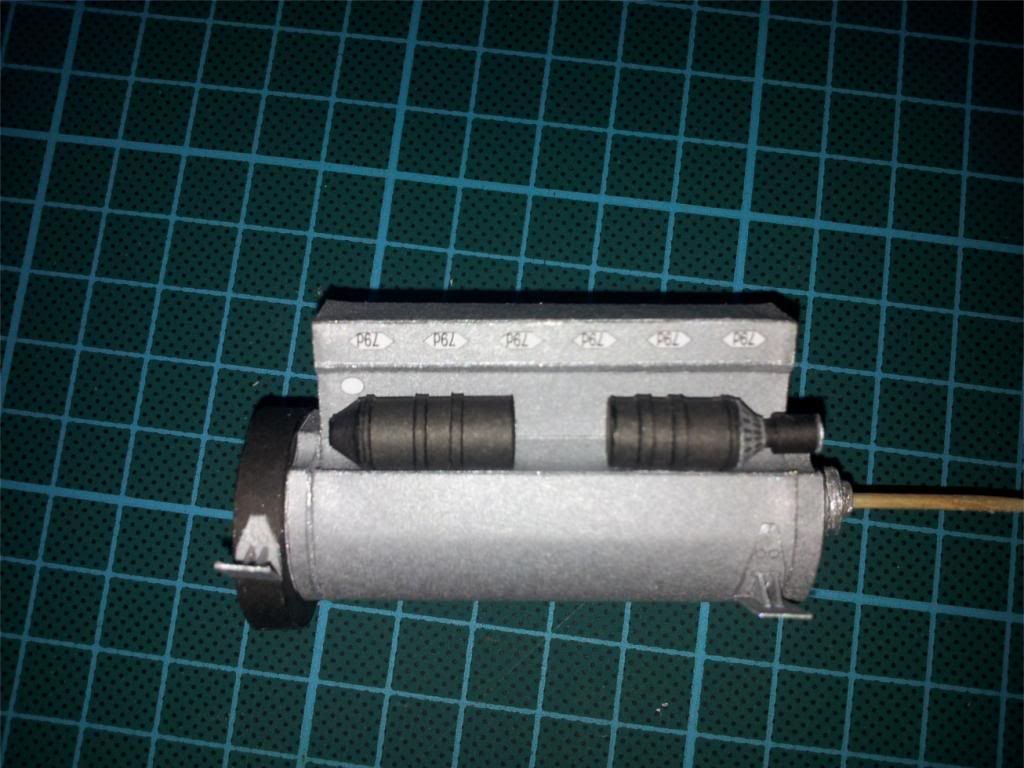
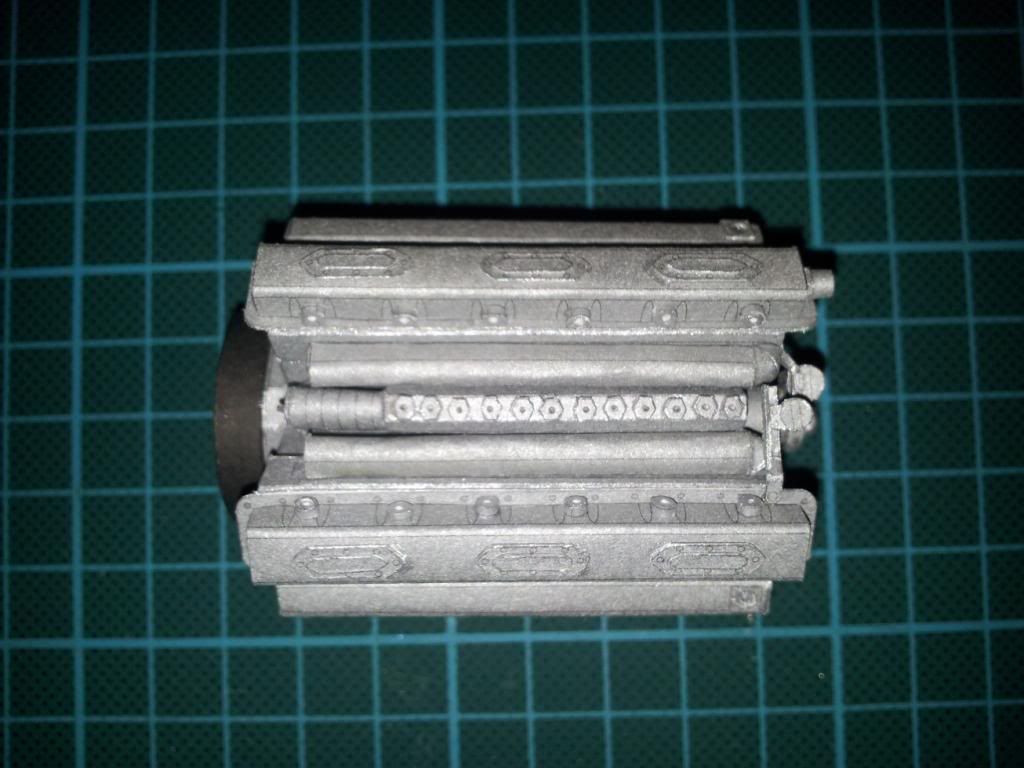
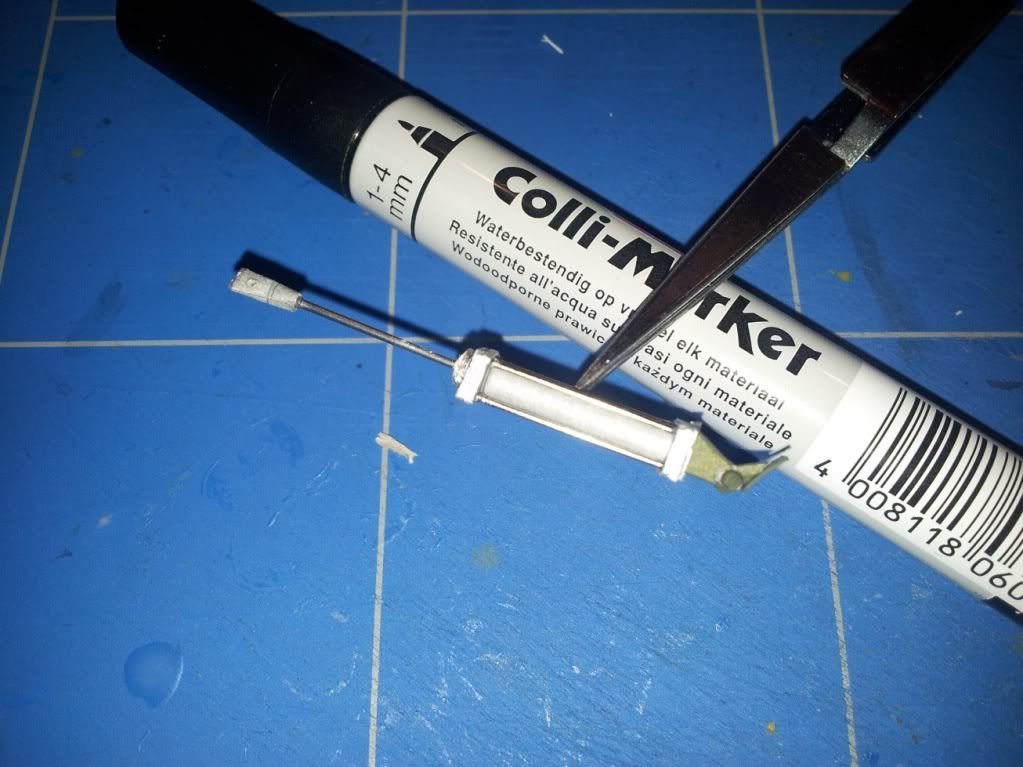
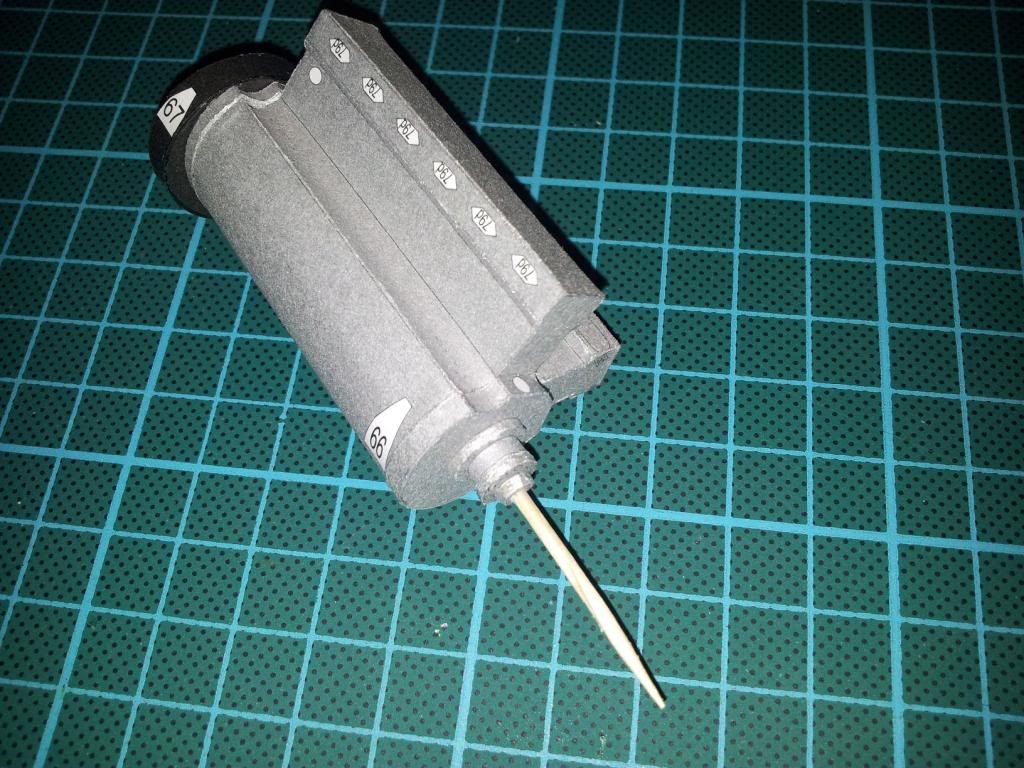
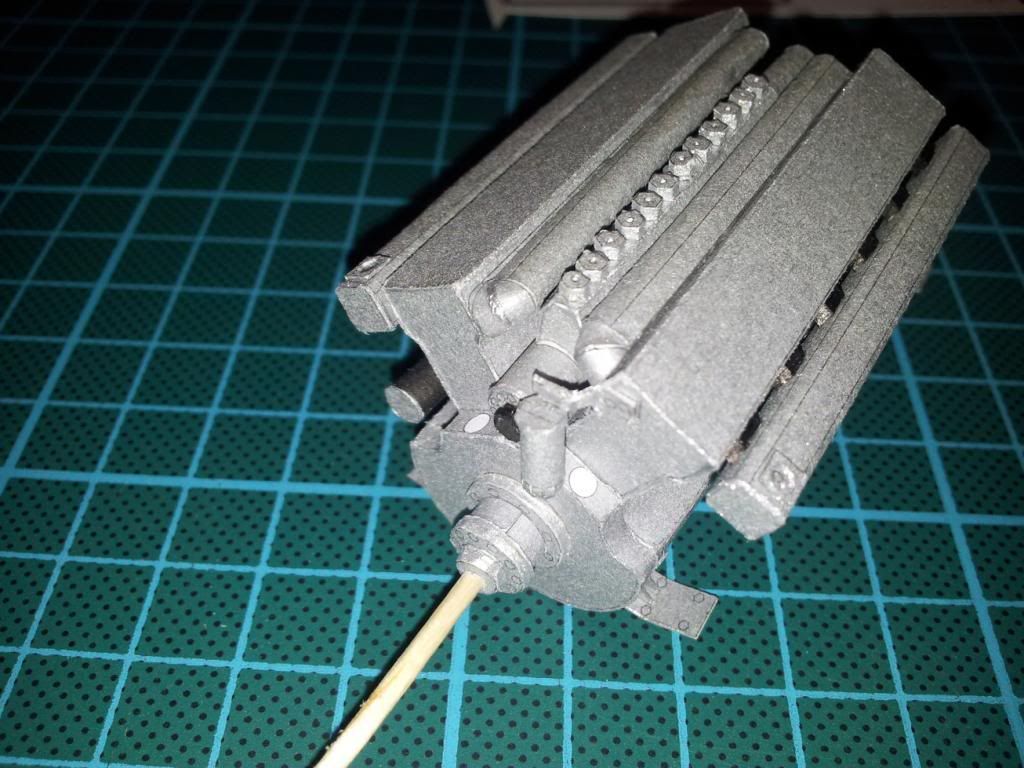 and afterwards I continued building the upper parts of the cylinder heads, with yet more nuts and bolts (groups 80 - 82) and what appear to be stability rods (83).