Alcides,
Does that mean you're on the send list? Oh don't worry the Rolland C.II is not dead in the water, I just can't find pics of the cockpit details so I just might have to fake it.
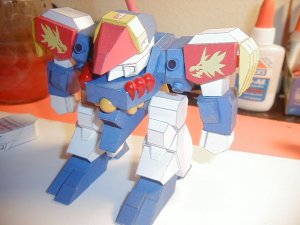
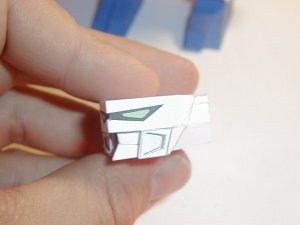
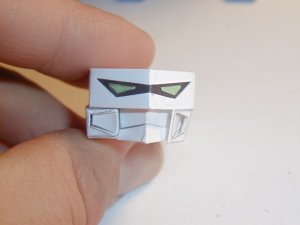
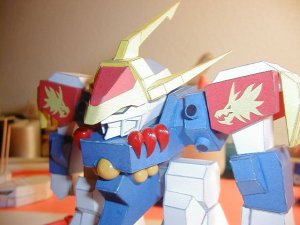
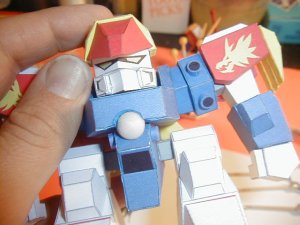
Anywho I put the details on the body last night when the paint dried. Also I added a small detail to the legs (remaining leg details will be printed to the parts). Also I watched 1 1/2 of the DVDs last night and discovered some minor errors on my model (which will we corrected). The development build is nearly completed, All that's really left to do is the helment and test build the basic body form with the small changes I made to it.
This model when I get it ready for download will be uncolored to print out on colored card stock (so no edge coloring needed

). I may also included a colored version for those who don't have colored stock.
Here's ashot of the body detial parts.
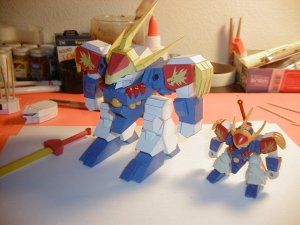
Getter 1


 .
.