

Thank you so much Lehc,
That is exactly what I was looking for, and accompanies Zath's printout perfectly indeed. This is one of the best techniques, but I am open to other suggestions as there can always be different methods for different needs. I have barely touched the surface of this technique so nothing would be used inappropriately or sold, its for my own personal hobby. I hope it helps other beginners as well as this thread has been useful indeed.
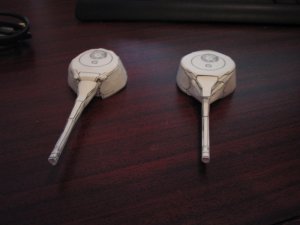
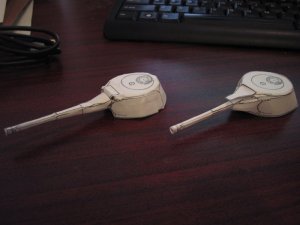
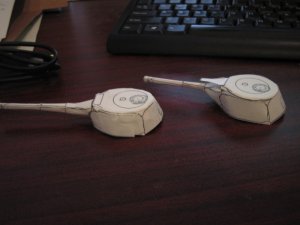
I have tried two techniques recently with varying levels of success.
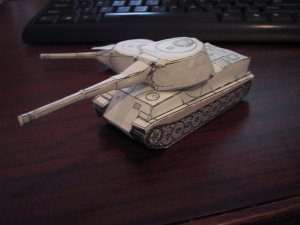
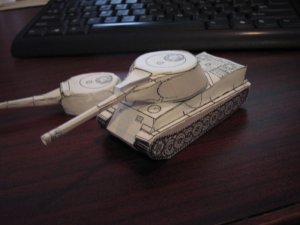
I have made a turret out of hardened clay materials and used it to make a mold of the shape with tinfoil. I made a paper mache mash and used it to fill the mold. It turned out quite well as I need to cover the shape in the paper from the model I have on the printout of the Lowe.
The second was to find a similar shape on a bottle cap or top of a container and build the paper model around it. It came out ok in that I was able to achieve the top curves with paper, but I wasnt able to get the side angle of the turret correct, as it skirts out more than I originally noticed. It looks ok, could be better.
Thanks all!
Rich
That is exactly what I was looking for, and accompanies Zath's printout perfectly indeed. This is one of the best techniques, but I am open to other suggestions as there can always be different methods for different needs. I have barely touched the surface of this technique so nothing would be used inappropriately or sold, its for my own personal hobby. I hope it helps other beginners as well as this thread has been useful indeed.
I have tried two techniques recently with varying levels of success.
I have made a turret out of hardened clay materials and used it to make a mold of the shape with tinfoil. I made a paper mache mash and used it to fill the mold. It turned out quite well as I need to cover the shape in the paper from the model I have on the printout of the Lowe.
The second was to find a similar shape on a bottle cap or top of a container and build the paper model around it. It came out ok in that I was able to achieve the top curves with paper, but I wasnt able to get the side angle of the turret correct, as it skirts out more than I originally noticed. It looks ok, could be better.
Thanks all!
Rich
")