Paper Protagonist

Tirick

Member
Oct 5, 2009
369
20
18
Ontario, CA
tcfgaming.com
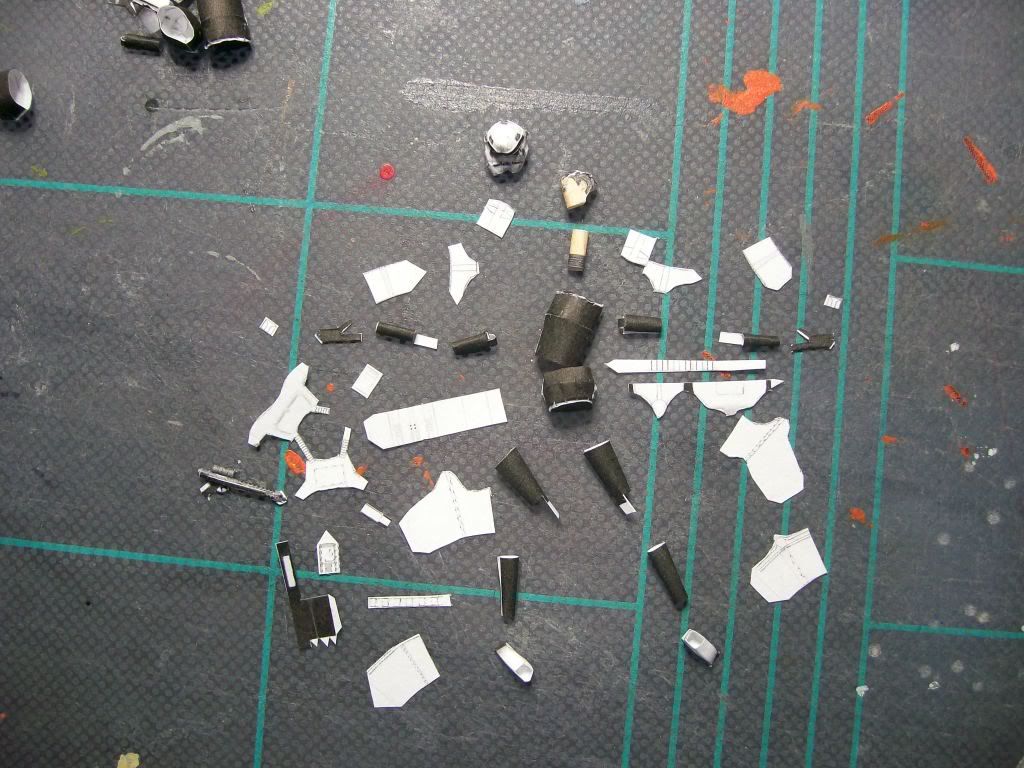
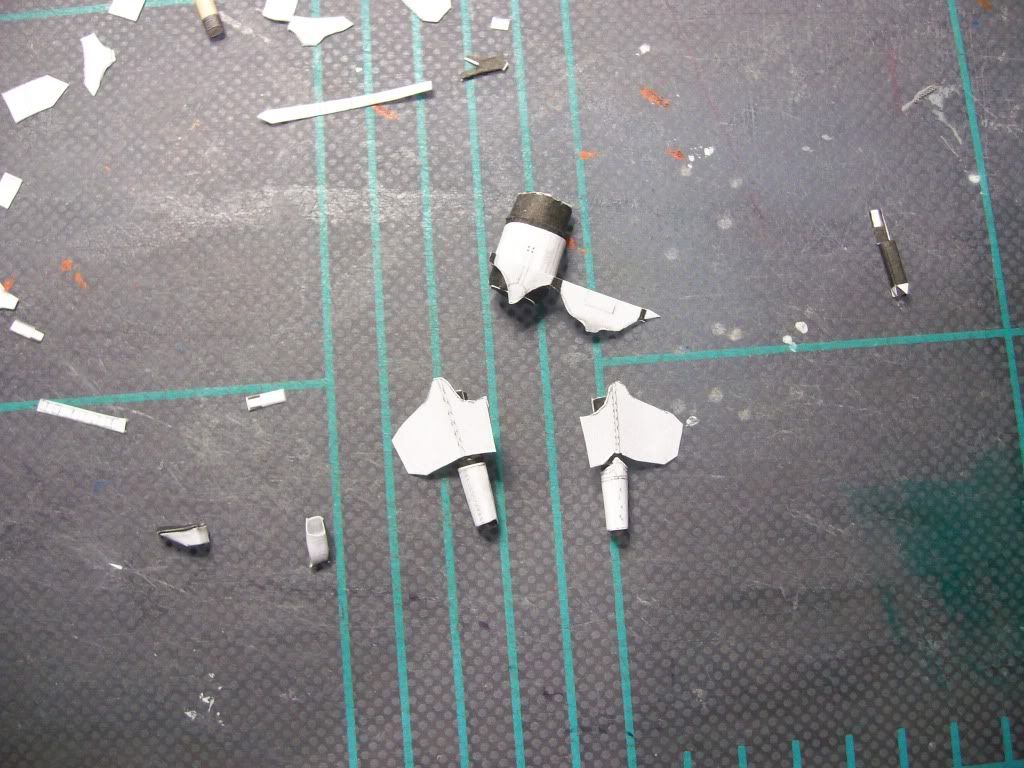
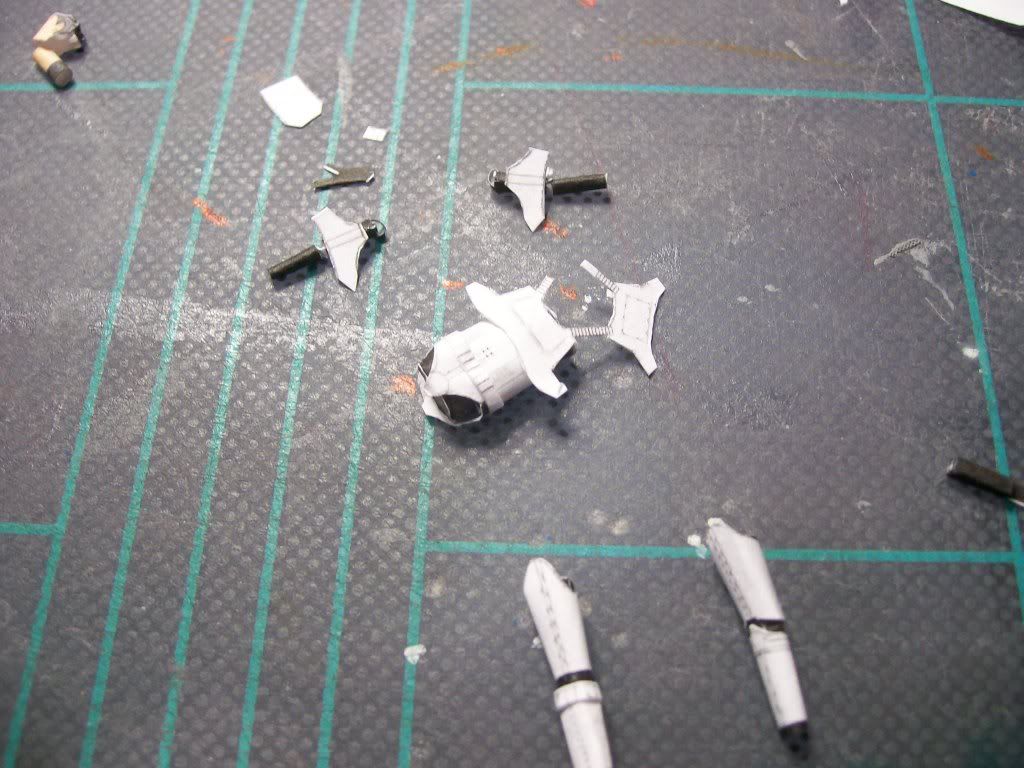
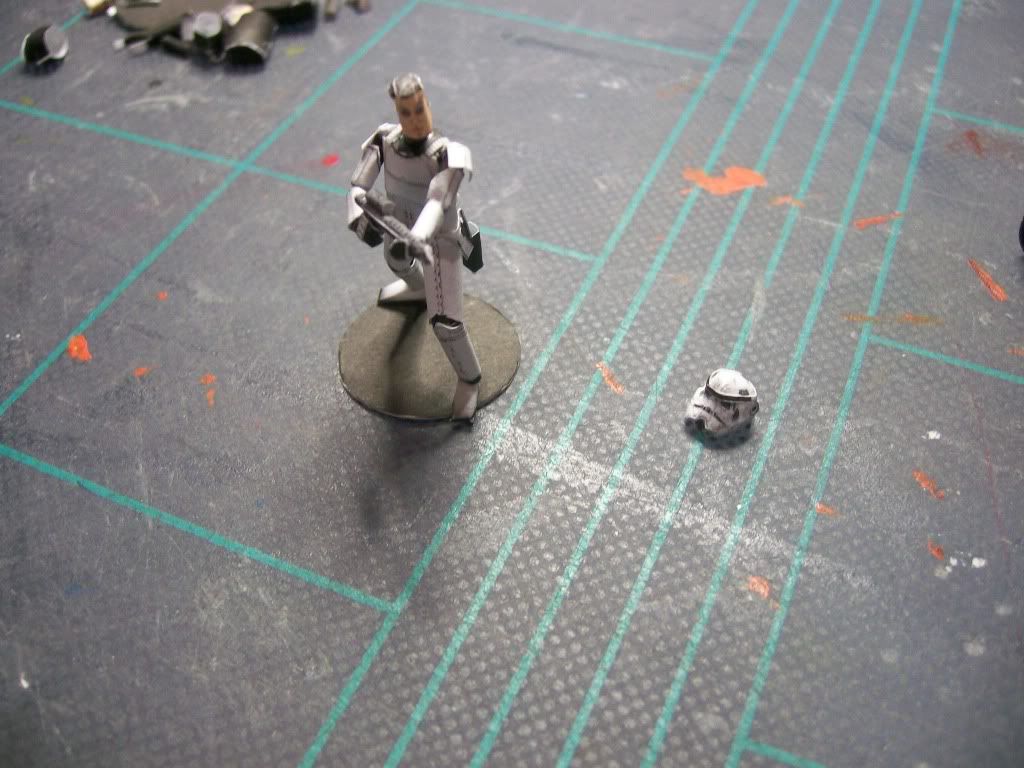
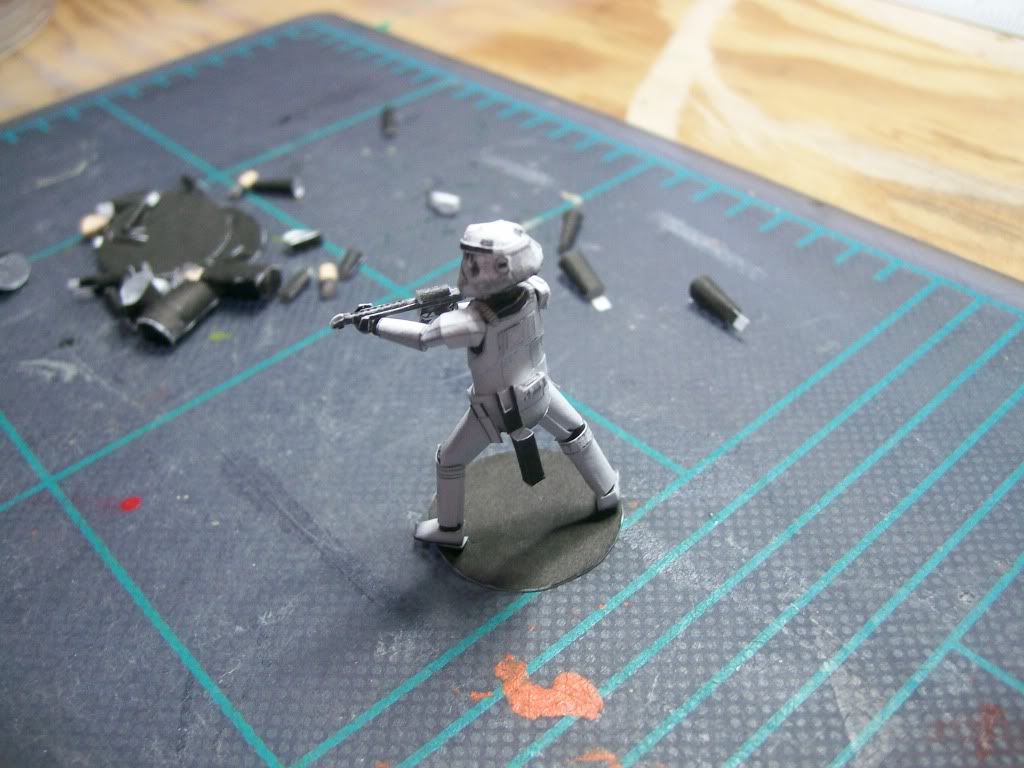
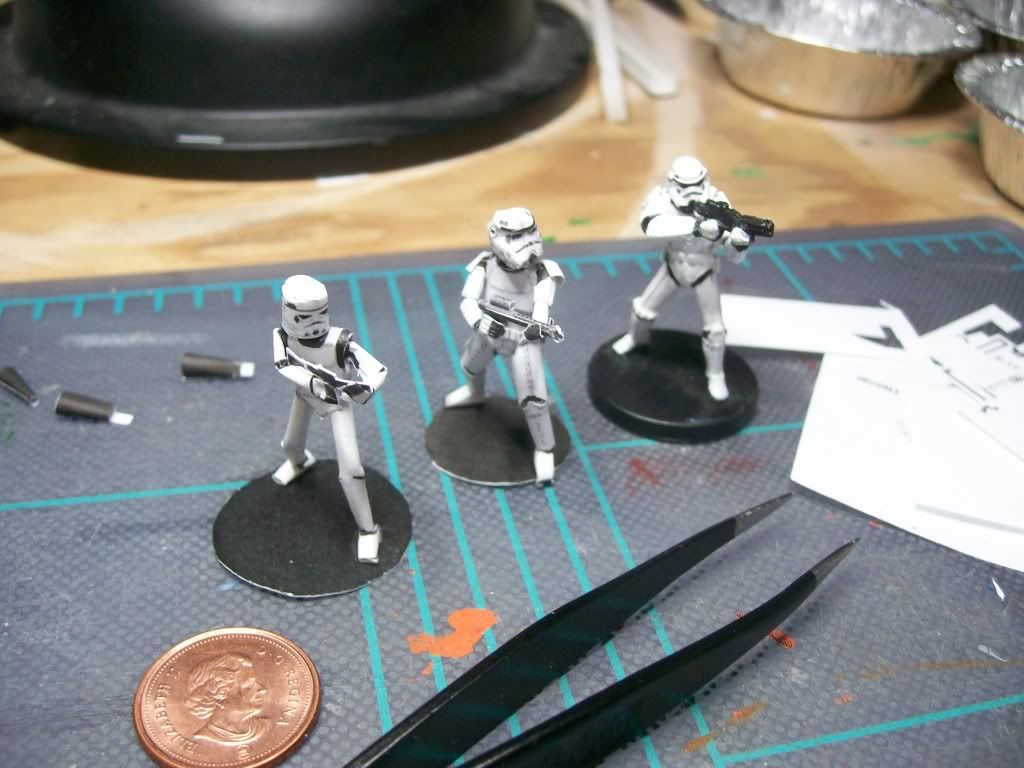
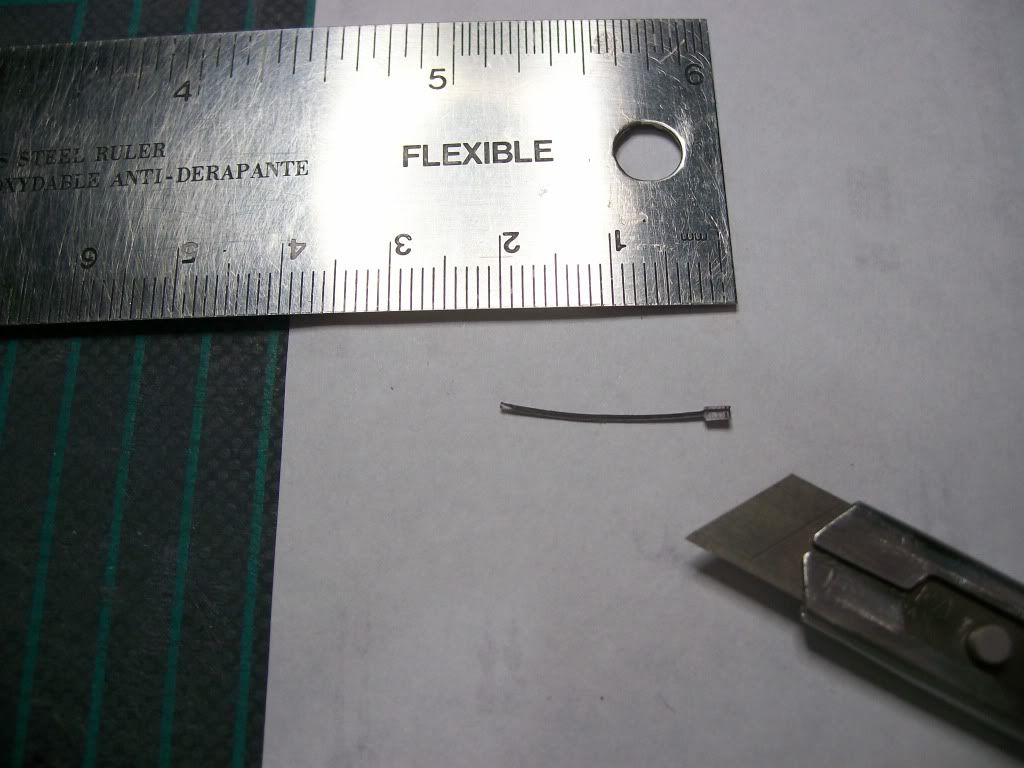
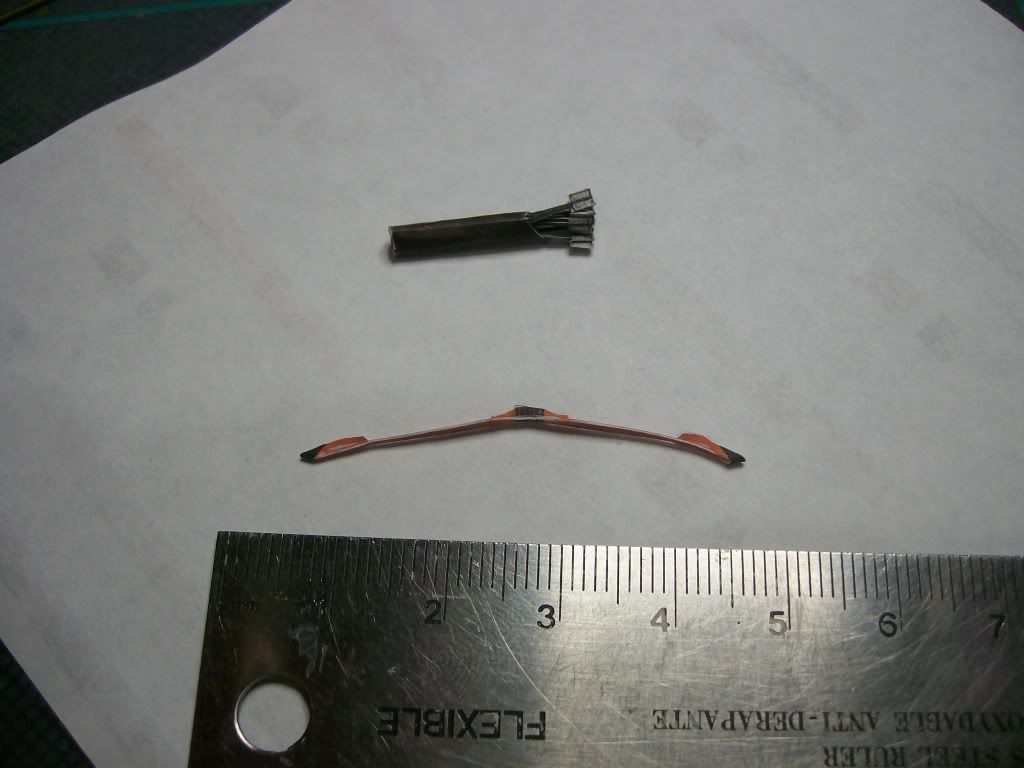
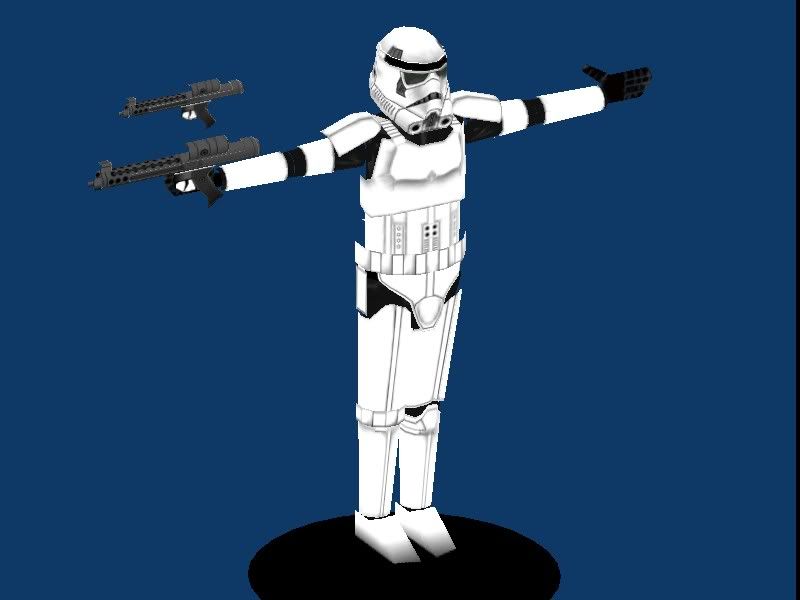
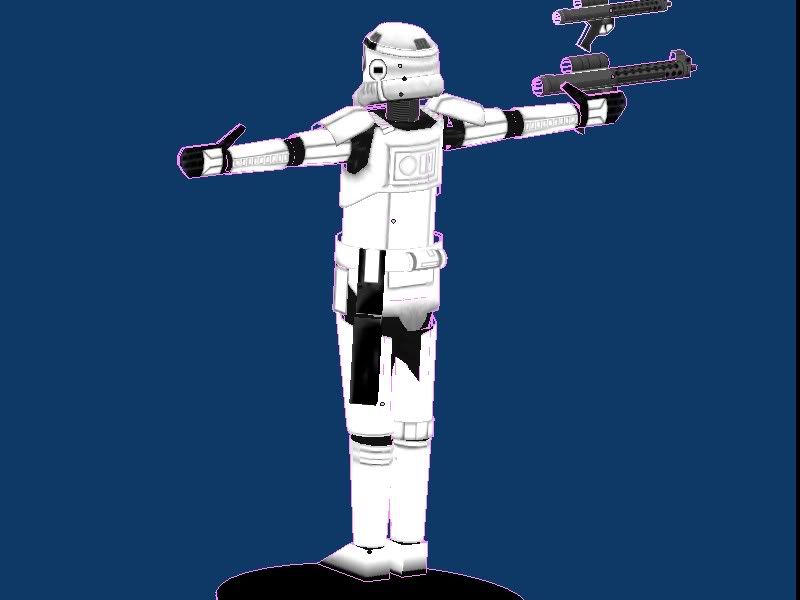
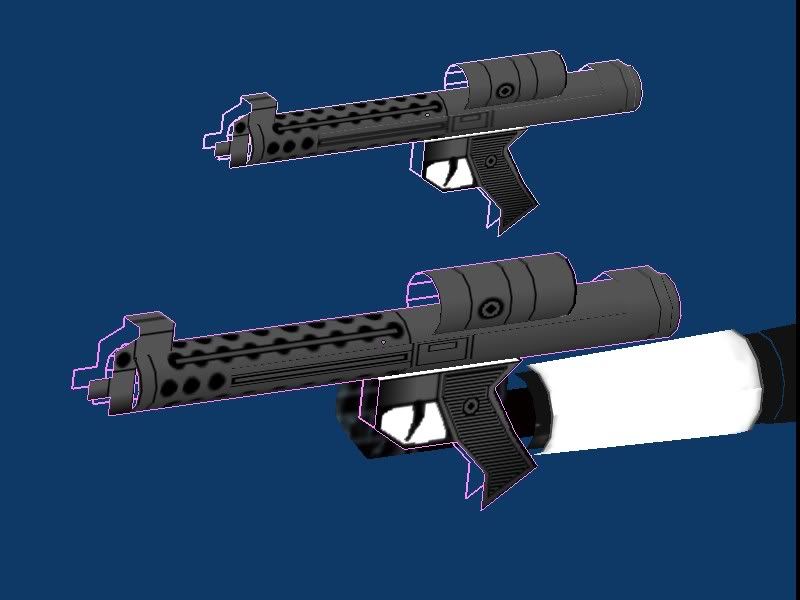
The Stormtrooper textures are now complete, and I will be laying out the print tomorrow. I probably will not get a full figure done for another week or so, but here are some shots of the final rendered images. The E-11's will both be made available in the release. Technically the top on is the correct size, but it looks too small to my modeler's eye. That may be the 40K player in me talking of course...

Stormtrooper-006.jpg


Stormtrooper-008.jpg


Stormtrooper-007.jpg


Enjoy!
Tirick
 

Tirick

Member
Oct 5, 2009
369
20
18
Ontario, CA
tcfgaming.com
Whesh... long time between posts. I blame my total lack of focus (and video games). Nevertheless I've finished build #1 of the print candidate, and I am satisfied with the build-up sufficiently to prepare instructions and upload, hopefully within a week.

I had some trouble with the helmet, which actually looks a little large upon build, but it is snug enough to sit mostly still on the head without gluing. The process of building is a little longer than typical as there is a lot of lamination. The base figure is black, so all of the areas that are white, save the feet, are laminated as much as 2 layers deep. This will provide an excellent base for future 'trooper types, which will either be Scouts or Clones Phase I. It also gives some insight into how a full armoured knight figure will work, which is a bonus.

What follows is a build diary. I'll keep the pic/link ratio low so you don't have to scroll too much... :D

Enjoy!
Tirick

The Pile

100_2517.jpg


Starting with the Legs/Torso assembly

Continuing with lamination

More lamination

100_2522.jpg


Legs fininshed

100_2524.jpg


Limbs and torso finished

Arms Posing with blaster

Legs/Torso and Arms

100_2529.jpg


Back Side

With helmet (horrible angle)

100_2533.jpg


And finally a comparison betwen (in order from left-right): My original Trooper design, the new Protagonist, WotC Plastic 35mm:

100_2534.jpg


Another angle
 

Tirick

Member
Oct 5, 2009
369
20
18
Ontario, CA
tcfgaming.com
I took a bit of a sabbatical during October and have been clearing up some projects since the start of November. I finally have some progress pics of the next release (still in development), which is a weapon and armour expansion for the Man at Arms set. I've assembled the bits with the second prototype female protagonist (printed a long while back and just waiting for the Mongolian bow and quiver from the set to complete her) mounted on the first Courser prototype. I'll be showing pics of the second prototype Courser with some more sample parts from the new pack soon.

Enjoy!
Tirick

100_2677.jpg


100_2686.jpg


100_2683.jpg


100_2690.jpg


100_2688.jpg


100_2689.jpg
 

Tirick

Member
Oct 5, 2009
369
20
18
Ontario, CA
tcfgaming.com
I've completed assembling the second rider, this time atop the (slightly) modified courser prototype. I changed the front shoulder and flank components, both of which assembled (and look) better than the original. The Courser is somewhere on the list of things to complete, likely just behind the 17th Cent. cannon in print prototype as I type. I hope to have that built this week.

The rider is a base Man at Arms figurine with a modified hauberk texture (scale mail), the bow/quiver previously demonstrated, a javelin (in the quiver) and a long spear/lance.


100_2692.jpg


100_2693.jpg


100_2694.jpg


100_2695.jpg


100_2696.jpg


100_2697.jpg


Enjoy!
Tirick
 

Tirick

Member
Oct 5, 2009
369
20
18
Ontario, CA
tcfgaming.com
I've been chipping away at finalizing components for the next release, and took some time to assemble another figure to showcase an element that will be available in the new set: two-sided cloaks!

The figure uses some other components from the new set, including the bow, quiver, new color for the tunic, and an extension that lends the appearance of a tunic that is loose, rather than tucked in.

100_2798.jpg


100_2796.jpg


100_2797.jpg


The character is loosely based on a ranger PC from a Pathfinder campaign I am running. As usual, the figure would benefit from some minor paint application, but I'm showing 'as assembled' for the benefit of those who might be unwilling or able to paint-touchup.

Enjoy!
Tirick
 

Tirick

Member
Oct 5, 2009
369
20
18
Ontario, CA
tcfgaming.com
Finished another figure, and have another four in the 'wings' so to speak. The crossbow, really the last print test component for the set, assembled quite well, and so aside from print layout and instructions the expansion set is ready for release. I plan to buckle-down and get that done and ready within the week.

The winch is a separate component (it is in fact made of 5 components in and of itself) and may be assembled as is or attached to a belt/quiver. I am very happy the the cloaks as well, both have posed nicely. With trimming they would serve as good capes as well.

100_2808.jpg


100_2807.jpg


100_2810.jpg


100_2812.jpg


Enjoy!
Tirick
 

Tirick

Member
Oct 5, 2009
369
20
18
Ontario, CA
tcfgaming.com
The Man at Arms expansion set is now available! In it is included sheets to make many hafted weapons, composite bows, crossbows, and double-sided cloaks, in addition to some retextures of the hauberk and tunic available in the main set.

Coupled with the full Man at Arms set, this line is well suited for dioramas, figure wargaming, and fantasy rpgs', and at a price per figure far below any plastic or metal figurine. Each figure takes the same (or less) time to print and build as a standard 35mm wargaming figure takes to assemble and paint.

As well, for the month of February get 25% off the Man at Arms set, and get both together!

See the store section at TCF Gaming for details.

Enjoy!
Tirick
 

Tirick

Member
Oct 5, 2009
369
20
18
Ontario, CA
tcfgaming.com
Thank you! I have lots of future plans for these figs, only time is a limiter. I love plastics and metal, but the inability to get a pose or outfit I wanted was a primary motivator in the design of these.

Tirick
 

nh3ave2006

New Member
Feb 2, 2008
35
0
6
Casper, WY
Very nice work,Very creative. if I can add my 2 cents worth, the horse looked small compared to the knight. maybe it's just me. Great work keep it up
 

Tirick

Member
Oct 5, 2009
369
20
18
Ontario, CA
tcfgaming.com
When I started on the design I had thought the same. The most common warhorse was the courser, which was nothing like the monsters we think of when imagining warhorses on the medieval era. In reality, they were about the size of a standard riding mare of today. One of the British museums, can't remember which, took barding from the 14th century and made some comparisons. As such, I based the size and scale on a standard from today. I think I used 14.5 hands at the shoulder.

A good article for info: http://en.wikipedia.org/wiki/Horses_in_the_Middle_Ages

Enjoy!
Tirick
 

Tirick

Member
Oct 5, 2009
369
20
18
Ontario, CA
tcfgaming.com
I've redesigned the Male protagonist to take advantage of the success of the Female design; particularly in the Hip / Leg join. The foot as well has been modified from its initial 'box' shape to a more natural arch.

MaleProtagonistV15.jpg


MaleProtagonistV15-002.jpg


I have a release in the works; depending on free time I hope to get it complete this month. The redesigned trousers shown above are a part of the set. I don't want to announce the release until I'm closer to a complete design, but let's just say I'll be needing it for a cockpit in a build I'm planning to start (as soon as I get my workbench back).

Thank you,
Tirick
 

Tirick

Member
Oct 5, 2009
369
20
18
Ontario, CA
tcfgaming.com
A little more progress. Boots and short jacket will be next, although there are a lot more elements to this uniform that I first anticipated, as there is the battle jacket, the uniform coat, the greatcoat, the flight/cold weather coat and then gear. Maybe two weeks is ambitious; it took me a few hours just to get the shirt right.

RAF-001.jpg


RAF-002.jpg


Enjoy!
Tirick
 

Tirick

Member
Oct 5, 2009
369
20
18
Ontario, CA
tcfgaming.com
Needle nose tweezers, a fine paintbrush for glue and a lot of patience. I usually use a thin bit of brass rod for rolling the cylindrical elements.

Each one gets easier as you build them.

Thank you,
Tirick