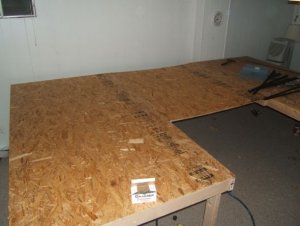
FINALLY i bought my wood tonight for my benchwork and tomorrow im going to start work on it. I will take pics of my progress and post them tomorrow once they are uploaded. Ill update this thread as often as i can as my layout grows.")
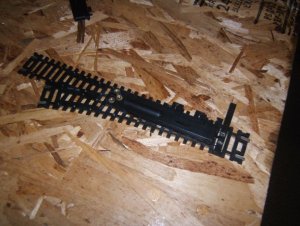
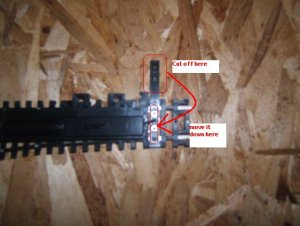
. Im buying some pink foam tomorrow and im going to begin laying my track. I'll be sure to post pics of my progress thats made.OnTrack said:Im bored so I decided to pot some pics of how I plan on doing my turnouts, to see if any one else has tried this, or just for some general input about it. Before i post pics all i did was took the actual switch machine flipped it upside down and then glued it to the underside of the turn out, and bent the rod upwards a little so that it fiited into the far end of the frog.
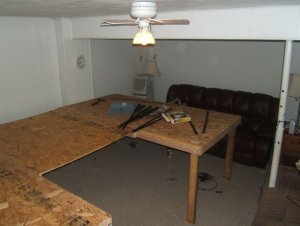
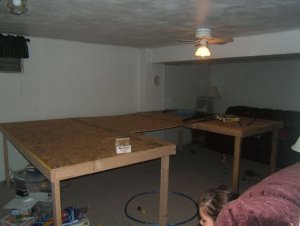
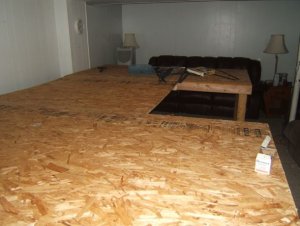
Heres a few pictures.
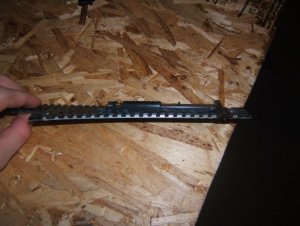
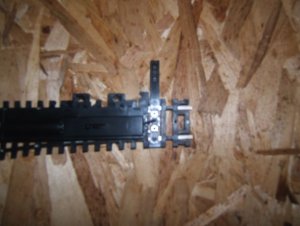
The glue holds really well so its sturdy no play or any thing, and it doesnt bind up the swtich machine or make it any harder to function.
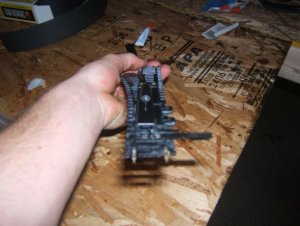
So all i have to do is, notch my roadbed, and then notch just a little bit in to the subroadbed and it will work fine.