New Layout

GeorgeHO

Member
May 3, 2005
170
0
16
Baltimore, MD
If you want easy access to your tunnels you can make the upper layers removable. After you have the bottom 4 inches in place, set the next layer on top and roughly cut it in place. get some #2 pencils, break them off about 4 inches and sharpen them on both sides, fit them into the bottom layers, and when you place the upper layers on top, the pencil points will serve as reference points for creating the matching holes in the upper layers. Once the upper layers fit snuggly, you can finish detailing the scenery. You can hide the seam in a lot of different ways depending on what your terrain is.
This also makes the layout more portable and easier to store and transport if the height is a problem. MR magazine had a similar solution to a problem, but I think they used nails with a plywood base and foam mountains. You may want your copper mine to be removable with pegs to keep it in the right location also.
 

blue303

New Member
Apr 3, 2008
9
0
1
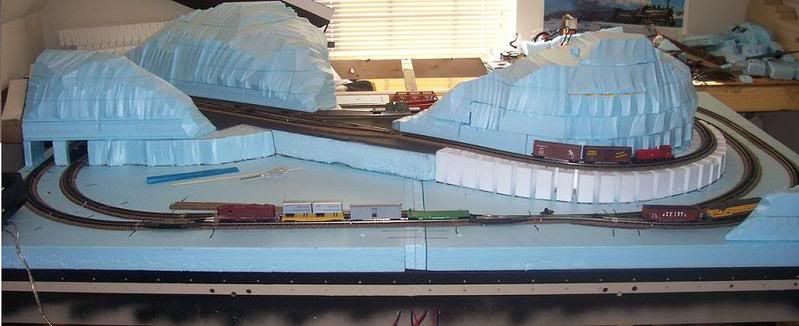
This morning I finished wiring the last block. All I need to do now is wire in some switches to control the blocks. I am kind of torn between building a control panel or getting an atlas block controller. If I get the block controller it would be mounted right on the side of the layout. It would be alot smaller then the control panel. Any way I can think of making a control panel would make the whole layout not fit in the back of my wife's car (mustang hatchback). Then I can't transport the layout without renting a bigger vehicle than I own. Is there a way to make a control panel removable, easily?

100_0569_smaller.jpg


Thanks for the idea of removable mountains and mine. I haven't thought of that yet. It would definately make the whole thing easier to transport.
 

Biased turkey

Active Member
Apr 10, 2006
912
0
36
75
Montreal, Canada Eh
It's nice to see the progress on your layout blue303.
About the turnouts control panel, I remember seeing in the Kalmbach book " N scale model railroading getting started in the hobby" from Marty McGuirk that on his well known N scale layout Carolina Central he used an electrical box for the control panel, all the switches are mounted in a switch cover and that the top of the control panel is covered with some scenery material such as pink styrene, sculptamold and woodland scenics grass.
The box is located on the left front corner of his layout.
I know, it's hard to explain without a picture.

Jacques
 

blue303

New Member
Apr 3, 2008
9
0
1
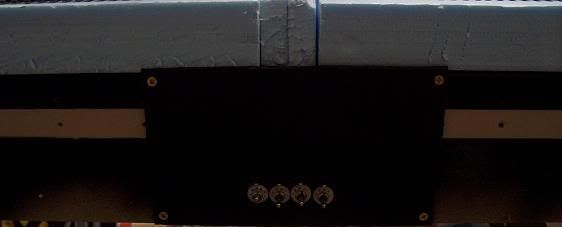
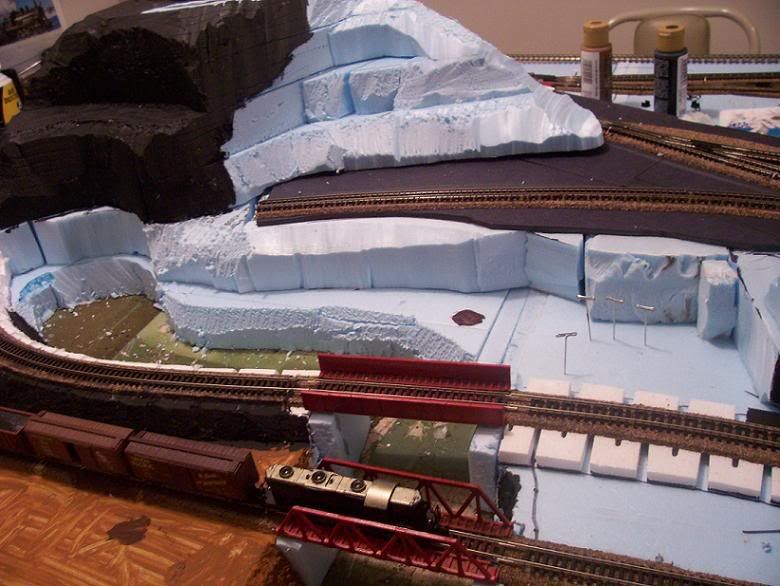
Update for this month. I made a control panel. I didn't realize how small I could get toggle switches. They stick out at most a half inch. Some more progress has been made on the scenery. I also named the railroad Copper Mountain Railroad. The paint sceme at the moment is black with a gold top.
100_0587_smaller.jpg


100_0590_smaller.jpg


Now that I have a functional cab control setup, I can run multiple trains. So far that has been nice. I had been debating about getting another mrc 1300 power pack to replace a train set pack that I have been using. I managed to run across a used atlas commander dcc system for a cheap price. It even came with the hand held controller. :mrgreen: The only I'm going to have to do is get some decoders for my locomotives.
 

Mountain Man

Active Member
Jan 19, 2007
1,607
0
36
80
I can't wait to see the finished mountains! Great looking layout! Nice looking cat, too...but cat hair plays havoc with small scale electrical motors and such, not mention the Godzilla Effect aready experienced. :mrgreen:
 

RF&PTrainz

New Member
Jun 27, 2008
1
0
1
Felinus Destructorus....have 3 of those in my home. I'm constantly walking by my son's room, where we're making a roll-away, under bed N-scale layout, only to spot a flick of a tail from on the layout. Fortunately, we're long from complete...hard to keep an active 7 yr old on track!