My Delorian Build

Tintellaar

New Member
Jan 13, 2011
64
3
6
59
Springfield, IL
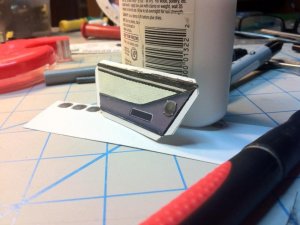
First, thank you to the creator. I could not find a name but the email on the bottom graphic is cadia@gmail.com, so thank you for the great model!!!

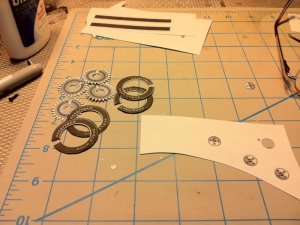
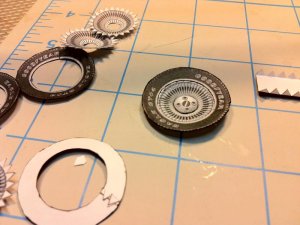
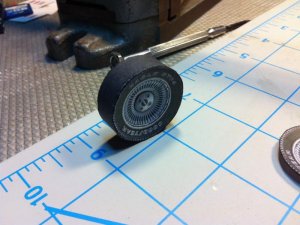
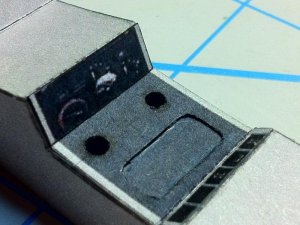
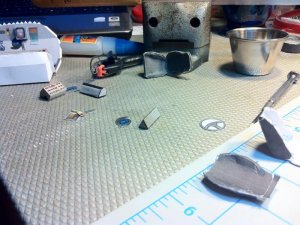
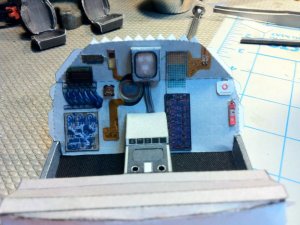
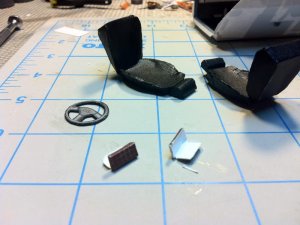
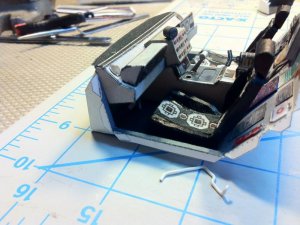
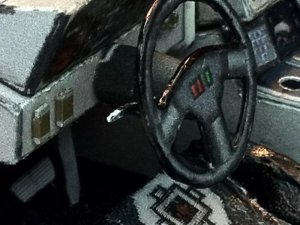
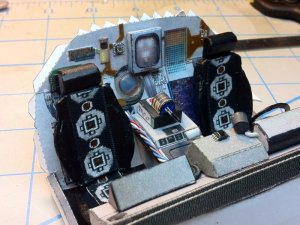
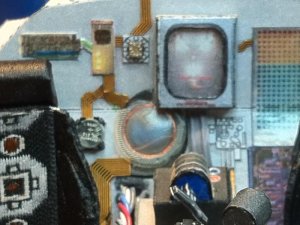
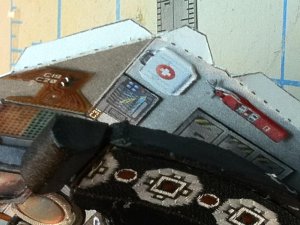
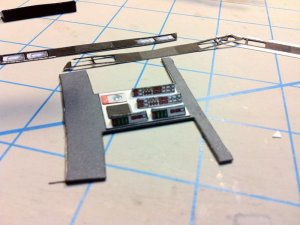
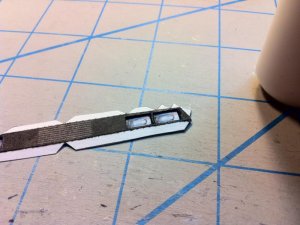
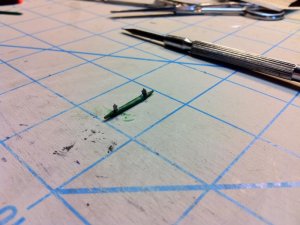
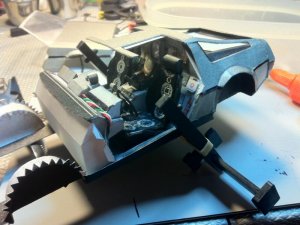
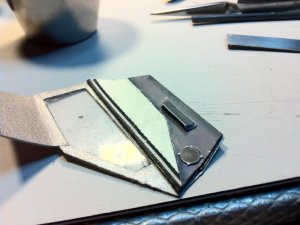
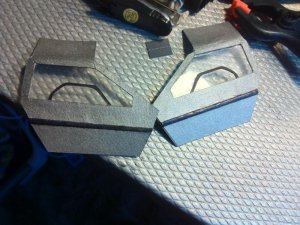
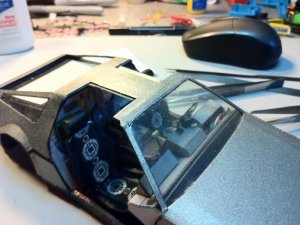
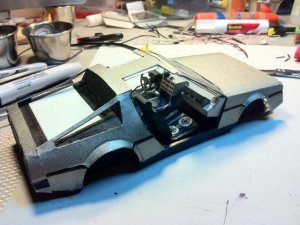
As usual, I added a great deal to the model... I will try to point that out as post...
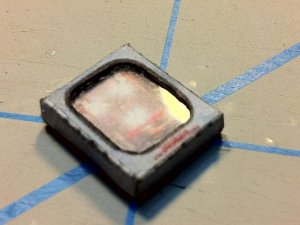
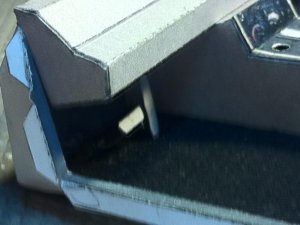
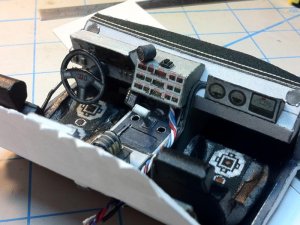
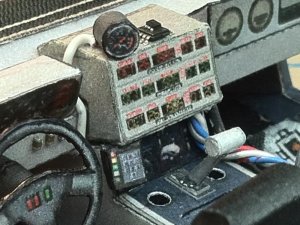
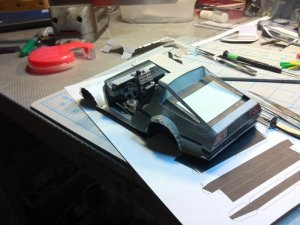
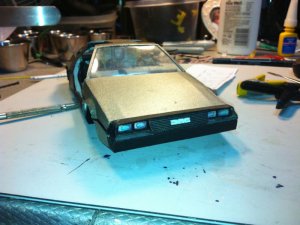
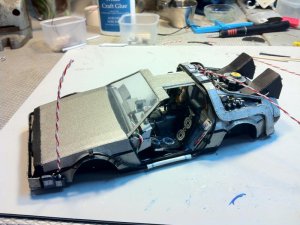
In the last picture I added cup holders :) hehehe
 

Attachments

  • IMG_1818_800x598.jpg
    IMG_1818_800x598.jpg
    80.8 KB · Views: 7
  • IMG_1819_800x598.jpg
    IMG_1819_800x598.jpg
    68 KB · Views: 5
  • IMG_1820_800x598.jpg
    IMG_1820_800x598.jpg
    73.7 KB · Views: 4
  • IMG_1874_800x598.jpg
    IMG_1874_800x598.jpg
    61.2 KB · Views: 4
  • IMG_1876_800x598.jpg
    IMG_1876_800x598.jpg
    65.9 KB · Views: 7

Tintellaar

New Member
Jan 13, 2011
64
3
6
59
Springfield, IL
More...

Then I did the 'Flux Capacitor' while working on the center console...

The pics with the ID are from the instructions the others mine. I just wanted to show my alterations - the cup holders, misc tray and the plastic for glass on the flux capacitor case...
 

Attachments

  • IMG_1882_800x598.jpg
    IMG_1882_800x598.jpg
    66.5 KB · Views: 4
  • IMG_1884_800x598.jpg
    IMG_1884_800x598.jpg
    62.8 KB · Views: 5
  • IMG_1886_800x598.jpg
    IMG_1886_800x598.jpg
    65.6 KB · Views: 6
  • IMG_1888_800x598.jpg
    IMG_1888_800x598.jpg
    74.5 KB · Views: 4
  • IMG_1890_800x598.jpg
    IMG_1890_800x598.jpg
    86.9 KB · Views: 4

DanBKing

Dan the Man
Feb 29, 2012
1,817
1,587
113
Netherlands
I just wanted to show my alterations - the cup holders, misc tray and the plastic for glass on the flux capacitor case...

Nice touch.......!!! I can see my beer tin in one of them holders ..... !!!!!!
Well, wouldn't you want a bit of 'Dutch Courage', before being hurled Back To The Future ....??? sign1
 

Rhaven Blaack

!!!THE MAN BEHIND THE CURTAIN!!!
Staff member
Administrator
Moderator
Jun 12, 2009
12,493
9,855
228
Oregon
www.deviantart.com
Do you remember the website from where you got it from?

Very nice start. I like the detail that you are putting into this model.

I am looking forward to seeing how this model will turn out. I will be following this thread.
 

Tintellaar

New Member
Jan 13, 2011
64
3
6
59
Springfield, IL
Thank YOU Claudio Dias

Then I put out there great appreciation on the work!!! I had a blast building it :) I will post more... and, as you know, the uploading is tedious... so please be patient :)
 

Tintellaar

New Member
Jan 13, 2011
64
3
6
59
Springfield, IL
more...

I'll upload next what I did with the seats :) The gas and brake were from another model, but they look so cool here, oh, did you notice, I also added a shifter and made it and automatic, I just not a clutch guy :)

I also found electronics graphics to add to the back and who runs around time without a fire extinguisher and first aid kit, huh? hehehehe
 

Attachments

  • IMG_1905_800x598.jpg
    IMG_1905_800x598.jpg
    62.3 KB · Views: 4
  • IMG_1911_800x598.jpg
    IMG_1911_800x598.jpg
    69.6 KB · Views: 6
  • IMG_1913_800x598.jpg
    IMG_1913_800x598.jpg
    95.5 KB · Views: 6
  • IMG_1915_800x598.jpg
    IMG_1915_800x598.jpg
    82.5 KB · Views: 5
  • IMG_1919_800x598.jpg
    IMG_1919_800x598.jpg
    60.3 KB · Views: 7

Tintellaar

New Member
Jan 13, 2011
64
3
6
59
Springfield, IL
More

I put a lot of work into the interior, well, wait till you see the back :)

I used again, parts from other models, like the tachometer... I cut up an old tie and used if for the seats and cloth on the doors and used some leather for the floorboards... I also added speakers, even in the movie there was a stereo! :)
 

Attachments

  • IMG_1921_800x598.jpg
    IMG_1921_800x598.jpg
    64.2 KB · Views: 5
  • IMG_1926_800x598.jpg
    IMG_1926_800x598.jpg
    93.9 KB · Views: 5
  • IMG_1930_800x598.jpg
    IMG_1930_800x598.jpg
    84.2 KB · Views: 5
  • IMG_1946_800x598.jpg
    IMG_1946_800x598.jpg
    75.8 KB · Views: 5
  • IMG_1950_800x598.jpg
    IMG_1950_800x598.jpg
    89.4 KB · Views: 5

Tintellaar

New Member
Jan 13, 2011
64
3
6
59
Springfield, IL
more...

More up close pics for details... anyone know where the panels behind the drivers seat came from? :)
 

Attachments

  • IMG_1948_800x598.jpg
    IMG_1948_800x598.jpg
    98.8 KB · Views: 7
  • IMG_1954_800x598.jpg
    IMG_1954_800x598.jpg
    99.7 KB · Views: 5
  • IMG_1956_800x598.jpg
    IMG_1956_800x598.jpg
    88.7 KB · Views: 4
  • IMG_1958_800x598.jpg
    IMG_1958_800x598.jpg
    84 KB · Views: 4
  • IMG_1960_800x598.jpg
    IMG_1960_800x598.jpg
    77.1 KB · Views: 4

Rhaven Blaack

!!!THE MAN BEHIND THE CURTAIN!!!
Staff member
Administrator
Moderator
Jun 12, 2009
12,493
9,855
228
Oregon
www.deviantart.com
This is absolutely PHENOMENAL work. I like the amount of detail that you are putting into this model. Everything looks FANTASTIC!!!
Keep up the GREAT work.
I will be following this thread.
 
Last edited:

Tintellaar

New Member
Jan 13, 2011
64
3
6
59
Springfield, IL
more...

comments after I get more uploaded...
 

Attachments

  • IMG_2044_800x598.jpg
    IMG_2044_800x598.jpg
    63.6 KB · Views: 4
  • IMG_2046_800x598.jpg
    IMG_2046_800x598.jpg
    72.6 KB · Views: 4
  • IMG_2051_800x598.jpg
    IMG_2051_800x598.jpg
    72.4 KB · Views: 3
  • IMG_2053_800x598.jpg
    IMG_2053_800x598.jpg
    77.1 KB · Views: 7
  • IMG_2057_800x598.jpg
    IMG_2057_800x598.jpg
    82.4 KB · Views: 6

Tintellaar

New Member
Jan 13, 2011
64
3
6
59
Springfield, IL
more...

again, I get back here to do some comments later :)
 

Attachments

  • IMG_2061_800x598.jpg
    IMG_2061_800x598.jpg
    74.1 KB · Views: 6
  • IMG_2108_800x598.jpg
    IMG_2108_800x598.jpg
    65.2 KB · Views: 4
  • IMG_2110_800x598.jpg
    IMG_2110_800x598.jpg
    77.9 KB · Views: 4
  • IMG_2114_800x598.jpg
    IMG_2114_800x598.jpg
    56 KB · Views: 5
  • IMG_2127_800x598.jpg
    IMG_2127_800x598.jpg
    83.4 KB · Views: 6

Tintellaar

New Member
Jan 13, 2011
64
3
6
59
Springfield, IL
more...

Ditto :) hehehe
 

Attachments

  • IMG_2129 - Copy_800x598.jpg
    IMG_2129 - Copy_800x598.jpg
    101.1 KB · Views: 5
  • IMG_2133_800x598.jpg
    IMG_2133_800x598.jpg
    58.2 KB · Views: 3
  • IMG_2134_800x598.jpg
    IMG_2134_800x598.jpg
    51.2 KB · Views: 3
  • IMG_2140_800x598.jpg
    IMG_2140_800x598.jpg
    34 KB · Views: 3
  • IMG_2171_800x598.jpg
    IMG_2171_800x598.jpg
    58.4 KB · Views: 6

madmax355

New Member
Jun 4, 2012
13
0
1
Indiana
man thats really cool the detail is great looks like you have a lot of time in it. keep up the good work


__________________
 

Tintellaar

New Member
Jan 13, 2011
64
3
6
59
Springfield, IL
and more

I wanted to show the door pockets and I added the little window air wings :)
 

Attachments

  • IMG_2176 - Copy_800x598.jpg
    IMG_2176 - Copy_800x598.jpg
    76.8 KB · Views: 9
  • IMG_2178_800x598.jpg
    IMG_2178_800x598.jpg
    43.2 KB · Views: 6
  • IMG_2184_800x598.jpg
    IMG_2184_800x598.jpg
    69.8 KB · Views: 6
  • IMG_2186 - Copy_800x598.jpg
    IMG_2186 - Copy_800x598.jpg
    65.6 KB · Views: 6
  • IMG_2188_800x598.jpg
    IMG_2188_800x598.jpg
    102.5 KB · Views: 6

Tintellaar

New Member
Jan 13, 2011
64
3
6
59
Springfield, IL
and more

hmmm, missing some pics of the back end build, gotta go find em...

Oh, I wanted to point out that in the pic with the closeup of the roof/windshield.... well, they didn't match, like a quarter of an inch off... don't know what I did wrong but I put in a strip to fill the gap, came out ok! BUT, then when I went to do the doors, well, I wanted one closed one open, but obviously the change in the door frame zonked that out...:cry: so... we have a flying car! :rolleyes: hehehe... still, looks great! But something to keep in mind, precision is key :)balloon6
 

Attachments

  • IMG_2249_800x598.jpg
    IMG_2249_800x598.jpg
    85.8 KB · Views: 13
  • IMG_2252_800x598.jpg
    IMG_2252_800x598.jpg
    71.8 KB · Views: 6
  • IMG_2190_800x598.jpg
    IMG_2190_800x598.jpg
    83.8 KB · Views: 7
  • IMG_2391 - Copy_800x598.jpg
    IMG_2391 - Copy_800x598.jpg
    81.2 KB · Views: 62