Shoot everybody in Fla. can read those ballots except for the people in West Palm Beach. West Palm Beach is mostly millionaires, makes you wonder don't it? The richer you are the dumber you are??????? 

Originally posted by Benny
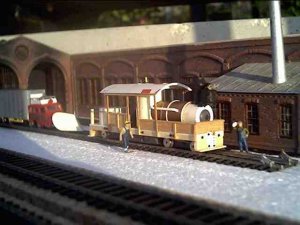
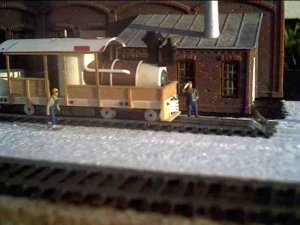
I did do one thing though. The 3-n-1 kit includes a wood cupola, but there is very littl detail on it. They also have a modern steel cupola, wih great detail and a deeply recessed body. Using stripwood, I turned that coupla into a steal framed wood cupola. And it looks great with all of that detail.
) Hope this finds your health on the way up. In His Grace, BCOriginally posted by jon-monon
I've got several N gauge loco's awaiting similar treatment.
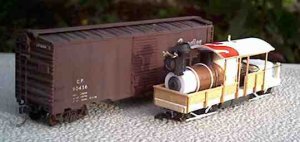
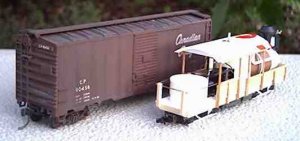
Where else would we get those fine runnin' mechs fer our HO slim gauge Originally posted by Tyson Rayles
Shaygetz are you going to be using this for ops? The reason I ask is because Model Power is famous (in n-scale anyway) for lousy running mechs. I'd hate to see all that work go into something that looks great and barely runs.