HMS Chiddingfold by GreMir

P

Padre

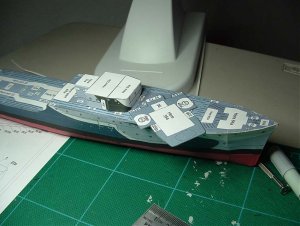
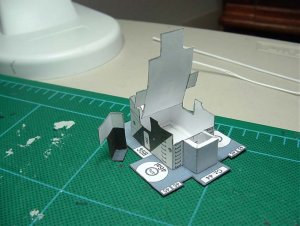
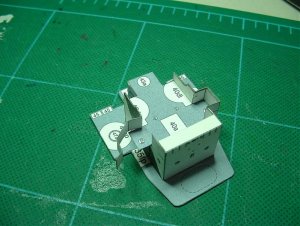
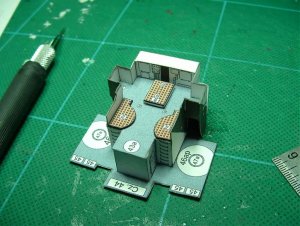
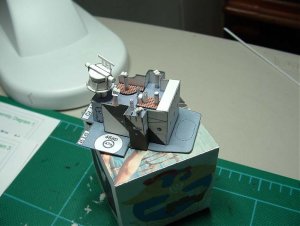
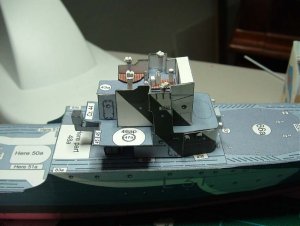
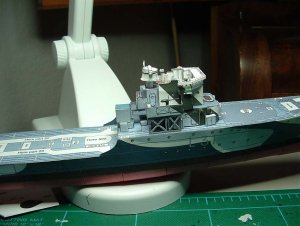
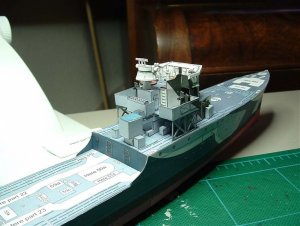
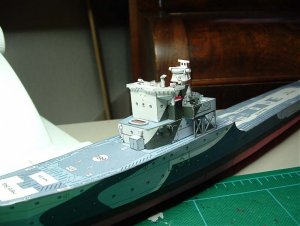
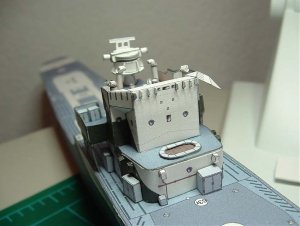
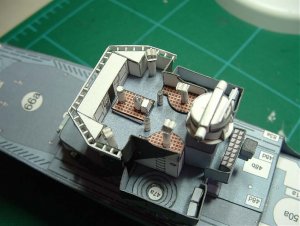
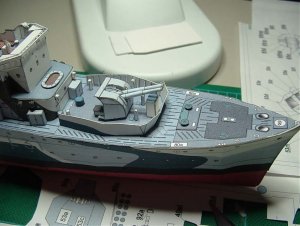
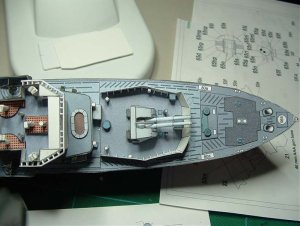
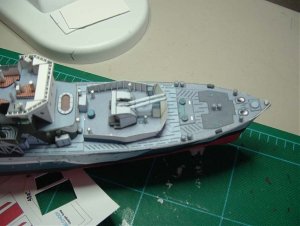
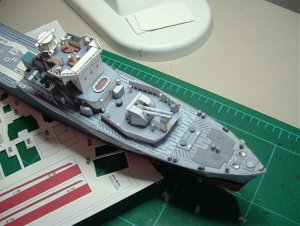
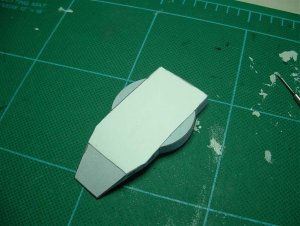
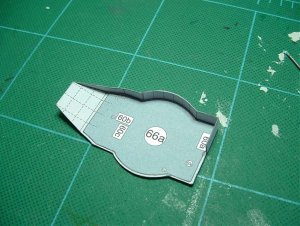
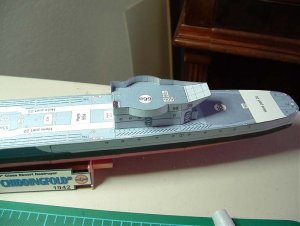
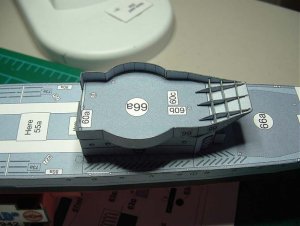
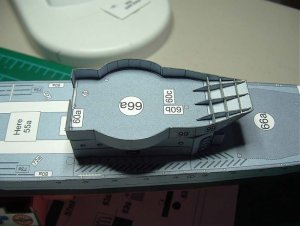
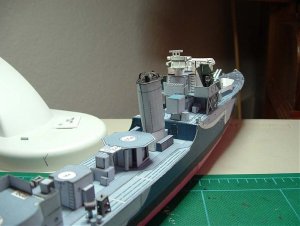
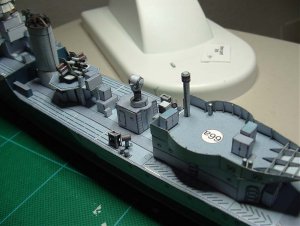
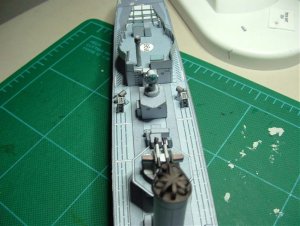
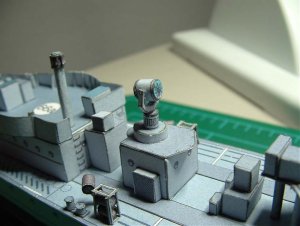
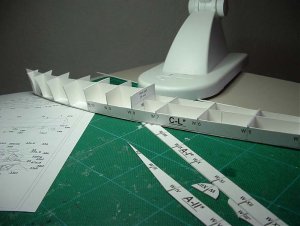
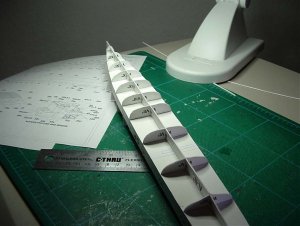
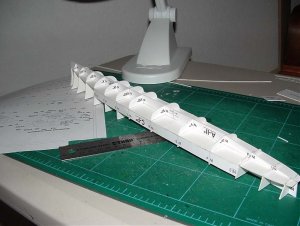
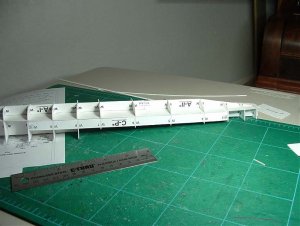
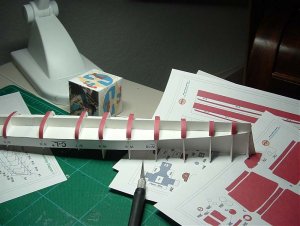
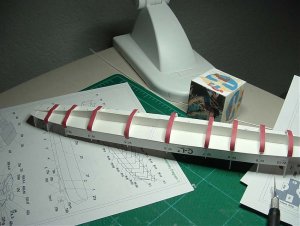
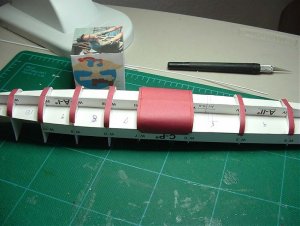
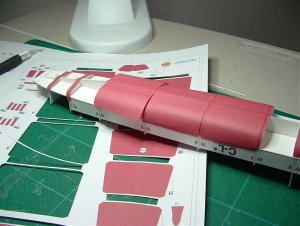
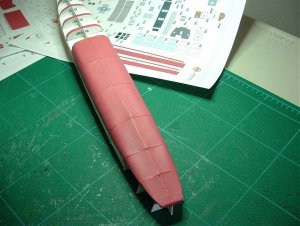
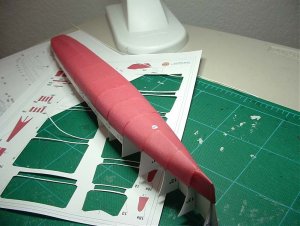
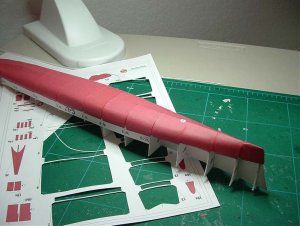
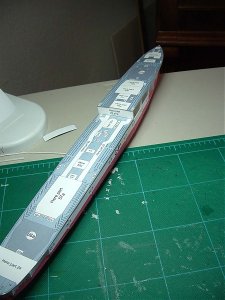
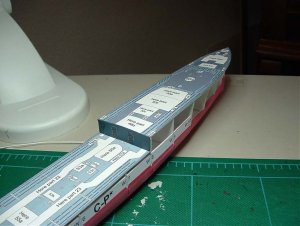
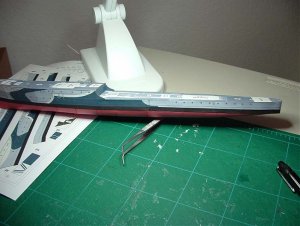
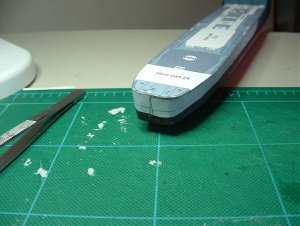
Doing a build thread for GreMir of the HMS Chiddingfold. Not in his offer yet. Does not appear to be a difficult model, there are 11 sheets of parts and 6 pages of instructions, appearance, template and diagrams. It is 1:200 scale. Don't know how it is exactly going to look until I finish! sign1
 

Attachments

  • DSCF0002.jpg
    DSCF0002.jpg
    203.2 KB · Views: 25
  • formers (1).jpg
    formers (1).jpg
    163.6 KB · Views: 12
C

cgutzmer

I especially like watching full hulls come together - they have kicked my butt every time so far.... I will get up the nerve again some day.
Chris
 
P

Padre

Frame going together well, parts fit nicely and labeled well. A little over 16 inches in length.
 

Attachments

  • frame (2).jpg
    frame (2).jpg
    143.6 KB · Views: 10
  • frame (4).jpg
    frame (4).jpg
    147.2 KB · Views: 8
  • frame (7).jpg
    frame (7).jpg
    149.3 KB · Views: 13
  • frame (11).jpg
    frame (11).jpg
    156 KB · Views: 9
  • frame (12).jpg
    frame (12).jpg
    157.8 KB · Views: 12
  • frame (13).jpg
    frame (13).jpg
    153.2 KB · Views: 10

smyfe

Member
Dec 29, 2006
103
0
16
59
Stourbridge, West Midlands UK
Watching very closely and learning:thumb:,I have a few of Gremirs RN destroyers, tried Garland and completely messed up the lower hull:cry:, After watching your Repulse build, I hope I can learn from you. I keep hoping that one day Gremir will release a tribal class destroyer, as they are my favourite all time ship design
keep up the great work
Mick
 
P

Padre

So far everything is still going together well. Seems to be a simple model suitable for beginners or someone who wants a rest from the more challenging tasks. If you look close I had a little bubble on the bow plate along the keel. a slight cut fixed that. Then trimmed the bow to shape with scissors. Sanded the bow edge and the used super glue on it for stiffening.
 

Attachments

  • Hull.jpg
    Hull.jpg
    140.3 KB · Views: 9
  • Hull (1).jpg
    Hull (1).jpg
    166 KB · Views: 9
  • Hull (3).jpg
    Hull (3).jpg
    157.4 KB · Views: 8
  • Hull (4).jpg
    Hull (4).jpg
    188.8 KB · Views: 8
  • Hull (7).jpg
    Hull (7).jpg
    172.7 KB · Views: 11
  • Hull (8).jpg
    Hull (8).jpg
    167.8 KB · Views: 16
P

Padre

Finished sides of ship, looks good. I had to add a little strip at the stern to fill in a gap, not sure if I should have trimmed more or what. A little added length for trimming and fitting is what I would prefer, as I always seem to have a little extra (better) or a little short (durn) when I do the sides. Now for the superstructure.
 

Attachments

  • plating (1).jpg
    plating (1).jpg
    108.2 KB · Views: 12
  • plating (2).jpg
    plating (2).jpg
    160 KB · Views: 11
  • plating (3).jpg
    plating (3).jpg
    147.1 KB · Views: 9
  • plating (4).jpg
    plating (4).jpg
    152.5 KB · Views: 10
  • plating (5).jpg
    plating (5).jpg
    174.1 KB · Views: 7
  • plating (8).jpg
    plating (8).jpg
    157.7 KB · Views: 11

KenG

New Member
Dec 10, 2006
3
0
1
Grafton, Wi
I'm following this build in order to learn. The hull seems very smooth, what weight paper did you print that on? Thanks for sharing your build!:)

Ken
 
P

Padre

Its not a big build so I used 65lb. On the Repulse I used 110lb. 65lb = 100gsm
 
P

Padre

First off, suggestions.
Glue all hatches to superstructure parts on all sheets, that way you don't forget them. I like separate hatches as they give a 3d effect.

Glue 35gp inside 35a and align with top edge to ensure alignment of conn deck.

Part 35fp is a reverse fold to go into 35e.

There is no diagram of part 41 so I used the appearance sheet to see what they were.

There is mention of part 43b on diagram of 43.

There are a number of little parts to challenge a beginner.
 

Attachments

  • Super1 (1).jpg
    Super1 (1).jpg
    160.7 KB · Views: 10
  • Super1 (2).jpg
    Super1 (2).jpg
    150.1 KB · Views: 8
  • Super1 (3).jpg
    Super1 (3).jpg
    195 KB · Views: 10
  • Super1 (5).jpg
    Super1 (5).jpg
    198.6 KB · Views: 7
  • Super1 (6).jpg
    Super1 (6).jpg
    119.5 KB · Views: 13
  • Super1 (8).jpg
    Super1 (8).jpg
    115.8 KB · Views: 12
P

Padre

More detail on bridge, missing part 49f (reported), replaced with part 49e. Part37 al/ap not on diagram but I figured out where it went. 4th pic shows it.
 

Attachments

  • Bridge1.jpg
    Bridge1.jpg
    141.4 KB · Views: 10
  • Bridge1 (1).jpg
    Bridge1 (1).jpg
    150 KB · Views: 11
  • Bridge1 (2).jpg
    Bridge1 (2).jpg
    136.3 KB · Views: 6
  • Bridge (1).jpg
    Bridge (1).jpg
    123.9 KB · Views: 7
  • Bridge (2).jpg
    Bridge (2).jpg
    106.5 KB · Views: 7
  • Bridge (3).jpg
    Bridge (3).jpg
    148.1 KB · Views: 10
C

cgutzmer

Looking great! That has some really well done details and I must say you are puting it together very well.
Chris
 
P

Padre

Bow done. As there was no diagram for the bow I had to use the General Plan sheet for parts and layout. Some parts not shown as to what they were for on assembly sheets but from experience I figured out what they were for. While building I do not put on parts that stick up or out as I have a tendency to knock them off as I move the ship around. I think now I will start on the stand and the props/rudder.
 

Attachments

  • bow.jpg
    bow.jpg
    151 KB · Views: 10
  • bow (1).jpg
    bow (1).jpg
    152.4 KB · Views: 6
  • bow (2).jpg
    bow (2).jpg
    133.4 KB · Views: 10
  • bow (3).jpg
    bow (3).jpg
    173.7 KB · Views: 9
P

Padre

I know I said the props and rudder would be next, but as I said I have a tendency to break things that stick out sooooo.:p I am working on the aft structure. The underside of the 02 deck was not on the diagram but this is where they go.:wave:
 

Attachments

  • 42.jpg
    42.jpg
    178 KB · Views: 13
  • 42 (1).jpg
    42 (1).jpg
    219.4 KB · Views: 8
  • 42 (2).jpg
    42 (2).jpg
    145.5 KB · Views: 4
  • 42 (3).jpg
    42 (3).jpg
    126.1 KB · Views: 7
  • 42 (4).jpg
    42 (4).jpg
    132.2 KB · Views: 6
  • 42 (5).jpg
    42 (5).jpg
    133 KB · Views: 9
P

Padre

Working on midships and stack of Chiddingfold. Everything going together well and response from GreMir is great. I said that this would be a good model for a beginner earlier, now, maybe an advanced beginner. Model is looking good.
 

Attachments

  • midships (1).jpg
    midships (1).jpg
    123.8 KB · Views: 10
  • midships (2).jpg
    midships (2).jpg
    154.6 KB · Views: 8
  • midships (3).jpg
    midships (3).jpg
    117.9 KB · Views: 8
  • midships (4).jpg
    midships (4).jpg
    109 KB · Views: 8
  • midships (5).jpg
    midships (5).jpg
    156 KB · Views: 5
  • midships (6).jpg
    midships (6).jpg
    128.7 KB · Views: 8
S

Soaring

I absolutely love the netting on the ship! How do you manage to do it? Poke holes? :p
 
P

Padre

More midships structures completed, searchlight, 49mm gun, etc. All gun barrels were reprinted on regular paper so that they could be rolled tightly/easier and fit in slots better. That includes forward, mid and aft main guns.
 

Attachments

  • Mid.jpg
    Mid.jpg
    141.2 KB · Views: 10
  • Mid (1).jpg
    Mid (1).jpg
    161 KB · Views: 8
  • Mid (2).jpg
    Mid (2).jpg
    161.8 KB · Views: 11
  • Mid (3).jpg
    Mid (3).jpg
    122.9 KB · Views: 9