Garage Layout

DeckRoid

Member
Apr 28, 2007
223
0
16
Caldwell, ID
Then I decided that the earth isn't flat, so why should my layout be?

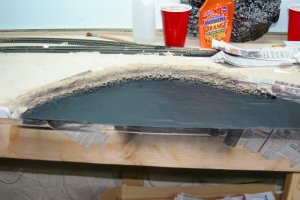
Here I take a corner piece and put up a little hill. Under the paper mache is a combination of ceiling tile and news paper. I was going to try to use the wire brush and ceiling tile technique, but I wasn't having any luck.
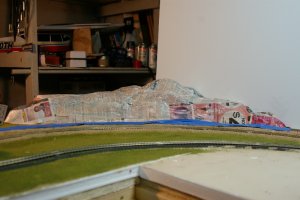
new9.JPG

Then I used the same method as Mt. Lookatthat and used a ripped up sheet to cover the 3 layers of paper mache, making a nice drum tight small mound.
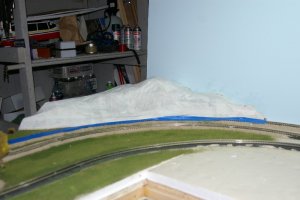
new1.JPG

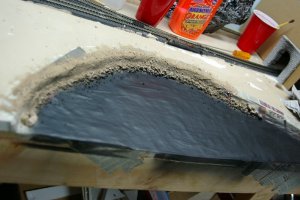
Yes, you DO see a newly formed lake. More on that later.
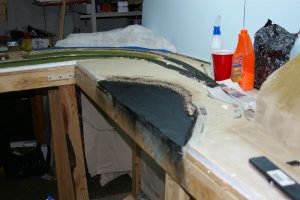
new2.JPG

Finally, I decided to go with plaster of paris on the final coat, just for something different and to try other methods.
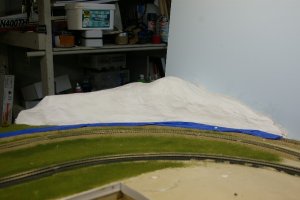
034.JPG
 

DeckRoid

Member
Apr 28, 2007
223
0
16
Caldwell, ID
As I was putting on the 2nd coat of paper mache, I got a crazy idea and just cut out a lake. No planning. No forethought. Just got a knife blade out and freehanded a cut.

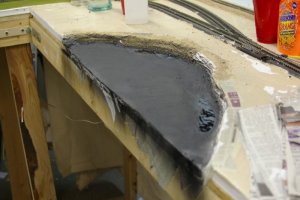
Seeing as how I was putting layers onto my mountain, I laid 2 layer into the lake and then sprayed it a flat black and added some dirt, just as a test.
new5.JPG

The result? AAAHHHH!!!
new6.JPG

Oh, the lines! The air bubbles!!

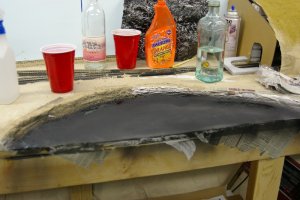
I was very torn. I thought about putting the piece I cut out back. But then cooler heads prevailed... namely this morning when I started plastering, I thought... well, I have some left over, why not plaster the lake bed and start over?
new8.JPG

I think it might do ok, now.
035.JPG

I am now studying all I can about water. All the folks who have posted pics with water have done a bang up job. I just hope I can do as good as others. Now I am reading up on water and which medium to use and all that.

Until next time...

George
 

tetters

Rail Spiking Fool!
Jan 21, 2005
879
0
16
50
Toronto, Ontario, Canada
Sometimes, the best ideas just come to us and we just have to run with them. I'm sure your lake is going to look fantastic. The rest of your layout is looking great too! Keep us posted with the pics.
 

DeckRoid

Member
Apr 28, 2007
223
0
16
Caldwell, ID
Thanks, tetters. I wish I was as optimistic as you about the lake, but this is all a learning experience. I have some things I would have done differently now that I know more, but I keep chugging along.

George
 

DeckRoid

Member
Apr 28, 2007
223
0
16
Caldwell, ID
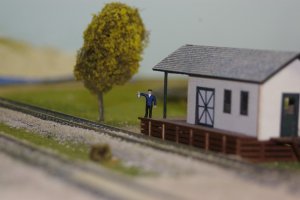
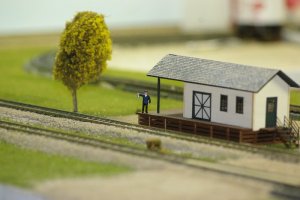
Here we see Frank hanging out at his favorite spot when he has some down time.

frank1.jpg

frank2.jpg

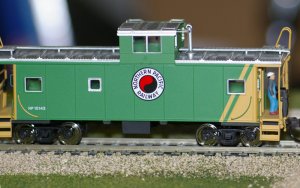
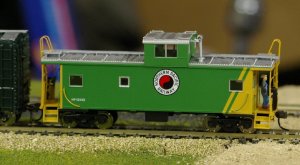
And here is Randy, signaling NP #6003 coming in for a freight drop off.
randy1.jpg

randy3.jpg
 

DeckRoid

Member
Apr 28, 2007
223
0
16
Caldwell, ID
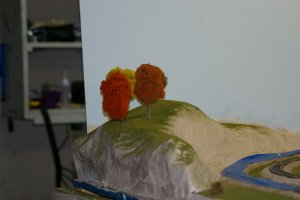
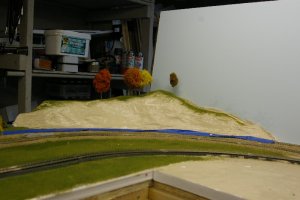
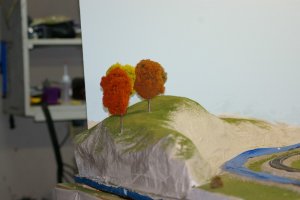
I painted Miller's Hill tonight. With the paint still wet, I added some grass and such, then got a little crazy by putting up trees before I was really ready. I still have to add some more plaster and rough it up close to the track, but that is a task for later this week.

mt1.jpg

mt2.jpg

mt3.jpg
 

DeckRoid

Member
Apr 28, 2007
223
0
16
Caldwell, ID
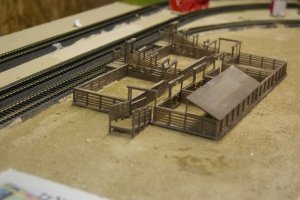
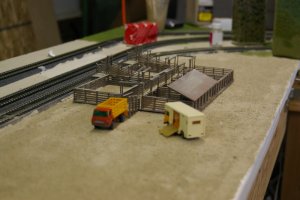
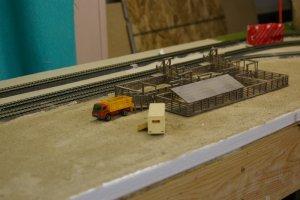
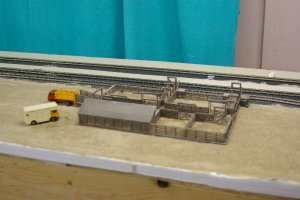
On the other side of the lake, we have Hillman's Stock Yards. And then somehow, vehicles from 30 years in the future just showed up for the photo shoot. (Couldn't find my older trucks... and just what the #@&^$&@# happened to my collection of cattle?!? I really have to get organized. This is becoming too big to keep things in unmarked boxes and stuffed onto shelves.)

stockyard1.jpg

stockyard2.jpg

stockyard3.jpg

stockyard4.jpg
 

DeckRoid

Member
Apr 28, 2007
223
0
16
Caldwell, ID
Thanks, Jesso, for the vote of confidence. I need to order some Sasquatches to populate my mountains and keep the hikers guessing.

George
 

DeckRoid

Member
Apr 28, 2007
223
0
16
Caldwell, ID
Sure is. Used to have 2 horses that came with it. Still do, in a way... my mother has them in a curio box. She basically stole them from me in 1978 and they have stayed there ever since.
 

DeckRoid

Member
Apr 28, 2007
223
0
16
Caldwell, ID
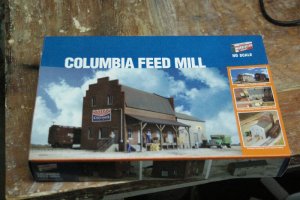
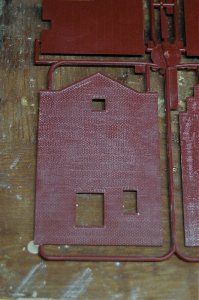
While the wife was away, I decided to bring out a model and put it together. This way I would still be doing something for my layout, but would not be leaving the wee kiddies alone in the house after they went to bed.

Here is the Cornerstone model:
feed1.jpg

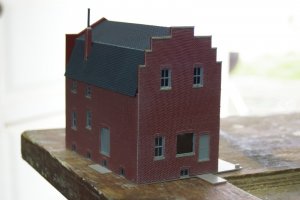
Thinking the brick needed some mortar and weathering, I read up on a How To, and saw that someone used chalk, so...
feed2.jpg

Eehhhh.... I think I did something wrong! So, I washed it off and read s'more and found someone here did a white wash that came out rather nicely, so...
feed3.jpg

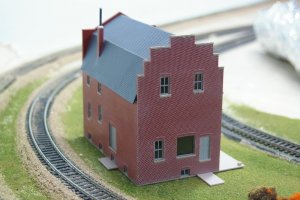
Hey, hey... that ain't too shabby. I am not the worlds best modeler, but I think it turned out pretty good...
feed4.jpg

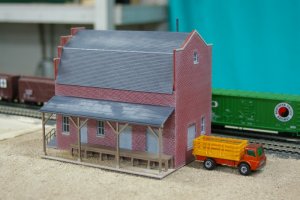
Yeah, there are some mistakes and oopses, but over all, not too bad.
feed5.jpg

Now I just need to get to the second building in the box...
 

DeckRoid

Member
Apr 28, 2007
223
0
16
Caldwell, ID
Should I or Shouldn't I? That is the question that haunts me now.

I am having some issues with my layout. Our club has been doing some adding on to our current layout, and I have now seen the proper way to build benchwork. My benchwork is slightly wobbly and some of the legs are 1/4 to 1/2 inch taller than the rest, and I didn't put in anything to raise or lower the legs for stability. I didn't think about that.

Another thing, my smooth running trains are not so smooth now. With the weather getting warmer, I am having connection issues. Last night, I spent a few hours soldering all my connections and it still didn't help alot. Oh, it helped, but not alot. I even ran my cleaning car around, same thing. Helped, but not alot.

Then there is the issue of my turns. I didn't think I would ever run passengers, so I made all my turns 18". Now I have a passenger train and would like to run it, but can't. Even my 54 footers are having issues making those turns.

I used the wrong foam; beaded foam board, not the blue or pink stuff.

The list goes on and on.

My thinking is turning more and more to taking it all out, saving my mountains and buildings, and starting fresh. Reusing the lumber, but doing bench work the way it should be done... I guess I am just frustrated at myself for not researching it further before I jumped in with both feet.

The good news is, some friendly folks from my club have offered to help out with the bench work.

wall1:curse: wall1:curse: wall1:curse: wall1:curse:

Will keep you all posted. I have to go to Washington D.C. for a week, so I will have time to think about this.

George
 

DeckRoid

Member
Apr 28, 2007
223
0
16
Caldwell, ID
Egads, what a mess. I have officially taken down my layout, carefully wrapped my stock and engines and safely put away my buildings and mountains.... then attacked the benchwork with a hammer and prybar.

Oy! That beaded foam is all OVER the place! My wife came walked in when the stuff was really flying and I was swearing and sweating and swinging the hammer like a madman. I will take pics tomorrow morning. Right now, my arms are kinda numb.

After much contemplation, I have decided to go with what I originally had in mind when I started all this a year ago. In the June 2007 MR, there was a 2nd place winner for a room size railroad. 9x11 fits my area in the garage perfectly. I will have to mirror image the layout to have the entrance accessible to me, but here is what it looks like, I mirrored the image...

http://69.24.76.219/choochoo/layout.jpg

Sorry for the file size... it's quite large.

Tomorrow is the day I hit the lumber yard for 3/8ths Fir and some 1x2s and 1x4s. I have access to a table saw, so I can rip the 2x4s into 2x2s for legs. I am going with the bench work that my club uses and that I have read in the Holy Grail of benchwork, How To Build Benchwork by Linn Westcott.

Then Weds, 2 fellas from the club are coming over to assist the building of said benchwork. With the three of us, we should at least get the forms up.

I really agonized with that 1st hammer swing. When I put the thing together last year, I used deck screws for everything, then I nailed the plywood after screwing it together. I don't know why I did this, but to unbuild this monster, I would have to work backwards.

Anyhoo... I am looking forward to the re build. I am just a bit sorry about tearing out everything I did for a year.

George
 

electric130

New Member
Aug 30, 2007
41
0
6
Charlotte, NC
i used 1x4's for my legs. nailed them length wise at a 90 deg. they were very strong at that point, but i added some diagonal pieces down from the table for extra strength.
 

Russ Bellinis

Active Member
Feb 13, 2003
4,501
0
36
78
Lakewood, Ca.
Visit site
With a layout that size, use some heavy copper wire underneath the bench work for buss wires, and then solder drops from every section of track to the buss wires. I don't remember if you are running dc or dcc. If you are running dc or want to separate the layout into blocks, cut the buss wires to separate the blocks on one rail, the other can be the common rail. Wire the blocks to the appropriate switches, and you are ready to go. You should have a much more reliable layout. Also, don't forget to clean the wheels on your locomotives, dirty wheels will give you as many problems as dirty track.
 

DeckRoid

Member
Apr 28, 2007
223
0
16
Caldwell, ID
Hey Russ,

I spent this morning soldering wires to connectors for drops. Anytime there is a connection, I am dropping wires. I am using DCC, the Zephyr system, and it's a very nice unit.

When I was having issues, I cleaned the track, wheels, and then checked connections. The issue is that my garage is not heated, or cooled, and with the beaded foam, the track was moving all over with contracting/expanding beads.

Thanks for the input.

George