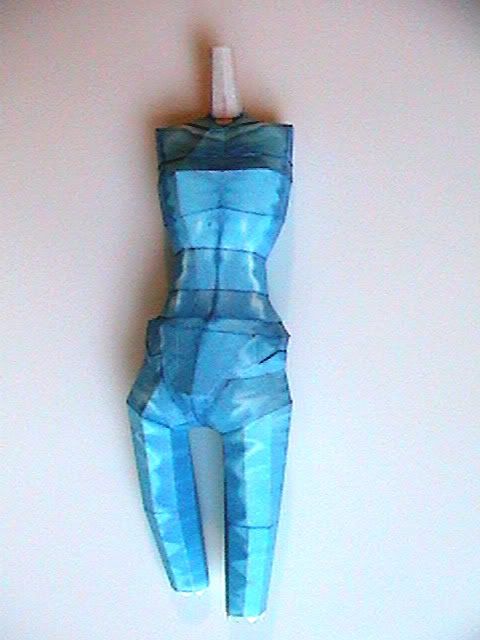
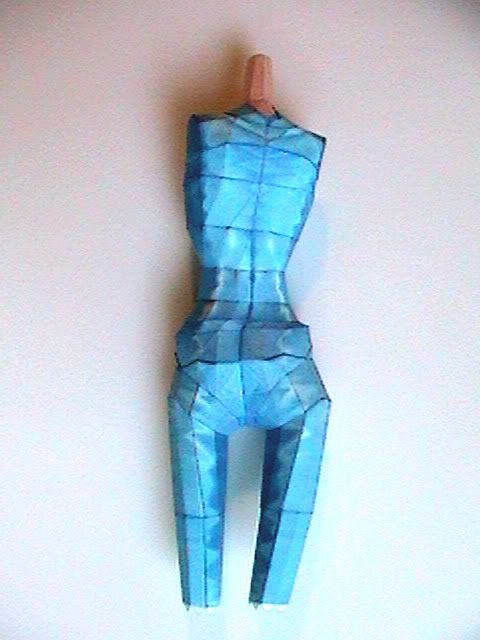
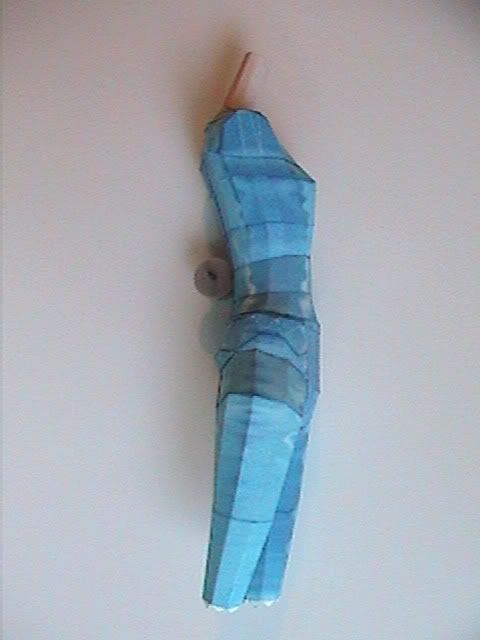
I've made some more progress fellas. The next sheet of parts contains the eight pieces that make up the Fatima's body from stomach to neck. I built from the bottom up, so the first five pieces are simply scored rings that stack one upon the other. Again, the fit of each ring to it's mate was perfect. I modified each part in my usual manner, doubling the tabs on the north side, and removing them from the south side.
The sixth part poses a little more of a challenge. It is the largest piece of the eight, and when formed, makes up her upper chest and shoulders. There are many scores to be made, which are indicated by lighter colored lines that really don't detract from the model. The seventh piece on this page of parts is saddle shaped after gluing up a few tabs, and all but closes up the body. At first glance it
never seemed like it was going to fit properly: there was a big gaping hole at the shoulders, and this saddle shaped filler appeared way too small to fill in the gap, in every dimension. But, when I gently squeezed her shoulders, the hole got narrower, and her back caved in a bit due to the scores, and viola! The saddle fit perfectly. :yep: I glued one side up, and when it was dry I applied glue to the unattached edges, squeezed her shoulders, and held it that way until the glue set. Perfect! The eighth and final part is her neck, which looks freakishly long, but her head slides down over it, so I'm sure all will be well in the end.
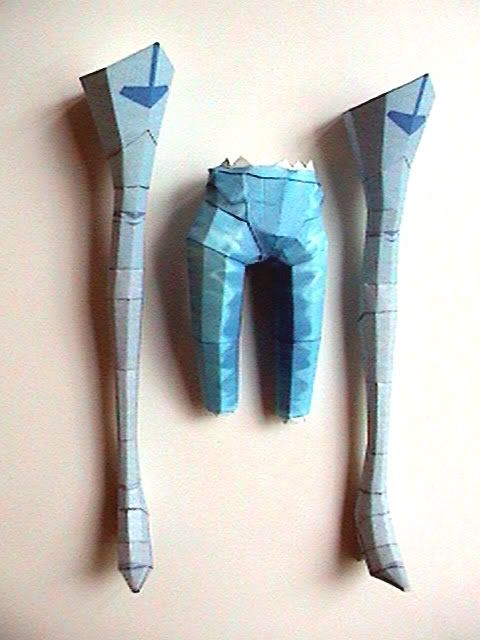
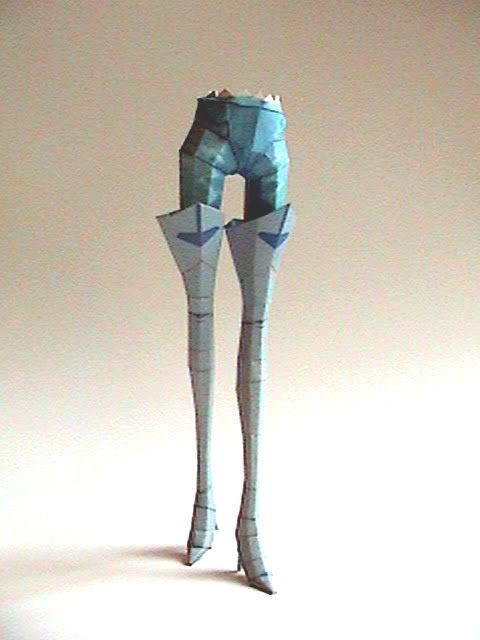
Front view
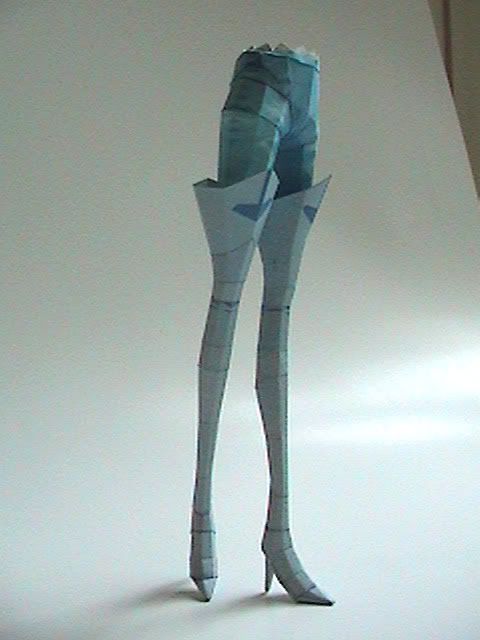
Back view
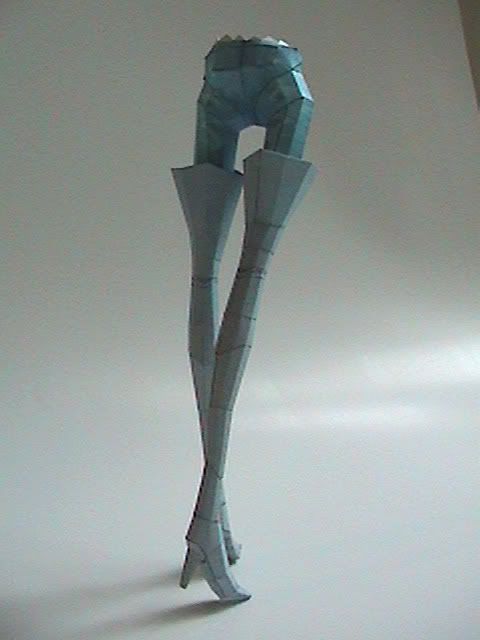
Side view (The discolored body sections in this photo are a trick of the light. Everything matches just fine)
I am very happy with the way she is coming out. I think she's very organic looking, with a realistic flow to her body. Not at all rigid like some anime models. So far she's not difficult to build at all, but I know that more challenging subassemblies are right around the corner. More soon.
Regards,
Don