Don know the fealing on one of my layouts was going to build a modest tank fabrication shop in Ho it was 4 city blocks long and 2 wide.do the math ")
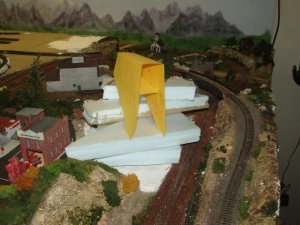
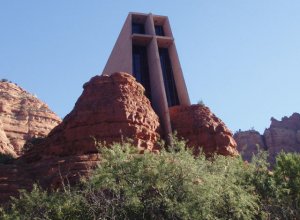
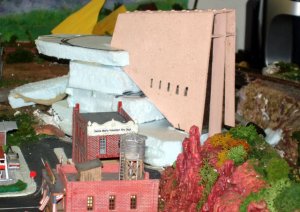
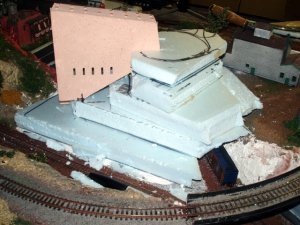
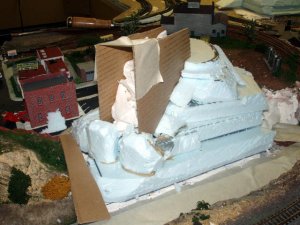
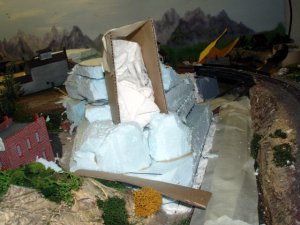
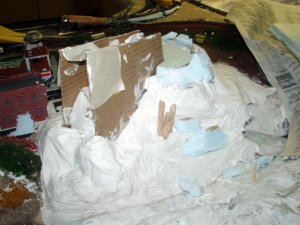
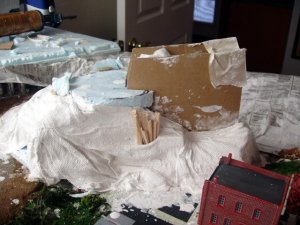
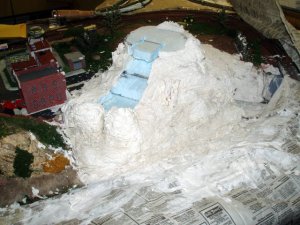
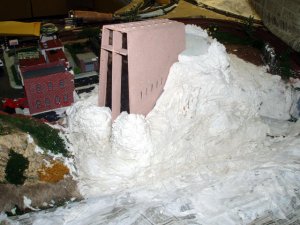
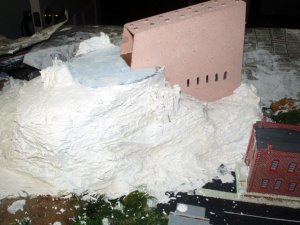
Thanks Gus. Just a few things I did to make those formations. You can see the start of the hill here in this thread. Once I got the basic shape, I took strips of balsawood and poked them into holes I made. I used joint compound and a putty knife to sculpture the rocks and spires. You can do wonders with joint compound since it takes a lot longer to set up that plaster. Just let it set up for a couple of hours after you get your initial shapes, then poke, prod and push the stuff around until it looks like you want it. It remains somewhat plyable and workable for a good eight to ten hours.steamhead said:Hey Don,
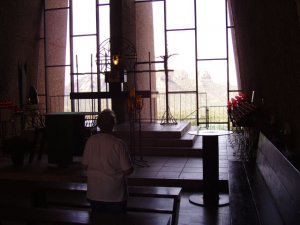
Great idea! It doesn't have to "railroady" to be on a layout, and if it means a lot to you & your wife, so much the better!!
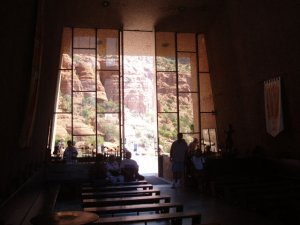
Also, I've been trying like mad to get my bluffs to look like those in your pictures, and I think I'm having some success-never actually having seen any...!!
Good luck & keep us posted!:thumb:
Gus (LC&P).
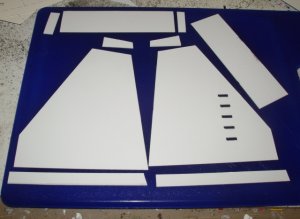
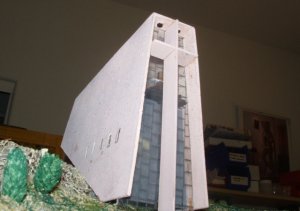
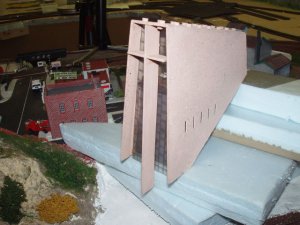
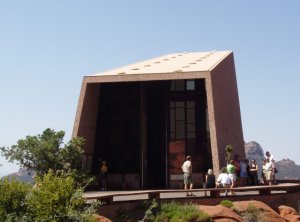
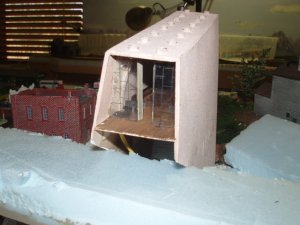
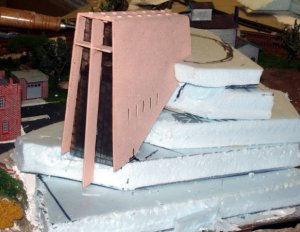
? Very good job so far. The front view is very impressive. Looking forward to see it finished.