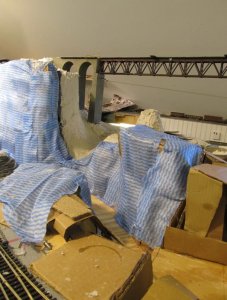
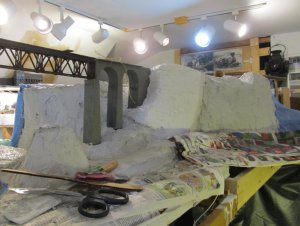
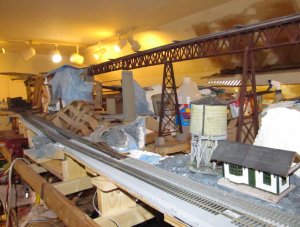
The rock work looks real good and provides a very visually strong support for the big bridge. Have you named the bridge? Tom
Eastern Tn logging on the DG CC & W RR 1928
- Thread starter Bill Nelson
- Start date
You are using an out of date browser. It may not display this or other websites correctly.
You should upgrade or use an alternative browser.
You should upgrade or use an alternative browser.
Tom, in the old Gizzard, I had a tall plate girder bridge on the narrow gauge, up about eye level, and it was called the Gizzard High bridge. that is the provisional name of this bridge, although, being about three times longer it may be deserving of a different tittle if I can come up with a better one.
I have been up there tonight with the hot glue gun, glueing handi wipes to the cardboard land forms. I'm suffering from Crafters finger, from multiple hot glue burns, but it is woth it as my mountain is starting to shape up! soon I'll be able to hook up some Hon3 track to those bridges, and run trains on them, and that will be super awesome!
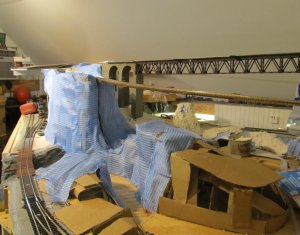
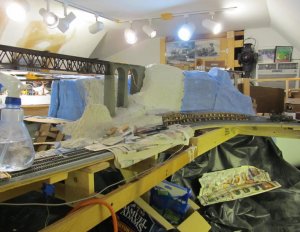
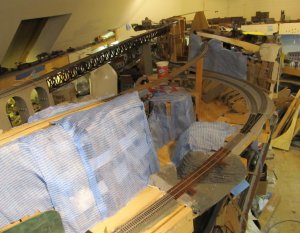
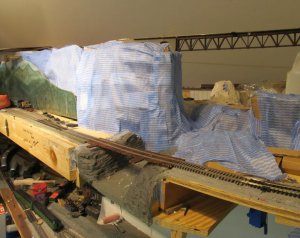
I have been up there tonight with the hot glue gun, glueing handi wipes to the cardboard land forms. I'm suffering from Crafters finger, from multiple hot glue burns, but it is woth it as my mountain is starting to shape up! soon I'll be able to hook up some Hon3 track to those bridges, and run trains on them, and that will be super awesome!


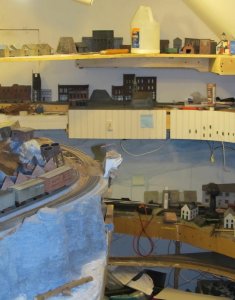
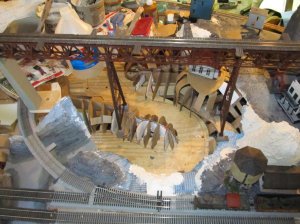 Pictures are loading again! Yesterday I was working on land forms in the Gizzard. I was working in the cool area near the back aisle, at one of the tight curves in the big S curve that the South Fork of crooked Creek makes crossing the central peninsula. the curving stream will help break up the scene, so you can't see directly across. This particular area was extra challenging, because I had to fit in the footings for the middle supports for the Gizzard High bridge, which carries the narrow gauge over this big gap in the ridges that provide visual separation between the two aisles on most of the central peninsula; but the wye, the Gizzard road,. and the creek all had to cross that ridge, and look right doing it, and this is what i ended up with..
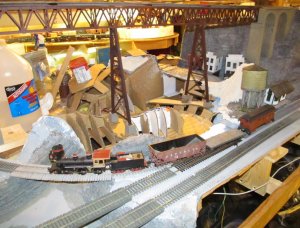
Below, making a space for the steel bridge bent's footings, while minimizing any unnatural flat space in my scenery.
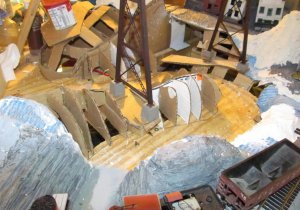
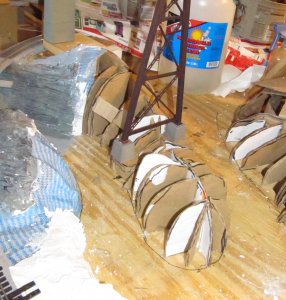
this last one shows my attempt to avoid a flat spot between the footings. Woh! did I forget to resize this one. Y'all must allow larger photos!
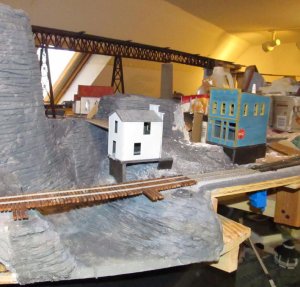
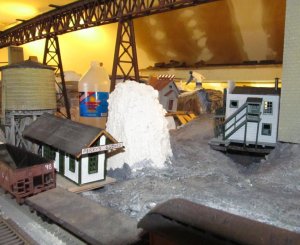
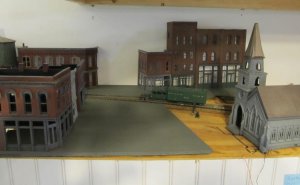
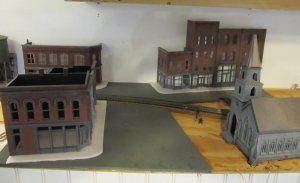
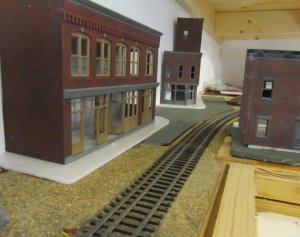
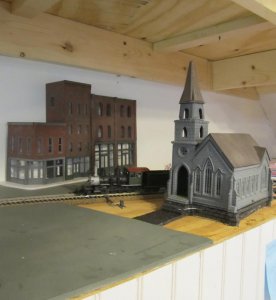
Test fitting some buildings. the Blue building is a DPM kit I did a full interior in, but have not done the detailing, and lighting yet. It's original signage said "George's Iron city Tavern, Bumpass TN. that sign was removed when Bumpass was removed and replace with Montgomery Furnace. This may now be George's Iron Mountain Tavern. in this conspicuous location, it will need full interior, and lighting, and likely some extensive porches, and outbuildings, and some of my fancy foam stone foundation work to hide it's humble origins . Note St. Joseph's from the old Gizzard in the background. finding the proper location for this has been on my mind since the plans for this area became formalized. This area was the most challenging area to plan on my rebuild. I still don't have the lower deck finalized, but I have two alternative plans that I can't decide between. this area gave me fits, as at this end of the peninsula it is very narrow. Just downhill of here there is a passing siding on this side of the aisle. there is also a passing siding on the other side. up even with the bridge there are two narrow gauge tracks, and there will be two bridges, the other will be a trestle, possibly with some log bridge elements, so this end of the top of the central peninsula is way too crowded to make good rural scenery easy. this area, and the area directly below it in Harlow, which had the identical footprint, and similar issues with complexity, were by biggest design challenges.
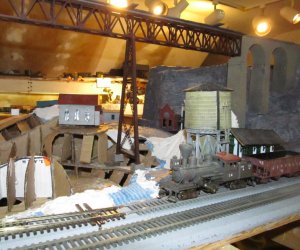
Here you can see St Joseph's from the other side I have cast a new foundation for it out of Hydrocal, and just need to carve in the front steps , but I can't locate it, so it is probably at the lake, where i cast it .
Below is the tentative building locations on the back aisle.
and last but not least an overhead view showing the path of the South fork of Crooked Creek as seen from the back aisle. (it is almost this crooked when seen from the front aisle, but I'm not there yet).
Last edited:
My wife seldom goes up into the RR room. She is kind of mad at me for tearing out my old RR. she sees a lot of the bits an pieces I build on the work bench or @ the lake, but does not see the progress up in the attic very much.
My wife has disallowed a RR in the house :ass-kicking: after 38 years and my modeling goes on in a committed "train shed" outback. Sort of like a "man shed." Doc Tom 

Boom! the fourth level shelf extension is happing!! First step was cleaning buildings, locomotives, and rolling stock off of State Line Georgia.
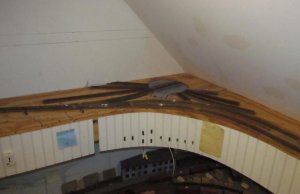
Then I had #1 son assist me in placing the corner shelf above it. note the slip joint built into the front board just to the left of the right shelf. I figured this corner was not square so I screwed each side to the wall, and then screwed the slip joint together. later I'll add some big lag bolts and washers, so the shelf will be super stout.
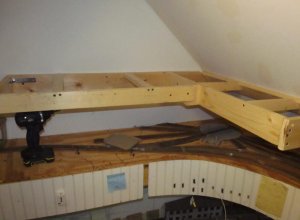
then I added the sub roadbed, which extends all the way to the center peninsula. the bottom of the plywood sub roadbed is six feet two feet off the floor, so this is a walkunder for most of us.
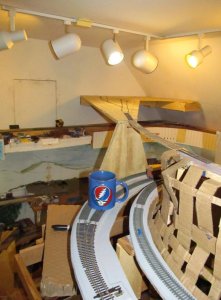
this is how the narrow gauge gets up there in the first place
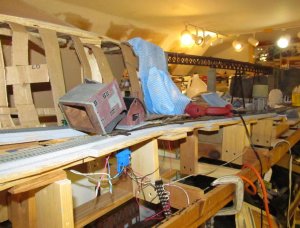
and last of all, a photo from the front aisle, showing the area that still needs a 9 inch shelf built. on the last little bit of shelf I will probably widen it to match the wider shelf over in Gegokayoosa NC. ( where the warning tape is). I need to make that part of the shelf more fore head freindly
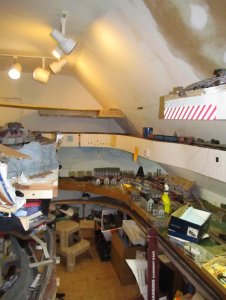
This is the first time this corner has been clean since I tore out my old central peninsula. the aisle at the end of the central penisula is four feet wide, so I could pike a lot of ***** in that corner, and still get through.
Nelson

Then I had #1 son assist me in placing the corner shelf above it. note the slip joint built into the front board just to the left of the right shelf. I figured this corner was not square so I screwed each side to the wall, and then screwed the slip joint together. later I'll add some big lag bolts and washers, so the shelf will be super stout.

then I added the sub roadbed, which extends all the way to the center peninsula. the bottom of the plywood sub roadbed is six feet two feet off the floor, so this is a walkunder for most of us.

this is how the narrow gauge gets up there in the first place

and last of all, a photo from the front aisle, showing the area that still needs a 9 inch shelf built. on the last little bit of shelf I will probably widen it to match the wider shelf over in Gegokayoosa NC. ( where the warning tape is). I need to make that part of the shelf more fore head freindly

This is the first time this corner has been clean since I tore out my old central peninsula. the aisle at the end of the central penisula is four feet wide, so I could pike a lot of ***** in that corner, and still get through.
Nelson
Thank you Ken, please let anyone you know who is interested in this kind of stuff know about this site, and share any of your work here. any level of work can inspire someone. I've been doing this for about 50 years, and I have recycled the best stuff from many long years ago. this is a great site, easy to share photos and such. For some reason unknown to me , the traffic here is way down from years past. please feel free to comment, question ect. and direct any like minded folk you know our way. A community engaged in discussion helps us all do beter work.
On Saturday and Sunday after thanksgiving I went nuts up in the RR room with a pair of bandage scissors , a hot glue gun, and lots of surplus cardboard, and the ridge on the Southern end of the monster bridge really started to shape up. Can't wait until I can get the base coat of house plaster through the valley between the ridges, so I can slather hydrocall on top and carve it, and get to where I can install both the monster narrow gauge bridges . when I hooked up the power to State line, the Standard gauge works, but the narrow gauge on the dual gauge did not. I finally got up there with a multi meter, and it seems I hooked the center rail on the dual gauge to the wrong power feed so both narrow gauge rails were hooked up to the same power feed wire. surprisingly this did not cause a short with all my fancy dual gauge track work this is so much fun!!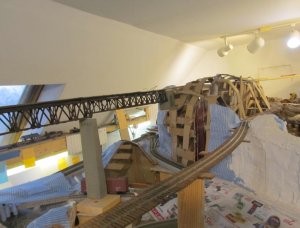
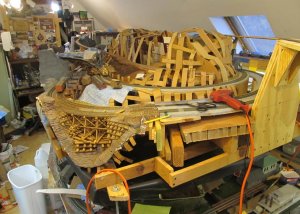
and if this isn't special enough as it is, check out what you can see out of the skylight window!
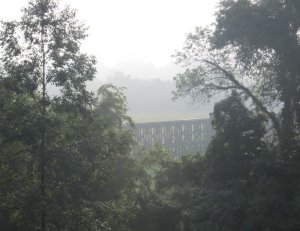
(note , an old photo the leaves are down, and I can see three times more trestle!)
Bill Nelson, Clarksville TN.
On Saturday and Sunday after thanksgiving I went nuts up in the RR room with a pair of bandage scissors , a hot glue gun, and lots of surplus cardboard, and the ridge on the Southern end of the monster bridge really started to shape up. Can't wait until I can get the base coat of house plaster through the valley between the ridges, so I can slather hydrocall on top and carve it, and get to where I can install both the monster narrow gauge bridges . when I hooked up the power to State line, the Standard gauge works, but the narrow gauge on the dual gauge did not. I finally got up there with a multi meter, and it seems I hooked the center rail on the dual gauge to the wrong power feed so both narrow gauge rails were hooked up to the same power feed wire. surprisingly this did not cause a short with all my fancy dual gauge track work this is so much fun!!


and if this isn't special enough as it is, check out what you can see out of the skylight window!

(note , an old photo the leaves are down, and I can see three times more trestle!)
Bill Nelson, Clarksville TN.
What I need to be doing the most is getting rocks done under the narrow gauge bridges so I can get them installed. So instead I'm playing with some urban scenery. Downtown Harlow is all covered with plastic sheeting to protect it from fallout from scenery on the mountain.
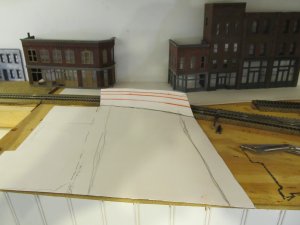
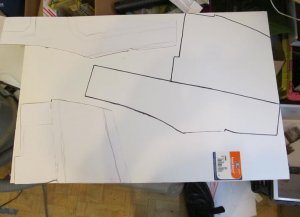
Putting a shelf above State line oddly inspired me to work on state line. I did not have the street plan figured out for Main street, so I got some poster board, laid it over the area, and made crayon rubbings to establish the exact location of the tracks, and then laid out the buildings, to figure out where the street would go. I extended the street material under where the buildings would go, to add a layer of foundation.
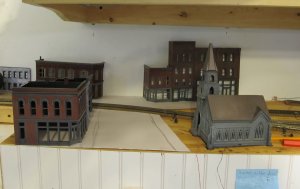
with the building, road and side walk locations nailed down on the poster board I transferred the shapes to foam core
I cut out the shapes in the foam core, and painted them, with acrylic paint on both sides to reduce warping; and glued them in place on the plywood
That looks good, so I add 1/8 inch Midwest foam, from Hobby lobby under the buildings, as another layer of foundation, and also the side walks. I'll paint the sidewalks with acrylics, and then draw the expansion cracks, and any other cracks with a ball point pen that will also impress a line into the foam
another view.
then I cut several layers of meat tray to make a new foundation for St. Stephan's. the old foundation was integral to the scenery at old Harlow, and is long gone. I like this, but I made the stairs to steep, so I will have to re do them.
Having a lot of fun with this, but need to return to the Gizzard soon!

Putting a shelf above State line oddly inspired me to work on state line. I did not have the street plan figured out for Main street, so I got some poster board, laid it over the area, and made crayon rubbings to establish the exact location of the tracks, and then laid out the buildings, to figure out where the street would go. I extended the street material under where the buildings would go, to add a layer of foundation.

with the building, road and side walk locations nailed down on the poster board I transferred the shapes to foam core

I cut out the shapes in the foam core, and painted them, with acrylic paint on both sides to reduce warping; and glued them in place on the plywood

That looks good, so I add 1/8 inch Midwest foam, from Hobby lobby under the buildings, as another layer of foundation, and also the side walks. I'll paint the sidewalks with acrylics, and then draw the expansion cracks, and any other cracks with a ball point pen that will also impress a line into the foam

another view.

then I cut several layers of meat tray to make a new foundation for St. Stephan's. the old foundation was integral to the scenery at old Harlow, and is long gone. I like this, but I made the stairs to steep, so I will have to re do them.

Having a lot of fun with this, but need to return to the Gizzard soon!
Last edited:
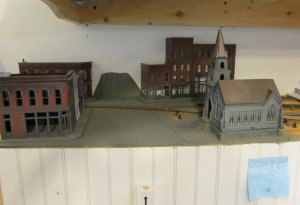
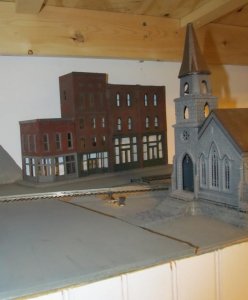
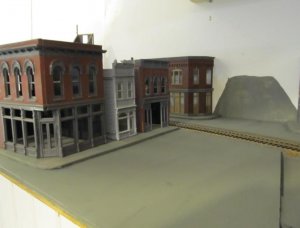
got the sidewalks painted. need to built a side walk for in front of the Church, currently un- named, need to come up with an appropriate saint name. that will be a tricky cut, as it will have to be tapered some to preserve the forced perspective I have set up with the building and road placement. I did not plan on starting the backdrop yet, but had some extra pewter gray squirted on the road and sidewalks. State line is starting to look like a place! very tempting to keep working in this area, as it is a smalll area, and some more detail will make it pop, but I need to work on things that will move me toward getting wheels rolling. Later I can pack these buildings off to the lake to work on glazing, window treatments, Led Lighting, interior detail, roof detail, and signage.


Last edited:
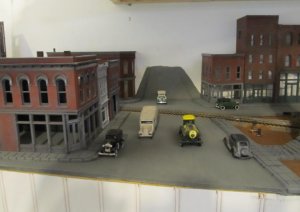
I got the ball point pen out that impressed the lines in the sidewalks. the sidewalks made from foam from meat trays is beter than the midwest foam. the meat tray foam is stronger, the pen tried to tear the Midwest foam some
I also used the pen to outline the sidewalk from the road on the backdrop. still need to do the side walks behind the tracks'
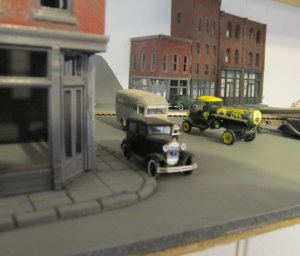
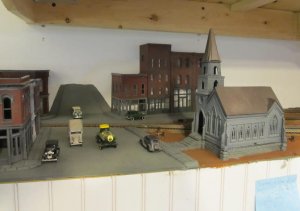
Got some vehicles out to test the look. this is 1928, got to track down the joker who parked the 1940s ford by the church.
Back from a trip to Houston TX. to visit family. finally got up to the RR rom, and decided to play with paint. I started by outlining the flats in State line in pencil
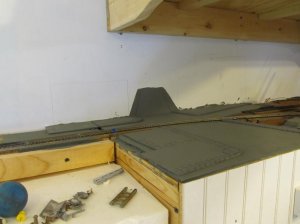
Then I filled in those shapes with black
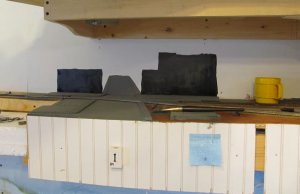
I put another coat of Sherman William's Brisk Day on the curved backdrop behind the narrow self in the SE corner of the room on the mid level
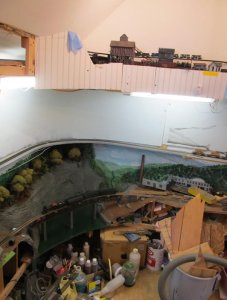
then I sketched in the mountains with some gray, and light blue mixed together
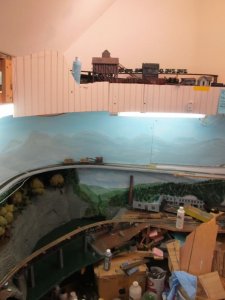
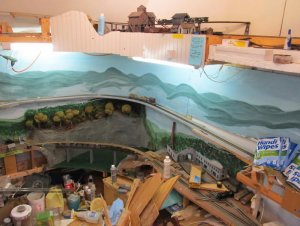
then I started sketching in some colors. I'll get to the foreground, and more detailed stuff later. State line is ready to have the remaining buildings on main street painted in.
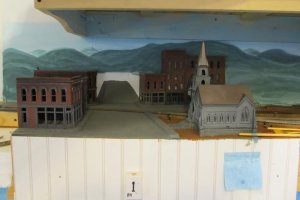
I extended the beginnings of the back drop all the way over into Crooked creek, although this area will need a lot more work, it will be easier to make the backdrops have some continuity, if I'm building on the same beginning, as it can be tricky to match paint colors well.
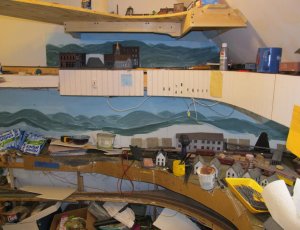

Then I filled in those shapes with black

I put another coat of Sherman William's Brisk Day on the curved backdrop behind the narrow self in the SE corner of the room on the mid level

then I sketched in the mountains with some gray, and light blue mixed together


then I started sketching in some colors. I'll get to the foreground, and more detailed stuff later. State line is ready to have the remaining buildings on main street painted in.

I extended the beginnings of the back drop all the way over into Crooked creek, although this area will need a lot more work, it will be easier to make the backdrops have some continuity, if I'm building on the same beginning, as it can be tricky to match paint colors well.

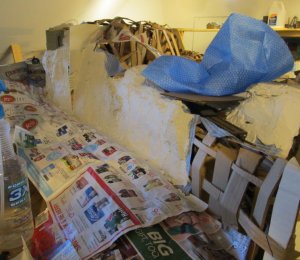
got the base coat down for a lot more of the southern cliff on the Gizzard! the Perry's gizzard wye is just under the newspaper, hopefully being protected from the messy plaster. The white cardboard sticking out of the cliff is cut from milk carton material, and is waxed to be waterproof. It is slid between two benchwork sections, so the scenery will part easier if I ever have to move this monstrosity.

I usually post off my Desk top, Accessed the site from my I pad, which forgot to stay logged on. Had to remember my password to even see this stuff. Once upon a time, one could look without being logged on, But now you have to sign up to look. I have put links to some of my stuff out there, but am getting no one even looking. Seems like we have to get folks to look, before there is any chance of getting them to contribute to the conversation.
I am back from visiting mom in Florida and am way impressed with what you have accomplished in a few weeks. Amazing!!! Hope to see it in person some time this winter. Particularly impressed with the 4th level and the combined three rail narrow gauge/standard gauge track work in the town. Good stuff.
Tom
Tom
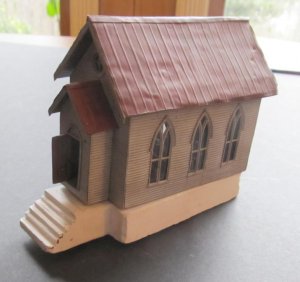
While many things are drastically different on my model railroads rebuild, I'm trying to recreate the same kind feel for locations off of the old railroad, recycling some of the buildings, and even trying to mimic some of the train features where possible, I'm making that attempt in Perry's Gizzard, even though a close resemblance will be impossible without recreating the conditions my new RR the same conditions my new railroad was built to escape ( too steep grades, and too tight curves. ) one of the signature buildings of Old Gizzard, was St. Joseph's. I tried it in several different locations in the interior of the central peninsula, before deciding that , due to the level of detail, it had to be near the aisle, so the detail could be seen , and appreciated. That left only one spot, on the front aisle, as track, mountains, and or the creek took up all the other near aisle real estate. This displaced another building, but it did not have the level of detail that St. Joseph's has.
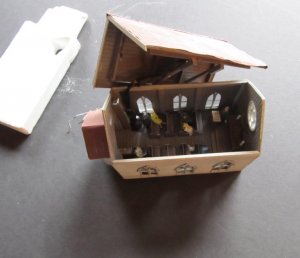
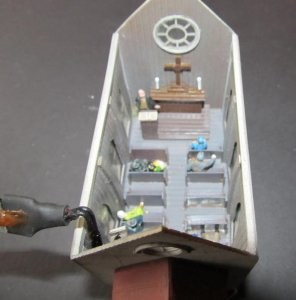
From time to time I undertake a project which I characterize as a stretch project. on such a project I endeavor to use new and different materials or techniques, and or push the level of my workmanship up a notch to turn out something well above the quality of my normal workmanship. These projects help me expand my skill sets, and refine my skills. St Joseph's was one such project with me testing my limits on scratchbuilding with styrene Evergreen styrene sheets and dimensional material, Grant line windows, Williams metal roofing, and the HO people were the only commercial parts . . The water powered sawmill in the gizzard was another my Crooked Creek Engine House / Shops was another, as were my Surry-Parker log loaders, and my Union Station projects.
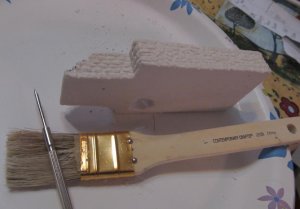
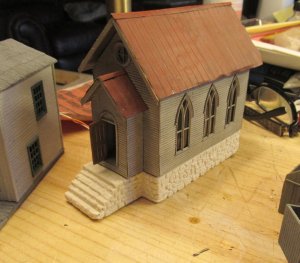
When I built St. Stevens, I had a particular spot in mind, and I built no real foundation for the model. it sat on some strategically placed chunks of limestone, and had a set of wooden stairs leading up to it. that was all pretty much integral to the Old Gizzard, and went out to the midden heap with the old Gizzard, along with the substandard foundation for the water powered sawmill. last year, I had made forms out of styrofoam insulation, and bamboo skewers, and poured hydrocal foundations for the sawmill, and St. Stevens. I have done most of the carving on the Sawmills foundations, but had not started on St. Stephen's and I'm working on the area where St Stephen's is going, so it was time to get on it.
I had to drill some holes through the foundation blank to pass the LED lighting wires through. ( I still need to drill corresponding holes through the plywood below), and then I soaked the hydrocal in water for a while to get it soft enough to carve. now that it is carved, I need to let it get thoroughly dry, before I try my hand at staining the carved hydrocal with thinned oil paint. I have not been satisfies with painting hydrocal with acrylics, and if oils work nicely on this project, I may try using them on scenery as well.
a few more days for the hydrocal to dry, and this will go up onto the mountain!


