Don't laugh too hard...It's my first attempt!

holdenburg

New Member
Dec 29, 2006
64
0
6
70
Florida
www.nettechonline.net
This looks like it will develop into something very nice!

Nazgul said:
More pics:

View attachment 35489

View attachment 35490

View attachment 35491

View attachment 35492

As with the first building, I still need to get window treatments , signage etc...

Still trying to start scenery...........:cry:
Take care:wave:

Hi Steve...
Nice shot of the Station in the background... Your idea here with the elevations at the house kits is very interesting. Again, everything is looking very polished and the weathering is top notch!
It was nice to see the INDEX and the last link that shows the shots of the elevated portions with your passenger train. Very nice stuff... !!:wave:
Herb
 

Nazgul

Active Member
Jan 22, 2006
992
0
36
63
Ohio
Deano...thank you Buddy:thumb: ;)
Herb...Thank you for the nice words:thumb: ........whether or not these exact buildings will remain in their current places, remains to be seen (if not, something very similar will take their place). Actually, that section is the part that is clearest in my mind, it really all depends on what will fit when the "land formation" is complete. I will try to leave as much room as possible.
Galen...Thank you:thumb: ....I learned a lot doing these two kits and I am looking forward to trying other types as I reach those stages.
Now, about the river..............................................
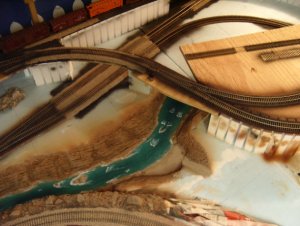
Here's what I have going right now:
end of river.jpg
When I made the decision to end the river here (under the elevated section), I planned on using a mirror or perhaps even a stone arch as a kind of large culvert to give the illusion that the river continues on. I just felt that I wanted as much room for a town or structures as I could get. You may be able to see the start of a "beach" scene down there.....or fishing. Any way, my thinking hasn't changed and I am committed to at least trying to make it look on a par with the rest of the layout...of course I will listen to any and all suggestions.:)

I am going to post some pics of tonight's project in a separate reply......................
 

Nazgul

Active Member
Jan 22, 2006
992
0
36
63
Ohio
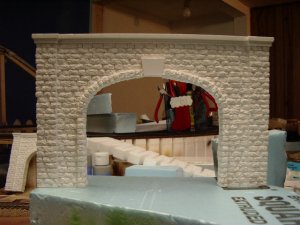
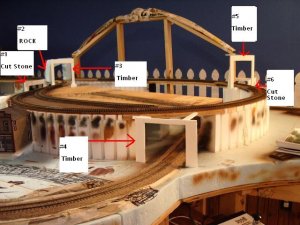
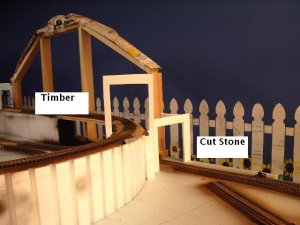
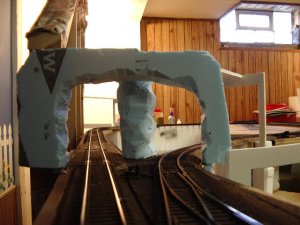
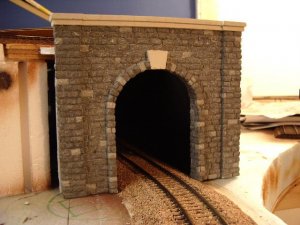
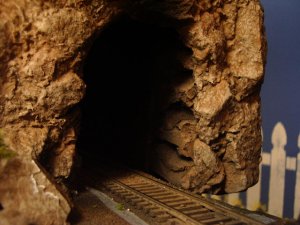
I have finally gotten started on the scenery...............there are 6 tunnel portals on this section of the layout (hard to believe there could be that many) 2 of them are doubles. One, I will make myself (rock) as I have done previously, 2 will be WS cut stone, and the last 3 will be timber portals. I have finished the bare bones of the rock portal and tonight I painted the two cut stone portals:

Woodland Scenics cut stone portal as it comes out of the box (don't make fun of my "tool holder" in the background):D
Structures 178 small.jpg

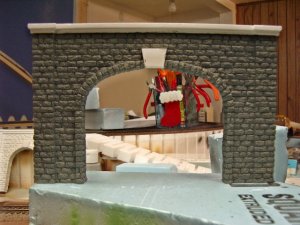
First I panted the cut stones with a medium/dark gray
Structures 179 small.jpg

Next I painted individual stones with a lighter grey
Structures 180 small.jpg

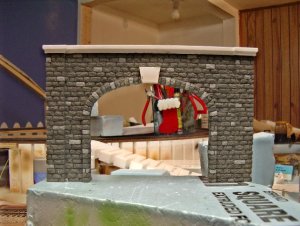
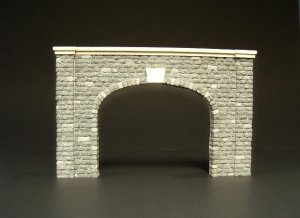
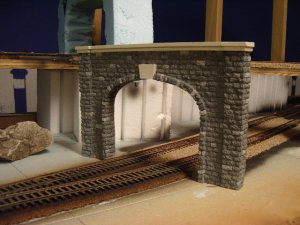
Lastly, I painted the cap and "keystone" (I hope that is right) a tan/cement color and gave the portal a very thin wash with the same tan color....this is the result
Structures 192 small.jpg

Structures 197 small.jpg

I still need to do some soot/exhaust discoloration and maybe some general weathering. It was a very easy project...........but it did require a LOT of patience to do all the painting and staining but it was a lot of fun to do.

Take care:wave:
 

cnw1961

Member
Jan 7, 2006
846
0
16
65
Germany
Steve, your new buildings are looking great. Your weathering makes them look much better than I’d expect it from plastic snap together kits :thumb: . Glad to see you making progress again – I am really looking forward to see what’s coming next. :wave:
 

UP SD40-2

Senior Member
Apr 29, 2006
2,709
0
36
58
OUTSTANDING JOB STEVE!!!:thumb: :thumb: :thumb: randomly painting some of the stones a lighter color, and the weathering made ALL the difference in this project;). WELL DONE!:thumb:
:D -Deano
 

Nazgul

Active Member
Jan 22, 2006
992
0
36
63
Ohio
prodigy2k7...Thank you:thumb:
Kurt...Thank you:) and I'm glad you're back:thumb: ;)
Mrplow123...Thank you...good luck on your portals:thumb:
Deano...Thank you Buddy, for the kind words:thumb: ...It was a learning experience and hopefully it will make the next ones easier.

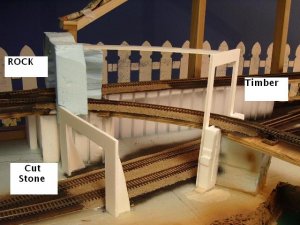
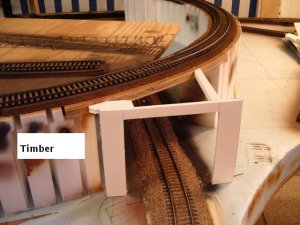
I went to my LHS in search of WS timber portals. Can you believe they were totally out? Not even one:cry:. I have to get on with the plaster work so I made some tunnel openings out of gatorboard and will butt the portals up to them when the plastering is done. Here's what I have:

There will be 6 portals:
photos 136 small.jpg

photos 124 small.jpg

photos 135 small.jpg

photos 128 small.jpg

photos 122 small.jpg
I know it doesn't look like much but that actually took me quite a few hours (and that was just cleaning off the layout to start!:D)
So, I will be starting the "basket weaving" next and so on and so forth....:)

Take care:wave:
 

ocalicreek

Member
May 4, 2005
824
0
16
48
Puyallup, WA
groups.yahoo.com
Sorry to hear about the hobby shop woes. I hate it when that happens! But your solution crafting spacers is a resourceful one, something we've come to expect from you!

Of course...now you've inspired me to perhaps jump the gun and do a little tunnel-work for my layout. Not on the plans as drawn, but in the back of the head for some time now. That is, once the scalescenes freight house is finished...and maybe after I add a few more details to the Shifter...and finish off a half dozen other projects...

Looking great, can't wait to see the progress!
 

viperman

Active Member
Mar 13, 2006
959
0
36
41
Carol Stream, IL
Wow Steve, great progress! Love the portal you painted, and that blue foam one should come out great too. Only thing I have to say is, why didn't you use Floquil "Aged Cement" for the keystone, rather than a lighter color? the Aged Concrete really does look great, just like aged concrete
 

Nazgul

Active Member
Jan 22, 2006
992
0
36
63
Ohio
Josh...Thank you...it may look almost as cool as the new layout you are planning!:thumb: :thumb: :thumb:
COMBAT...
That is some straight track!
I have no clue how that could have happened.:D
Galen...thank you! I have been watching your scalescenes project (amazing how printed paper can look like real brick):thumb: :thumb: :thumb:
Can't wait to see the finished product
Steven...
why didn't you use Floquil "Aged Cement" for the keystone, rather than a lighter color? the Aged Concrete really does look great, just like aged concrete
I usually try to use what is on hand. You have to remember that the face will be blackened a bit and I will be doing some weathering (dirtying) after I get some rock/dirt/groundcover around and on top of the portal. The "cement" also looks lighter in pictures than in person due to my poor lighting no doubt.

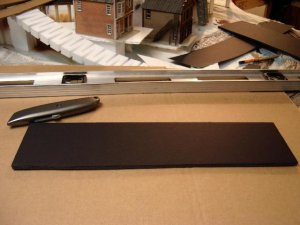
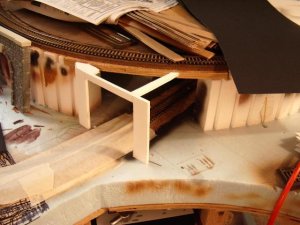
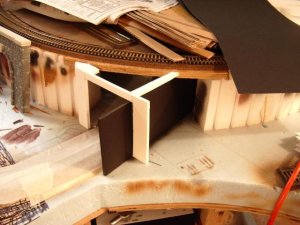
I haven't been able to spend the amount of time on the layout as I would like but I managed to cut and test fit the tunnel wall pieces. I decided to try a gatorboard-like product for this. For those that don't know, gatorboard is a thin sheet of foam sandwiched between two sheets of paper...in this case, black paper and foam.
photos 150 small.jpg

photos 151 small.jpg

photos 152 small.jpg

photos 154 small.jpg
For the curved tunnels, I scored one side of the material so it could be bent....
I really like using this stuff although there are other cheaper ways to do it.
I hope to get more time for scenery the rest of the week.

Take care:wave:
 

UP SD40-2

Senior Member
Apr 29, 2006
2,709
0
36
58
Steve:wave:, THANKS for the progress report:thumb:, though it just made me anxious to see more;). looks like its coming along GREAT so far:thumb:. cant wait till your next post:D. GREAT JOB STEVE, THANKS!:D -Deano
 

viperman

Active Member
Mar 13, 2006
959
0
36
41
Carol Stream, IL
That gatorboard stuff looks good lining the tunnel.

I'm all for using what's on hand, but I have just about nothing on hand, so I've had to buy almost everything new for my layout. This is why I've been making such slow progress
 

ocalicreek

Member
May 4, 2005
824
0
16
48
Puyallup, WA
groups.yahoo.com
Steve - I've used heavy duty aluminum foil as a lining, primarily because it was flexible. Not sure if I described this technique before, but here 'tis anyway. One edge was glued to the track base, while the other was left loose so that I could bend it up out of the way to retrieve/rerail errant trains.

First, I crumpled it and un-crumpled it to give it a blasted rock texture. Then I painted it black - a good heavy coat to keep any shininess covered. Then came light dustings of gray from the direction that would eventually be the tunnel portal - to provide a strong light/shadow effect. Lo-temp hot glue secured it in place, after roughly forming it to shape. All the painting was done with spray cans, but you're so good with the airbrush I'm sure it would be just fine as well, if not better.

At least you're making progress...no matter how quickly or slowly. You have already accomplished in a year+ what others spend years only dreaming about. Keep at it, good buddy! (That last bit goes for you too, Viperman)
 

wickman

Member
Dec 8, 2005
546
0
16
62
Ontario canada
Holey bat cave robin you talk about alot of portals :thumb: Isn't the scenery end a nice break ? I like the idea of the different elevations for the buildings , perhaps you may want to give some thought to the rear of the building being in a sort of dug out area on the front of a hill while the front has a high rise deck sort of setup and a path leading upto the buliding from a dirt road down below.:wave: very nice progress Steve I've been slacking , not much time with my job for Microsoft doing Vista support , and year end book work for the business , and the daughters room needing painting and having to move my candle making equipment home and and and ... :eek:ops: . But on the briter side I'm going to take a stab at making trees.
Oh yes I really really enjoyed your how to for the waterfalls.:thumb:
 

Nazgul

Active Member
Jan 22, 2006
992
0
36
63
Ohio
Deano...Thank you for the encouragement!
Galen...I do have a plan for dressing up the immediate entrance to the tunnels if the interior is noticeably too smooth. I will carve a thin piece of blue foam and paint it the rock color and put it on the walls just inside of the portals...like this:
photos 182 small.jpg
(although the aluminum foil sounds like a winner)

Lynn:
perhaps you may want to give some thought to the rear of the building being in a sort of dug out area on the front of a hill while the front has a high rise deck sort of setup and a path leading up to the building from a dirt road down below.
I saw a pic of a model water tank that was built into the side of a hill...I always thought that I might need to do something like that, but, I had forgotten all about it....thank you for reminding me and the excellent input!!!:thumb:

Well, I have gotten something done....
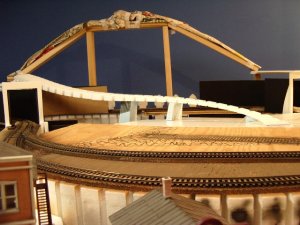
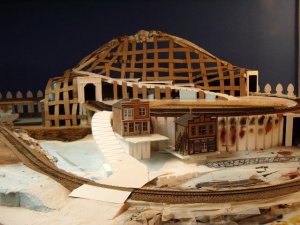
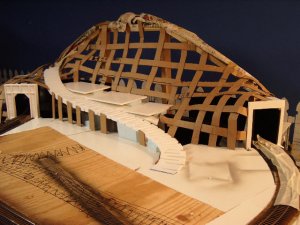
I have tried to maximize the usable space and also add a road going up the top hill. Just trying to figure out how to make it work took me quite a while. Then I bounced some ideas off a couple of friends and came up with this:

photos 170 smaller.jpg

photos 178 small.jpg

photos 175 small.jpg

Whether or not I use the level areas I incorporated into the hillside along the road remains to be seen. I put them there so if I chose to to put a house or two...I would have a place. If it looks wrong, then I can always cover them up. I hope to start plastering within the week. I also have ordered two more timber portals, for a total of 3.
More as I progress......
Take care:wave: