Colourless Chippy Voyager
- Thread starter 22point8
- Start date
You are using an out of date browser. It may not display this or other websites correctly.
You should upgrade or use an alternative browser.
You should upgrade or use an alternative browser.
Thanks D-Whale, I saw that new Nothings Voyager on papermodelers, I'd love to be able to make it but I'm not that skilled! I suppose I could just use fast draft to print (save blue ink), even if it doesn't look so good. Can you think of a goof TNG era federation ship that should be easy to build?
hmm, easy to build? Maybe the new (bigger) ENT-E or the Akira (both form Zousho)! Or my Freedom and the Cheyenne class!
I think I'll wait and see how Paragons overhauls turn out before attempting anything else, I hope they have optional windows ( so that if they look a bit tricky I don't have to use them) like your nebula, the Enterprise D with saucer separation sounds cool.
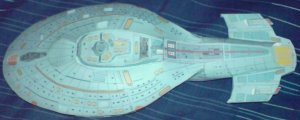
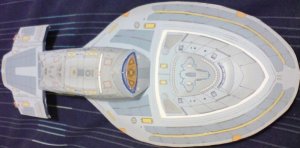
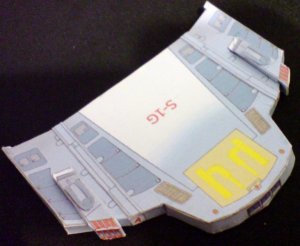
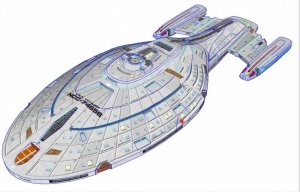
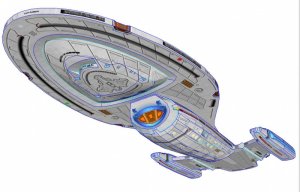
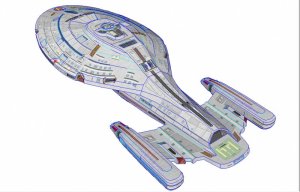
I've decided to do a coloured one. I did a trial build (all the parts were a different shade of blue due to my stupid printer) to see what order to do things in, and came to the conclusion that you start with the rear bit where the warp nacelles attach. Next is the main body, don't bother with the bulkheads, just remove the glue tabs from one side of the pieces that join. Then start on the bottom half of the saucer section, then attach the side bits that link the top and bottom making sure the thrusters line up, then glue this part to the main body. Then the top of the saucer, I did the outermost part first doing the sensors and small deflector dish, then the windows, then the middle part, and windows, then the bridge. The bridge is hard but what I did was not fold any of the tabs on the circular part of the bridge, just match up the ends. The bridge is the hardest part.
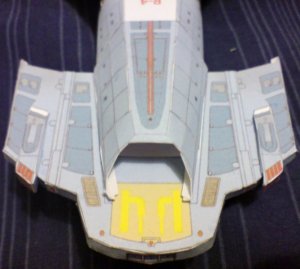
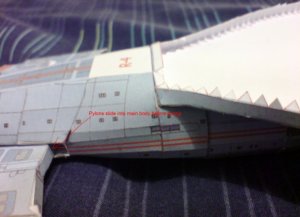
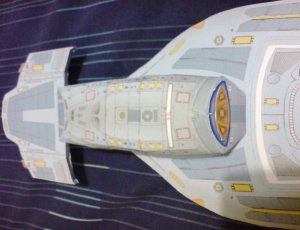
Anyway, here are some pictures of the trial build and the one I'm working on now. The first is the trial, the rest are in progress. Any help on the nacelles would be appreciated.
Anyway, here are some pictures of the trial build and the one I'm working on now. The first is the trial, the rest are in progress. Any help on the nacelles would be appreciated.