

Building of The RK&M: The Cement Distributor
- Thread starter TomPM
- Start date
You are using an out of date browser. It may not display this or other websites correctly.
You should upgrade or use an alternative browser.
You should upgrade or use an alternative browser.
hi tom---i guess i'm so use to viewing the photography section that i have overlooked a lot of other great sites on the forum---this is great stuff,thanks for the step by step tutorial---very inspirational and also good for building confidence for the beginners like myself who are still dreaming and planning for creating our layouts---thanks again,nutbar
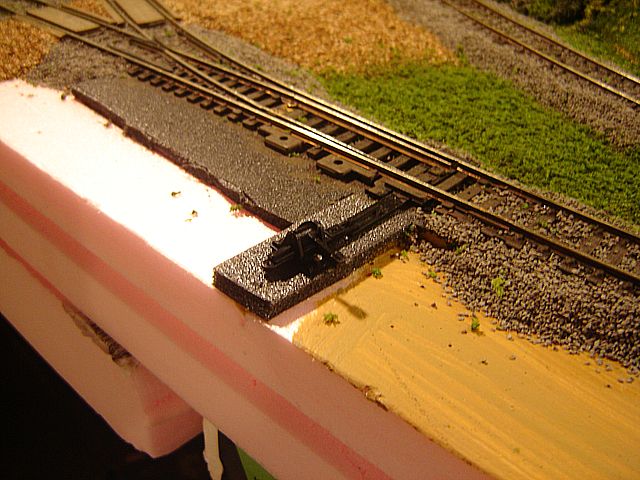
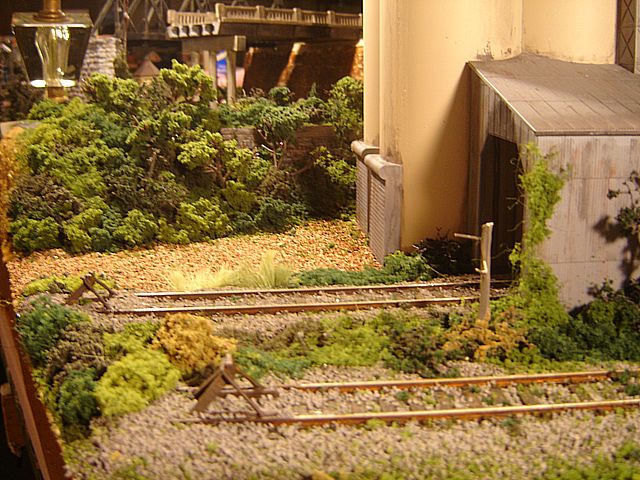
I finally got around to finishing the ballasting of the turnout and around the ground throw. OK I mean I worked up the nerve. I did and everything still functions.
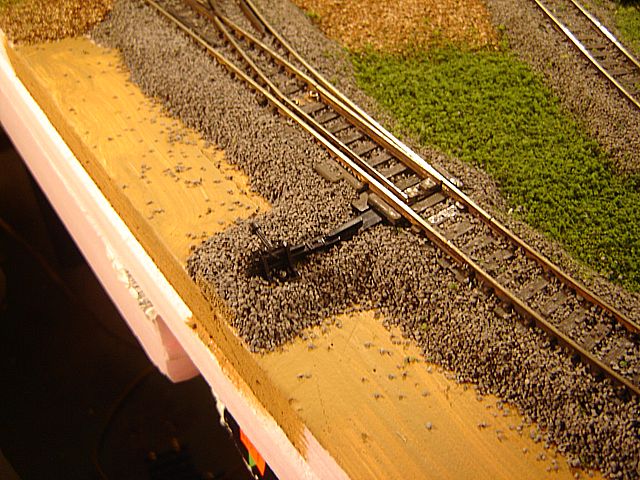
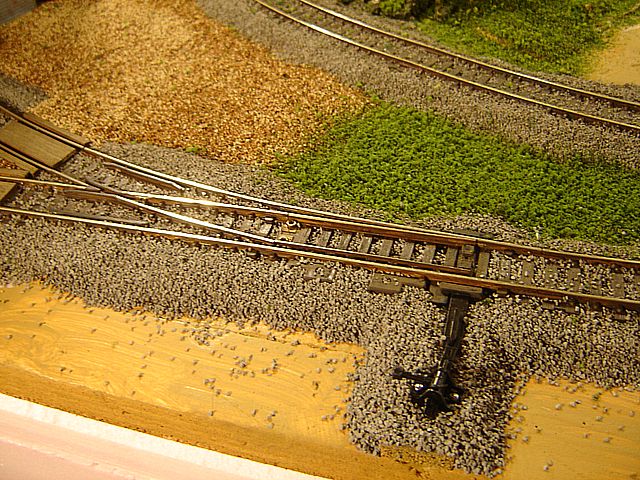
Next will be adding the ground turf. I also have some weathering to do to the ground throw and around it.
Next will be adding the ground turf. I also have some weathering to do to the ground throw and around it.
Thanks folks!
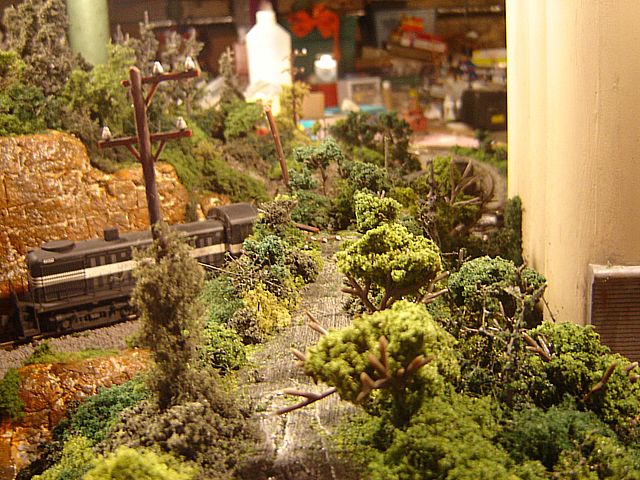
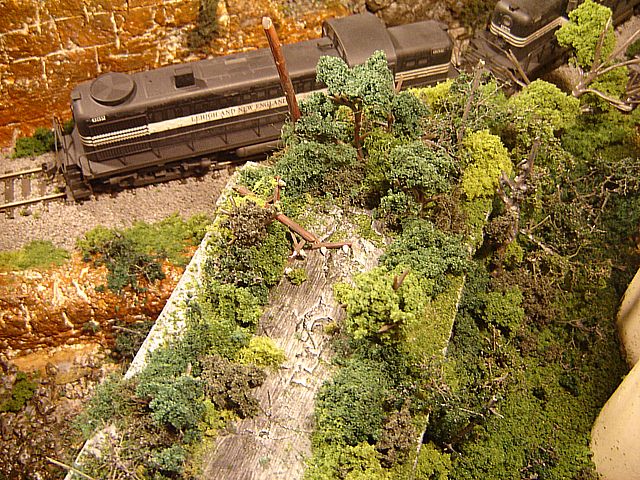
I have been adding trees, foliage, fine leaf foliage, and clump foliage around the abandoned road area.
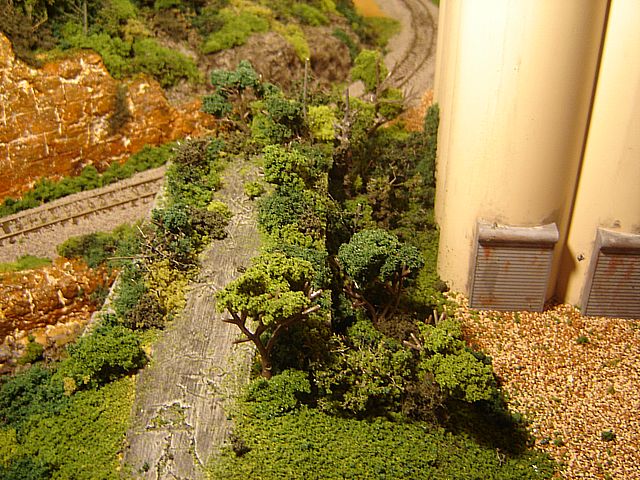
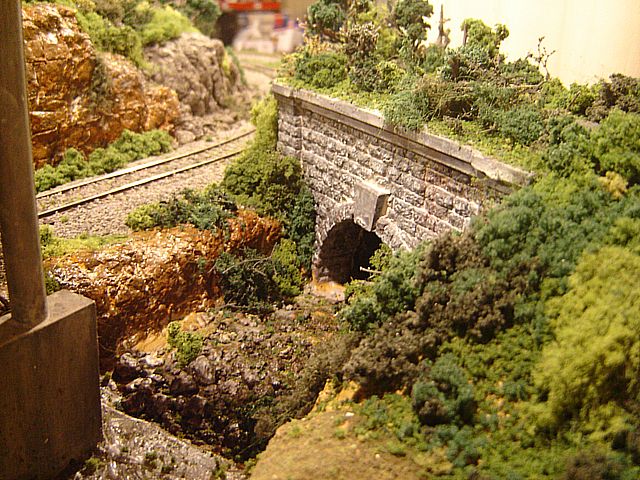
I have been adding trees, foliage, fine leaf foliage, and clump foliage around the abandoned road area.
A little foilage does make a REALLY BIG differnce.:thumb: :thumb:
Nice job. O and I love that creek coming out of the culvert :thumb:
Nice job. O and I love that creek coming out of the culvert :thumb:
Thanks folks!
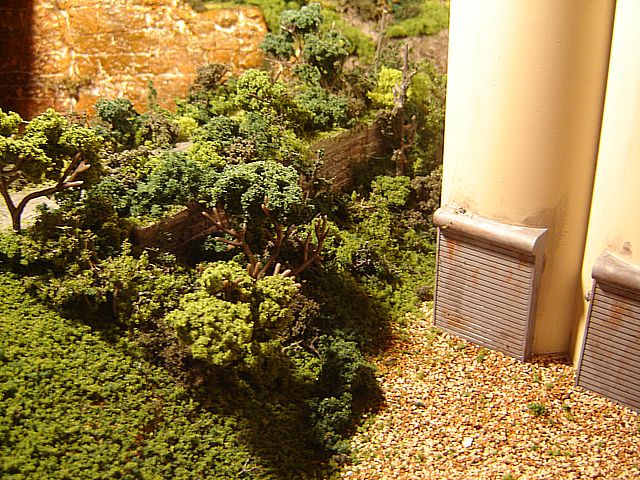
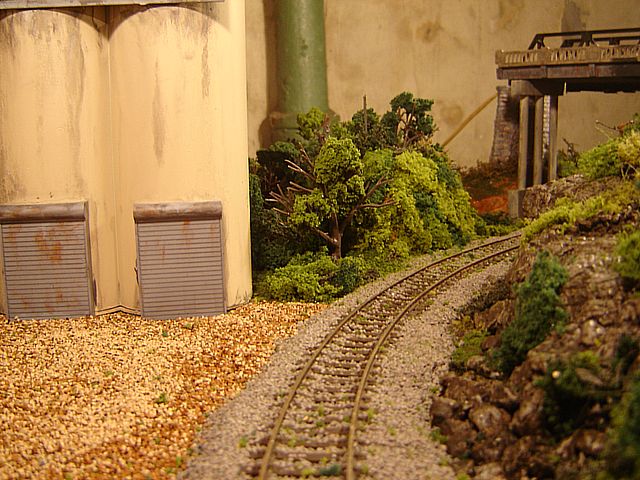
I placed some trees, clump foliage, foliage, fine leaf foliage, and field grass around the cement distributor.
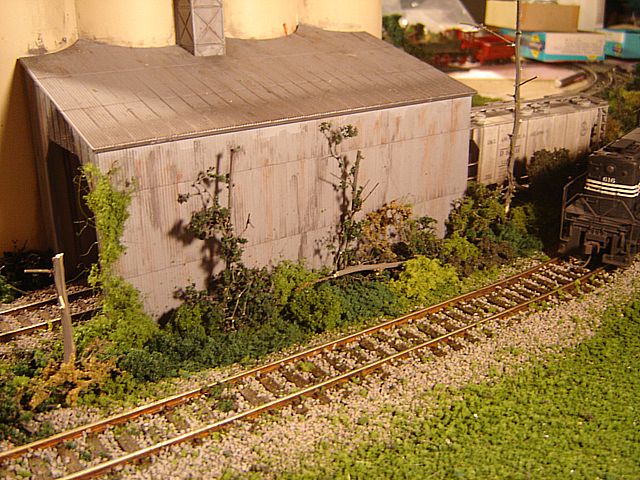
I placed some trees, clump foliage, foliage, fine leaf foliage, and field grass around the cement distributor.
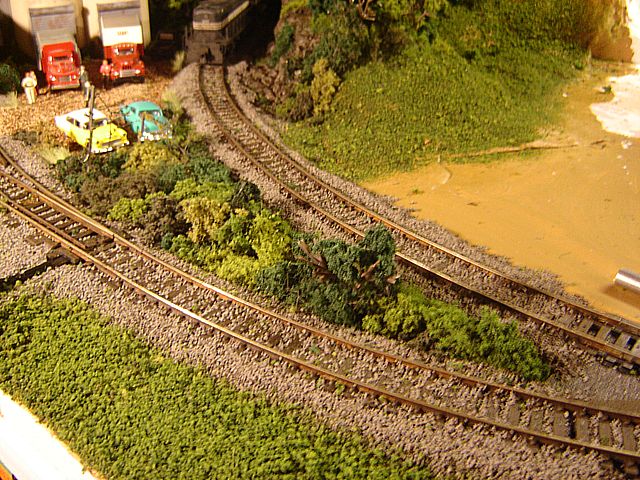
that reminds me of the Highway on Staten Island, NY. A while back, there was supposed to be an interstate built through staten island, but halfway through construction people had the project shut down, so now the highway becaomes a small 2 lane road, that goes next to the semi-finished yet abandoned road bridges. It looks alot like that, but with traffic signs sticking out of the shrubs and brush.
Pretty cool stuff.
Pretty cool stuff.
Thanks!
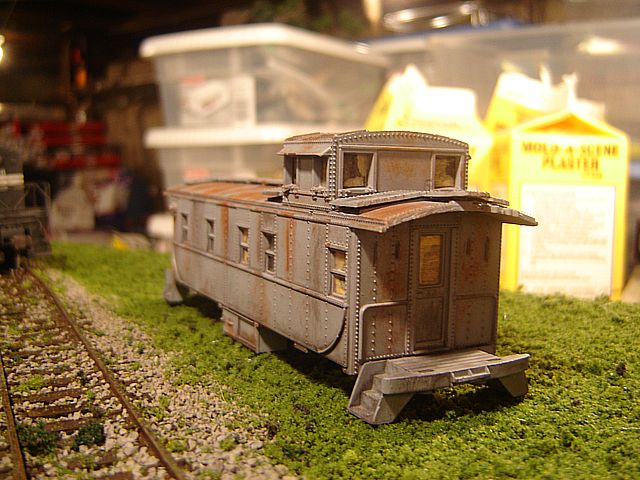
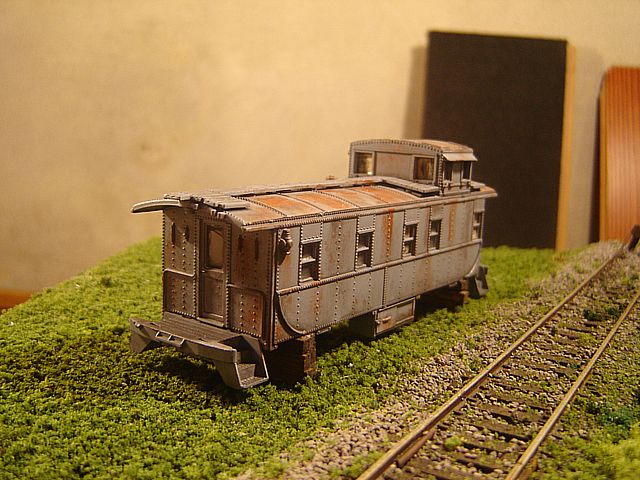
I needed an office for the Cement Distributor. I dug through the junk box and found this old caboose. A quick coat of Folk Art Amish Blue and a place near the cement distributor.
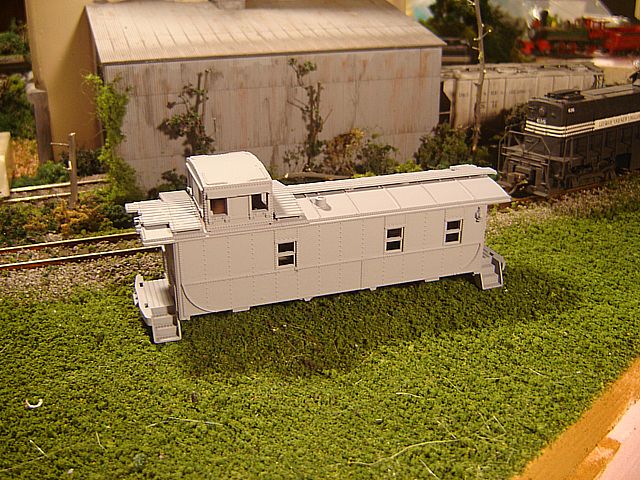
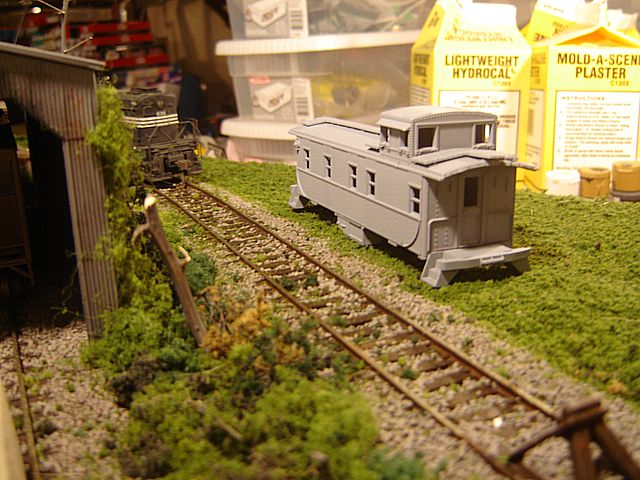
Next I need to add some glass and boards to the windows and some weathering.
I needed an office for the Cement Distributor. I dug through the junk box and found this old caboose. A quick coat of Folk Art Amish Blue and a place near the cement distributor.
Next I need to add some glass and boards to the windows and some weathering.
Very nice work sir. This has to be one of the best examples of how well Atlas Snap track can look if the time is spent to make it look real rather than like cheap plastic.
If you wouldnt mind could you give us more detailed steps on how you where able to make the track look the way you did. I would really like to see step by step HOW TO make that track look so good and im sure many others would as well too.
Thanks and keep up the good work
If you wouldnt mind could you give us more detailed steps on how you where able to make the track look the way you did. I would really like to see step by step HOW TO make that track look so good and im sure many others would as well too.
Thanks and keep up the good work
Hi,
Great work going on around that cement distributor...!!! I used your "Dab'em" painting technique with cosmetic sponges to weather (partially) my lumber yard (see your "Hump or RTR" thread- I would post a link here, but don't know how...). I like it!! Can't wait to use it on scenery!! (First I gotta build some more...)
Great job...!!!:thumb:
Gus (LC&P).
gottaBreal said:Very nice work sir. This has to be one of the best examples of how well Atlas Snap track can look if the time is spent to make it look real rather than like cheap plastic.
If you wouldnt mind could you give us more detailed steps on how you where able to make the track look the way you did. I would really like to see step by step HOW TO make that track look so good and im sure many others would as well too.
Thanks and keep up the good work
Thanks!
I have started the next section of the layout and I am at the point where I need to weather the track. You can see it here: http://www.the-gauge.com/showthread.php?t=21108 . When I weather the track and ballast it I will go inot more detail in that topic.
Thanks and glad that it worked for you! That is the great thing about these forums. Learning stuff and passing it on.steamhead said:Hi,
Great work going on around that cement distributor...!!! I used your "Dab'em" painting technique with cosmetic sponges to weather (partially) my lumber yard (see your "Hump or RTR" thread- I would post a link here, but don't know how...). I like it!! Can't wait to use it on scenery!! (First I gotta build some more...)
Great job...!!!:thumb:
Gus (LC&P).
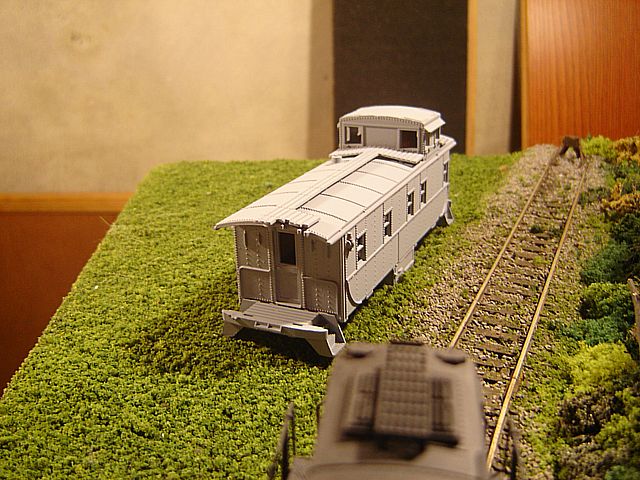
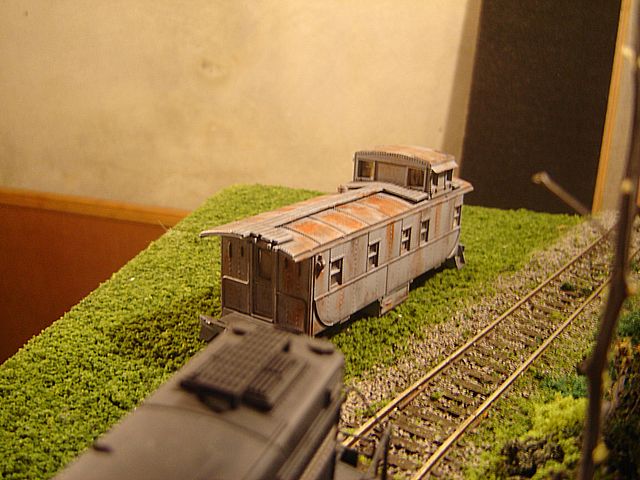
I added glass to the windows and also boarded a few windows up.
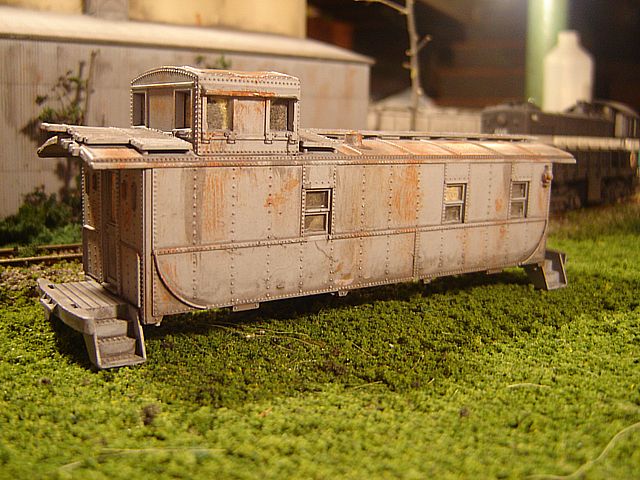
I weathered the caboose/office by dry brushing Folk Art Burnt Sienna. I then hit it with a wash of Folk Art Charcoal Gray and blue windshield wiper fluid. Lastly I sealed it with Dull Coat.
I weathered the caboose/office by dry brushing Folk Art Burnt Sienna. I then hit it with a wash of Folk Art Charcoal Gray and blue windshield wiper fluid. Lastly I sealed it with Dull Coat.
Thanks!
I took some strip wood that I had and cut it to size. I then stained it with washes of India ink, Folk Art Burnt Umber, and Folk Art Raw Umber. I then glued the wood together and placed them on the layout and then placed the caboose/office on them.
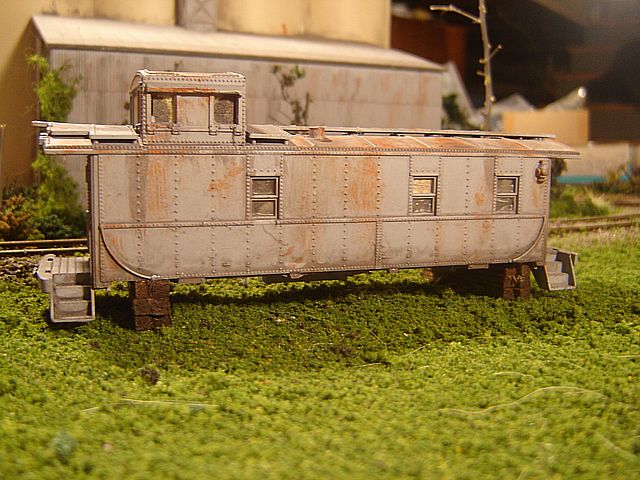
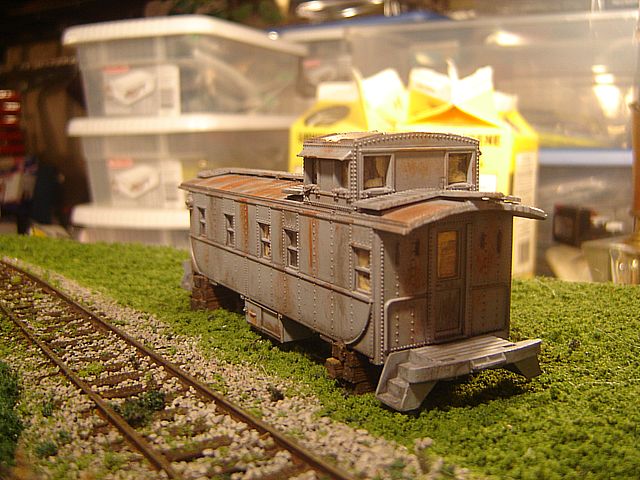
Next is the driveway and path.
I took some strip wood that I had and cut it to size. I then stained it with washes of India ink, Folk Art Burnt Umber, and Folk Art Raw Umber. I then glued the wood together and placed them on the layout and then placed the caboose/office on them.
Next is the driveway and path.