Building of The RK&M: The Cement Distributor

TomPM

Another Fried Egg Fan
Oct 15, 2002
3,335
0
36
61
Drexel Hill, PA
www.trainweb.org
Since the Layout Party is finished and the fact that I have completed the first stage of the layout. The basic “groundwork” has been completed and now I am ready to move onto specific areas of the layout. Because of this I felt it was time to begin a new topic. This topic will be concerned with adding scenery to the area around and including the cement distributor.

For those who want to see how I got to this point please take a look at the following:
Tompm Layout Party #6: Beginning of the RK&M
 

TomPM

Another Fried Egg Fan
Oct 15, 2002
3,335
0
36
61
Drexel Hill, PA
www.trainweb.org
Here I have glued the track down for the cement distributor.

aby.jpg


abz.jpg


I have now carved out the area where the stream will go from under the cement distributor.
aca.jpg


acb.jpg


I plan on using an old Woodland Scenics’ tunnel portal to depict the pipe that will go under the distributor.
 

TomPM

Another Fried Egg Fan
Oct 15, 2002
3,335
0
36
61
Drexel Hill, PA
www.trainweb.org
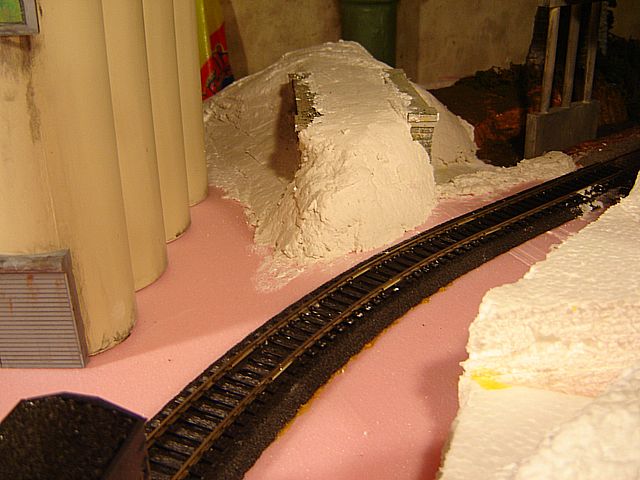
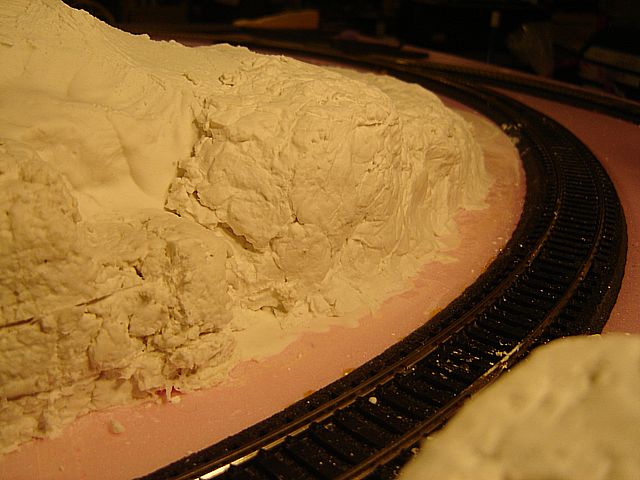
It has been a while since I have a chance to work on the layout. Over the last few weeks I did a few things.

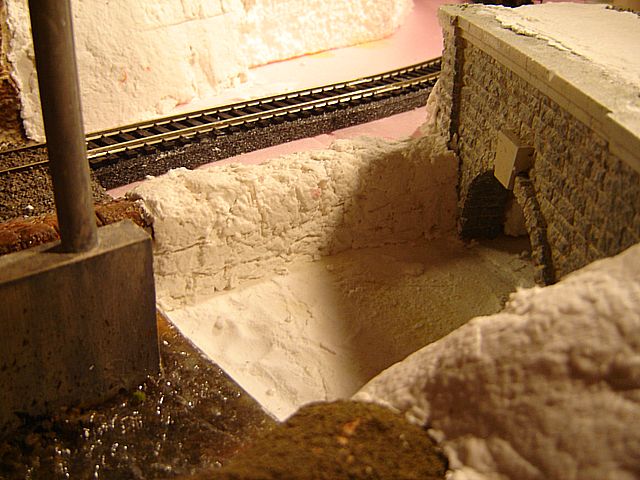
First problem I had to solve was how to end the stream before it went under the cement distributor. I found the answer in my own neighborhood. In many locations in this area we have bridges that go over streams. On one side the channel is open and on the other it is enclosed with buildings, parking lots, etc over it.

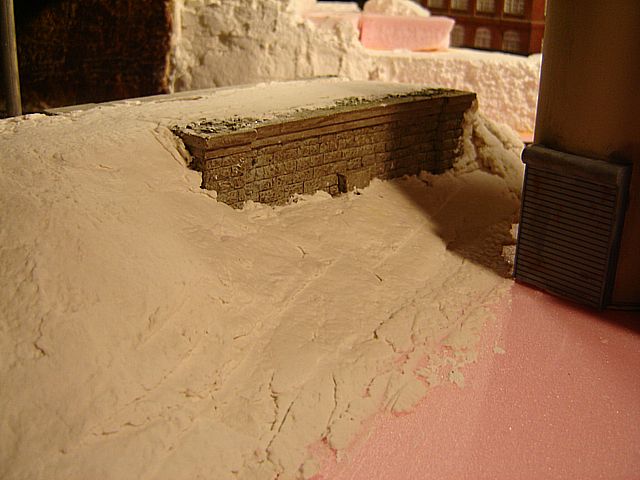
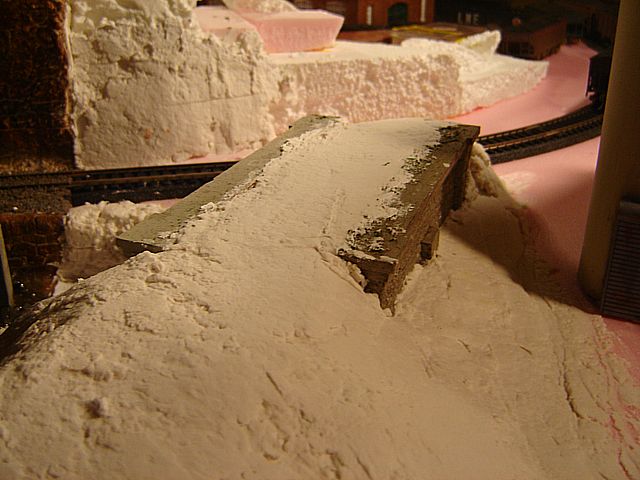
Next I need a bridge which became the second problem. Looking around I found some old Woodland Scenics tunnel portals from the old layout. These, however, were too tall. After thinking about it for a while I decided to cut them down. Now I had shorter tunnel portals but they were still taller than I wanted.

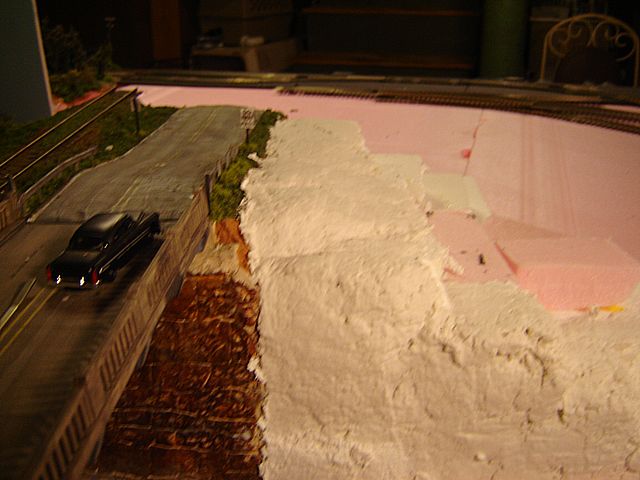
Finally after fiddling with them for several days I came across the idea of the abandoned road. Again this came from a real world situation I had recently encountered. The end of the stream is near the Passenger Station Diorama with its high roadway bridge. The thought came to me that there used to be an at-grade crossing. The railroad or highway department decided to eliminate the crossing and build the high bridge. In a cost saving measure or because the cement distributor was there they only removed the crossing in the area of the railroad. They left the old bridge in place.

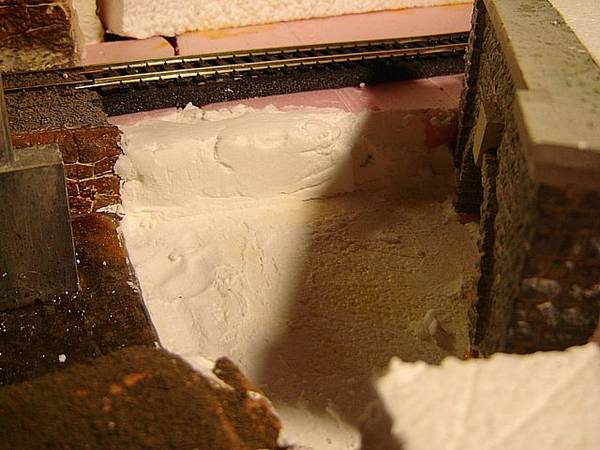
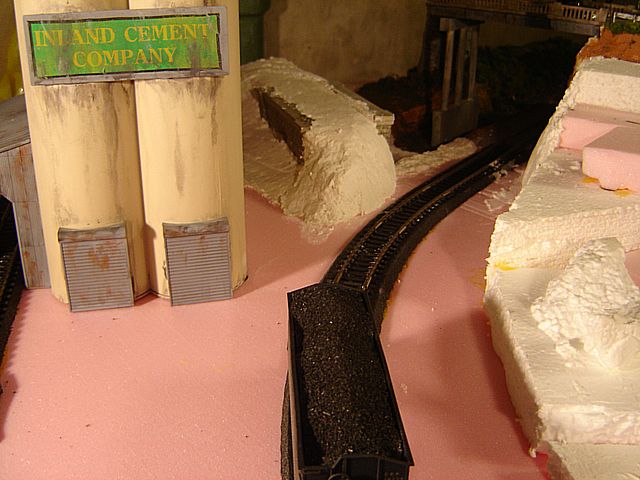
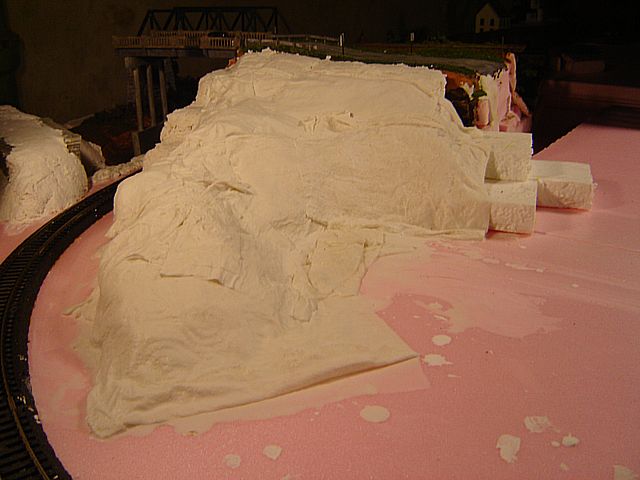
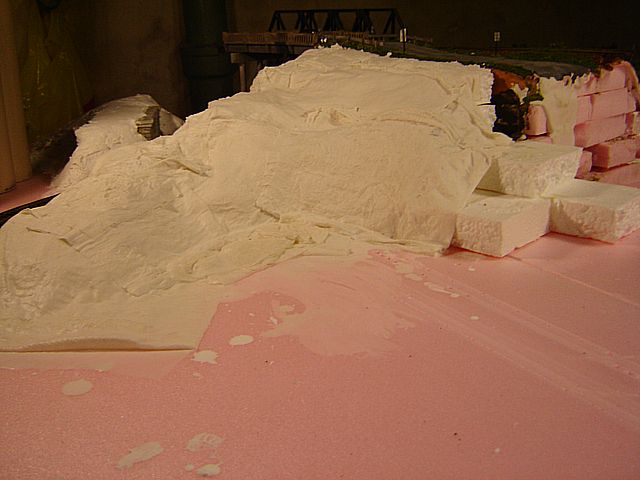
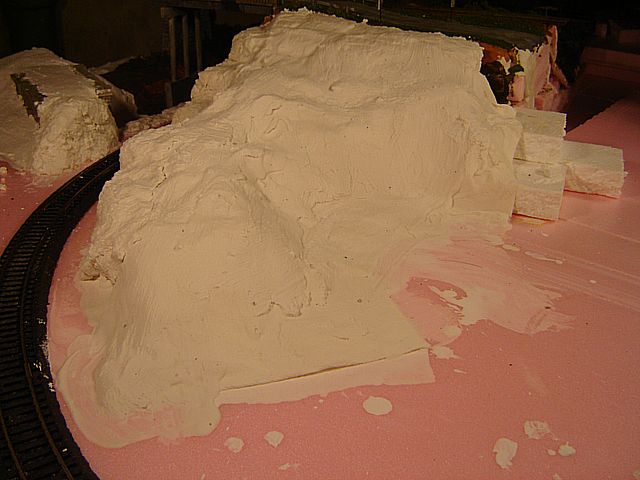
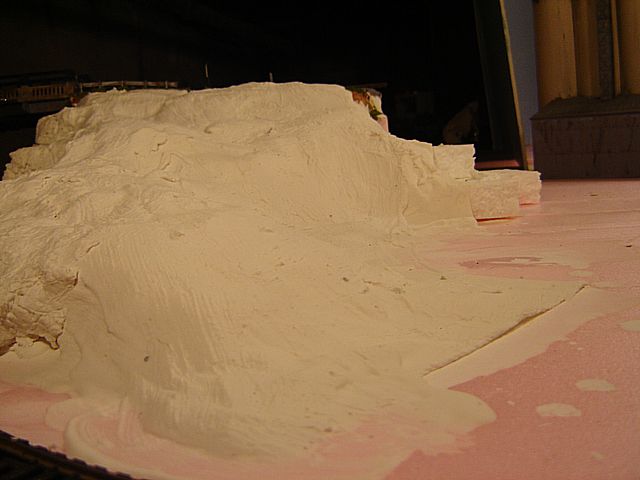
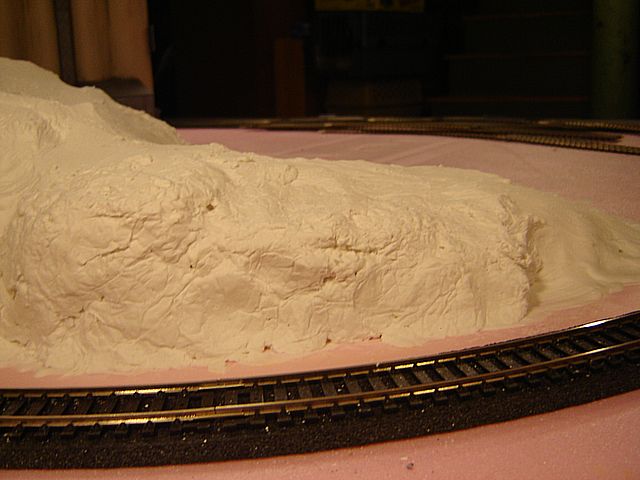
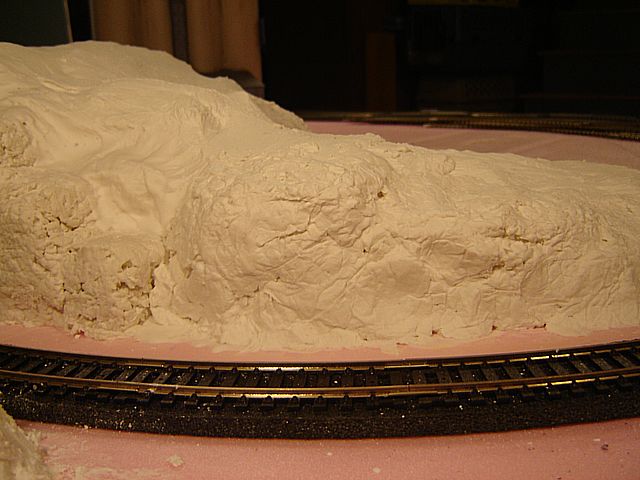
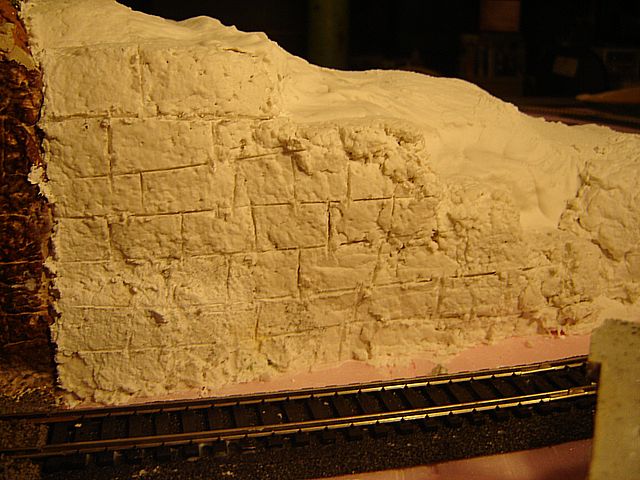
Here are some photos of the progress:

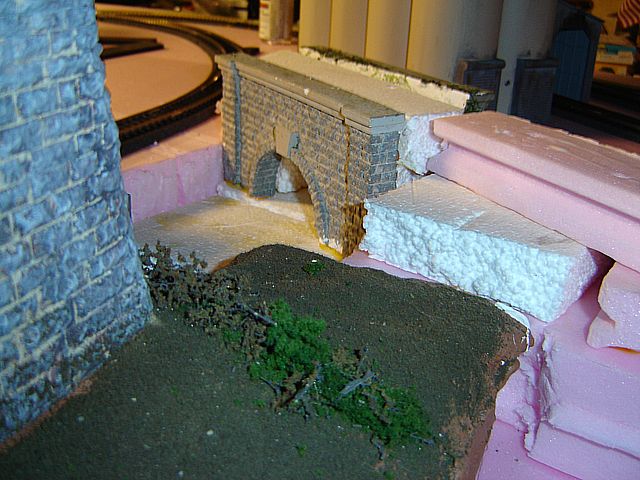
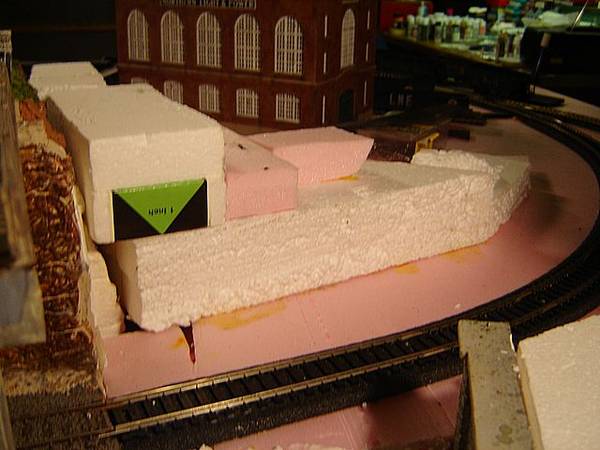
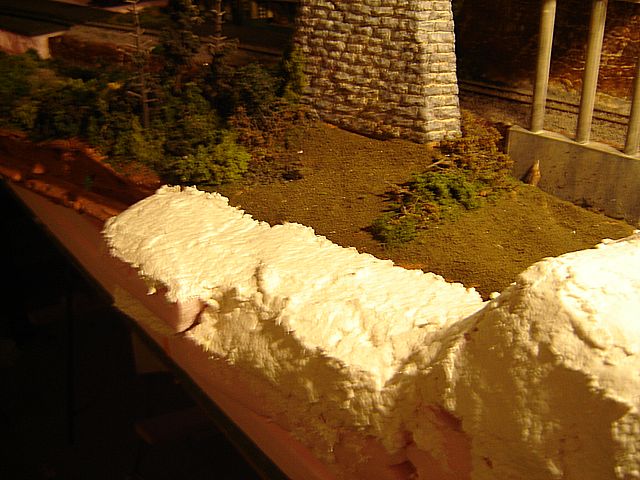
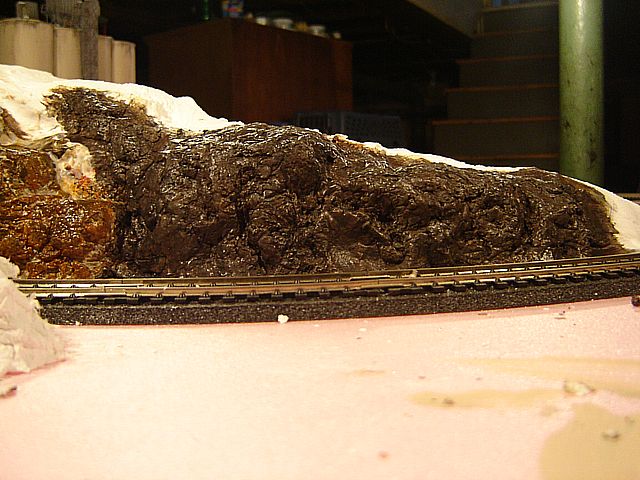
Looking from the Passenger Station Diorama side
cemdist_a_001_a.jpg


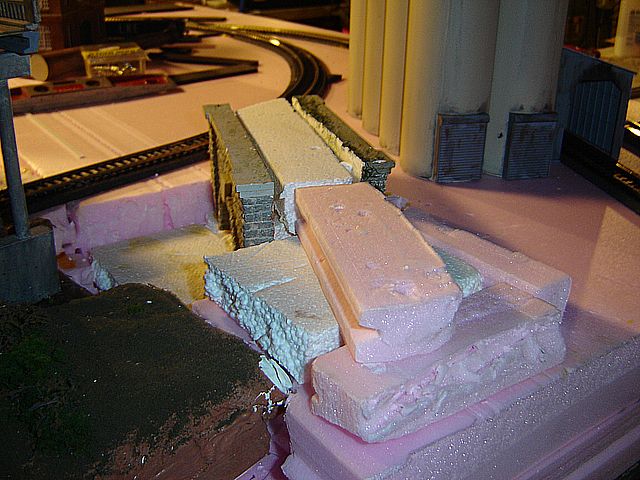
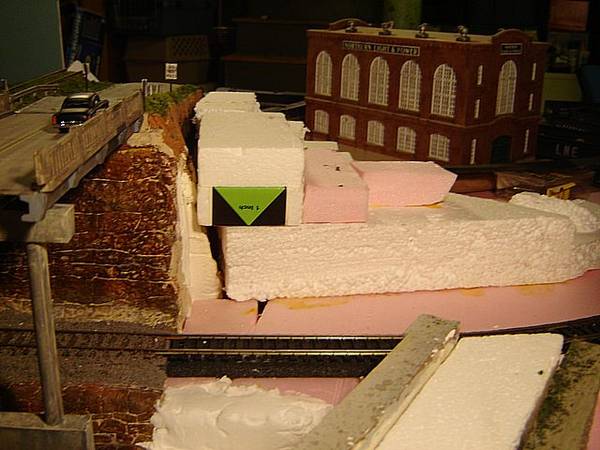
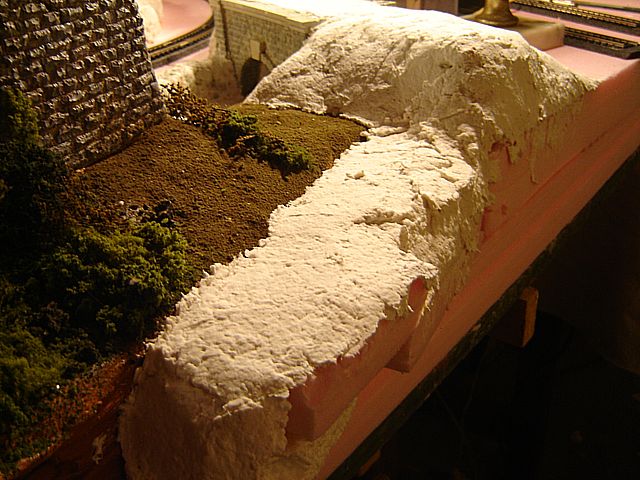
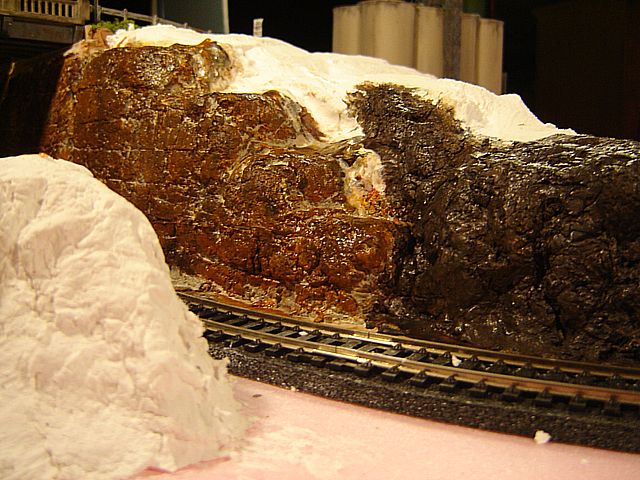
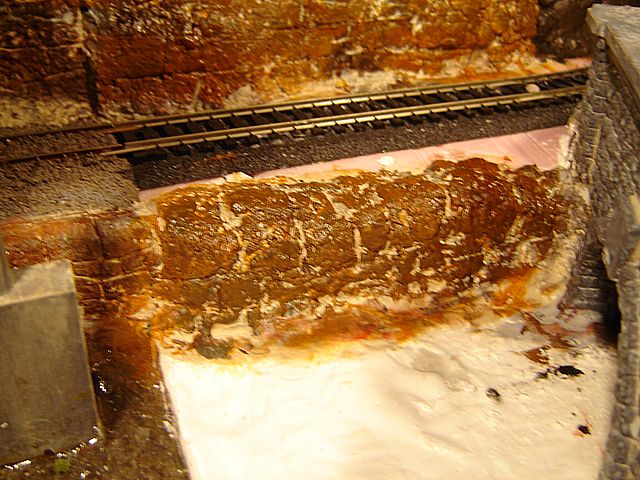
Looking down the old road. I am thinking of putting an drive to the cement distributor in.
cemdist_a_002_a.jpg


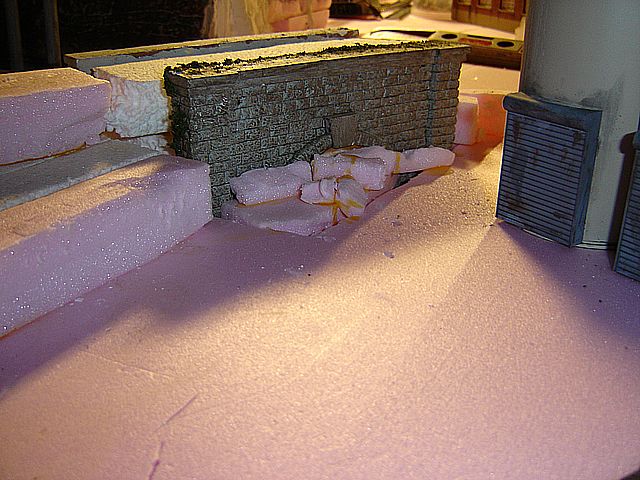
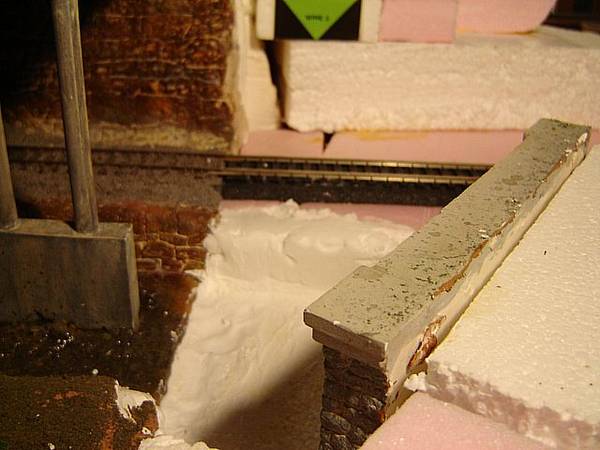
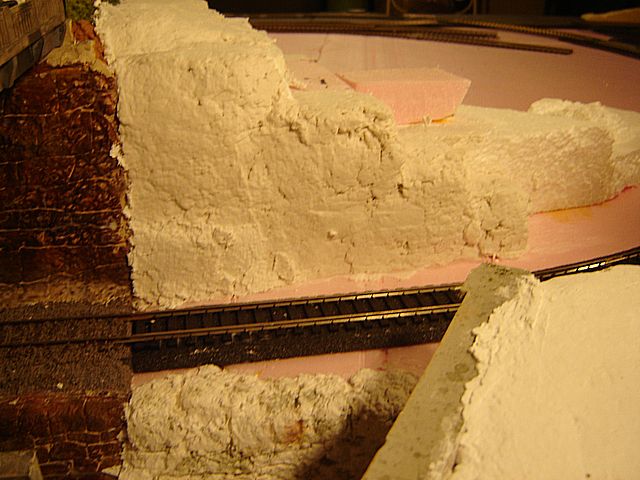
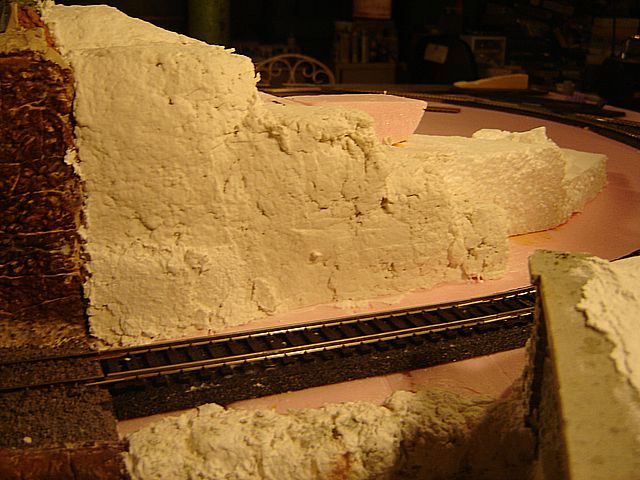
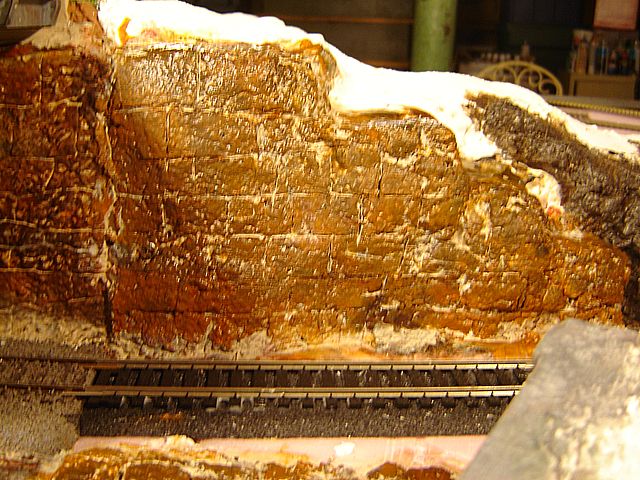
And now looking from the Cement Distributor side
cemdist_a_003_a.jpg
 

Art67

Member
Apr 18, 2005
192
0
16
57
Baltimore
P.S- I also like your idea of using cut down Woodland Scenic tunnel portals and using them as culverts.

Stuart
 

TomPM

Another Fried Egg Fan
Oct 15, 2002
3,335
0
36
61
Drexel Hill, PA
www.trainweb.org
I have finally gotten back to the layout. I have been working with Sculptamold for the first time to create the stream wall and contour the ground.

Here is how the work has progressed so far. And no there has not been a sudden massive snow storm.

Views of the abandoned road from the trackside.
cemdist_c_001a.jpg


cemdist_c_002a.jpg


View of the building side of the bridge and where the stream has been filled in/piped under the building.
cemdist_c_003a.jpg


View down the abandoned road
cemdist_c_004a.jpg


View of the stream wall. I have started carving the mortar lines.
cemdist_c_005a.jpg
 

TruckLover

Mack CH613 & 53' Trailer
Apr 14, 2006
4,073
0
36
34
Rancho Santa Margarita, Cali.
Good job on that tunnel Tom.:thumb: :thumb: It looks great

I like the Inland Cement Company, Nice and wheatherd. I need to wheather mine but just have not gotten around to it.

Great stuff and keep up the good work.
 

TomPM

Another Fried Egg Fan
Oct 15, 2002
3,335
0
36
61
Drexel Hill, PA
www.trainweb.org
I added rock faces. I tried a new method this time. I mixed up some Sculpta-mold. I made it a little on the wet side like you would for pouring molds. I placed the Sculpta-mold where I wanted the rocks and shaped it into the general formation. I then took some aluminum foil that I “roughed up” and pressed it onto the face of the formation. I removed the foil. I went over a few spots a couple of times to get the look I wanted.
cemdist_f_004a.jpg


cemdist_f_003a.jpg
 

TomPM

Another Fried Egg Fan
Oct 15, 2002
3,335
0
36
61
Drexel Hill, PA
www.trainweb.org
My latest efforts have been coloring the rock face, the wing wall, and re-coloring the old stone arch bridge.

Here is the rock face. Colors used:
• Folk Art Clay Bisque
• Folk Art Raw Umber
• Folk Art Burnt Umber
• Folk Art Amish Blue
• Folk Art Burnt Umber Wash
• Folk Art Licorice Wash

cemdist_g_001a.jpg


cemdist_g_002a.jpg


I dapped on each color with a cosmetic sponge. I did the colors twice. I then hit with a Burnt Umber Wash and sealed it. Next was a Licorice Wash and since I felt it was too dark I hit it again with Burnt Umber Wash.

They still appear to be shiny so I will have to mute them with something.
 

TomPM

Another Fried Egg Fan
Oct 15, 2002
3,335
0
36
61
Drexel Hill, PA
www.trainweb.org
I also did the wing wall and stream wall.
Colors:
• Folk Art Linen
• Folk Art Amish Blue
• Folk Art Light Red Oxide
• Folk Art Raw Sienna
• Folk Art Burnt Umber
• Folk Art Raw Umber
• Folk Art Linen Wash

cemdist_g_004a.jpg


cemdist_g_005a.jpg


I painted the walls completely with the Linen. Next I applied the colors with the cosmetic sponge. I then went over it with the Linen Wash. Since it was darker than I wanted I applied another coat of Raw Sienna and Burnt Umber. I then sealed it.

I have the same shine problem to deal with.