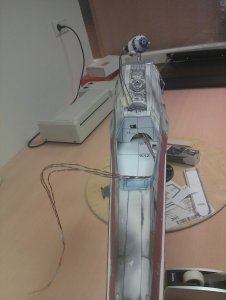
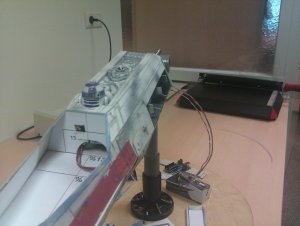
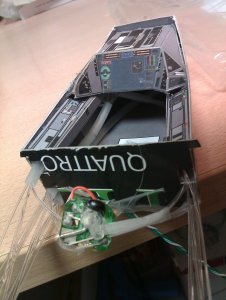
i only hope that the folding mechanism can hold up the large wings...
the wings look very heavy....
thank god that the engines are close to the fuselage.
Give them some RebBull.... That gives everything wings, apparantly... sign1
i only hope that the folding mechanism can hold up the large wings...
the wings look very heavy....
thank god that the engines are close to the fuselage.
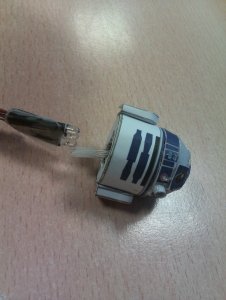
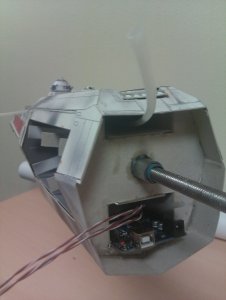
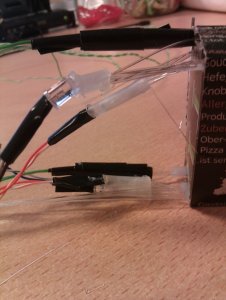
") aste" the code between. Looks really great! Just building a larger R2D2 with LED's would substantially enhance the model. Great job!
aste" the code between. Looks really great! Just building a larger R2D2 with LED's would substantially enhance the model. Great job!