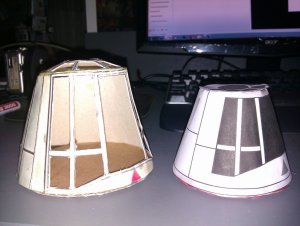
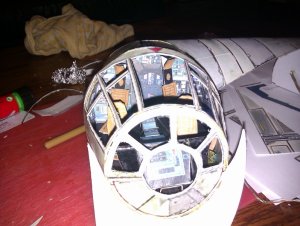
Damn...then is the size of my cockpit also to small
And i have to rework everything.
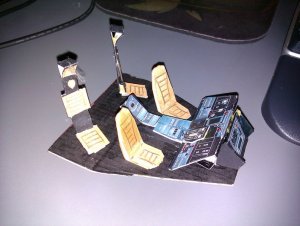
incl that inside cockpit
Tomorrow i will look how far i have to recontruct the cockpit
damn.")
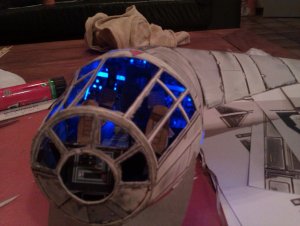
And i have to rework everything.
incl that inside cockpit
Tomorrow i will look how far i have to recontruct the cockpit
damn.