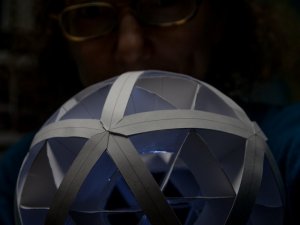
Build your own planet
- Thread starter lizzienewell
- Start date
You are using an out of date browser. It may not display this or other websites correctly.
You should upgrade or use an alternative browser.
You should upgrade or use an alternative browser.
I've always admired polyhedrons and your method of triangulating the surface is really an elegant solution.
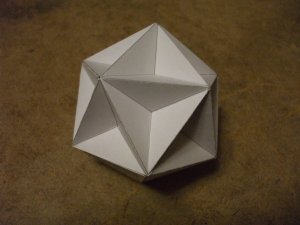
I used to make paper models of the 5 regular solids for extra credit in math class. I ran across a book way back in fifth grade that had a patterns on variations of polyhedrons and FINALLY located a copy through our library loan program (Mathematical Models, 2nd Edition, by H. M. Cundy and A.P. Rollett). There was a model that had become my favorite and I was able to draw up the flat pattern that was in the book. It was difficult to put together so I rearranged it to be MUCH easier to assemble. Here it is:
Best Regards,
I used to make paper models of the 5 regular solids for extra credit in math class. I ran across a book way back in fifth grade that had a patterns on variations of polyhedrons and FINALLY located a copy through our library loan program (Mathematical Models, 2nd Edition, by H. M. Cundy and A.P. Rollett). There was a model that had become my favorite and I was able to draw up the flat pattern that was in the book. It was difficult to put together so I rearranged it to be MUCH easier to assemble. Here it is:

Best Regards,
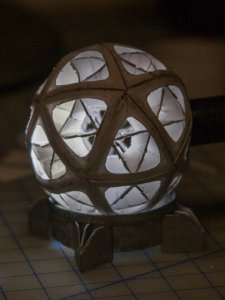
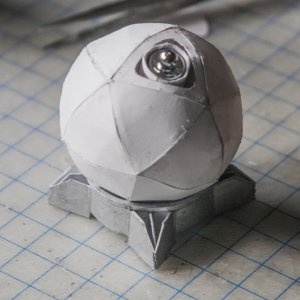
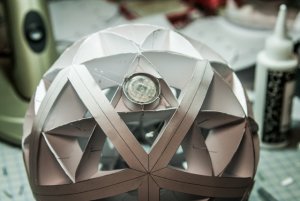
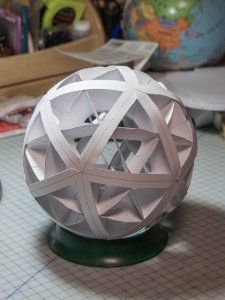
I was traveling over Christmas and failed to sync my files to the cloud so work came to a standstill. I'm back. Here's the moon model with the stringers.
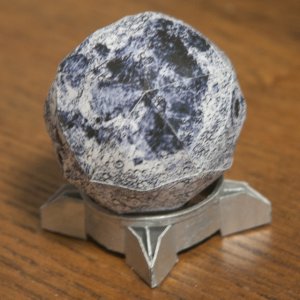
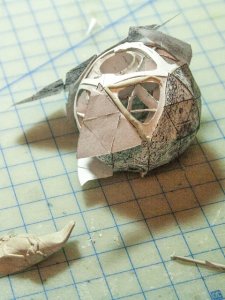 I put the map on using poster putty. This lets me move things around and I can remove the map if I want. The surface image is an icosahedral map of the moon designed by Calvin J Hamilton. He has other moons and planets as well. They're set up to use as models without any support structure.
http://planetscapes.com/maps/ico.html
I used Photoshop to adjust contrast. Then I imported it into Coreldraw and placed my grid over the top.
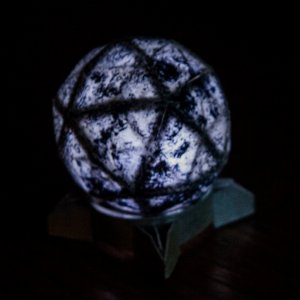
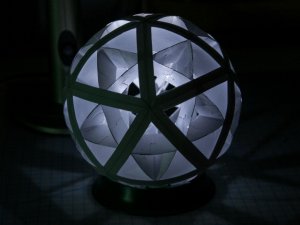
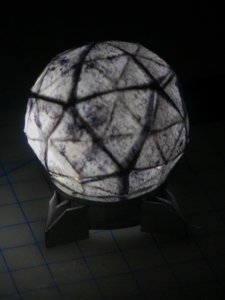
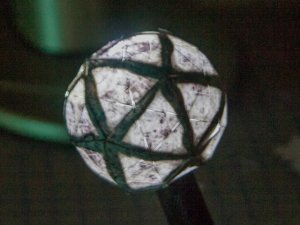 Here's the model with the light behind the map.
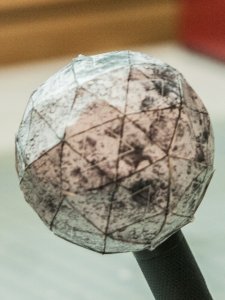 And without the light.
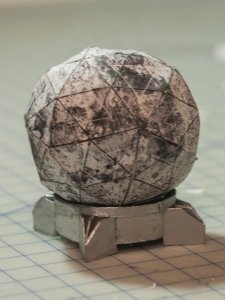 I think the gird pattern may be too dominant. the next time I'm doing the grid in white.
But it looks like I might be ready to scale up to a model of Earth.
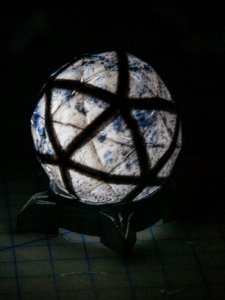 I've got it down so I can build one of these in under a day. I'm still working on it. I've arranged the parts on the page so that they can be scored faster. With this one, I left out a set a stringers and also modified the jpg map so it's blue. I'm going to try it completely without stingers. They make the dark bars when it's lit up. I'm also thinking of painting the map features in acrylic so that the craters are more opaque.
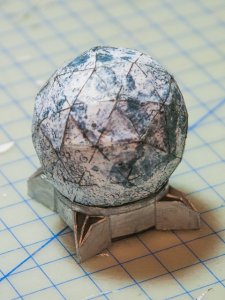
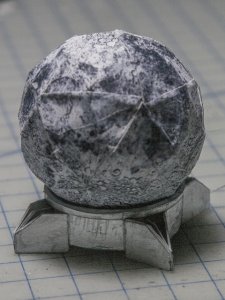 Looks like one more build to go on the model of the moon. I must be loony. I want to do one without the light and with a smoother surface. I get board after I get things figured out so it's tough doing the last build. Then I get to scale up to 8 inches. After that I write directions and make how-to videos.
- Apr 5, 2013
- 13,499
- 9,551
- 228
These could serve as moons once you have perfected the Earth.
Check out this link, it's incredible! There are so many ideas and template links to so many things, you have to see it for yourself: http://www.3dgeography.co.uk/#!make-a-globe/cdox
Check out this link, it's incredible! There are so many ideas and template links to so many things, you have to see it for yourself: http://www.3dgeography.co.uk/#!make-a-globe/cdox
Thanks. Good thing I didn't see that before I started. I might have gone with the templates on the site instead of designing my own.
These could serve as moons once you have perfected the Earth.
Check out this link, it's incredible! There are so many ideas and template links to so many things, you have to see it for yourself: http://www.3dgeography.co.uk/#!make-a-globe/cdox
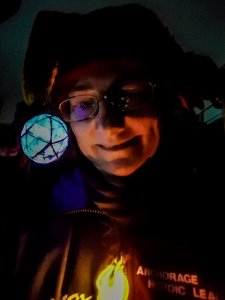
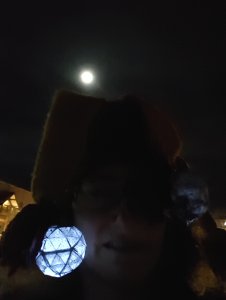
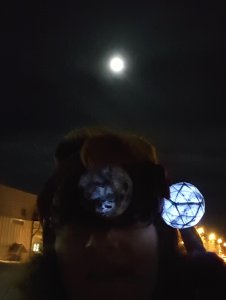
 I found a use for the model. I coach kids cross-country skiing in the evening. In Anchorage, we have lighted ski trails. It helps kids find their coach if the coach wears a distinctive hat with lights. My hat is a sort of Jesters hat with three points. The balloon lights which I ordered came today. They have a smaller diameter than the flashlight I've been using, but I made one fit with some paper, glue, and poster putty. Add a split ring and a safety pin and it's a distinctive addition to my coaching hat. I might put a moon or planet on each point of the hat.
- Apr 5, 2013
- 13,499
- 9,551
- 228
I really got to figure how to apply the textures of the world to a sphere, this is driving me nuts, but I am working on too many projects and can't stop to study!! Nice Job Lizzie !!
I'm downloading icosahedral maps as jpgs. There's a site which comes up as planetary icosahedrons. I use Photoshop to adjust contrast and color and to remove excess stuff such as tabs and labels. In Coreldraw I've laid out the 20 triangles of an icosahedron in the correct size. I used the polygon tool with three points and then bowed out the sides of the triangles. I removed excess nodes then I adjusted the size of the triangles and amount of bow through trial and error.
I open the jpg or psd file in Coreldraw then do a powerclip between the bitmap and the parts. Object>powerclip>place inside frame. As for making Mercator projections into spheres. Ugh! I detest Mercator projection.
Once I get going with designing my own planet skins, I should be able to do digital painting as layers in Photoshop. I know how it is with too many projects.
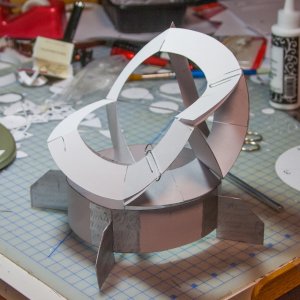
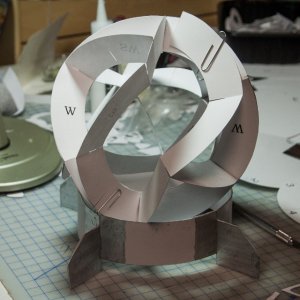
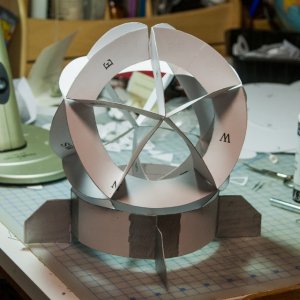
Scaling up to make an 8 inch globe. It's interesting that it can't be simply increased by 371 percent. The base now looks too big and the structure needs more layers to be stiff enough. Keying parts together doesn't seem as important.
Uh the work space has gotten very messy. I should probably do some clean up.
Onward with scaling up. It goes slower than a 2" model since each part goes as a separate page to be printed, scored, and cut separately. I've been looking at the Glowforge for cutting, but I'd prefer using someone else's machine instead of putting out the money to buy one.
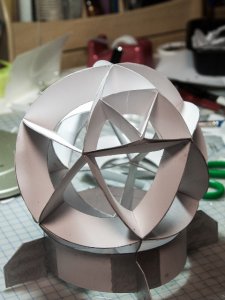
I've been putting in one or two parts per day instead of doing all 20 of the parts in at once. Oddly the interior triangle of the subdivision ends up with sides which don't quite reach. I'm not sure why. Every strut section should be the same size.
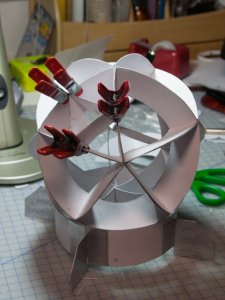
Clamps seem to be needed in this scale.
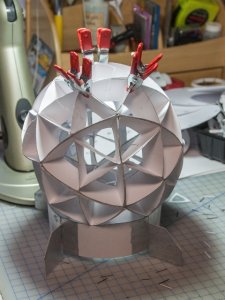
Almost done with the structure.

I've been putting in one or two parts per day instead of doing all 20 of the parts in at once. Oddly the interior triangle of the subdivision ends up with sides which don't quite reach. I'm not sure why. Every strut section should be the same size.

Clamps seem to be needed in this scale.

Almost done with the structure.
Last edited:
WOW! Just look at all of these CURVED edges. I'm watching with anticipation. 


