Vic
The Windex did have some effect but not enough to hold the balsa as tight as I had curved it.
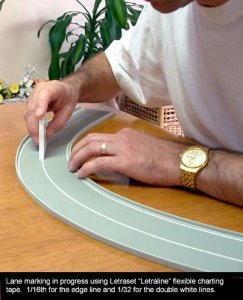
Anyway, I had already traced my bridge outline onto the styrene sheet. I scored along the curved line with my Exacto knife then bent and snapped the sheet to release my new road surface.
In this picture I have laid it on top of the bridge to test fit ... perfect!
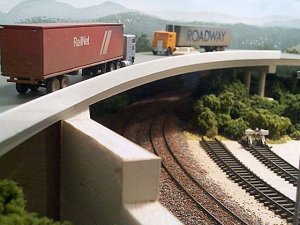
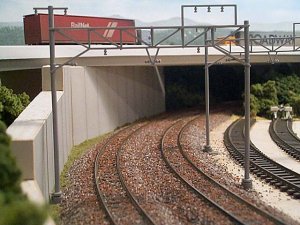
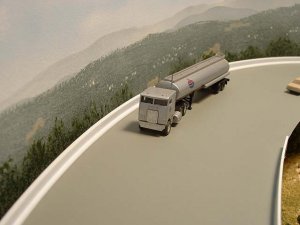
Sorry, couldn't resist. Had to place some vehicles on it to get an idea of how it will look when finished.
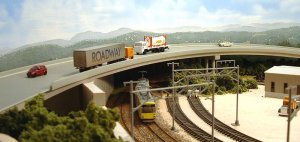
I took a bit of a risk starting this thread without knowing how the project would turn out. However so far I am pleased with my progress. Hope I don't screw it up now (with everyone watching!) haha
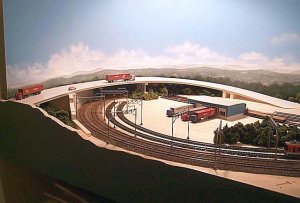
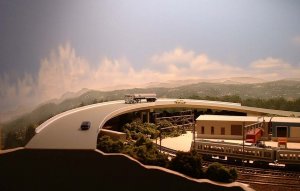
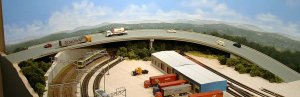
At least I have achieved the goal of disguising the hole in the backdrop.
The Windex did have some effect but not enough to hold the balsa as tight as I had curved it.
Anyway, I had already traced my bridge outline onto the styrene sheet. I scored along the curved line with my Exacto knife then bent and snapped the sheet to release my new road surface.
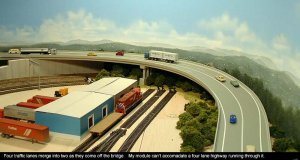
In this picture I have laid it on top of the bridge to test fit ... perfect!
Sorry, couldn't resist. Had to place some vehicles on it to get an idea of how it will look when finished.
I took a bit of a risk starting this thread without knowing how the project would turn out. However so far I am pleased with my progress. Hope I don't screw it up now (with everyone watching!) haha
At least I have achieved the goal of disguising the hole in the backdrop.