Battleship Yamato - Cosmo Zero Fighter - Bandai

starbuck

Well-Known Member
Aug 15, 2013
898
1,825
93
Austria - Carinthia
Hi together,
my next plastic model.

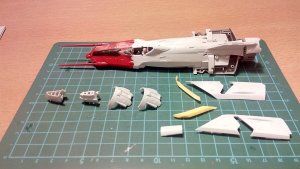
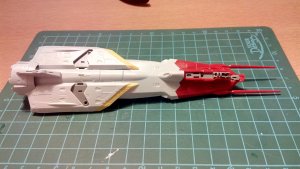
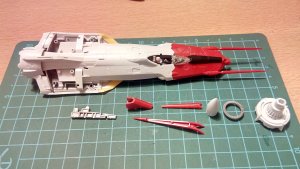
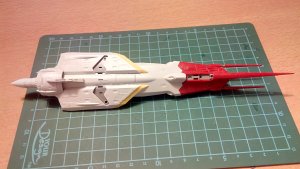
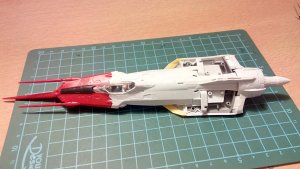
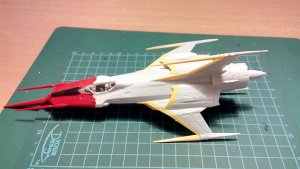
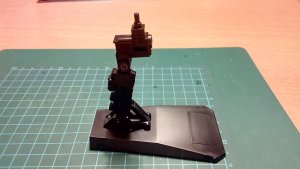
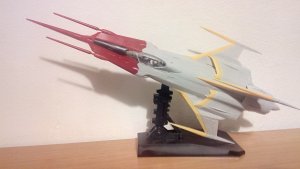
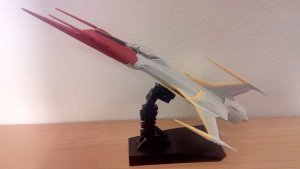
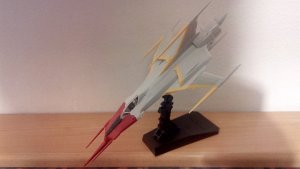
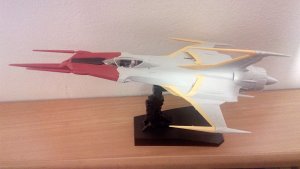
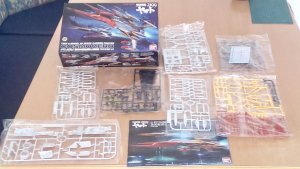
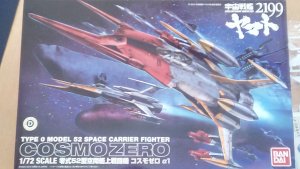
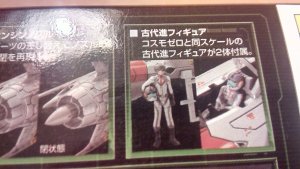
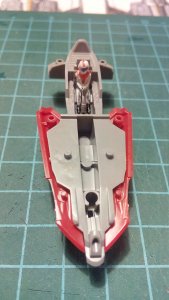
It is the Cosmo Zero Fighter of Bandai. Detailed - step by step - instruction in japanese language. Don´t worry - I don´t speak japanese and I can follow as it consists mostly of pictures ;)
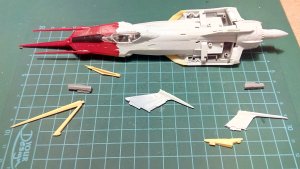
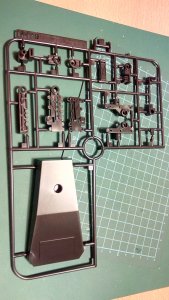
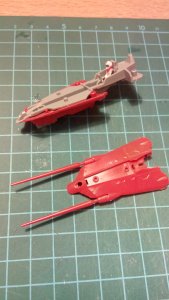
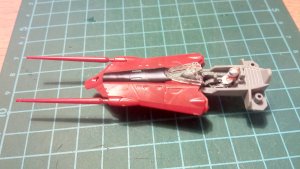
. I would suggest to check always the next three pictures to get a good overview about next steps, as some are optional, or either or.
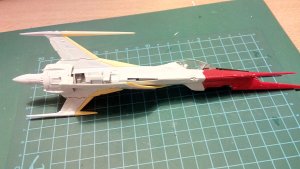
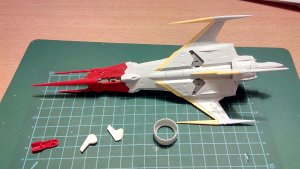
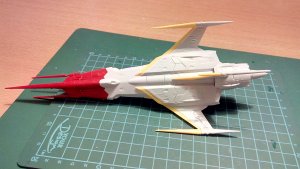
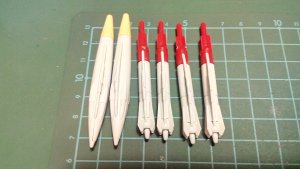
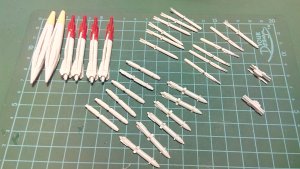
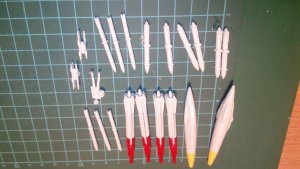
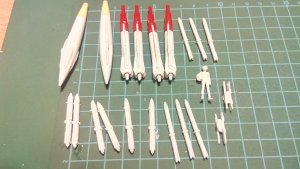
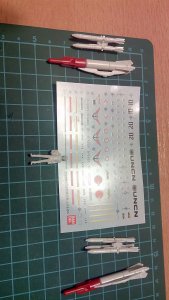
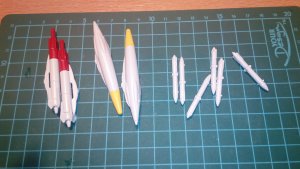
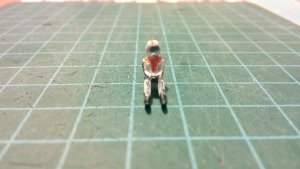
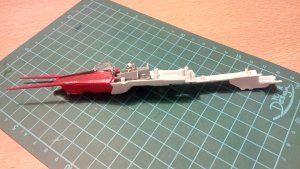
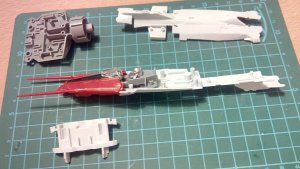
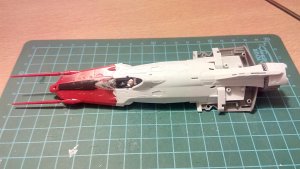
All parts coloured beside the pilot:(. Oh man that pilot is small and not easy to paint.

So, lets go:
 

Attachments

  • IMG_20150412_104035.jpg
    IMG_20150412_104035.jpg
    711 KB · Views: 39
  • IMG_20150412_104112.jpg
    IMG_20150412_104112.jpg
    721.8 KB · Views: 35
  • IMG_20150427_205535.jpg
    IMG_20150427_205535.jpg
    1.1 MB · Views: 39
  • IMG_20150507_205445 - Kopie.jpg
    IMG_20150507_205445 - Kopie.jpg
    850.1 KB · Views: 38
  • IMG_20150507_205546.jpg
    IMG_20150507_205546.jpg
    961.4 KB · Views: 38
  • IMG_20150507_210400.jpg
    IMG_20150507_210400.jpg
    952.3 KB · Views: 35
  • IMG_20150507_210802.jpg
    IMG_20150507_210802.jpg
    998.3 KB · Views: 37
  • IMG_20150507_211003.jpg
    IMG_20150507_211003.jpg
    1,007.5 KB · Views: 54
  • IMG_20150507_211239.jpg
    IMG_20150507_211239.jpg
    894.8 KB · Views: 35
  • IMG_20150507_211419.jpg
    IMG_20150507_211419.jpg
    868.8 KB · Views: 39

micahrogers

Moderator "Where am I, and how did I get here?"
Staff member
Moderator
Jul 12, 2012
3,773
4,643
113
Shannon GA
Looking good so far, ya gotta love Bandai, they try to make thier kits "Idiot Proof" which of course means I can really mess them up :p
 

zathros

*****SENIOR ADMINISTRATOR*****
Staff member
Administrator
Moderator
Apr 5, 2013
13,499
9,551
228
Nice model, and you have done a kick ass job so far. :)
 

starbuck

Well-Known Member
Aug 15, 2013
898
1,825
93
Austria - Carinthia
So next info and pics.
The fighter can be build in flight mode or in parking mode. Both ways described in the instruction.

I decided - guess what - for the flight mode.
 

Attachments

  • 1-72-cosmo-zero-a2-yamamoto-sapace-battleship-yamato-03_1.jpg
    1-72-cosmo-zero-a2-yamamoto-sapace-battleship-yamato-03_1.jpg
    82.6 KB · Views: 94
  • IMG_20150507_214944.jpg
    IMG_20150507_214944.jpg
    842 KB · Views: 31
  • IMG_20150507_215822.jpg
    IMG_20150507_215822.jpg
    920.8 KB · Views: 31
  • IMG_20150507_220306.jpg
    IMG_20150507_220306.jpg
    932.3 KB · Views: 21
  • IMG_20150507_221003.jpg
    IMG_20150507_221003.jpg
    912 KB · Views: 22
  • IMG_20150507_221014.jpg
    IMG_20150507_221014.jpg
    897 KB · Views: 26
  • IMG_20150507_223034.jpg
    IMG_20150507_223034.jpg
    953.6 KB · Views: 21
  • IMG_20150507_223452.jpg
    IMG_20150507_223452.jpg
    917.4 KB · Views: 21

zathros

*****SENIOR ADMINISTRATOR*****
Staff member
Administrator
Moderator
Apr 5, 2013
13,499
9,551
228
I usually prefer flight mode, but boy that sure looks good all opened up! Looks good closed up too. They should give you enough parts to build both versions!! That would be something! (that would never happen!). ;)
 
  • Like
Reactions: starbuck

starbuck

Well-Known Member
Aug 15, 2013
898
1,825
93
Austria - Carinthia
I usually prefer flight mode, but boy that sure looks good all opened up! Looks good closed up too. They should give you enough parts to build both versions!! That would be something! (that would never happen!). ;)
Youre right, this unfortunately will never happen.
I think that fighters always look better in the mode they are made for - the flight mode.
Sometimes it makes sense to add the feed of a ship - especially if no stand is available ;).
 

zathros

*****SENIOR ADMINISTRATOR*****
Staff member
Administrator
Moderator
Apr 5, 2013
13,499
9,551
228
I would have gone wheels down on this one. I made a huge F-14 Tomcat, wheels down, and the interest that created was amazing. I've made so many models over the years, and run out of space, I have given most of them away, many served time in hobby stores. You end up with only so much room for these things. Recently, I discovered a box of built model cars that was around 20 years old. The models were in perfect condition, a part dropped off here and there, but sitting in the original boxes. :)
 

mcusanelli

Well-Known Member
Feb 26, 2008
374
121
58
Looks great Starbuck! Very cool fighter, never saw it before. And I agree, I build everything that flies in flight pose, with a piece of aluminum tubing built in to allow it to be put on a wire stand, or hung on the wall. Every time I've built landing gear down, I've broken it!
 

starbuck

Well-Known Member
Aug 15, 2013
898
1,825
93
Austria - Carinthia
But back to zero fighter:
Last parts of the unarmed fighter and the stand. To get the fighter on the stand a part, which was already put in has to be widthdrawn. No problem.
 

Attachments

  • IMG_20150511_210343.jpg
    IMG_20150511_210343.jpg
    944.3 KB · Views: 15
  • IMG_20150511_211010.jpg
    IMG_20150511_211010.jpg
    887.5 KB · Views: 12
  • IMG_20150511_211022.jpg
    IMG_20150511_211022.jpg
    896.4 KB · Views: 12
  • IMG_20150511_211442.jpg
    IMG_20150511_211442.jpg
    1.1 MB · Views: 14
  • IMG_20150511_213258.jpg
    IMG_20150511_213258.jpg
    939.4 KB · Views: 18
  • IMG_20150511_213348.jpg
    IMG_20150511_213348.jpg
    857.8 KB · Views: 16
  • IMG_20150511_213527.jpg
    IMG_20150511_213527.jpg
    843.4 KB · Views: 12

starbuck

Well-Known Member
Aug 15, 2013
898
1,825
93
Austria - Carinthia
Unarmed fighter - no. Here the weapons:
....and a second pilot - not for the fighter just for deko;-))
Last picture parts not needed for flight mode.
 

Attachments

  • IMG_20150511_214328.jpg
    IMG_20150511_214328.jpg
    932.1 KB · Views: 12
  • IMG_20150511_215125.jpg
    IMG_20150511_215125.jpg
    858.6 KB · Views: 10
  • IMG_20150511_215840.jpg
    IMG_20150511_215840.jpg
    898.3 KB · Views: 9
  • IMG_20150511_220727.jpg
    IMG_20150511_220727.jpg
    977.9 KB · Views: 13
  • IMG_20150511_221834.jpg
    IMG_20150511_221834.jpg
    846.3 KB · Views: 11
  • IMG_20150511_221834.jpg
    IMG_20150511_221834.jpg
    846.3 KB · Views: 10
  • IMG_20150511_221841.jpg
    IMG_20150511_221841.jpg
    894.1 KB · Views: 21
  • IMG_20150511_221108.jpg
    IMG_20150511_221108.jpg
    444.8 KB · Views: 67

starbuck

Well-Known Member
Aug 15, 2013
898
1,825
93
Austria - Carinthia
Now I have a small problem: I fixed some parts with glue. But these parts have to be removed to add the weapons.
So, if you do the model - take a look at the last pages to see where the weapons are fixed to avoid troubles. ;)
 
  • Like
Reactions: Oliver Bizer

zathros

*****SENIOR ADMINISTRATOR*****
Staff member
Administrator
Moderator
Apr 5, 2013
13,499
9,551
228
I used to use liquid glue on models. The parts held but could be separated if needed. I don't use it on glass cockpits though. It seems to cause them to cloud up for some reason.

The model is coming out nice. This model could be reproduced in paper. It's pretty straightforward. Great job! :)
 

micahrogers

Moderator "Where am I, and how did I get here?"
Staff member
Moderator
Jul 12, 2012
3,773
4,643
113
Shannon GA
I used to use liquid glue on models. The parts held but could be separated if needed. I don't use it on glass cockpits though. It seems to cause them to cloud up for some reason.

The model is coming out nice. This model could be reproduced in paper. It's pretty straightforward. Great job! :)


Z the reason the liquid cement clouds the clear plastic is all in the chemical make up of clear polystyrene verses regular opaque plastic... while the cement liquefies the opaque plastic, and to a lesser extent the clear plastic, the vapors from the liquid cement out-gas and affect the clear plastic.
 

starbuck

Well-Known Member
Aug 15, 2013
898
1,825
93
Austria - Carinthia
I also used liquid glue....and the parts seem to be removeable.
It took a while to decide which weapons to load on my fighter. And I decided after many tryals to use those parts shown on the picture. I will not use the parts which should be fixed on the upper side and therfore a removal of the parts is not necessary;-). I think the parts on the upper side would be too much.

Where the last pic shows the parts I won´t use and the last but one those which I will use.

Next pics after having placed the decals.....
 

Attachments

  • IMG_20150512_215559.jpg
    IMG_20150512_215559.jpg
    696.3 KB · Views: 15
  • IMG_20150512_215647.jpg
    IMG_20150512_215647.jpg
    848.5 KB · Views: 16
  • IMG_20150512_215730.jpg
    IMG_20150512_215730.jpg
    880.3 KB · Views: 44
  • IMG_20150512_215802.jpg
    IMG_20150512_215802.jpg
    950.5 KB · Views: 15
  • IMG_20150514_221950.jpg
    IMG_20150514_221950.jpg
    1,023.4 KB · Views: 43
  • IMG_20150514_222037.jpg
    IMG_20150514_222037.jpg
    818.5 KB · Views: 14