Ok, you don't want to damage your table.
You need enough space for wires, which shouldn't be much.
This is simple.
Make a square that is about 6 inches shorter and six inches narrower than your table so it has room to sit. Use some 2x2 wood or whatever small square wood you can find. Run more 2x2 strips inside your square a few inches appart and attach them to give your layout some support to sit on. Cut notches wherever the wires might be mashed between the 2x2's and the layout board. cut notches in the bottom of the 2x2's for any wires that may need to come out from under the layout for controlers and such. You can attach this to the bottom of your layout with wood screws rather than the table and then set the whole mess back on the table without crushing your wires.
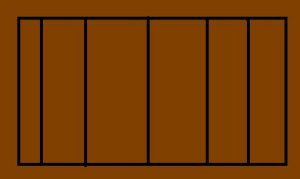
the diagram below represents the space of the table (brown area) and the framework made by the 2x2's. Drawing is not to scale or measured exactly. It is only an illistration to show what I am talking about.


")