

A7v "herkules" Build thread
- Thread starter paperpanzer
- Start date
You are using an out of date browser. It may not display this or other websites correctly.
You should upgrade or use an alternative browser.
You should upgrade or use an alternative browser.
- Status
- Not open for further replies.
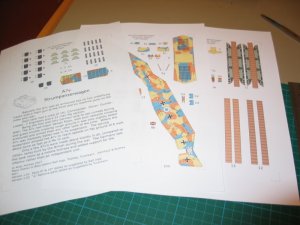
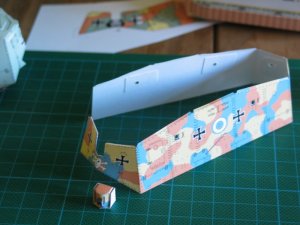
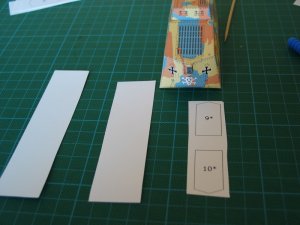
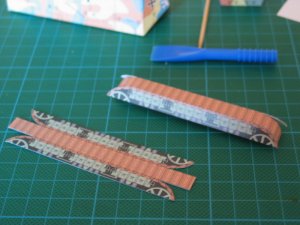
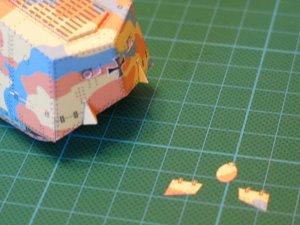
First things first parts 1-3 the main gun. Not the smallest parts but not far off
The first picture are all the parts from left to right parts 3 - 2 - 1
Part 1 is glued into part 2 and both are then both are set onto part 3
The first picture are all the parts from left to right parts 3 - 2 - 1
Part 1 is glued into part 2 and both are then both are set onto part 3
Attachments
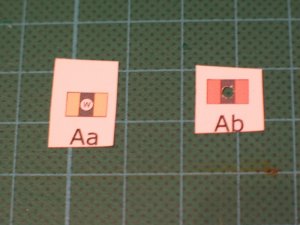
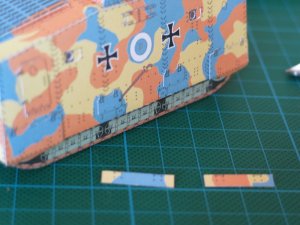
Decisions decisions..
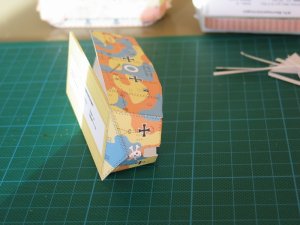
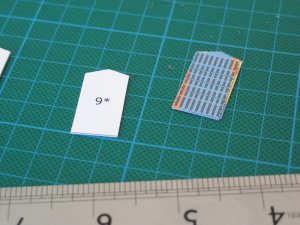
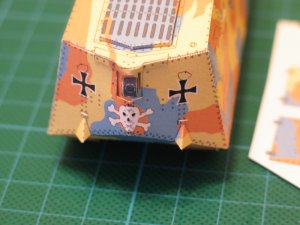
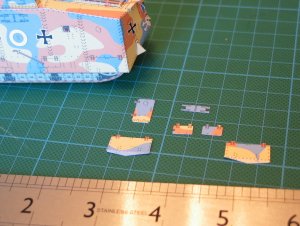
there is an option on the model to fit a back plate behind the Mg ports to give more of a 3d effect.
When I cut out the back plates I leave a little extra card around the edges to make it easier to glue into place. as long as I don't leave so much as to interfere with any bend or tab.
When removing the hole for the machine gun I outline the hole with a pin before cutting out the hole.
Attachments
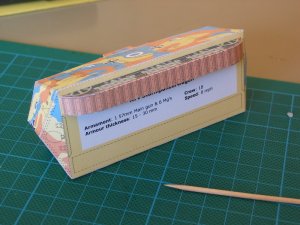
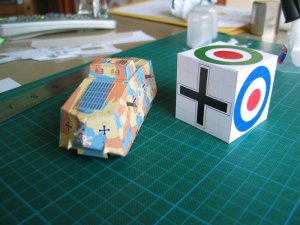
I have experience from modeler who build my tank's design that hull of model will wrap if model do not have internal former support...your model is in small scale but I think will be better with you have internal former to support that hull.
...just my 2 cents idea")
...just my 2 cents idea
I have experience from modeler who build my tank's design that hull of model will wrap if model do not have internal former support...your model is in small scale but I think will be better with you have internal former to support that hull.
...just my 2 cents idea
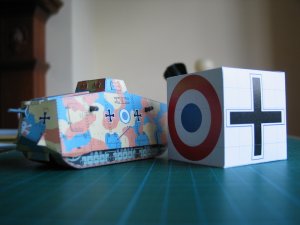
Hi Nobi
Thanks for the reply, all two cents are very welcome. With the model being 1/72 warping is not such a big problem - but strength is! especially as I'm designing the models to be used for wargames. I've sent one of my models to a wargames club for them to test to destruction but have not heard anything yet. I'll try an internal former on my next version.
Andy
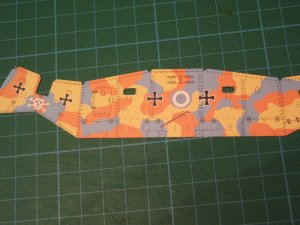
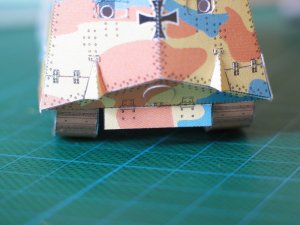
Managed to finish the floor and glue the gun assembly in place.
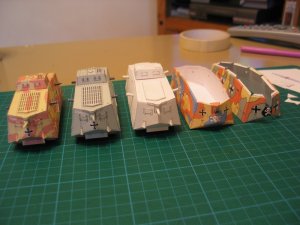
Just thought I'd add a photo of the other A7v's that I'm building as well
from left to right:
Hagen, Schnuck, 3rd prototype for comparison, Herkules and Faust. I need to build a new Faust for a better website photo.
Just thought I'd add a photo of the other A7v's that I'm building as well
from left to right:
Hagen, Schnuck, 3rd prototype for comparison, Herkules and Faust. I need to build a new Faust for a better website photo.
Attachments

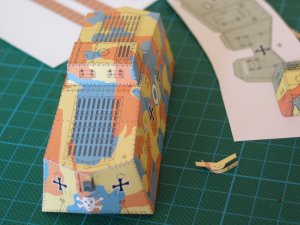
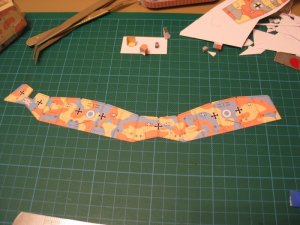
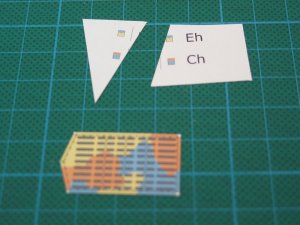
I've left the inserts over night to dry, and kept them straight by keeping them in between the pages of a large cook book.
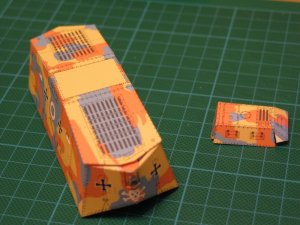
Now that the inserts are dry I trim them to shape and cut out the venterlation cover to go on top.
OOPS! in being a bit over zelous with the knife in cutting out 1 part I cut through two other parts as well! wall1
Guess I'll have to print that page out again Doh.
Now that the inserts are dry I trim them to shape and cut out the venterlation cover to go on top.
OOPS! in being a bit over zelous with the knife in cutting out 1 part I cut through two other parts as well! wall1
Guess I'll have to print that page out again Doh.
Attachments
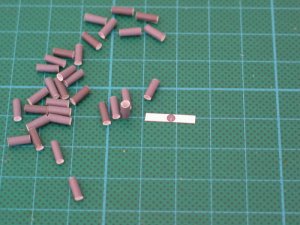
Now for a little word on machine gun's..
With building 6 A7v's in a row I thought I would all the Mg's at the same time and make a few spares..
43 Mg's later maybe it was not such a good idea
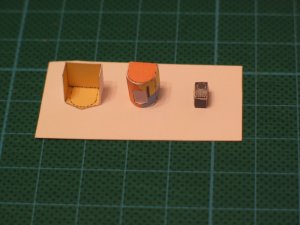
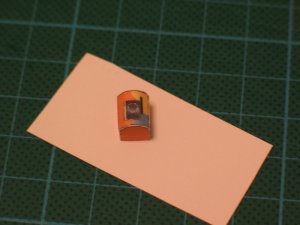
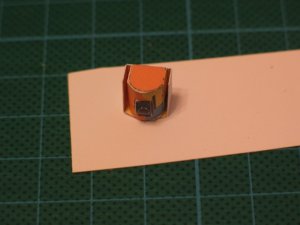
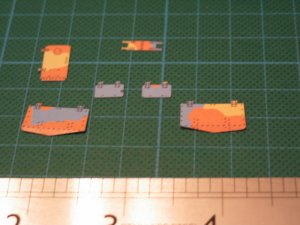
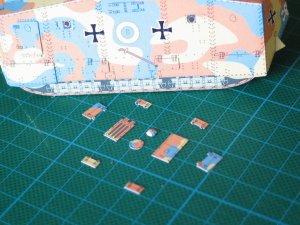
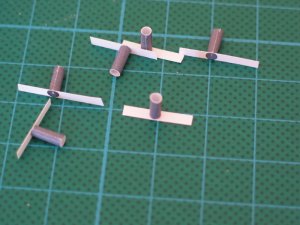
I construct the Mg by:
1, cutting out and rolling the barrel
2, cutting out the mg cover in strips
3, gluing the cover onto the barrel
4, trimming the cover to size
5, The Mg's are the last item to be glued into place, once dry I finally attach the muzzle
With building 6 A7v's in a row I thought I would all the Mg's at the same time and make a few spares..
43 Mg's later maybe it was not such a good idea
I construct the Mg by:
1, cutting out and rolling the barrel
2, cutting out the mg cover in strips
3, gluing the cover onto the barrel
4, trimming the cover to size
5, The Mg's are the last item to be glued into place, once dry I finally attach the muzzle
Attachments
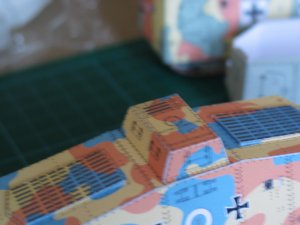
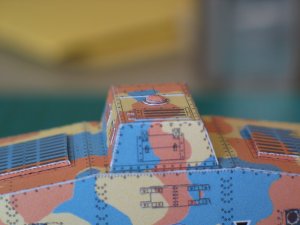
All six Mg's are now fixed in place and the main gun, a little difficult to see in the photo's but the last part I glue into place are the two side steps and..
Finished!!
Well not quite I've fixed the suspension shield but still have to take a decent Photo for the site before I can put this one up for sale
Finished!!
Well not quite I've fixed the suspension shield but still have to take a decent Photo for the site before I can put this one up for sale
Attachments
S
Soaring
- Status
- Not open for further replies.