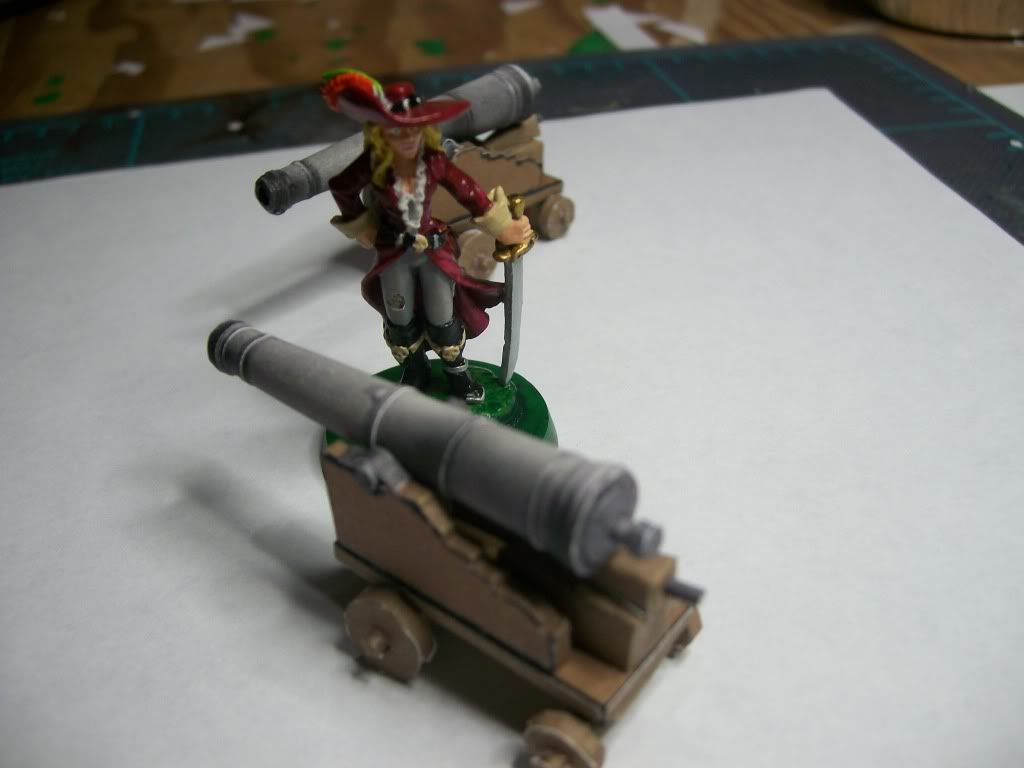
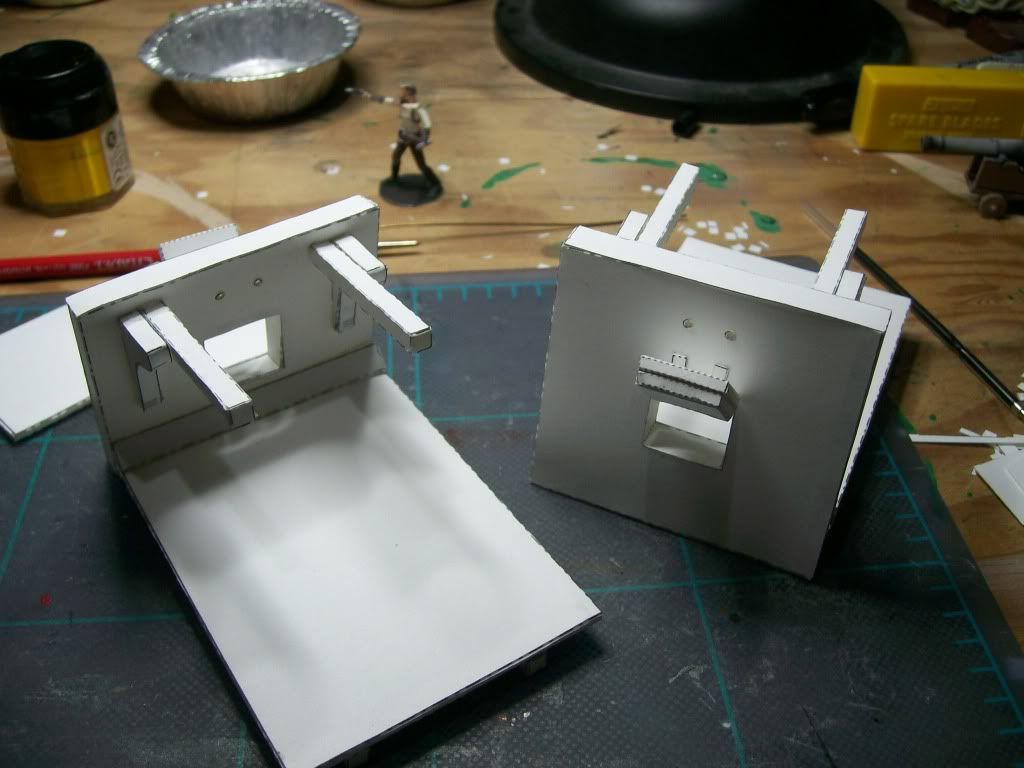
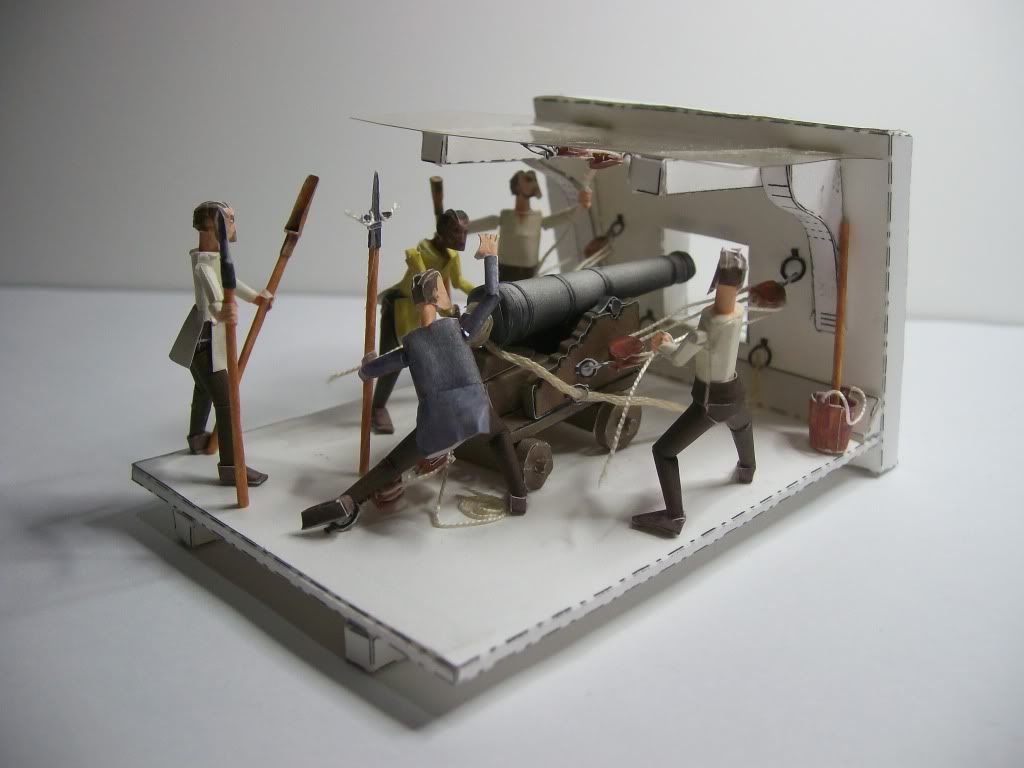
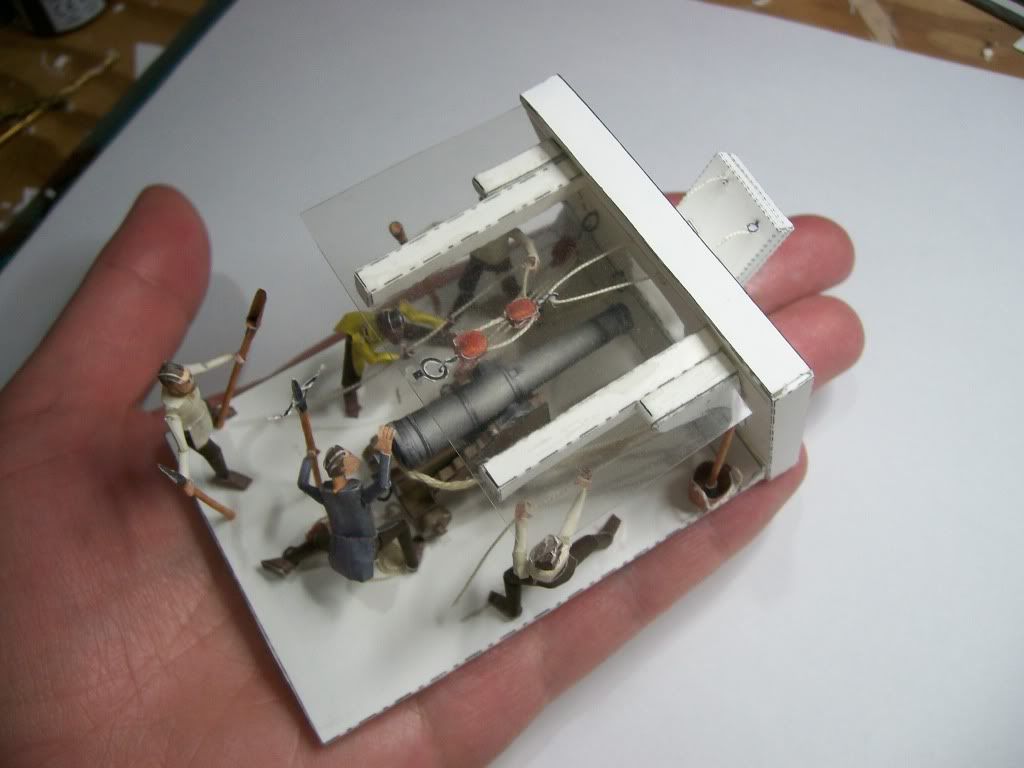
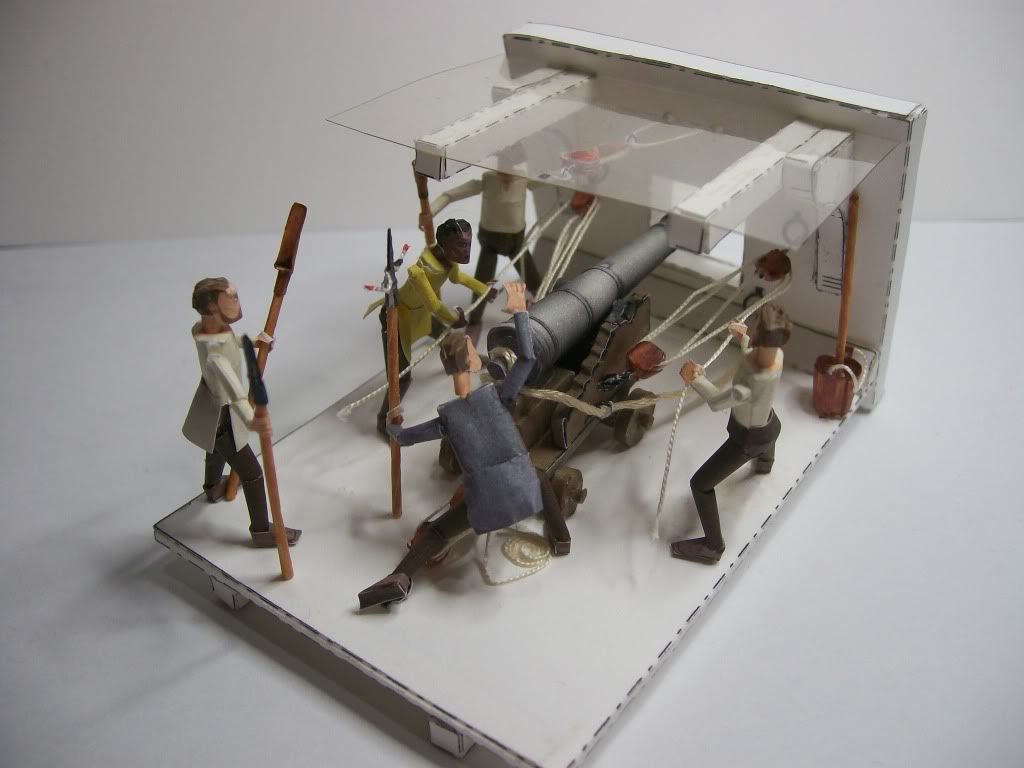
I've aluded to this project in other threads, but as it is very close to completion I think it a great time to show some teaser build shots. This (like most of my models) will be available in 1:50 and 1:35 scale, and will eventually be accompanied by an appropriate British Naval crew.
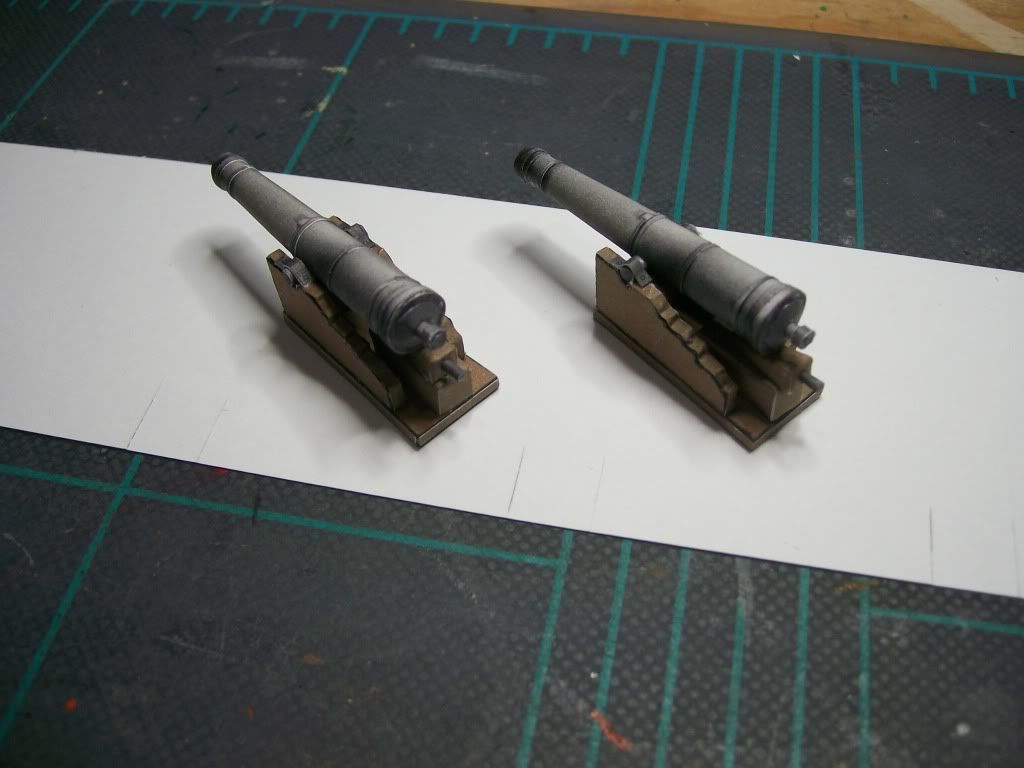
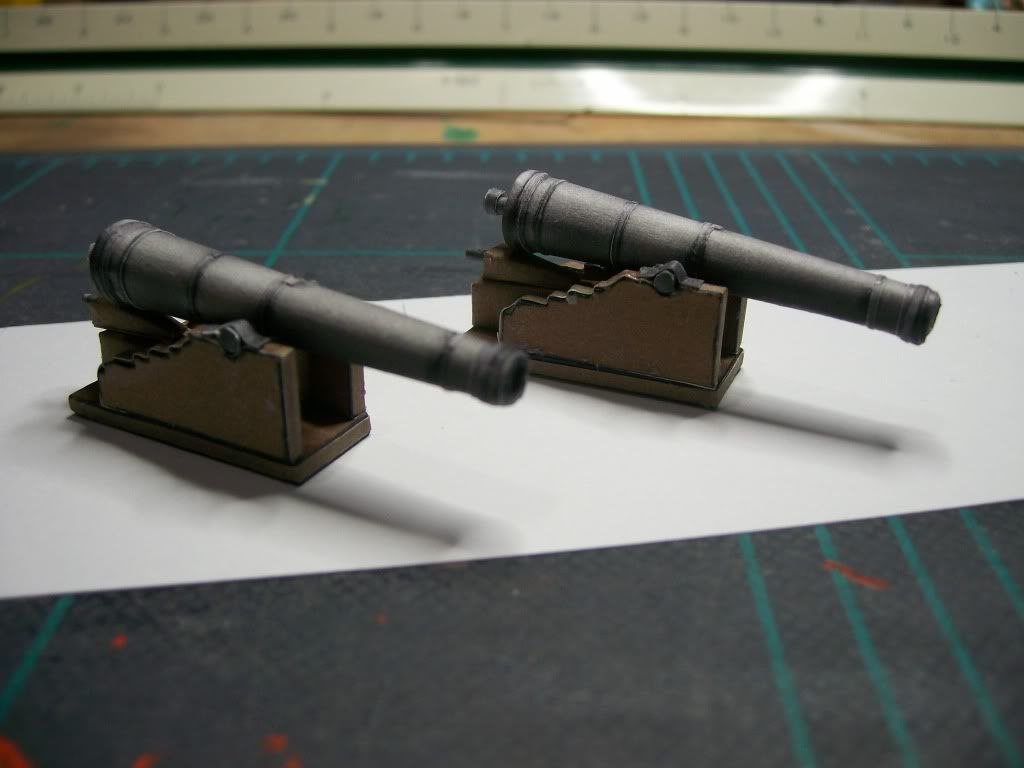
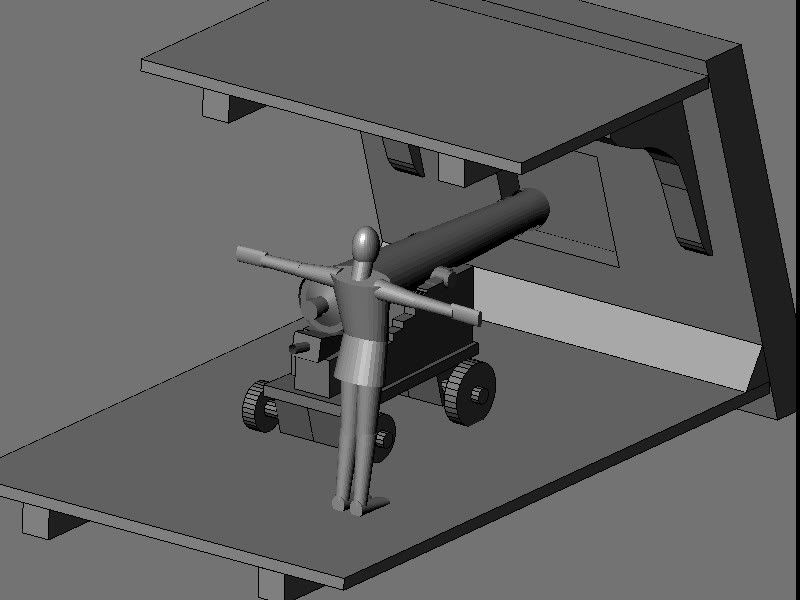
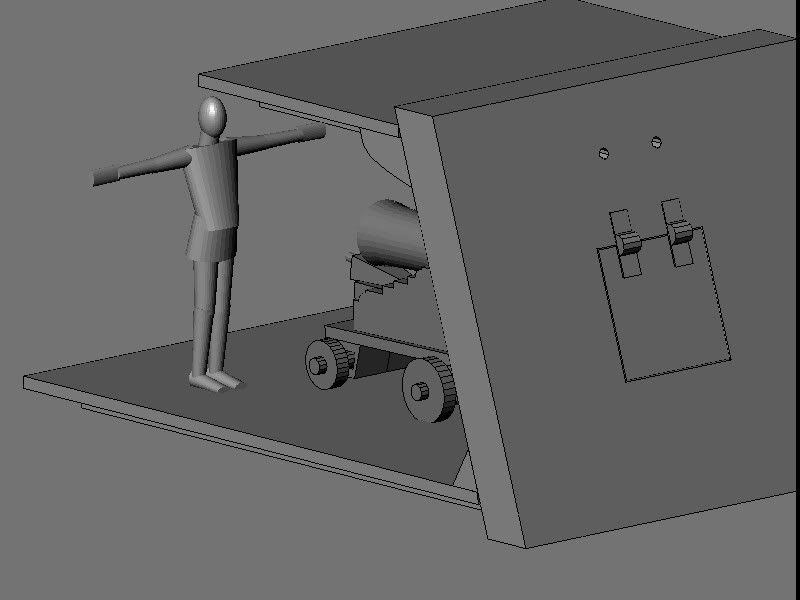
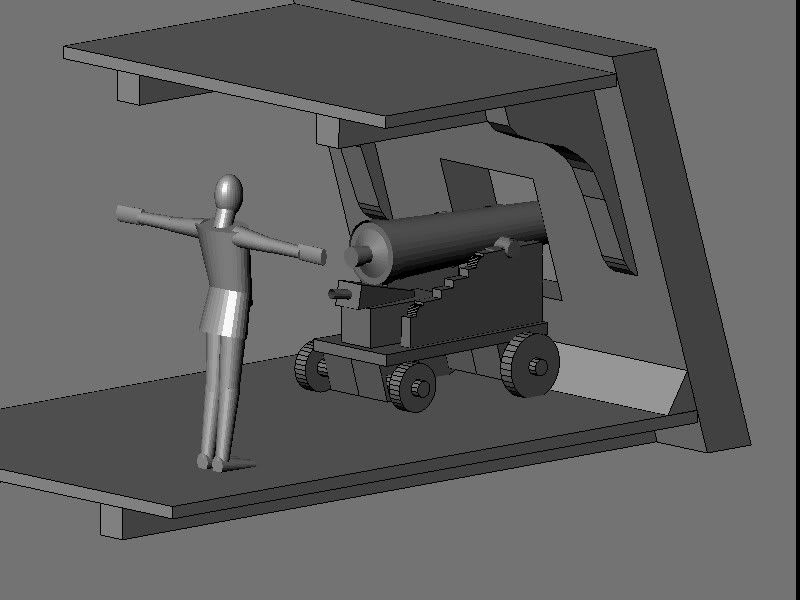
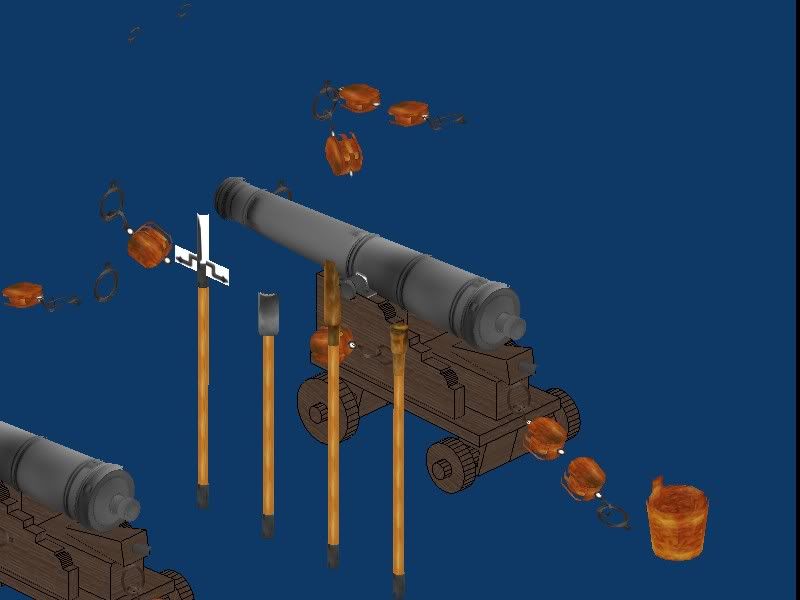
The title says it all, but the cannon will be made of detailed components and will feature a pivoting (elevation) assembly, potentially moving wheels and chock-block wedges for elevation support. I've not decided yet (although if I do it will extend release probably until Christmas) but I may include a second bore size with a shorter barrel. (I'd estimate this at the standard 32 lb shot, although at this scale it is really impossible to notice minor variations).
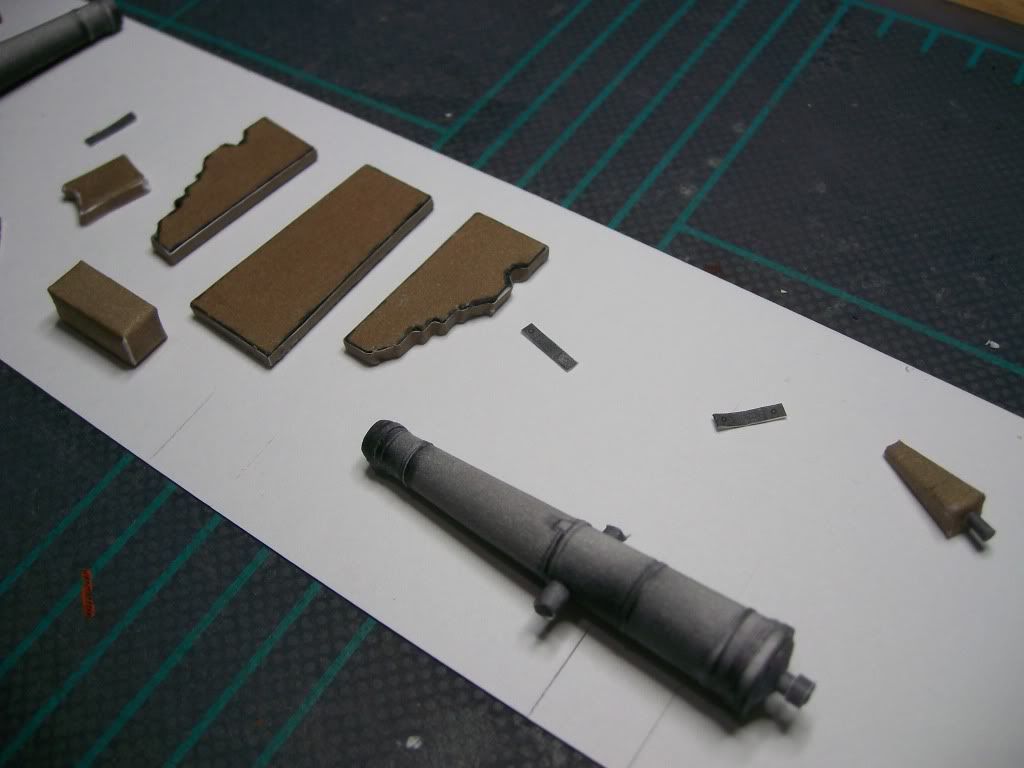
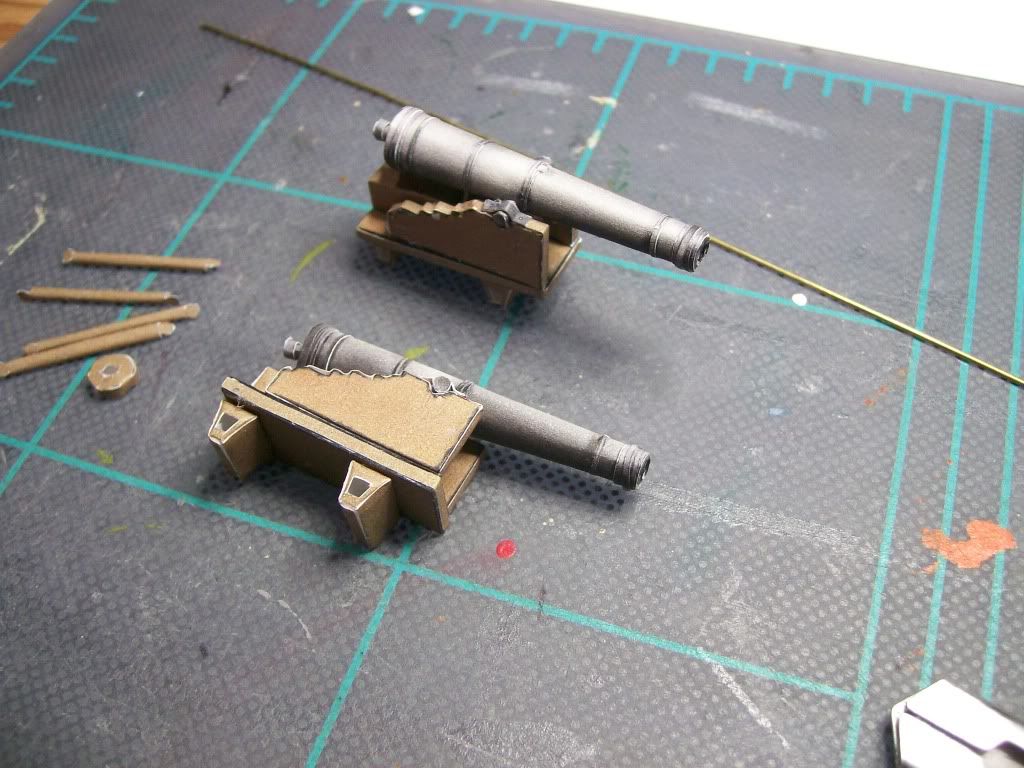
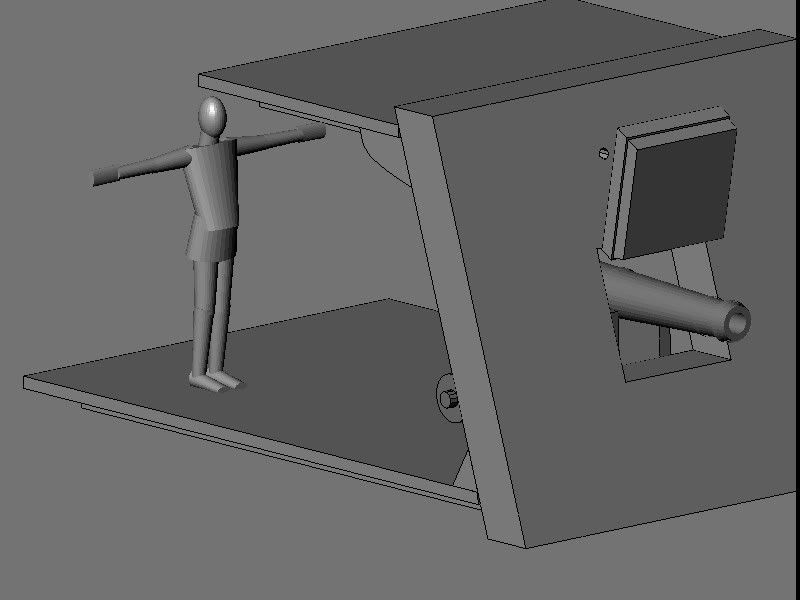
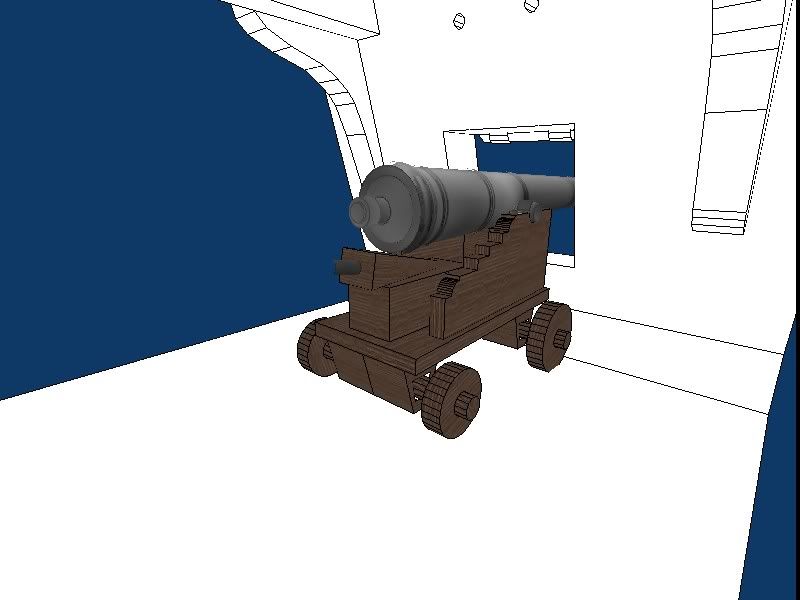
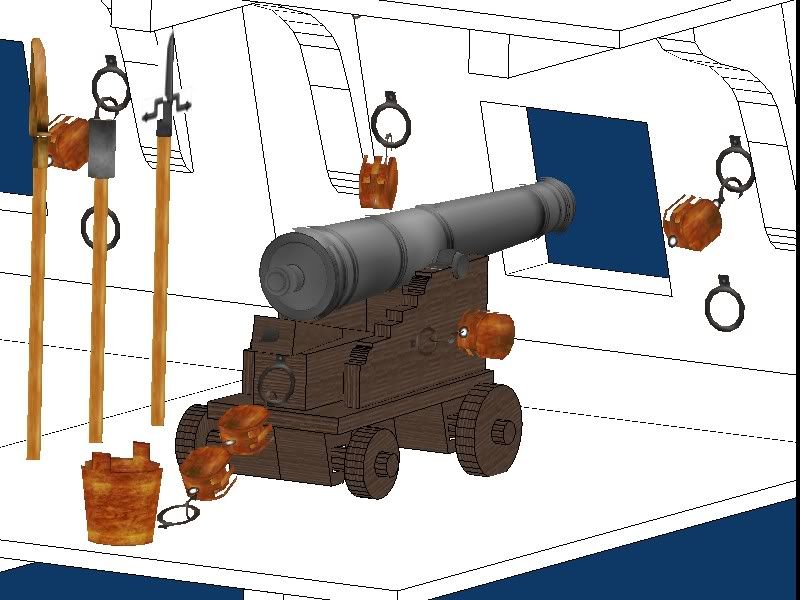
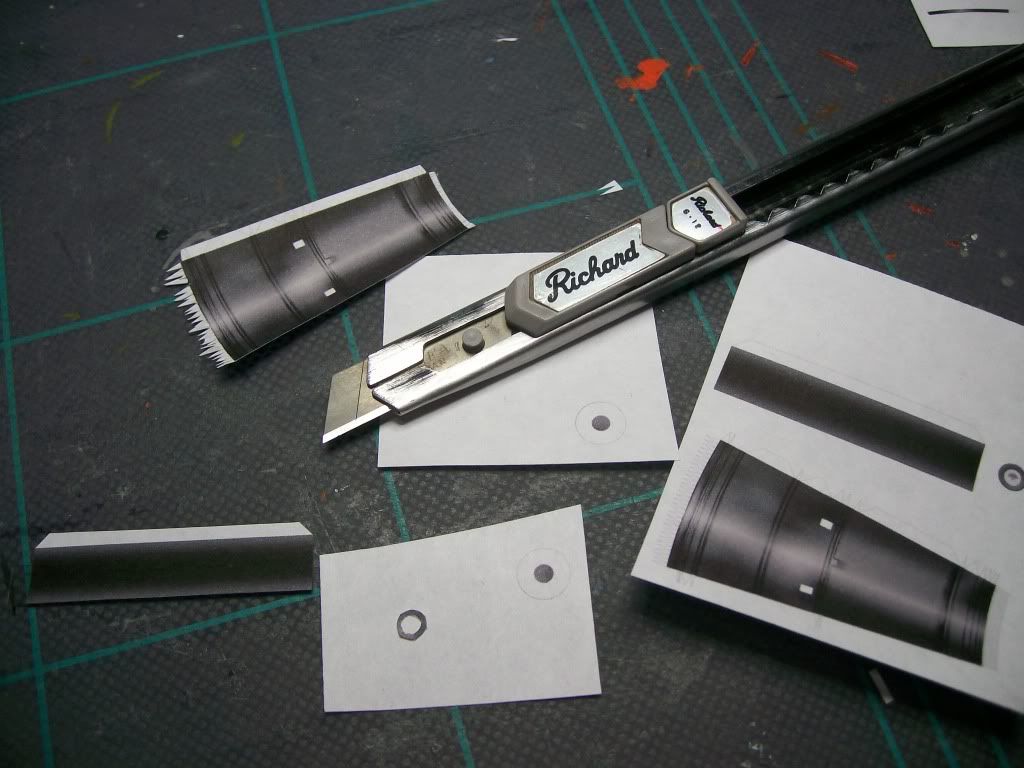
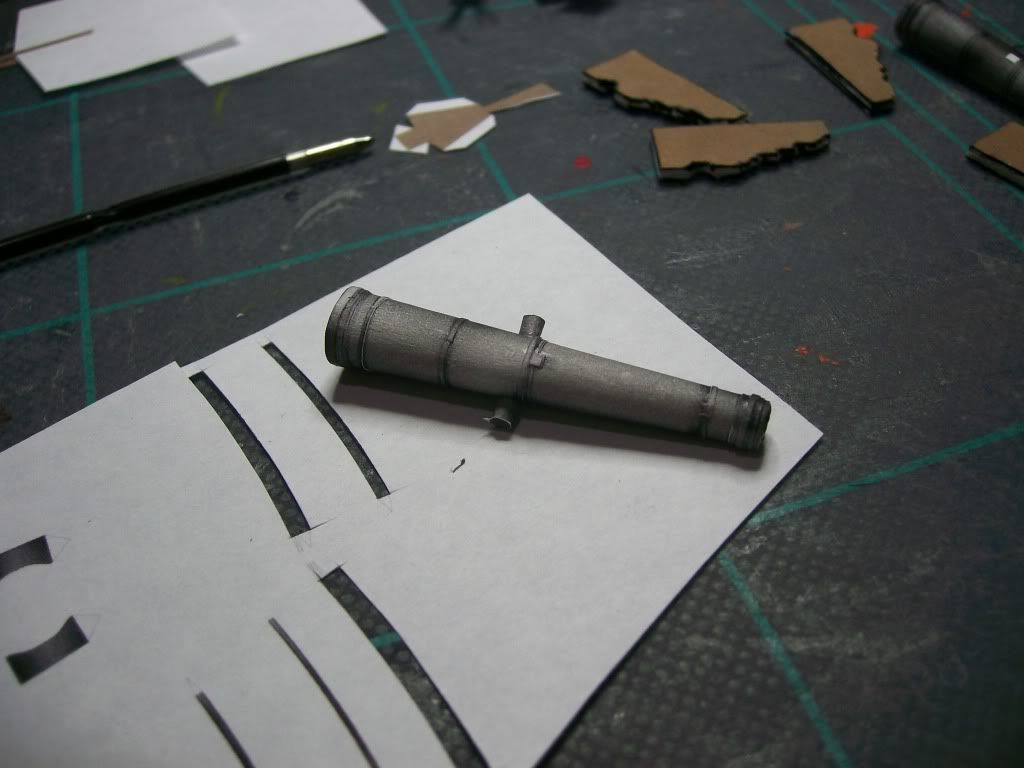
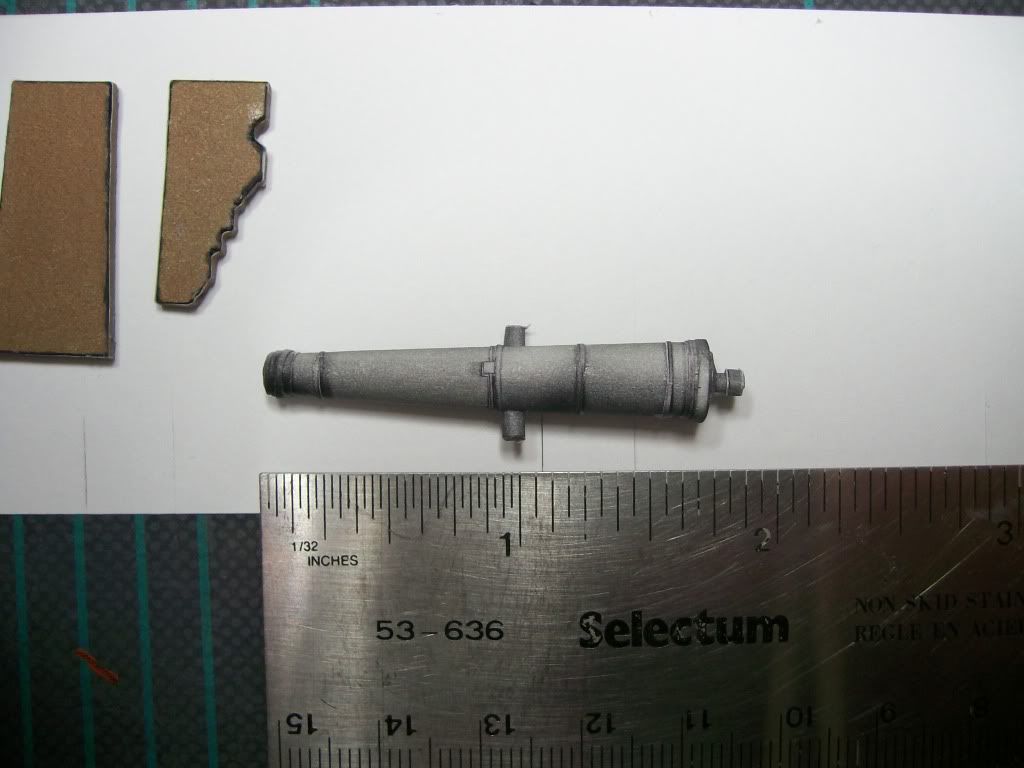
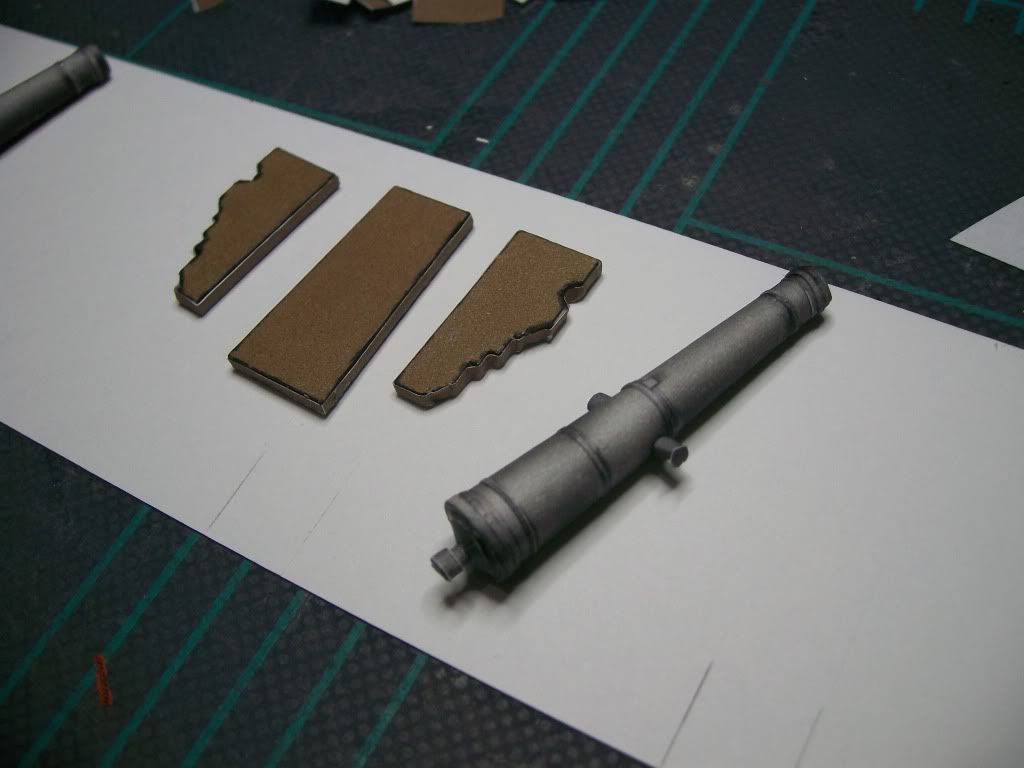
This is the first of my builds that was fully textured before I printed any part of it, with only minor component details (rivets, etc) missing from the final wood carriage textures. It might be hard to tell from the pictures, but the detail on the cannon is laminate build-up, a feature which worked better than I hoped. Note that the second shot is showing the barrel assembly, which fits into the cannon exterior tube.
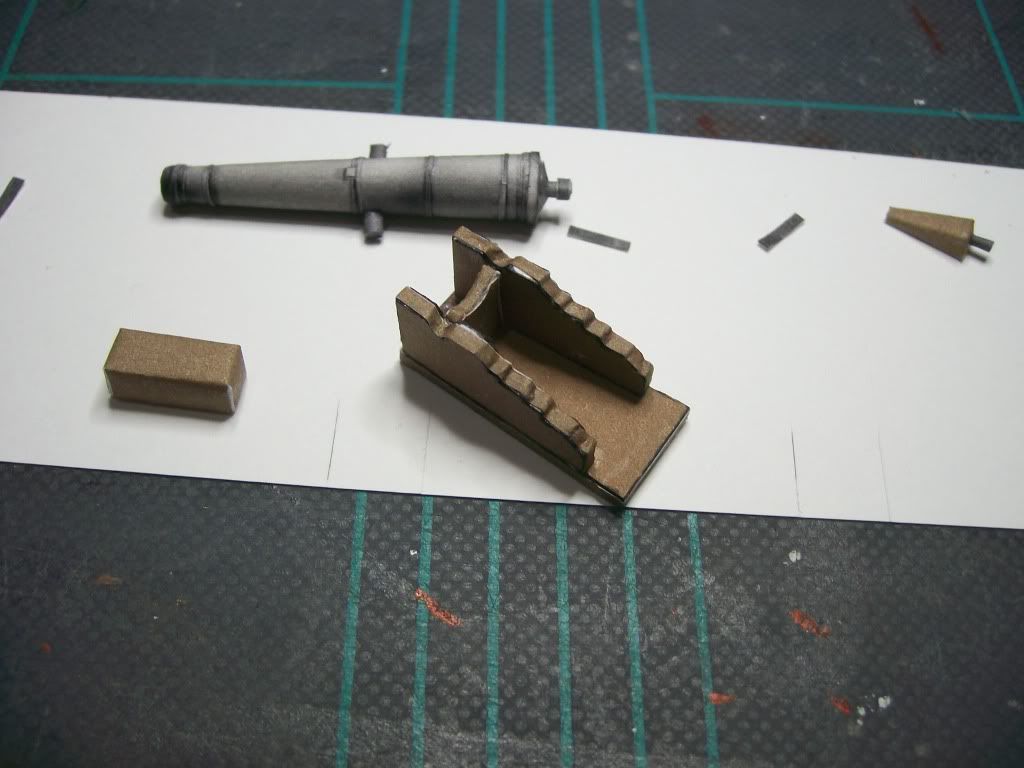
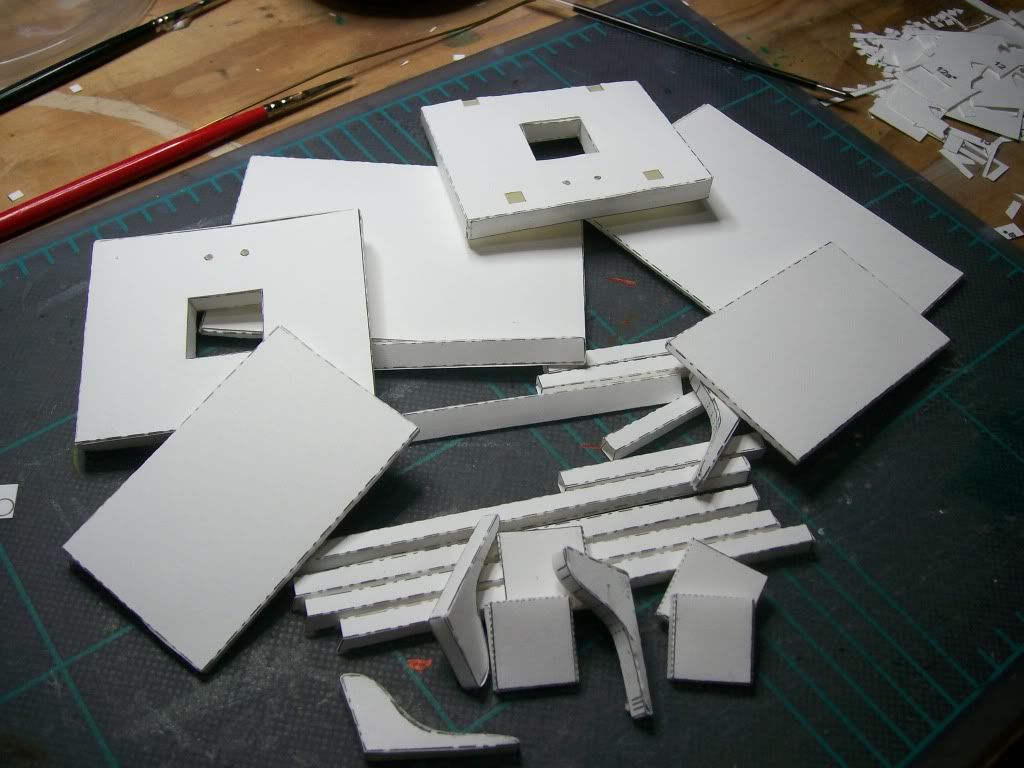
I intend to work on the carriage tomorrow, and will likely have it complete (sans wheels) for more shots then.
Enjoy!
Tirick
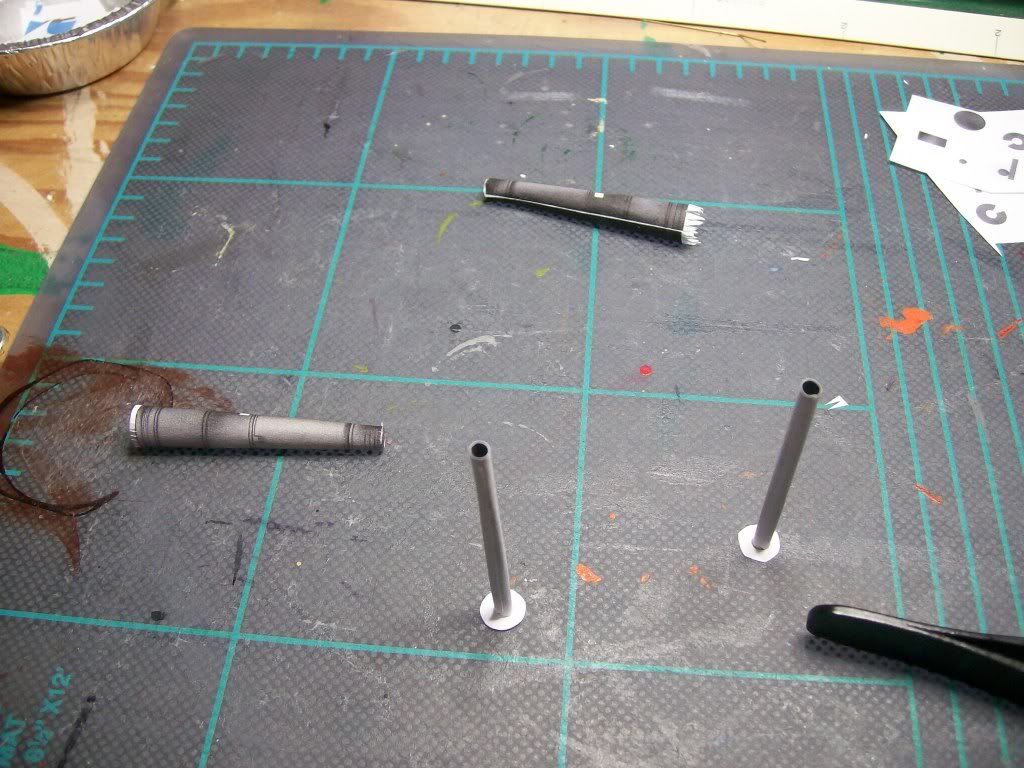
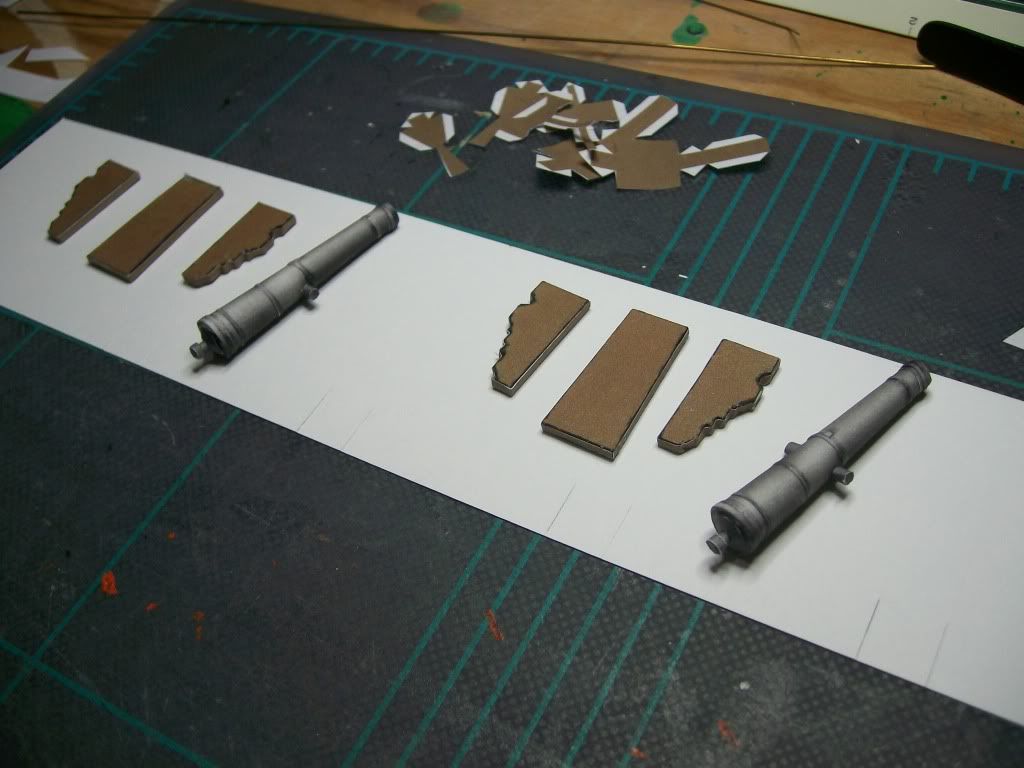
(yes, I'm building two; as two fit on a page currently)
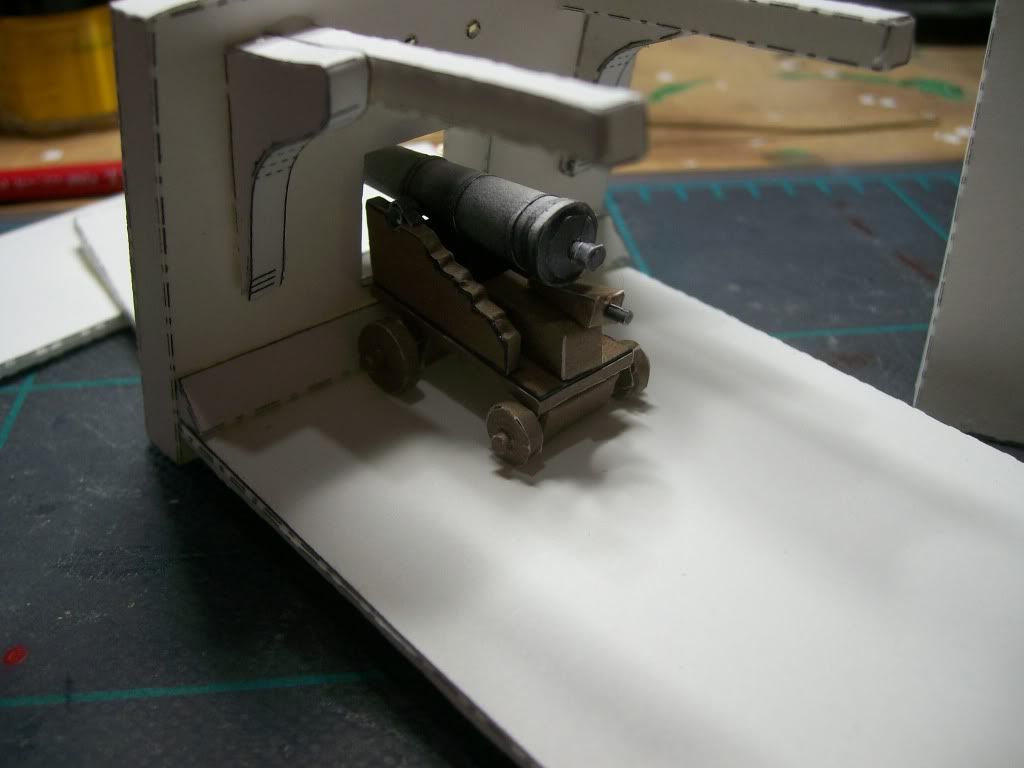
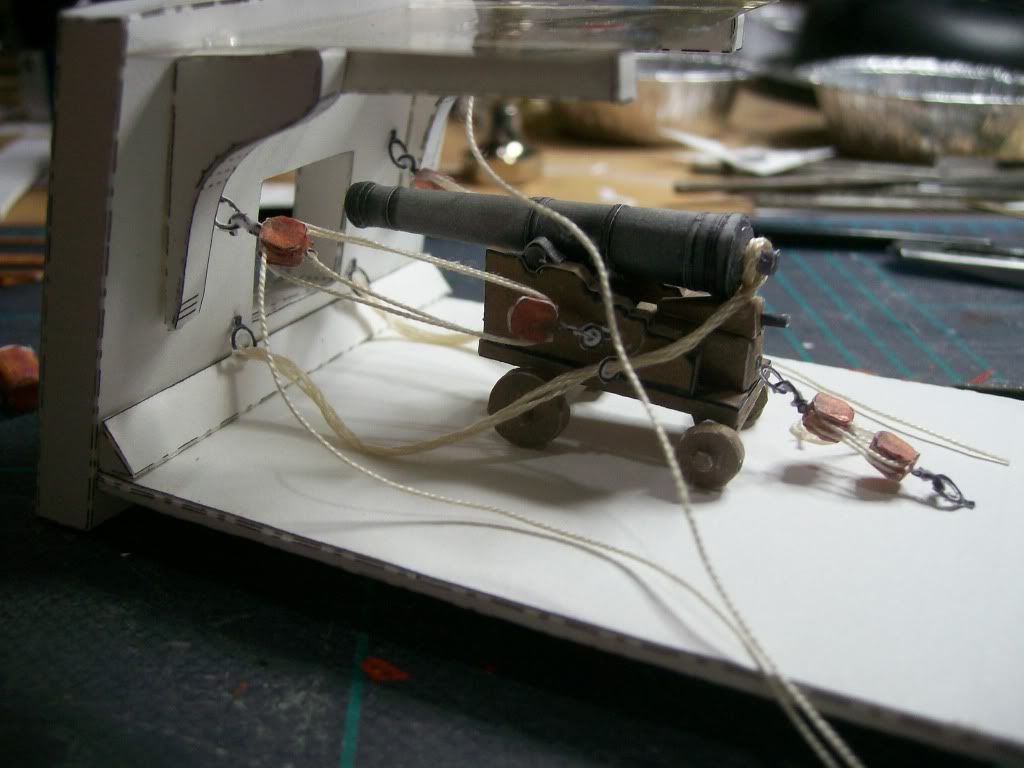
The title says it all, but the cannon will be made of detailed components and will feature a pivoting (elevation) assembly, potentially moving wheels and chock-block wedges for elevation support. I've not decided yet (although if I do it will extend release probably until Christmas) but I may include a second bore size with a shorter barrel. (I'd estimate this at the standard 32 lb shot, although at this scale it is really impossible to notice minor variations).
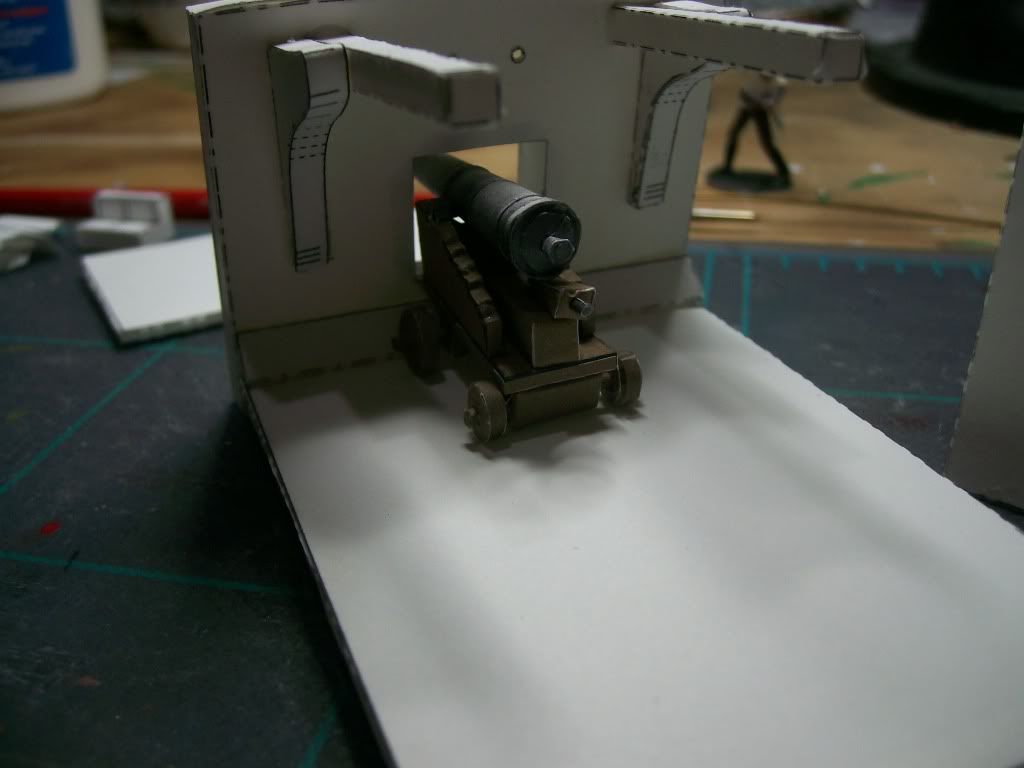
This is the first of my builds that was fully textured before I printed any part of it, with only minor component details (rivets, etc) missing from the final wood carriage textures. It might be hard to tell from the pictures, but the detail on the cannon is laminate build-up, a feature which worked better than I hoped. Note that the second shot is showing the barrel assembly, which fits into the cannon exterior tube.
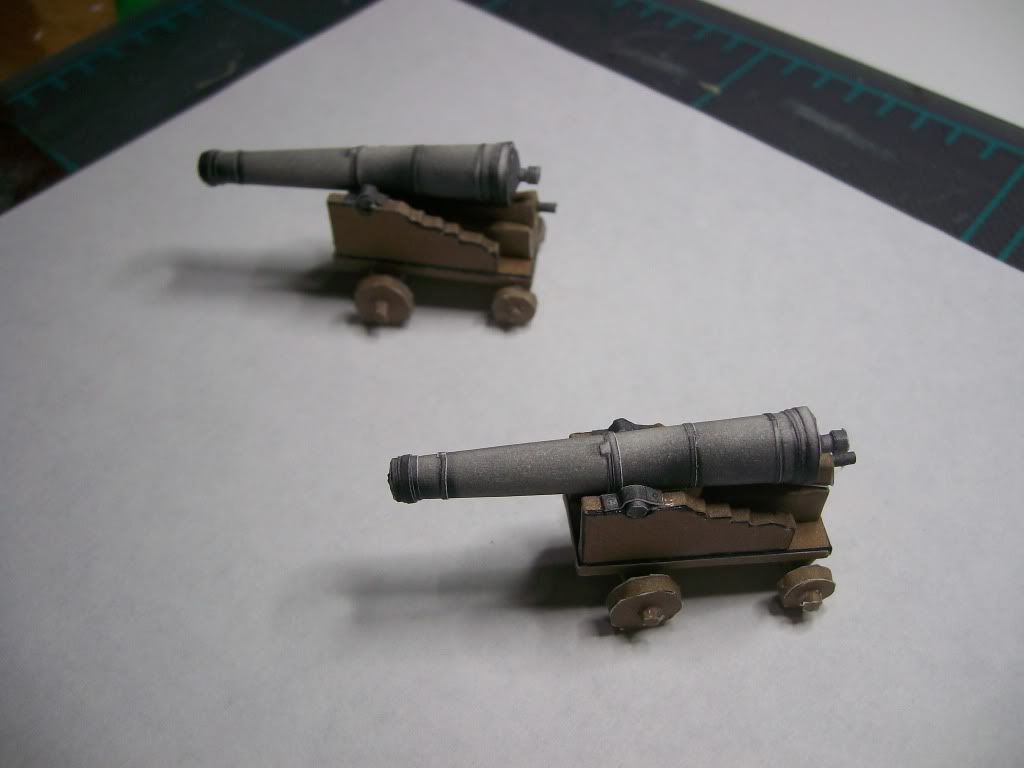
I intend to work on the carriage tomorrow, and will likely have it complete (sans wheels) for more shots then.
Enjoy!
Tirick
(yes, I'm building two; as two fit on a page currently)