1:16 Space Shuttle flight deck
- Thread starter Tonino
- Start date
You are using an out of date browser. It may not display this or other websites correctly.
You should upgrade or use an alternative browser.
You should upgrade or use an alternative browser.
Time to assemble cockpit front half.
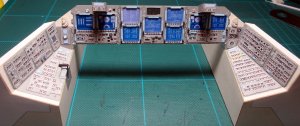
First side consoles are joined to dashboard.
Then I realized a big mistake in my part scomposition. I decided to paste hud boxes to dashboard leaving two square windows for their passage. This caused the upper side to curve upward slightly for the traction exercited by side walls.
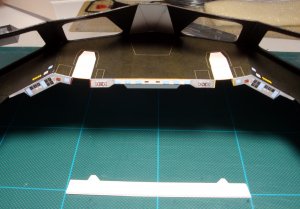
I tried to correct this problem cutting a piece of thick cardboard (1 mm.)
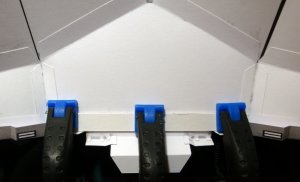
...and pasting it inside.
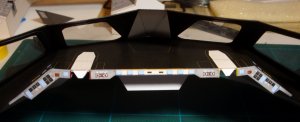
The piece corrected pretty well my mistake and - additionally - added two tabs to keep hud boxes in place.
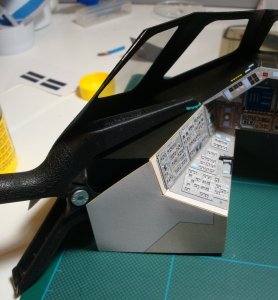
Then I joined together dashboard and front walls.
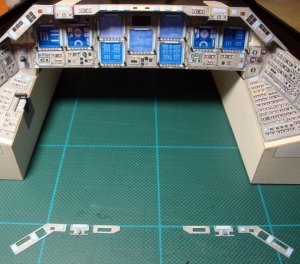
And, to complete the section, I added front panels and HUD knobs.
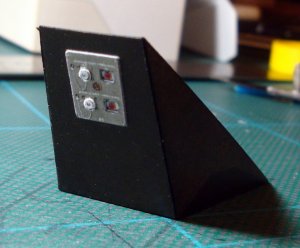
This is the central element where panel F1 is placed.
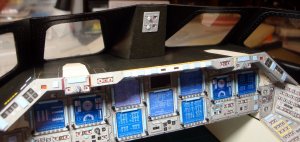
And here F1 in place.
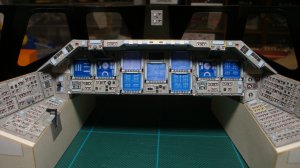
Here is a nice astronaut's point of view.

First side consoles are joined to dashboard.
Then I realized a big mistake in my part scomposition. I decided to paste hud boxes to dashboard leaving two square windows for their passage. This caused the upper side to curve upward slightly for the traction exercited by side walls.

I tried to correct this problem cutting a piece of thick cardboard (1 mm.)

...and pasting it inside.

The piece corrected pretty well my mistake and - additionally - added two tabs to keep hud boxes in place.

Then I joined together dashboard and front walls.

And, to complete the section, I added front panels and HUD knobs.

This is the central element where panel F1 is placed.

And here F1 in place.

Here is a nice astronaut's point of view.
Last edited:
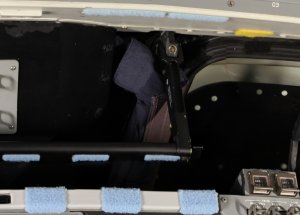
The next detail is in great part a creation of my imagination because I don't know really what is the real look and structure of the curtains that are provided to cover front windows.
I see in various images that are present blue curtains that are sometimes closed...
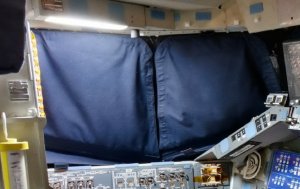
...and, most of the mission time, fully opened but still visible in lower window section, from inside...
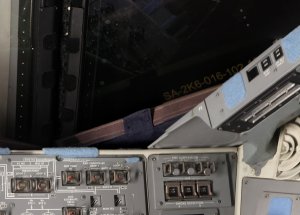
...and, even better, from outside:
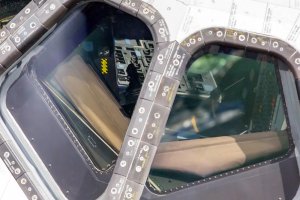
Also central windows has little curtains
I tried to reproduce their aspect printing separate pieces. On cardboard I realized what I supposed to be the curtain holder (in photos it seems to be something like leather or plastic). On thin paper I realized the blue fabric forming the curtain itself.
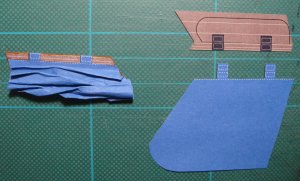
Crumpling the paper it could seem something similar to a wrinkled curtain.

And then I pasted them to front windows internal side.
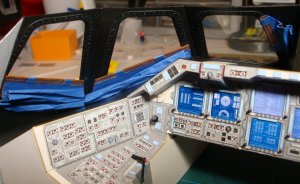
This is the aspect from inside...
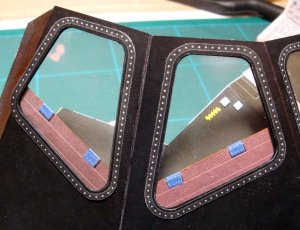
...and from outside.
I'm pretty satisfied by the result. In those photo the curtains show clearly their paper nature but, I assure you, seen with bare eyes the illusion is much better than it seems here.
I see in various images that are present blue curtains that are sometimes closed...

...and, most of the mission time, fully opened but still visible in lower window section, from inside...

...and, even better, from outside:

Also central windows has little curtains

I tried to reproduce their aspect printing separate pieces. On cardboard I realized what I supposed to be the curtain holder (in photos it seems to be something like leather or plastic). On thin paper I realized the blue fabric forming the curtain itself.

Crumpling the paper it could seem something similar to a wrinkled curtain.

And then I pasted them to front windows internal side.

This is the aspect from inside...

...and from outside.
I'm pretty satisfied by the result. In those photo the curtains show clearly their paper nature but, I assure you, seen with bare eyes the illusion is much better than it seems here.
Last edited:
Thanks my friends. You're very nice as always.
I'm not really sure of my feelings about curtains. I like them but....
Two thoughts:
1) perhaps they are a little too "intrusive..."?
2) I'm not sure this is the real look they have when not in use... in the photo they are always covered by dashboard border...
I would like to hear your opinion about this.
- Apr 5, 2013
- 13,496
- 9,548
- 228
You're so intuitive. I don't think a better representation could be done. It would be nitpicking to say anything negative, short of someone who has actually been working in that atmosphere. What you have done has surpassed anything I could have expected from anyone. You have the bar far below you as you are now orbiting in the high atmosphere of conceptualization modeling into reality of scale.
Last edited:
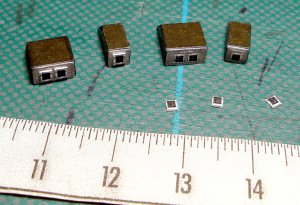
Time to complete this dashboard, the most difficult detail awaits me...HUDs! :nailbiting:
But first of all let's play with a simpler task: drag chute commands...
It's always surprising how such a little detail like those raised button covers can add a lot of charme to the whole assembly.
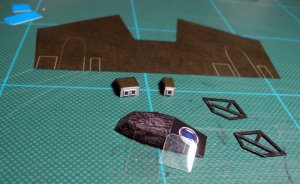
But time for play is over, now we have to do the hard one...
On the rear you see the new black cover I realized to correct the oversized traces I have drawn before.
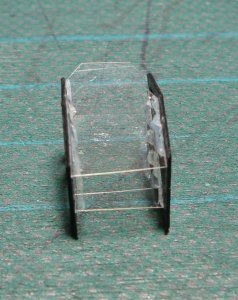
The first try was a total disaster. I added glue on the edge of transparent pieces but the glue spreaded all over the glass.
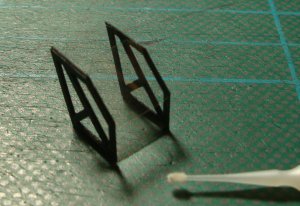
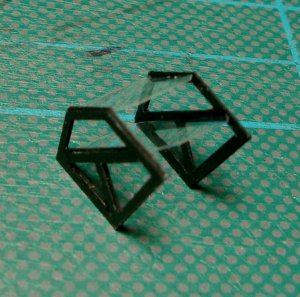
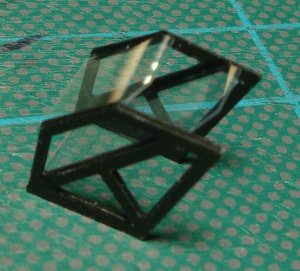
The second one went much better. This time I added a little drop of water to white glue to make it thinner and used a microbrush (seen in the first photo) to place a line of glue on the black piece exactly where the glass had to go.
Now the glue is almost invisible and the assembly look pretty stable (but I won't test too much this feature )
)
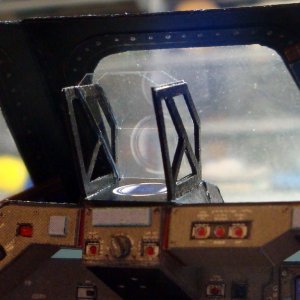
The HUD in place is very good! I like it. Let's hope it will stay together... I'm afraid this is the most fragile spot in all the model.
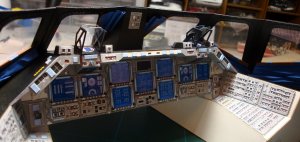
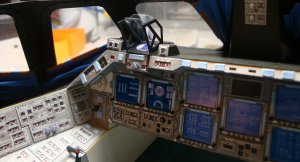
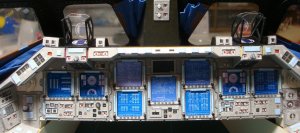
Now with ALL the instrumentations and commands in place the upper front section of the cockpit is really complete (actually ... no ... something will lay down from the ceiling... but this will happen later).
That's all for now!
Hi friends!
But first of all let's play with a simpler task: drag chute commands...

It's always surprising how such a little detail like those raised button covers can add a lot of charme to the whole assembly.

But time for play is over, now we have to do the hard one...
On the rear you see the new black cover I realized to correct the oversized traces I have drawn before.

The first try was a total disaster. I added glue on the edge of transparent pieces but the glue spreaded all over the glass.


The second one went much better. This time I added a little drop of water to white glue to make it thinner and used a microbrush (seen in the first photo) to place a line of glue on the black piece exactly where the glass had to go.
Now the glue is almost invisible and the assembly look pretty stable (but I won't test too much this feature

The HUD in place is very good! I like it. Let's hope it will stay together... I'm afraid this is the most fragile spot in all the model.


Now with ALL the instrumentations and commands in place the upper front section of the cockpit is really complete (actually ... no ... something will lay down from the ceiling... but this will happen later).
That's all for now!
Hi friends!
Last edited:
The level of work and detail that you are putting into this project is ABSOLUTELY AMAZING and MIND BLOWING!
After seeing what you are doing, You sir, are a MASTER BUILDER and MASTER DESIGNER !


After seeing what you are doing, You sir, are a MASTER BUILDER and MASTER DESIGNER !


You sir, are a MASTER BUILDER and MASTER DESIGNER !
Can we get this as a tag under Tonino's name instead of just "member"? I think its only fair to let everyone know the truth.
I was thinking about the curtains. Maybe they are supposed to prevent some feisty Peeping Tom Aliens from looking through the windows while the crew is watching TV. Just thinking..! 

Back to work. Now I'm going to add some details to the cabin waiting for the inspiration to start with the last BIG batch of instrument panels: the ceiling.
First of all the aft translational joystick.
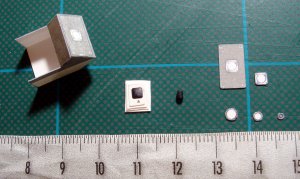
Here are the pieces...
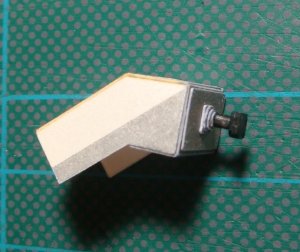
...and here is it finished.
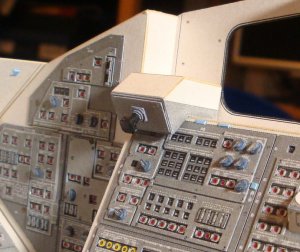
...and placed in its own spot.
Then I wanted to add that black bar I saw in every photo of the front section. I'm not sure about its use but, as it's clearly visible in all the photos, I cannot ignore it.
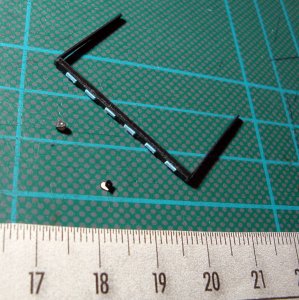
The bar with its hinges .
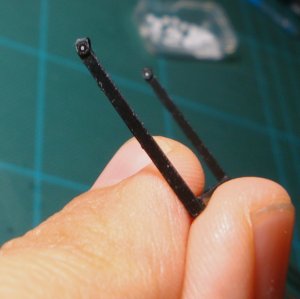
Hinges are another vey tiny piece to cut and fold!
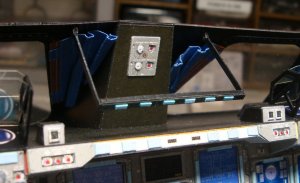
And here is the bar in place.
Now let's go on with the pedals, another important piece with its own "personality" to recreate.
The first prototype didn't satisfy me at all. Too tall and flat in the front side.
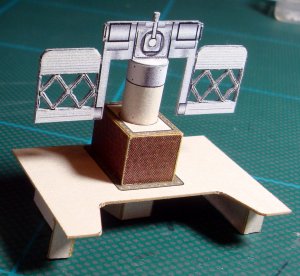
I needed to add some greebling.
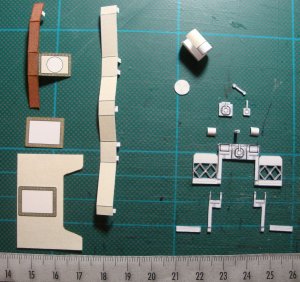
Here are the parts for my second try. They are 17 (26 counting microtabs...) the prototype was made only by 6 pieces.
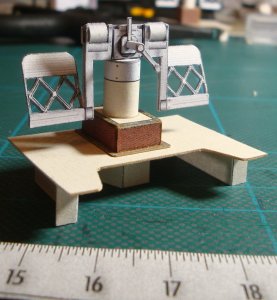
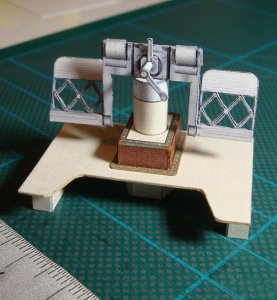
Very very better... I like this one much more than the first one.
First of all the aft translational joystick.

Here are the pieces...

...and here is it finished.

...and placed in its own spot.
Then I wanted to add that black bar I saw in every photo of the front section. I'm not sure about its use but, as it's clearly visible in all the photos, I cannot ignore it.

The bar with its hinges .

Hinges are another vey tiny piece to cut and fold!

And here is the bar in place.
Now let's go on with the pedals, another important piece with its own "personality" to recreate.
The first prototype didn't satisfy me at all. Too tall and flat in the front side.

I needed to add some greebling.

Here are the parts for my second try. They are 17 (26 counting microtabs...) the prototype was made only by 6 pieces.


Very very better... I like this one much more than the first one.
Last edited:


 there are no words for how truly awesome this build is. You are raising the bar to whole new levels. Truly amazing work.