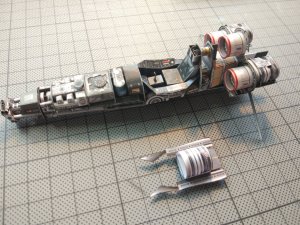
Colonial Viper from UHU02
- Thread starter McTschegsn
- Start date
You are using an out of date browser. It may not display this or other websites correctly.
You should upgrade or use an alternative browser.
You should upgrade or use an alternative browser.
Time for a new expression: Tschegsnicious! (= awesome, fabulous, ingenious) 
Erm.... Okaaaaaay  Don't expect way too much please
  Well.. Thank you @Revell-Fan
I do my best... At the moment the build is a bit delayed because of another model I have to finish but your comments are very very motivating...
I do my best... At the moment the build is a bit delayed because of another model I have to finish but your comments are very very motivating...
Time for a new expression: Tschegsnicious! (= awesome, fabulous, ingenious)
This was really great!!! ...and appropriate!
If I'd only be able to pronounce this word... I'd use it extensively!
(Tsch... Tchs... Tcsh... Scht.... ...no ... no, I surrender...)
Hi friends... Just took my time and continued a bit on my Viper.
The lower engines are finished and glued to the model.
The pipings will be done shortly before finishing the model. I am afraid of mashing them up when I handle the model while glueing. For the same reason I will leave the throttle stick (which broke the umpteenth time) alone and put it back in the model when its finished... Easier to handle
Up for a bit eye-candy and the actual building state

Ther are still some erratic edges on the engines backsides which I will cover upo with the next former to be installed...
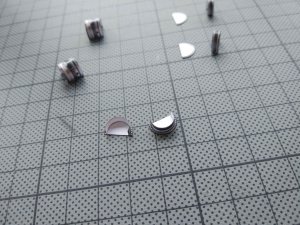
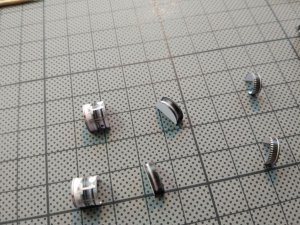
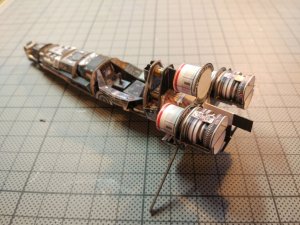
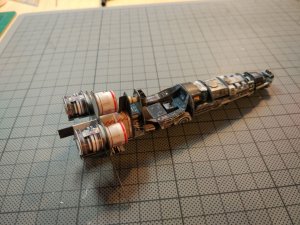
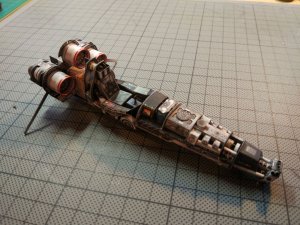
The lower engines are finished and glued to the model.
The pipings will be done shortly before finishing the model. I am afraid of mashing them up when I handle the model while glueing. For the same reason I will leave the throttle stick (which broke the umpteenth time) alone and put it back in the model when its finished... Easier to handle
Up for a bit eye-candy and the actual building state

Ther are still some erratic edges on the engines backsides which I will cover upo with the next former to be installed...


Thanks for sharing. I recommend that sometime later, make another printout of the seatbelts. I like the build so far, especially in how you have kept the frame straight. I had a slight problem in the nose section, which wanted to droop down. Those wing strut attachment are very fragile. Protect them because they will bend very easily. Set the viper on a raised surface to keep the struts from touching the surface.
At the moment the struts do well. Nevertheless I will follow your advice. I fell in love again with this model while continuing the build. I definitely like Uhus style (and the Viper of course) 
Plus I want to finish this thingy as I have tons of stuff to do and I hate billions of parallel projects
Plus I want to finish this thingy as I have tons of stuff to do and I hate billions of parallel projects
Your build is coming along great ...keep going your work. I cant whait to see how it will Turn on
It's a lot of stuff to be just halfway 
Anyway a lot of beautiful stuff!!!
Great work - as usual - Chris! thumbsup
Anyway a lot of beautiful stuff!!!
Great work - as usual - Chris! thumbsup
Thank you guys. I appreciate this... Doing another build parallel to the Viper which sucks definitely... A delight to build this UHU model! 
So stop doing that another "sucky" build and give us more of THIS beautiful build, please  .
.
- Apr 5, 2013
- 13,499
- 9,551
- 228
Holy Crap, you McTschegsn'd the Hell out of that!!! picture uploads got knocked out again, I am happy you got some in though. It's being worked on. Beautiful craftsmanship. 


