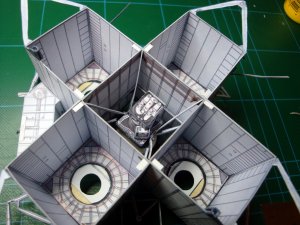
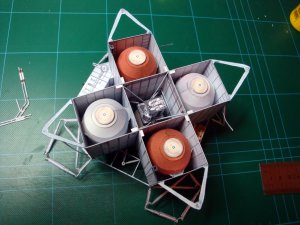
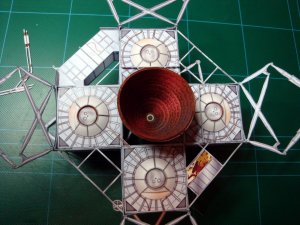
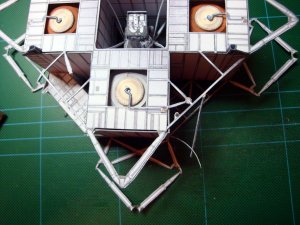
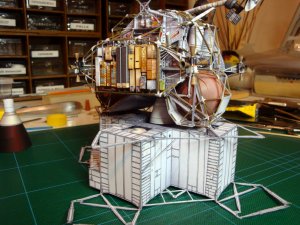
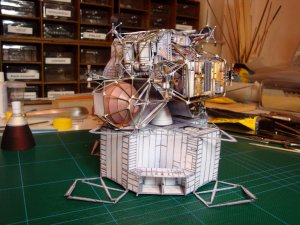
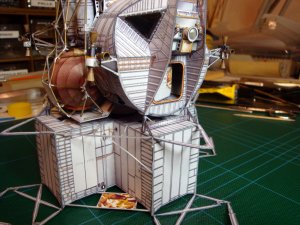
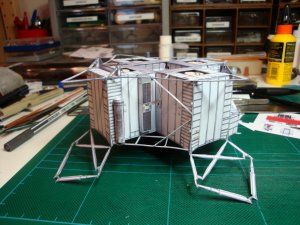
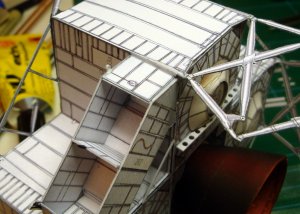
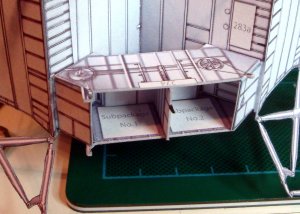
I wanna try the LM...

Tonino

Well-Known Member
Apr 15, 2004
791
1,775
83
61
Republic of San Marino
www.facebook.com
Again... very busy days. Only little progresses on the build. Just a little update about the use of my last blade replacement.

First of all thank you for your advices @McTschegsn @DanBKing @Lighter @Nando and @zathros
I'm definitely going to cut away all gray parts. I'll follow the idea of glue strenghtening of the joints. I liked the idea of the landing phase diorama but, as I'm planning to let the LM "naked", it would be unrealistic to see a module on duty without the external cover. So I'll keep it for a future project (in a littler scale, as Nando's one). Anyway, when all the parts will be in place, I think the legs will be able to sustain the body. If not I'll think to something (as for Chris' advice).

Well, back on work!
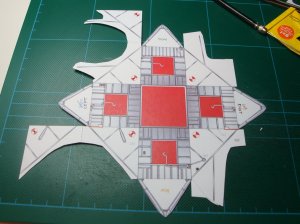
DSC06921.JPG DSC06922.JPG
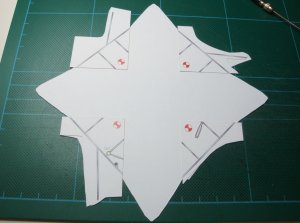
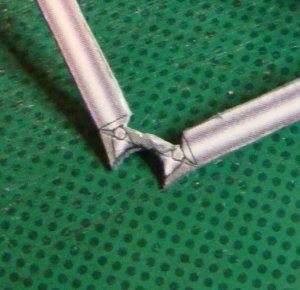
Even if I don't like the "fold and pray" I decided to use this technique, this time, because the underside of those tubings will be barely visible at the end.

**EDIT** I forgot to mention: there is an error in the labels "left" and "right" that are swapped as you see in the photo. No problem anyway because the part cannot be placed in any other way than the correct one for the presence of two notches provided to host the ascent stage supports.
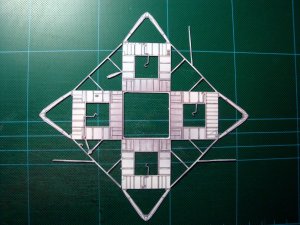
DSC06937.JPG
After a LOT of cut & paint we finally have the upper side of the descent module.
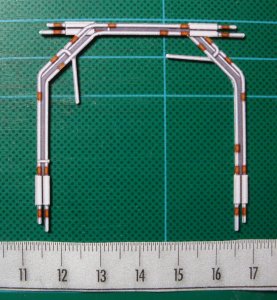
DSC06938.JPG
Some more tubings. And now a question: do you think I should let there all those grey areas? Do I really need to ask?
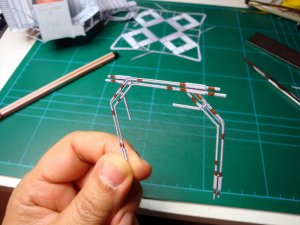
DSC06941.JPG
Obviously the answer is NO!!! Some more cutting and painting and all the tubes are free!
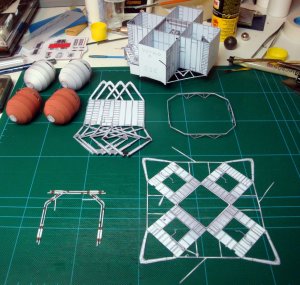
DSC06942.JPG
Now that we have all the parts ready for assembling it's time to give some shape to this descent stage.
See you soon!
 
Last edited:

Tonino

Well-Known Member
Apr 15, 2004
791
1,775
83
61
Republic of San Marino
www.facebook.com
Preparing to close the "boxes"
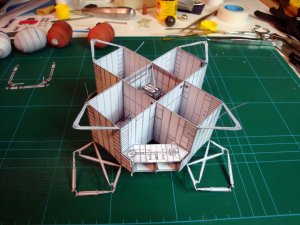
Before placing the top element (that will be not as easy at it seems, I'm afraid) I finally pushed myself to cut away the grey areas from legs structures as planned before.
Then I pasted the four external walls. Now the descent stage starts to look like a LEM!
DSC06945.JPG

The rigidity of this spot is stronger than I expected so I think there will be no problems as for the stability.
DSC06946b.JPG

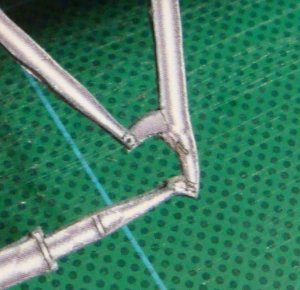
here I left a little section (to be removed later) to keep joined the two pylons (and avoid unintentional damages) until the main leg will be glued in the middle blocking the assembly.
DSC06946a.JPG

From the little I can understand from the Google translation of UHU's text seems to me that the placement of the upper element that closes the four "boxes" is going to be somewhat difficult.
For this reason I prefer to place eight little tabs to help keeping in place the cover in the mid section. The external side should be well kept in place by the union of the two halves of the triangular structure (upper tubes of the legs). So no tabs there.
DSC06947.JPG


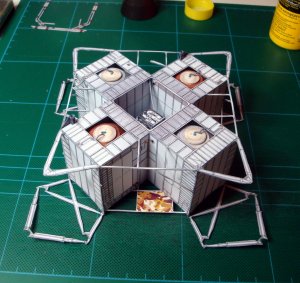
And now I can place and glue the four big tanks paying big attention to the alignment of the lids on the lower side.
DSC06948.JPG DSC06949.JPG
 

Tonino

Well-Known Member
Apr 15, 2004
791
1,775
83
61
Republic of San Marino
www.facebook.com
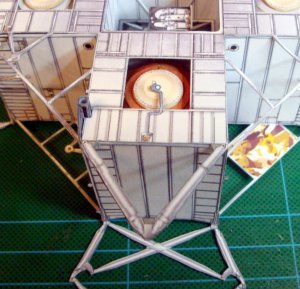
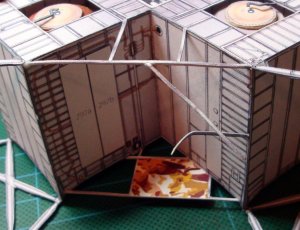
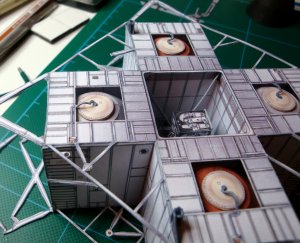
As I feared placing the upper cover was not an easy task - as UHU warned.
Due to sub-millimetrics misalignments during the early stages of quads building the final shape of the upper edges was not exactly fitting the part no. 270 (the big upper cover).
This is not a design defect - I think - but only a physiological consequence of the build of a multi-layer very complex part.
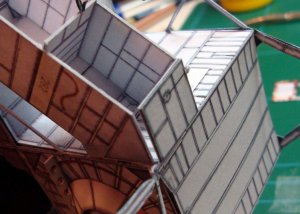
The result is that, after having glued the central section of 270, with the help of the little tabs I provided before (see previous post) and having joined the halves of the upper leg components to fix the external side of the "boxes", big gaps resulted along many of the upper edges.

DSC06950.JPG DSC06951.JPG DSC06952.JPG
Not a pleasant view :(

Furthermore, all this pulling and pushing to force the parts to fit caused some distortion to the main structure because the engine pylons are now crooked.
DSC06953.JPG
But I'll think to this later, now I have to deal with the gaps.
DSC06954.JPG
Trying to persuade the walls to match.
DSC06955.JPG
This side was recovered... I feel better. Now to the others :)
 

Tonino

Well-Known Member
Apr 15, 2004
791
1,775
83
61
Republic of San Marino
www.facebook.com
Preparing for the very first close encounter from the "top" and the "bottom"...
Prior to celebrate this marriage I have to fix some little details.

DSC06956.JPG
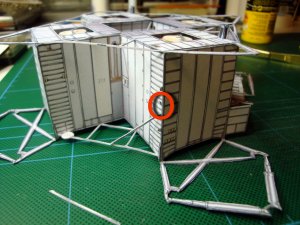
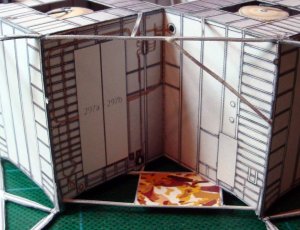
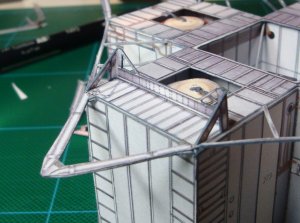
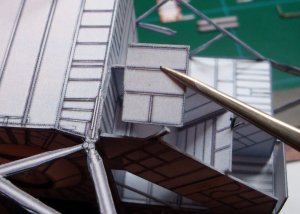
First of all those oblique bars. They are made from a layer who was included in lateral walls and a two layered component that is part of the piece N°270. The result is a three layered bar that is too thick and bad-looking.
DSC06957.JPG
It's better to remove the lower component (leaving a little sectoin as a reference - see the red circle), and then cut away also the upper component to have a sharper angle with the horizontal bar when I will glue it again.
DSC06958.JPG
The result is acceptable.

DSC06961.JPG
I gave a slight curved shape to the pipes going to the tanks before pasting them so they are more visible and realistic.

DSC06964.JPG
The base is now almost ready for the "wedding" - just another particular to be done:

DSC06968.JPG
...the front connection element. Again I didn't leave the black triangles (Call me "triangle-killer" )

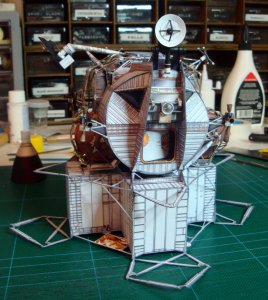
And let the wedding begin......!
DSC06969.JPG
What a feeling! I'm almost moved!

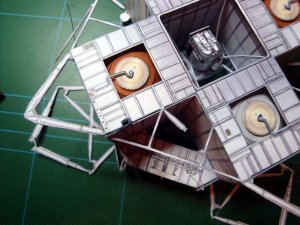
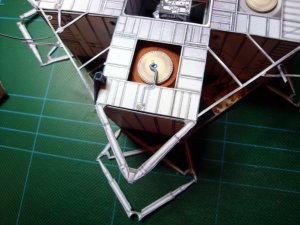
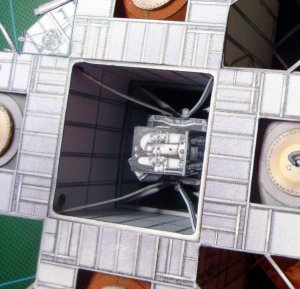
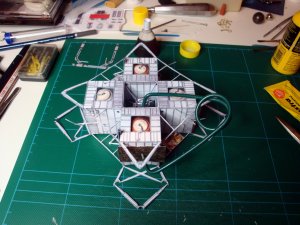
DSC06970.JPG DSC06971.JPG DSC06972.JPG
Starting to see the light at the end of the tunnel!
 
Last edited:

DanBKing

Dan the Man
Feb 29, 2012
1,817
1,587
113
Netherlands
Bloody brilliant!!! :Bravo:

Comparing my radio/radar dishes on the Discovery, to yours, I have got a hell of a lot to learn and improve in my building techniques. ;):)

Your work is super clean and accurate.

Respect, Sir! :bowdown:
 
  • Like
Reactions: Tonino

zathros

*****SENIOR ADMINISTRATOR*****
Staff member
Administrator
Moderator
Apr 5, 2013
13,499
9,551
228
Tonino, your model is fantastic. If you wanted to make people bang their heads against the wall, turn those flat landing struts into the tubes they are supposed to be. That said, it's a helluva job, and I could understand why no one would bother. :)
 
  • Like
Reactions: Tonino

Tonino

Well-Known Member
Apr 15, 2004
791
1,775
83
61
Republic of San Marino
www.facebook.com
@DanBKing you're too kind! But I don't think you have a lot to learn, au contraire! I 'm still amazed for the sphere you did for the Discovery main module! I should learn something about curved surfaces from you and not the opposite!

@zathros Thank you very much but. . . now that you make me think at this . . . you are right: those struts are really too flat!!! Why did you say it? :sadno: Now I'll never sleep again until I think up some walkaround!!! Well let's say that I won't have to worry about people's head health if I decide to leave the struts as they are... but let me have some thinking at it :hungry:
 
  • Like
Reactions: DanBKing

Tonino

Well-Known Member
Apr 15, 2004
791
1,775
83
61
Republic of San Marino
www.facebook.com
I started to feel faint after you started cutting the gray out of the supports and tubing. (Loving it though.) Now you're considering tubular sections...? Is this still 48th scale?

:) Don't worry Mike! It's not as bad as it seems. I too wasn't very sure before start cutting but if you use a thicker cardstock for those tiny parts (I used 160 gr. paper for the little struts) the pieces will result hard enough to resist to almost any stress.

The tubular sections? Well I was pretending to ignore them but when @zathros turned my head toward the legs of my LM I realized they are really too flat! I'm going very firmly to consider a solution. I think I have two alternatives:

1) looking at great @mk310149 model I considered the coverings provided by UHU for the external skin. On the leg struts they are cylindrical and give the right tridimensional feeling to the thing. But I decided, at the start of my build, to exclude all the final steps of UHU build (to have a coverless LM) so I didn't consider those pieces. I should place them on the legs to recover the right shape of the struts. This is the simple option.

2) I can try to design and realize by myself completely new parts for the struts building cylinders and cones where the flat parts are provided. I'm not good with 3D softwares and should proceed by trial & error ... This is the COMPLEX option.

Still thinking at it ... ... ...

About the scale: yes the model was printed in native 1:48 scale.
 
Last edited:

zathros

*****SENIOR ADMINISTRATOR*****
Staff member
Administrator
Moderator
Apr 5, 2013
13,499
9,551
228
Tonino,
I am good at CAD, if you wished to make cylindrical legs, send me a P.M., and we will set up a plan. You can always mount them later. I banged out some of the LEM's cab struts out of curiosity some while ago. After looking at them, I concluded the model would be really enhanced with tubular struts. I am thinking about doing this over the Winter. :)


TC1.jpg TC2.jpg
 

zathros

*****SENIOR ADMINISTRATOR*****
Staff member
Administrator
Moderator
Apr 5, 2013
13,499
9,551
228
Let me know what section you want. Send me a P.M. with the answer, please. )
 

Tonino

Well-Known Member
Apr 15, 2004
791
1,775
83
61
Republic of San Marino
www.facebook.com
Working with QUADs

DSC06973.JPG
The first one is an easy task: only a battery pack and the S-band antenna

DSC06974.JPG
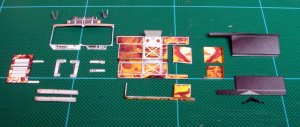
The second QUAD looks more challenging with a lot of very tiny parts. This bunch of paper things is only for the folding cover.

DSC06976.JPG
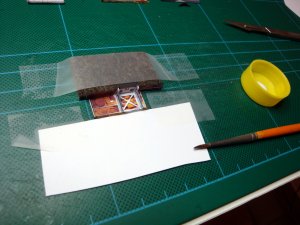
As always I do a lot of strange structures to hold straight the parts while glue sets.
(look, @McTschegsn, I adopted your method with white glue and a little drop of water)

DSC06977.JPG
While waiting for glue I decided to place my hands on a flaw I didn't manage before. The lateral walls of QUAD 2 didn't fit well leaving big gaps with horizontal bulkheads.

DSC06979.JPG
so I cut away part of pieces 266 and 267 to reposition them a little recessed from external edge.

DSC06980.JPG
After the repositioning the appearance is much better.

DSC06982.JPG
Now there is a little step between the external wall and the ALSEP container but I prefer this to the big gap that was visible before.
 

SonOfAGun2501

Esteemed Member Extroadinaire
May 11, 2014
324
642
83
45
Ichikawadaimon, Japan
Wow, this is an insane build. Looks absolutely amazing and all of your tips and tricks are really helpful. I can't wait to see the finished model and best of luck on the rest of it.