

Buck Rogers - Blaster (2)
- Thread starter starbuck
- Start date
You are using an out of date browser. It may not display this or other websites correctly.
You should upgrade or use an alternative browser.
You should upgrade or use an alternative browser.
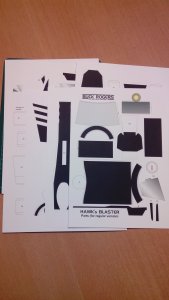
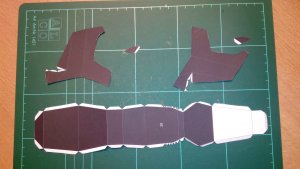
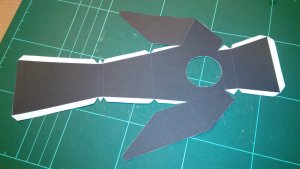
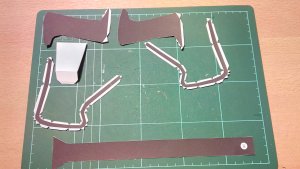
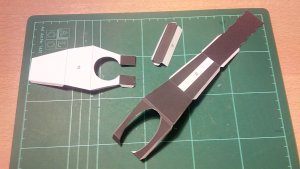
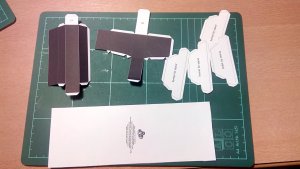
Beside the sheets with the parts for the blaster also a very detailed instruction is attached.
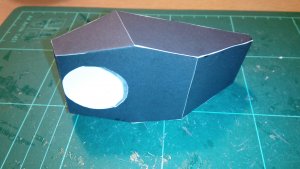
As always with black models the edges can be seen. But at the end I will paint the model to
hide the white edges.
By the way - it is my first model with 160g paper. It is not as stable as my 200g paper but the
round parts are much more easy to build.
As always with black models the edges can be seen. But at the end I will paint the model to
hide the white edges.
By the way - it is my first model with 160g paper. It is not as stable as my 200g paper but the
round parts are much more easy to build.
Attachments

It looks like you are off to a good start.
I am looking forward to seeing how your build turns out.
I am looking forward to seeing how your build turns out.
This is a fun build. You'll like the final product. I built mine a while ago and it's still holding up. The only change I made was to leave off the trigger so I could handle it better. Good job.
Great to see this coming together! ") Don't worry about the gsm, I always use the 160s. It should work fine for the blaster. If you feel that it is necessary you may reinforce the part(s) in question with additional layers of paper. Good luck with it (it is much easier than the Colonial Blaster)!
Don't worry about the gsm, I always use the 160s. It should work fine for the blaster. If you feel that it is necessary you may reinforce the part(s) in question with additional layers of paper. Good luck with it (it is much easier than the Colonial Blaster)!
Don't worry about the gsm, I always use the 160s. It should work fine for the blaster. If you feel that it is necessary you may reinforce the part(s) in question with additional layers of paper. Good luck with it (it is much easier than the Colonial Blaster)! Thank you for the cheering words.
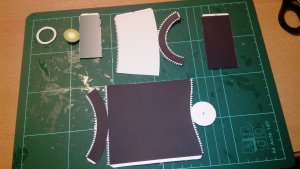
@ Revell-Fan - I use the 160g paper based on your recommendation;-)) - as mentioned good to work, and as you said - in case of need - reinforcements.
Here the next pics:
@ Revell-Fan - I use the 160g paper based on your recommendation;-)) - as mentioned good to work, and as you said - in case of need - reinforcements.
Here the next pics:
Attachments

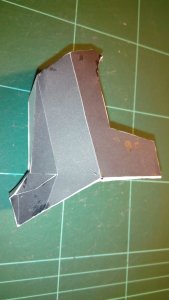
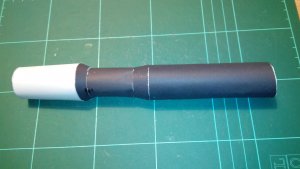
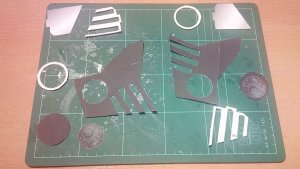
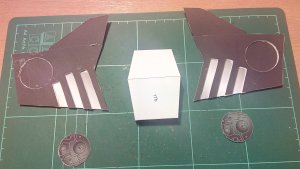
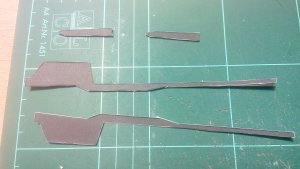
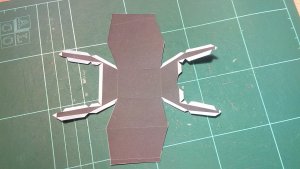
So next parts cut and assambled. So far no problems found.
Everything suits together and the instruction tells you exactly what to do.
Oh, part 17B - the part to enlarge the blaster. bgt01 said he did not use the trigger for better handling. Therefore I prepared this part as I want to have and reach the trigger.
Everything suits together and the instruction tells you exactly what to do.
Oh, part 17B - the part to enlarge the blaster. bgt01 said he did not use the trigger for better handling. Therefore I prepared this part as I want to have and reach the trigger.
Attachments

Will do so, Blaster Master;-))Feel free to modify the kit to make it fit.
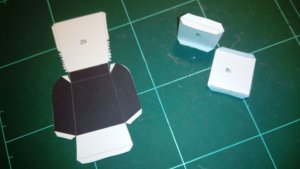
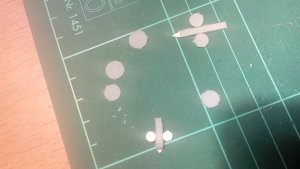
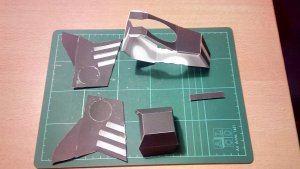
Next parts including - the trigger. I could not find the trigger within the sheets for the black version of the gun.
So I used the parts of the gold version and coloured black;-))
The trigger-front (white in this picture) I coloured dark red - seemed to be suitable to show how dangerous it is to activate the trigger.
Attachments

Oops - SORRY! Thank you for pointing this out! The trigger parts are on page 7 (inside the black box on the right). I have filled the box completely with black by accident. I have added a revised version of the kit to the Resource section:
http://www.zealot.com/resources/hawks-blaster.5/updates
and will ask Martin to replace the file on his site.
http://www.zealot.com/resources/hawks-blaster.5/updates
and will ask Martin to replace the file on his site.
Oh, and I was wondering about the black box - I did not find a use for it - now I know why;-)Oops - SORRY! Thank you for pointing this out! The trigger parts are on page 7 (inside the black box on the right). I have filled the box completely with black by accident. I have added a revised version of the kit to the Resource section:
http://www.zealot.com/resources/hawks-blaster.5/updates
and will ask Martin to replace the file on his site.
So next parts
Attachments
Not a problem. BTW much fun to build - like this blaster.My mistake!
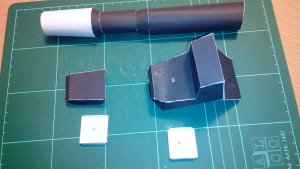
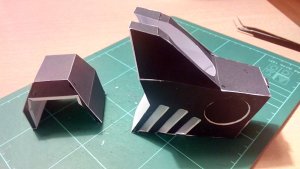
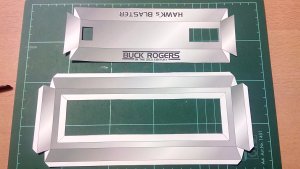
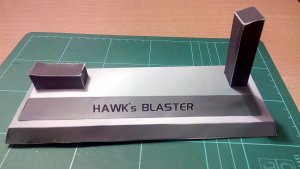
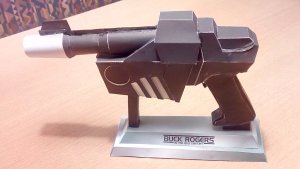
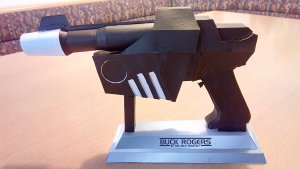
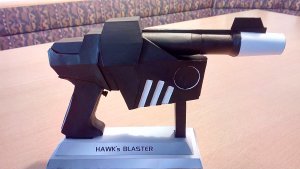
So, final spurt: the stand and the fully assambled blaster.
Next and really final step colouring to hide the edges. Pictures to follow.
Attachments

Great job, starbuck - you are welcome!
(Just one note: It appears that the rim of the recessed circle has not been painted yet; it must be black, too .)
(Just one note: It appears that the rim of the recessed circle has not been painted yet; it must be black, too
.)[n, post: 992676, member: 47592"]Great job, starbuck - you are welcome!
(Just one note: It appears that the rim of the recessed circle has not been painted yet; it must be black, too .)[/QUOTE]
I know that the rims should be black. But as I saw them white I liked them. So I think I will leave them as they are.
Thanks to all for the cheering words.
(Just one note: It appears that the rim of the recessed circle has not been painted yet; it must be black, too
.)[/QUOTE]I know that the rims should be black. But as I saw them white I liked them. So I think I will leave them as they are.
Thanks to all for the cheering words.