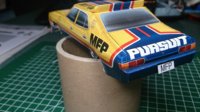
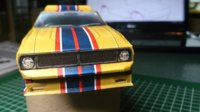
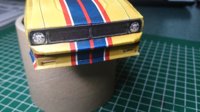
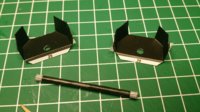
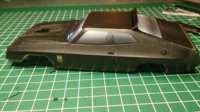
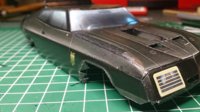
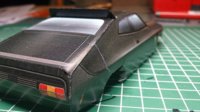
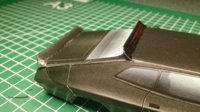
The Mad Max Quaternary!

DanBKing

Dan the Man
Feb 29, 2012
1,817
1,587
113
Netherlands
Quaternary: Consisting of four parts.

In my younger days, back in the early 80's, (how long ago that seems!) the film Mad Max hit the cinemas and I instantly fell in love with the revved-up, super-charged, NO2 injected craziness of it all!
A couple of years later, the first film was followed up with Mad Max 2: The Road Warrior.

In both these films the main car depicted in them, in various guises, was the Ford Falcon.
In the first film, we see 3 versions of the same car:

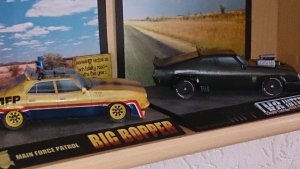
  • The Big Bopper
  • The Interceptor
  • The Super-charged black Interceptor Pursuit Special.
In the Road Warrior we find the same black Interceptor Special, but in a beat up, modified and dirty finish.

Well, a few months ago, while trawling the internet, I found all four versions of this car as downloadable paper models. So, I downloaded the lot and headed straight over to the printers.

As you have probably worked out by now, this is what this thread is all about: The making of all four versions.

So, let's start with the first one on the list:


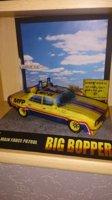
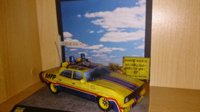
The Big Bopper

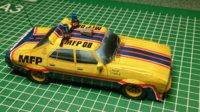
This car was driven by Roop & Charlie in the first film. This car was also the one that had the most accidents and was written off early in the film after smashing through a caravan at about 80mph while chasing the Knight Rider.

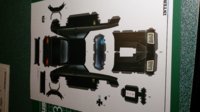
The model template consists of 5 pages. 3 for the car itself and 2 for the display base included in the kit. The model is
relatively simple, but well detailed.

I started with the body shell first. I removed all the supplied tabs where the body panels fit together. This kept the body work nice and smooth without steps. I edge glued and back tabbed these joins instead. I then used various sized dowels to shape the car body into its correct form.
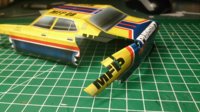
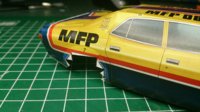
DSC_0069.JPG DSC_0070.JPG

Next up: the rear end and bumper...
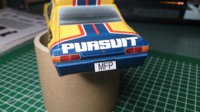
DSC_0081.JPG DSC_0080.JPG

Then on to the windscreen, bonnet and front bumper/scoop....
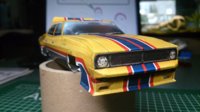
DSC_0087.JPG DSC_0084.JPG DSC_0083.JPG

The four wheel arch extensions were a bit fiddly and required some accurate gluing.... Also, lining up the coloured texture took some patience!
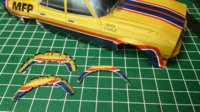
DSC_0094.JPG

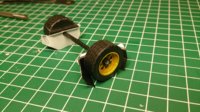
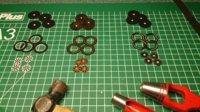
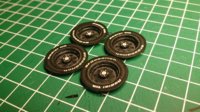
Next, I cut up the parts for the wheels. I used various sized hole punches to get everything nice and round.
I used various round objects as formers when gluing the rings and discs of the wheels together.
And just for Zathros: The good ole circle template helped in keeping everything true!
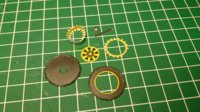
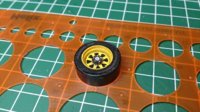
DSC_0152.JPGDSC_0163.JPG

Due to the limitations of uploading, I will see you in the next post...... ;)
 

DanBKing

Dan the Man
Feb 29, 2012
1,817
1,587
113
Netherlands
The Big Bopper continued .....

Once the four wheels were complete, the two axles and corresponding wheel wells were made up and the completed wheels attached.

DSC_0149.JPG DSC_0147.JPG

The two axle/wheel assemblies were attached to the body and the chassis plate was then glued into position to complete the main construction of the car.

DSC_0194.JPG

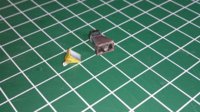
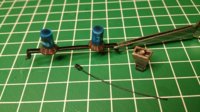
The small detail parts were made up next: The roof bar with lights, the horn speaker and the wing mirror. Considering that these were police cars that had two way radios, I made up an antenna from thin wire and rolled paper for the coil.

DSC_0170.JPG DSC_0185.JPG

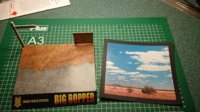
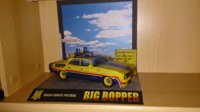
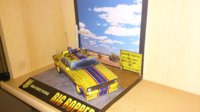
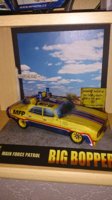
I then sprayed the whole model with 5 coats of gloss varnish. And once this was dry, I attached all the small detail parts. In the drying period, I made up the supplied display base. I found a picture on Google that I used as a backdrop picture and made a frame for it out of firm black card.

DSC_0175.JPG


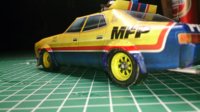
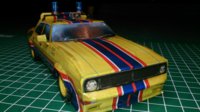
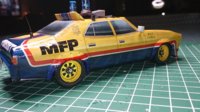
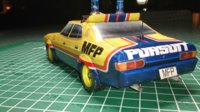
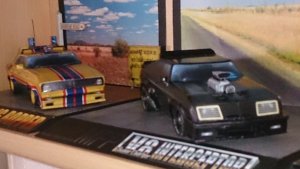
So, here are a few pics of the completed car. In my next post, I'll post some pics of the completed model on its base.

DSC_0211.JPG DSC_0203.JPG
DSC_0197.JPG DSC_0196.JPG
 

Revell-Fan

Co-Administrator
Staff member
Administrator
Moderator
Aug 1, 2009
11,611
12,352
228
Vreden
One more build to "LIKE"..! :) Building all four rides in one thread is a great idea! I'm looking forward to seeing them all together side by side. Go for it, champ!
 

DanBKing

Dan the Man
Feb 29, 2012
1,817
1,587
113
Netherlands
Well, at the moment, I'm having a 'wheelie' good time......
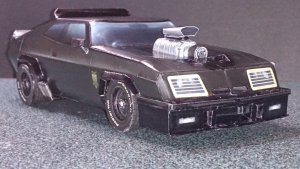
As the wheels are all the same size throughout all four versions, to save time, I set up a production line....
It was easier this way as I only had to setup the compass cutter once. Using hole punches, where possible, kept everything true.

DSC_0233.JPG

And I have decided which version is next.... Not quite following the movie sequence I know, but it relieves the boredom of building the same model again, as the 2 Pursuit Special versions have a different body structure than the Big Bopper and the standard Interceptor.

DSC_0231.JPG

See ya!
 

dnalor

Well-Known Member
Oct 28, 2011
917
186
58
Belgium Europe
Nice cars...
that first one looked great....and how you display the car looks great.

Do you do all the famous movie cars?..
do we see K.I.T.T. or the general Lee...or batmobile. :)
ah the delorean....

hum....I would love to have a delorean.....but still working on to much projects...

but back to you..
Awsome car you have and I know the rest will look great too!
 

DanBKing

Dan the Man
Feb 29, 2012
1,817
1,587
113
Netherlands
So, lets get started with the second quartern in the series.....
As I mentioned earlier, I am not following the exact timeline of the movie/s, mainly to relieve the boredom of repetitious building of the same model. So, I have skipped over the standard Interceptor as the second build, but will return to that in the 3rd build in the series.

So, here we go with the most iconic vehicle of the Mad Max movies:

The Super-Charged Interceptor Pursuit Special.

We get the first glimpse of this vehicle when Max was shown the modified Interceptor as a bribe to keep him on the force (MFP). The look on Max's face when he sees it, resembled mine......WOW!!!!
Later in the film, after his friend and colleague Goose is burnt beyond recognition, Max is sent on leave to 'think about things', but, during this time his wife and child are killed by Toe Cutter and his crazy bike gang.
Max returns to collect the super-charged Interceptor to seek revenge on Toe Cutter and his gang.

I am not going to detail the build process of every car in the series, as the models all have the same build format. I will only mention things that are unique to each build.

First up, the wheel rims are built, in the same way as before. (The build format for all 4 cars is exactly the same)

DSC_0306.JPG

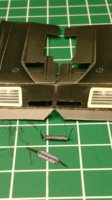
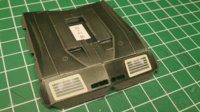
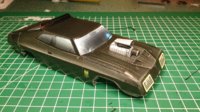
The bonnet/hood is different that the other cars, as this has the bloody great super-charger sticking through it. I cut out the air intake slots on the front valence and also the hood itself and fitted the grills behind each. The pan that holds the super-charger assembly was also fitted now.

DSC_0237.JPG DSC_0242.JPG

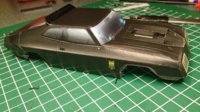
As with the Big Bopper, the body shell was cut out and molded to shape. I removed all the tabs on the joins in the body and edge glued them again to get a smoother finish on the body. The completed hood assembly was then attached to the body.

DSC_0290.JPG DSC_0291.JPG
DSC_0289.JPG

The two air spoilers on the roof and trunk were added next.

DSC_0294.JPG DSC_0309.JPG

Back in a bit, with some serious VROOM! VROOM!! ;)
 

DanBKing

Dan the Man
Feb 29, 2012
1,817
1,587
113
Netherlands
Continued ......
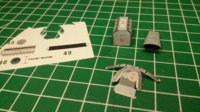
I built up the super-charger assembly next...
DSC_0246.JPG

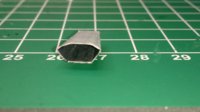
The kit part for the air scoop is actually an enclosed unit, but I removed the front piece and coloured the inside of the scoop black. This gave a more realistic effect.

DSC_0252.JPG

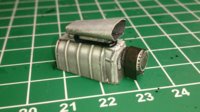
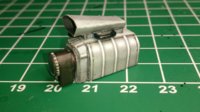
The kit called for two pipes to be fitted beneath the scoop. As I was building the model in 160gsm paper, I found it pretty much impossible to roll the tiny and curved tubes required. So, I made my own using some off cuts from some CAT5 network cable. I think it looks better anyway!!!!

So, here is the completed super charger..... And also show test fitted into the hood....
DSC_0280.JPG DSC_0281.JPG
DSC_0297.JPG

That's it for now, folks. I will plod on with the build this week and update when I can.

See ya'll !!!
 

DanBKing

Dan the Man
Feb 29, 2012
1,817
1,587
113
Netherlands
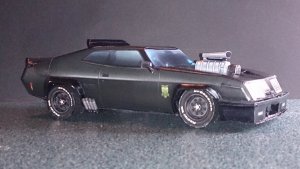
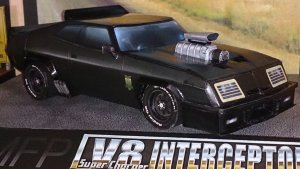
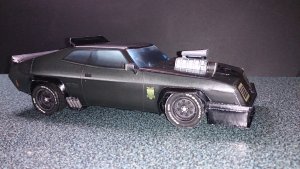
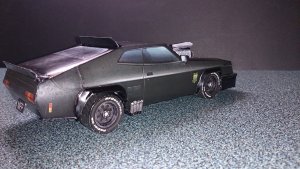
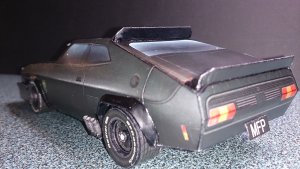
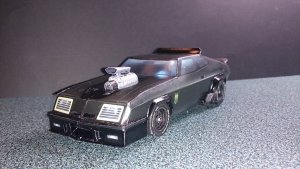
After what seems an age, the second quartern of this project is at last complete.

So, without further ado, my I present the finished Ford Falcon V8 Super Charged Interceptor.


DSC_0445.JPG DSC_0425.JPG DSC_0417.JPG DSC_0415.JPG DSC_0412.JPG DSC_0408.JPG DSC_0406.JPG DSC_0405.JPG DSC_0402.JPG


Next up: The standard Interceptor, that we are introduced to when we first meet Max, in the first film Mad Max.
 

Revell-Fan

Co-Administrator
Staff member
Administrator
Moderator
Aug 1, 2009
11,611
12,352
228
Vreden
I'm totally blown away by these pics! At first I believed they were shots of the real cars taken from a catalogue. GREAT JOB, Dan!
 
  • Like
Reactions: DanBKing