tanker truck for Schiphol

tigerclaw

New Member
Sep 22, 2013
43
0
6
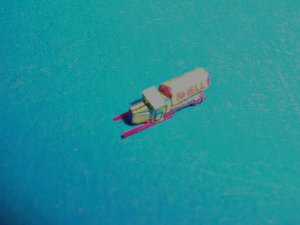
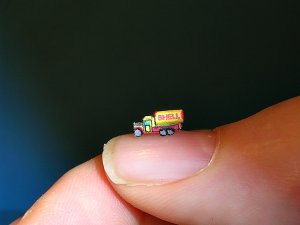
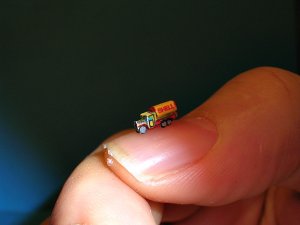
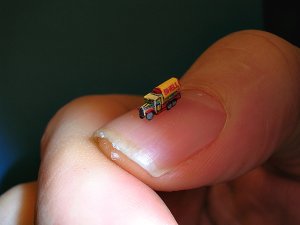
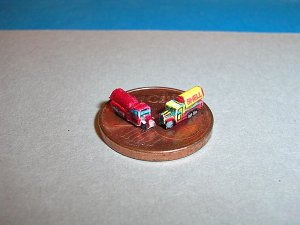
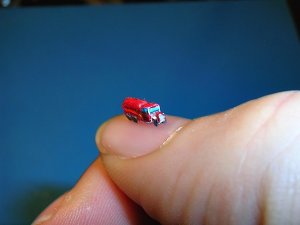
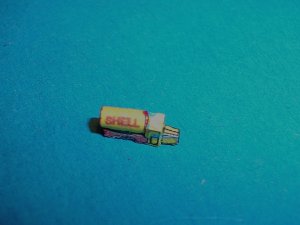
I saw in a few pictures a SHELL tanker truck. And so i made a conversion from my bus to a tanker truck.

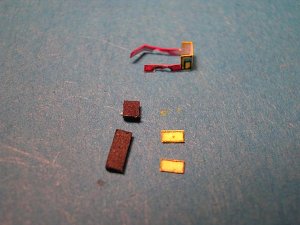
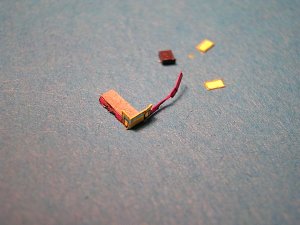
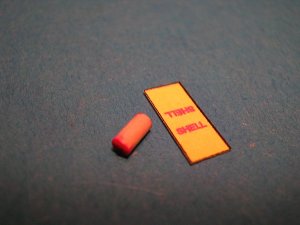
I have to draw the new parts and to color it. Than i will start a new building report

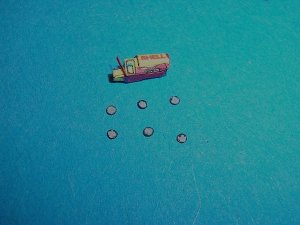
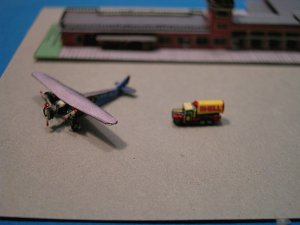
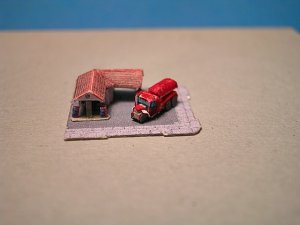
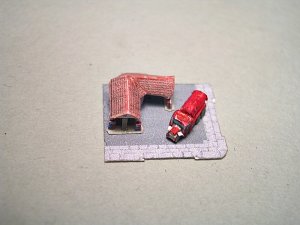
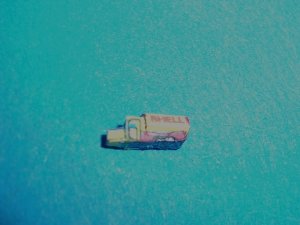
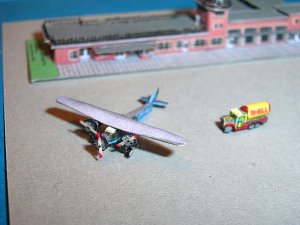
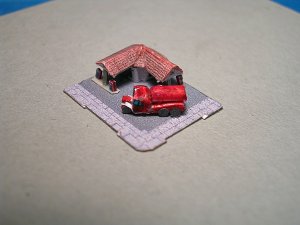
The tanker arrives on a gas station.

kind regards

Sepp
 

Attachments

  • DSCN0550.JPG
    DSCN0550.JPG
    80.1 KB · Views: 12
  • DSCN0551.JPG
    DSCN0551.JPG
    95.8 KB · Views: 9
  • DSCN0553.JPG
    DSCN0553.JPG
    129.8 KB · Views: 11
  • DSCN0554.JPG
    DSCN0554.JPG
    95.9 KB · Views: 10
  • DSCN0558.JPG
    DSCN0558.JPG
    78.8 KB · Views: 12

tigerclaw

New Member
Sep 22, 2013
43
0
6
Hello,

I am finish with my new tanker truck.

today a small tutorial how you can build small structures :wave:

1. the model sheet "Shell tanker truck"
2. my first "trick" you need a solid core to cover with thin paper.
this thin paper is easy to fold
3. start on one edge
4. to get sharp edges use a ruler to press the paper one the core
5. the result
 

Attachments

  • Shell Tanker 1-1250.pdf
    1.4 MB · Views: 10
  • DSCN0562.JPG
    DSCN0562.JPG
    130.4 KB · Views: 7
  • DSCN0565.JPG
    DSCN0565.JPG
    120.7 KB · Views: 9
  • DSCN0569.JPG
    DSCN0569.JPG
    101.4 KB · Views: 10
  • DSCN0571.JPG
    DSCN0571.JPG
    93.4 KB · Views: 8

tigerclaw

New Member
Sep 22, 2013
43
0
6
The next critical part is the hood of the truck.

The part is really small and has a tapering shape.
in this case a use a other "trick"

1. all the parts include a crossrib
2. start one one side to glue the spant on the bottom of the hood
3. glue both wings on this spant. Now is the hood stable enough to hold and to move the part
4. the final result
 

Attachments

  • DSCN0578.JPG
    DSCN0578.JPG
    126.6 KB · Views: 9
  • DSCN0582.JPG
    DSCN0582.JPG
    114.8 KB · Views: 14
  • DSCN0586.JPG
    DSCN0586.JPG
    103.1 KB · Views: 9
  • DSCN0594.JPG
    DSCN0594.JPG
    96.3 KB · Views: 8

tigerclaw

New Member
Sep 22, 2013
43
0
6
It is easy to make the next part

carve the toothpick into an oval shape
cut the toothpick in the right length
cover it with paper
 

Attachments

  • DSCN0593.JPG
    DSCN0593.JPG
    94.5 KB · Views: 11
  • DSCN0597.JPG
    DSCN0597.JPG
    103.6 KB · Views: 8

zathros

*****SENIOR ADMINISTRATOR*****
Staff member
Administrator
Moderator
Apr 5, 2013
13,498
9,549
228
Simply fantastic! The pictures tell the story, what more could be said? :)
 

tigerclaw

New Member
Sep 22, 2013
43
0
6
next step the mudguard

1.glued the mudguard on the bottom of the truck
2. fold the end of the mudguard vertical
3. glue the wheels on position
4. form the mudguard in the right shape
5. finish :mrgreen:

@ zathros and Rogerio Silva thank you, I hope that my tricks will help one or the other.

@ Fred as you see it is not so difficult
 

Attachments

  • DSCN0598.JPG
    DSCN0598.JPG
    80 KB · Views: 5
  • DSCN0599.JPG
    DSCN0599.JPG
    93.7 KB · Views: 9
  • DSCN0602.JPG
    DSCN0602.JPG
    138.4 KB · Views: 4
  • DSCN0605.JPG
    DSCN0605.JPG
    78.8 KB · Views: 12
  • DSCN0606.JPG
    DSCN0606.JPG
    77.3 KB · Views: 9

tigerclaw

New Member
Sep 22, 2013
43
0
6
a few pictures from the final and my prototype

kind regards

Sepp
 

Attachments

  • DSCN0607.JPG
    DSCN0607.JPG
    83 KB · Views: 7
  • DSCN0609.JPG
    DSCN0609.JPG
    87.5 KB · Views: 7
  • DSCN0610.JPG
    DSCN0610.JPG
    113.6 KB · Views: 9
  • DSCN0612.JPG
    DSCN0612.JPG
    140.3 KB · Views: 9
  • DSCN0615.JPG
    DSCN0615.JPG
    109.5 KB · Views: 10