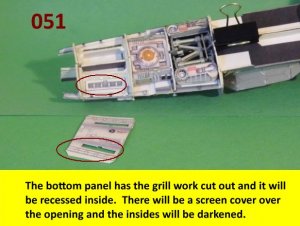
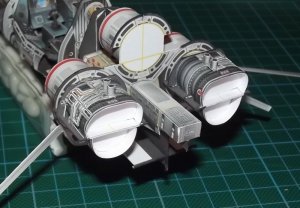
@vbsargent: Thank you for joining in on the fun. You are off to a GREAT START!!! I like the knuckle dragger that you have working on the Viper there.
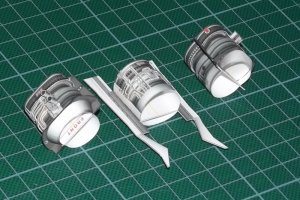
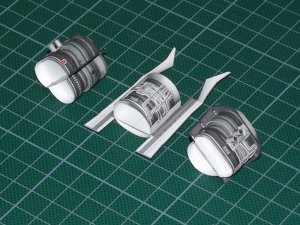
I tip my hat to you, sir. At 1:72 scale, I have to give you serious props to take this project on at that scale. I will be CLOSELY following your build on this one.
KEEP UP THE GREAT WORK!!!
I tip my hat to you, sir. At 1:72 scale, I have to give you serious props to take this project on at that scale. I will be CLOSELY following your build on this one.
KEEP UP THE GREAT WORK!!!