Hi,
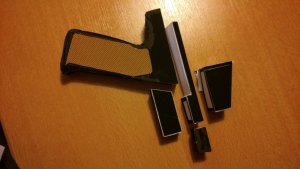
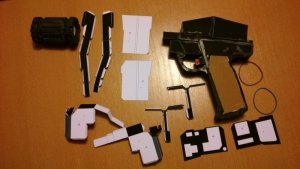
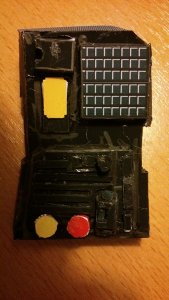
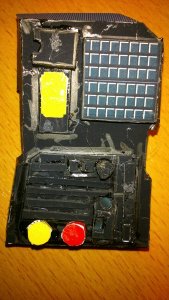
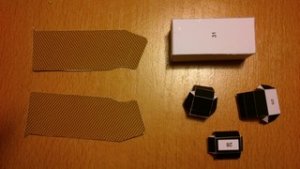
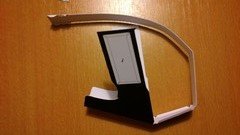
just started to build the colonial blaster in black. The model is also available in white as used in the light ship. (bsg original)
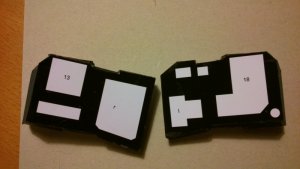
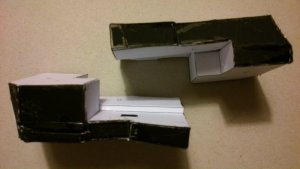
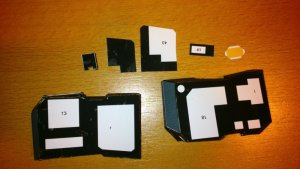
As can be seen in the first picture (front part of the blaster) many white areas can be seen. I will fix this by colouring with water colours.
Does anybody have an idea to avoid these white areas which also occur by the soft cutting of the lines to fold.
Ideas and comments welcome.
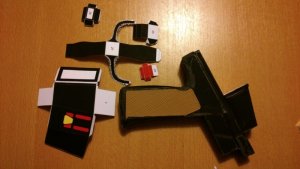
just started to build the colonial blaster in black. The model is also available in white as used in the light ship. (bsg original)
As can be seen in the first picture (front part of the blaster) many white areas can be seen. I will fix this by colouring with water colours.
Does anybody have an idea to avoid these white areas which also occur by the soft cutting of the lines to fold.
Ideas and comments welcome.
")