Oh boy, thank goodness you posted this after 11 PM..! sign1
Great looking build, pal! The idea to attach the joysticks later is very clever. :thumb:
Oh boy, thank goodness you posted this after 11 PM..! sign1
Thanks for those last photos Dan, it just happens that I am working on that section and it helped in getting it together. The only difference, is that mine has raised panels and recessed gauges and a few more enhanced details. I will start posting soon as I have a bunch of photos or almost half way done. keep up the good work guys, i should join in soon.
I have been looking at the skinning and there is a prominent feature that is missing. That raised hump on top of the fuselage. it is like having a mustang without that side indentation/scoop.


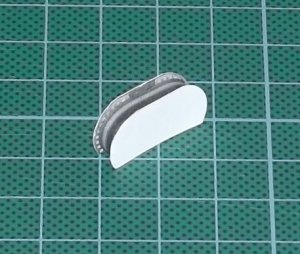
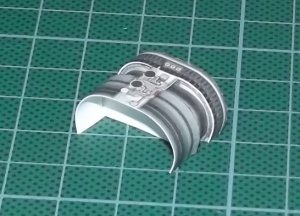
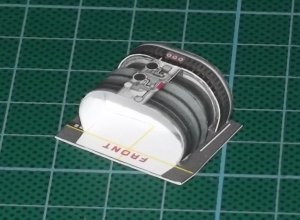
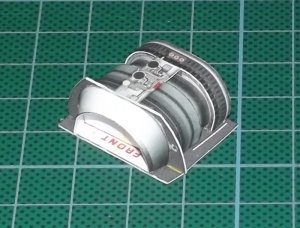
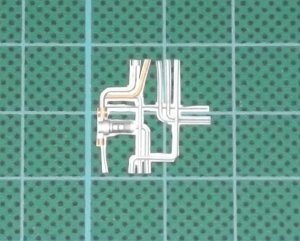
") woot1: As you can see, I was successful in cutting out the third wire/tube assembly. bounce7)
woot1: As you can see, I was successful in cutting out the third wire/tube assembly. bounce7)


As you can see, I was successful in cutting out the third wire/tube assembly.
WHAT? There is a THIRD? hamr