I hope so..
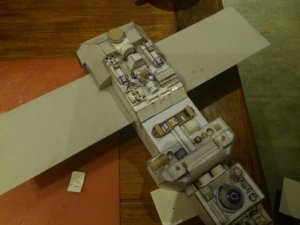
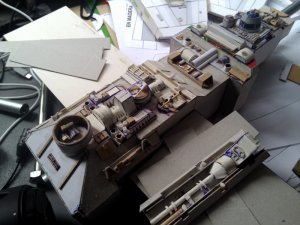
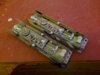
Every day i sit in front of the tv with this..
And you don't see it grow..that slow it goes...
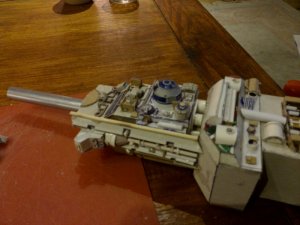
i hope i don't destroy it when i spray paint it.
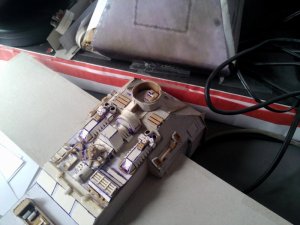
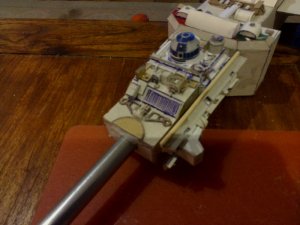
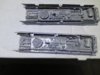
Every day i sit in front of the tv with this..
And you don't see it grow..that slow it goes...
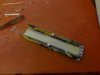
i hope i don't destroy it when i spray paint it.