

Some time ago, a director of music here in Asturias, named David Bayon, contacted me in order to see how to access this demo, as it is preparing one of her videos with electronic music (I could not very well as define it, but relax a lot). If you are interested in knowing some of his work, you can
see here: http://www.youtube.com/user/tavitabayon
I said that, among other ships, was very interested in the Discovery and asked if I would be interested in collaborating with him doing this and other future, and including me in the credits, to which I agreed delighted. It only mentioned the need for room to do it, because I'm not leftover time because of work and other things pending, and he said no problem, that while, would any of the other projects have already started and that would make her if I could, without haste.
Nothing ... That the time has come and here I present.
This is the ship Discovery One, the Stanley Kubrick film 2001: A Space Odyssey.

The design I have chosen is the well-known UHU02. Templates are pages 19 and three for the base, which will serve as a support for display later (in addition to the final photos) because it will adapt to hold a wire hung up and to perform the various outlets which are necessary for video, in the study.
Also included are two leaves for choice with detailed interiors. It may make more than one copy of any of the external parts of the ship to be applied in various areas and give relief, and other improvements. We will see what can be done and I have your opinions, you are always welcome and very considered, for it.
That said, let the mess.
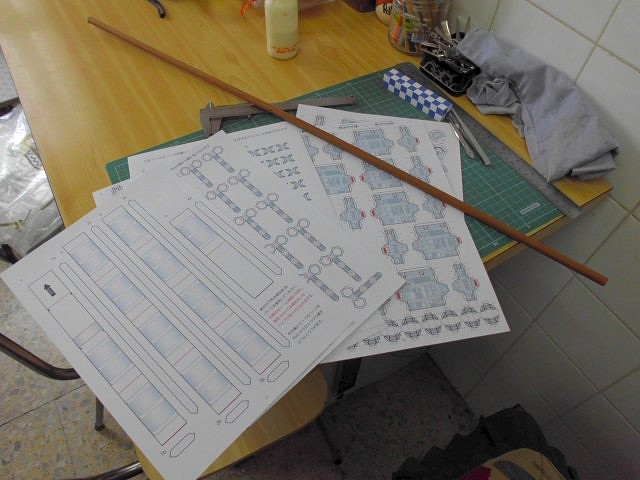
The first leaves, as printed. The designer uses a round wooden rod to give strength to the assembly and prevent warping due to the extreme length of the ship. In fact, although I have no reference as we will, upon completion, at first seems to be over one meter. In this picture you can see a ribbon round 9mm, but it was too much and I opted for a round rod of the ones used in rockets of the holiday village (I have a few of these for my hobby of collecting everything from wood I find it useful for various crafts with this material, which is what I do, as you know the majority). I will be perfect because it is lighter than other woods.
In this picture the rod is already mentioned. Proceed to line it with a couple of turns of paper, as it is of a diameter slightly smaller than necessary.
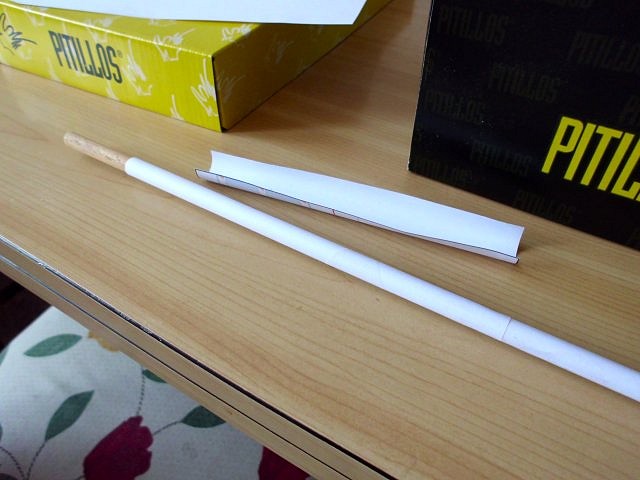
Here and is lined up to the required diameter.
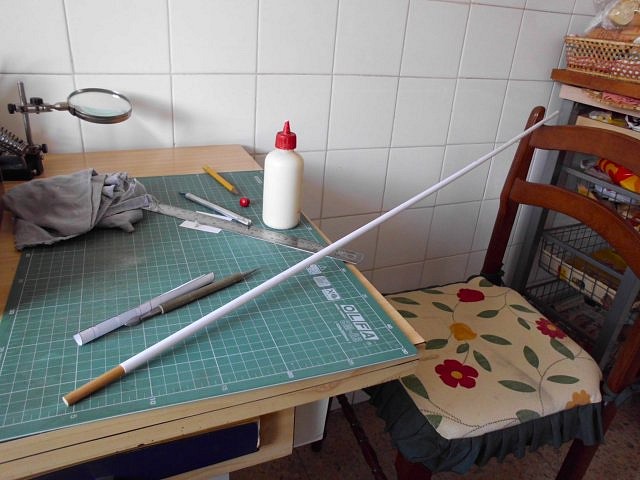
The pieces in the tube and go over the initial lining. On all these will be attached to form the whole body of the spacecraft.
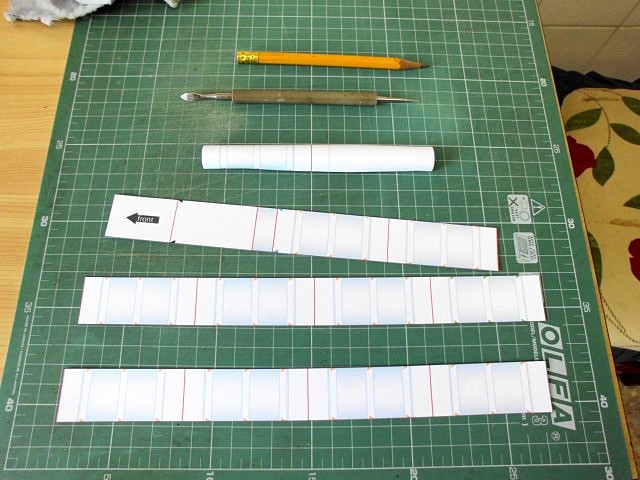
Along the shaft 30 are shaped pieces hexagonal nuts and bolts 3 square shaped, that will be attached on every other, which constitute the various modules for its entire length.
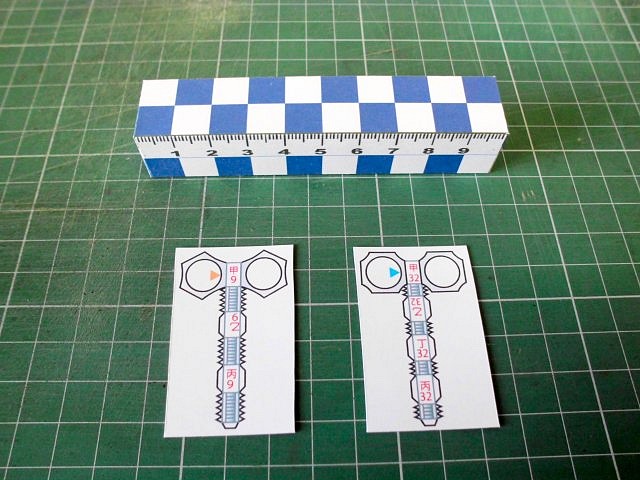
I believe that, as they will bear the full set of modules, are somewhat weak, so I'm going to laminate the sides of these "nuts" to give them more firmly, so that the separated contour.
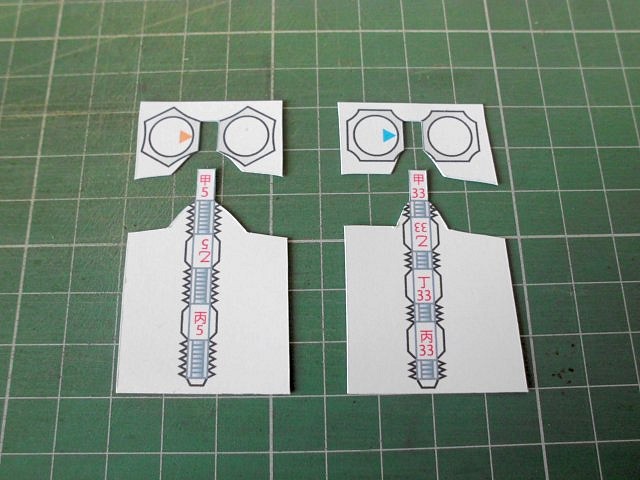
All "nuts" separate contour and subsequently glued to laminate.
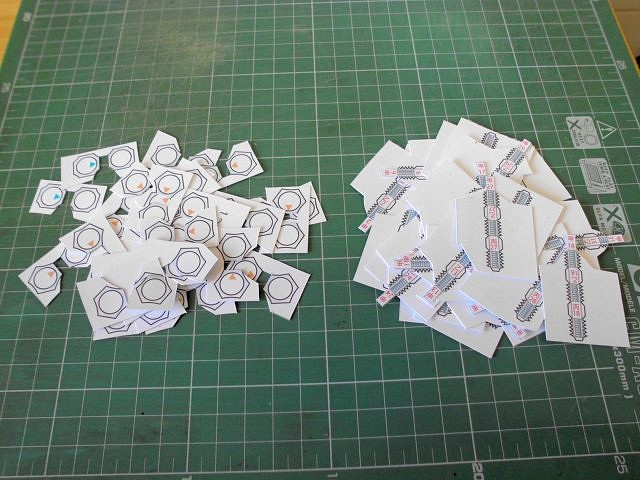
And the contours of these, and cut.

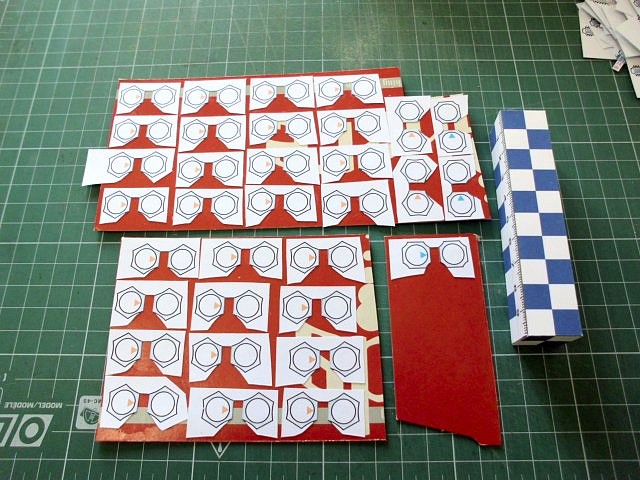
The following will cover the rod with the final textures which will be integrated later, the "nuts".
Greetings.sign1
see here: http://www.youtube.com/user/tavitabayon
I said that, among other ships, was very interested in the Discovery and asked if I would be interested in collaborating with him doing this and other future, and including me in the credits, to which I agreed delighted. It only mentioned the need for room to do it, because I'm not leftover time because of work and other things pending, and he said no problem, that while, would any of the other projects have already started and that would make her if I could, without haste.
Nothing ... That the time has come and here I present.
This is the ship Discovery One, the Stanley Kubrick film 2001: A Space Odyssey.
The design I have chosen is the well-known UHU02. Templates are pages 19 and three for the base, which will serve as a support for display later (in addition to the final photos) because it will adapt to hold a wire hung up and to perform the various outlets which are necessary for video, in the study.
Also included are two leaves for choice with detailed interiors. It may make more than one copy of any of the external parts of the ship to be applied in various areas and give relief, and other improvements. We will see what can be done and I have your opinions, you are always welcome and very considered, for it.
That said, let the mess.
The first leaves, as printed. The designer uses a round wooden rod to give strength to the assembly and prevent warping due to the extreme length of the ship. In fact, although I have no reference as we will, upon completion, at first seems to be over one meter. In this picture you can see a ribbon round 9mm, but it was too much and I opted for a round rod of the ones used in rockets of the holiday village (I have a few of these for my hobby of collecting everything from wood I find it useful for various crafts with this material, which is what I do, as you know the majority). I will be perfect because it is lighter than other woods.
In this picture the rod is already mentioned. Proceed to line it with a couple of turns of paper, as it is of a diameter slightly smaller than necessary.
Here and is lined up to the required diameter.
The pieces in the tube and go over the initial lining. On all these will be attached to form the whole body of the spacecraft.
Along the shaft 30 are shaped pieces hexagonal nuts and bolts 3 square shaped, that will be attached on every other, which constitute the various modules for its entire length.
I believe that, as they will bear the full set of modules, are somewhat weak, so I'm going to laminate the sides of these "nuts" to give them more firmly, so that the separated contour.
All "nuts" separate contour and subsequently glued to laminate.
And the contours of these, and cut.
The following will cover the rod with the final textures which will be integrated later, the "nuts".
Greetings.sign1
")