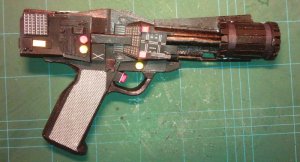
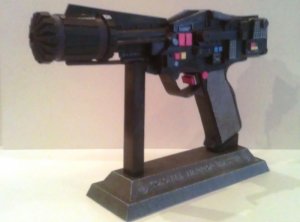
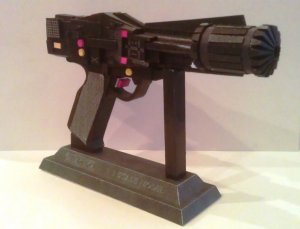
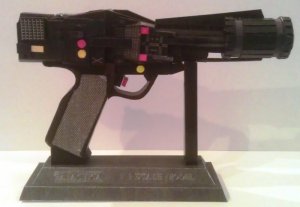
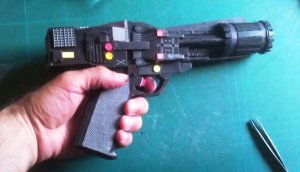
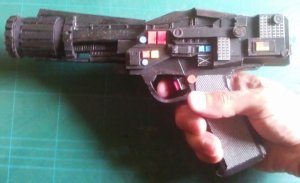
YES! YES! YES! YOU DID IT!!! Great, buddy. These things are so tricky but you have tamed them. The first version of these could not be built, and I glued myself to the model more than once when I revised the unfold. Keep it on! You are on the right track!
Bsg blaster
- Thread starter Rhaven Blaack
- Start date
You are using an out of date browser. It may not display this or other websites correctly.
You should upgrade or use an alternative browser.
You should upgrade or use an alternative browser.
YES! YES! YES! YOU DID IT!!! Great, buddy. These things are so tricky but you have tamed them. The first version of these could not be built, and I glued myself to the model more than once when I revised the unfold. Keep it on! You are on the right track!
Thank you for the compliment.
It was indeed tricky, but I just took my time with it and followed the instructions very carefully.
So for all of you out there that are thinking, "OMG, how can I do this?", trust me, you can do it. Like I said before, just take your time and pay very close attention to the instructions, and you should not have any major problems.
Small update
Here is a small update on my progress.
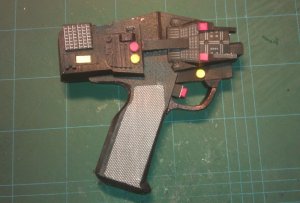
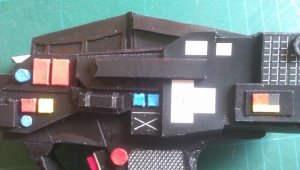
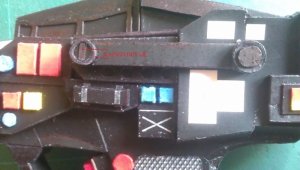
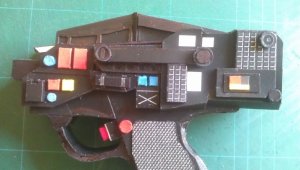
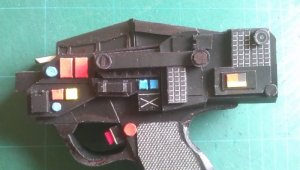
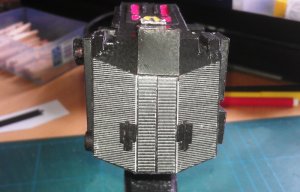
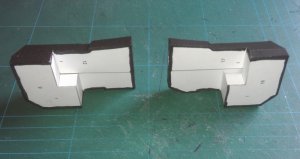
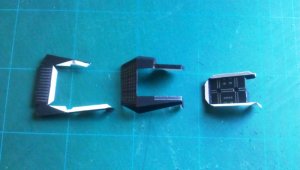
Here are the fully assembled CAPS (without greebles).
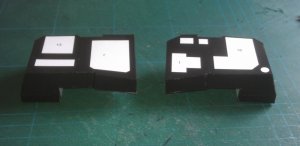
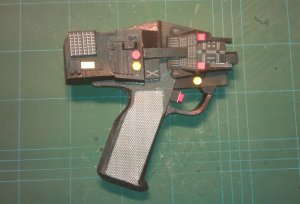
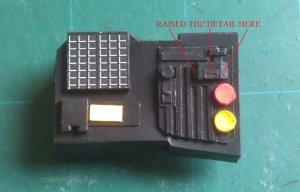
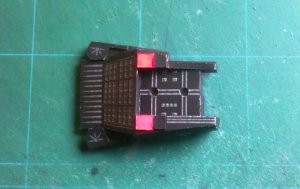
CAPS with greebles. As you can see here I raised some of the detail because the texture did not show through that well.
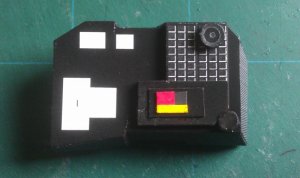
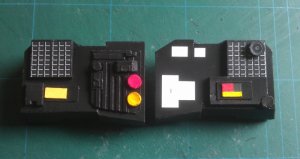
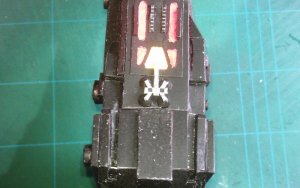
Part 19 is a little tricky, but not nearly as teh CAPS were.
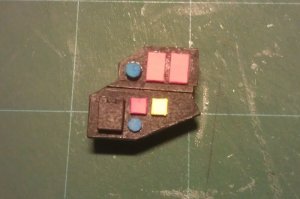
I know that I keep repeating myself, but if you take your time and pay close attention to the instructions and you will not have any major problems.
Here is a small update on my progress.
Here are the fully assembled CAPS (without greebles).


CAPS with greebles. As you can see here I raised some of the detail because the texture did not show through that well.


Part 19 is a little tricky, but not nearly as teh CAPS were.

I know that I keep repeating myself, but if you take your time and pay close attention to the instructions and you will not have any major problems.
That's really coming along excellent! All those small parts look like a really hard job!
Thank you for the compliments.
The small parts really are not all that hard to build. It is just very tedius work though.
Update
Well I am back from holiday in the UK.
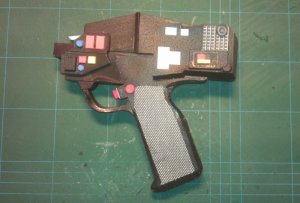
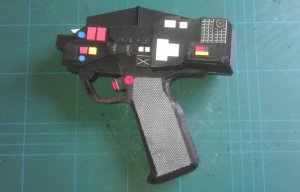
I am now back to the test build of the BSG Blaster. Here is an update on my progress thus far.
I have to say that this model is a greeblers paradice.
As you can see (and will see in upcoming photos) there are a lot of small parts. So when this model is released and you decide to build it, TAKE YOUR TIME, otherwise, you will frak up.
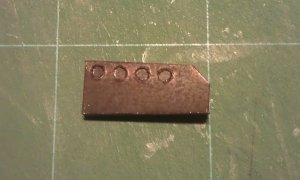
This part is a bit trick to fold and get to get it right. Take your time with it.
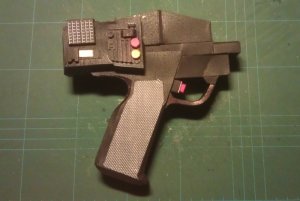
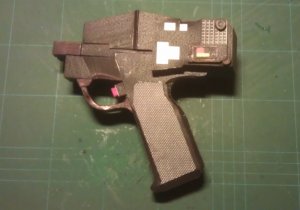
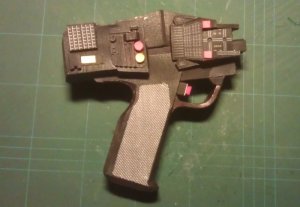
Well I am back from holiday in the UK.
I am now back to the test build of the BSG Blaster. Here is an update on my progress thus far.
I have to say that this model is a greeblers paradice.
As you can see (and will see in upcoming photos) there are a lot of small parts. So when this model is released and you decide to build it, TAKE YOUR TIME, otherwise, you will frak up.

This part is a bit trick to fold and get to get it right. Take your time with it.


I have started on the barrel now. I did not have any fitting issues.
I did however, break one of my fundamental rules about test building. I added some extra detail to some of the parts where the texturing really did not show through that well.
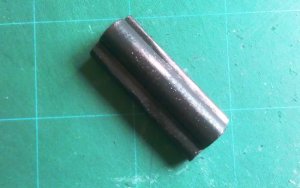
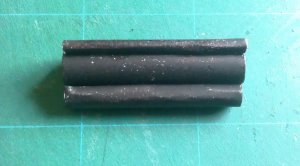
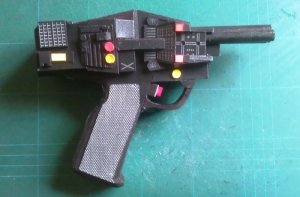
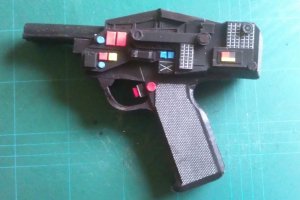
I drilled out the holes in parts 93 + 94 to show the detail and make it look "fluted".
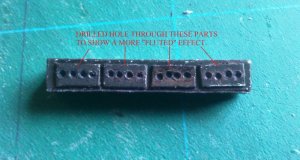
I drilled out the holes in part M12 and placed a piece of black paper behind the holes to show the detail and make it look "fluted".
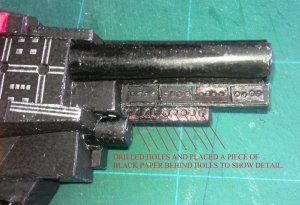
I did however, break one of my fundamental rules about test building. I added some extra detail to some of the parts where the texturing really did not show through that well.


I drilled out the holes in parts 93 + 94 to show the detail and make it look "fluted".

I drilled out the holes in part M12 and placed a piece of black paper behind the holes to show the detail and make it look "fluted".

Here are more photos of the barrel.
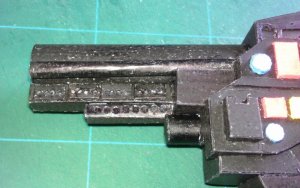
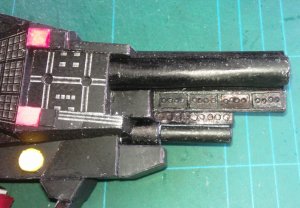
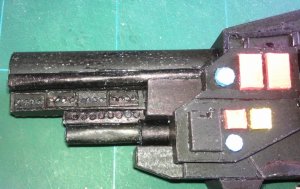
Here is the double rail (rear sight). Make sure you line it up with the center line of the barrel.
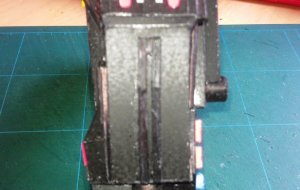
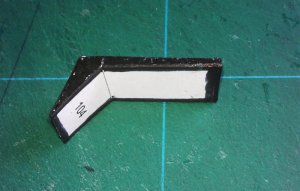
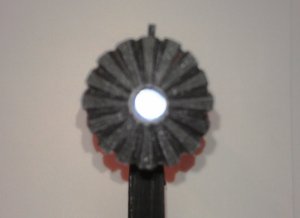
Here is the mussel attached. Pay attention to the guide in the instructions when attching the mussel. Other wise, you can frak it up, and everything else that fits in and around it will not fit right.
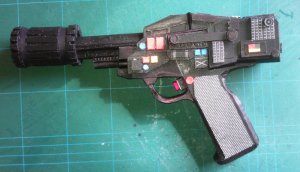


Here is the double rail (rear sight). Make sure you line it up with the center line of the barrel.


Here is the mussel attached. Pay attention to the guide in the instructions when attching the mussel. Other wise, you can frak it up, and everything else that fits in and around it will not fit right.

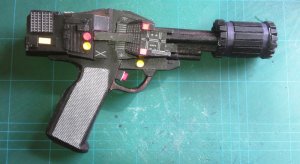
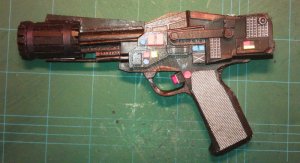
Thank you one and all for the kind words and encouragement on this project.
It was an interesting build. I intend on rebuilding it (at a much later date) and putting a bit more detail and clean up some areas that are a bit messed up.
Right now everything is in the hands of Revell-fan.
I did not have any problems or issues (other then the fact that it is a very tedious model and I had to pay very close attention to the instructions). So hopefully this kit will be released very soon.
Right on! Super! However, you've infected me with your super-detailing so that I'm adding some extra parts for layering. CU!
Right on! Super! However, you've infected me with your super-detailing so that I'm adding some extra parts for layering. CU!
Then I guess I have down what I have set out to do with my models.
I am glad that i have "infected" (or inspire) atleast one person with the way that I build my models.
Reading comments like these, is what drives me to improve my skills and do better on the next model that I build.


