

It looks good! Keep it on! :thumb:This may not be the best way to build these tracks, but it's what I did on this side. I'll try something slightly different on the other side, but that must wait for tomorrow.
BSG Chariot by Revell Fan
- Thread starter ASC Mclaren
- Start date
You are using an out of date browser. It may not display this or other websites correctly.
You should upgrade or use an alternative browser.
You should upgrade or use an alternative browser.
I thought Crazy glue (cyanoacrylate) was toxic? Everyone seems scared of the stuff nowadays.
My boss got a chunk of her ear cut during a haircut, and the emergency room used some kind of egg-protein based superglue.
Originally Crazy (Super) glue was invented as a form of "liquid stitches" for just such a purpose.
When I was in the Army, we would carry a tube of the stuff in our personal emergency kits for minor cuts and such.
Please check out this link to Wikipedia:
http://en.wikipedia.org/wiki/Cyanoacrylate
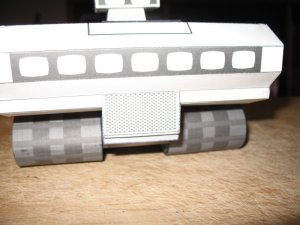
When I build the chariot, I think I will give the treads a little extra layered detail, just so they look more like real treads
Yes, but this is an alpha build, so it goes together as designed, or I would have embellished here and there. I will be posting last nights build pictures shortly, and hopefully finishing the build tonight :thumb:When I build the chariot, I think I will give the treads a little extra layered detail, just so they look more like real treads
Yes, but this is an alpha build, so it goes together as designed, or I would have embellished here and there. I will be posting last nights build pictures shortly, and hopefully finishing the build tonight :thumb:
You think the same way about models as I do about such. when I do a test build like this, I build it straight as is (but in my mind I am thinking how I can add moe to it when I build it again).
You are doing a GREAT job on it.
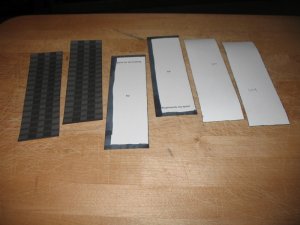
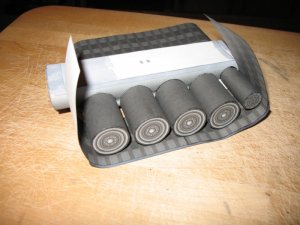
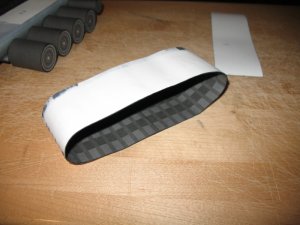
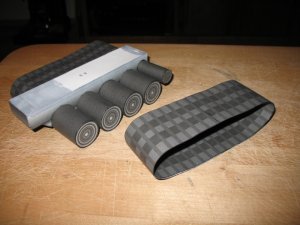
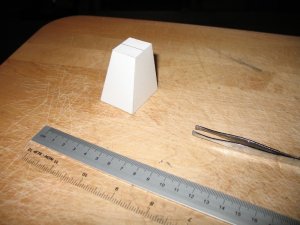
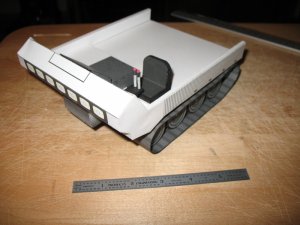
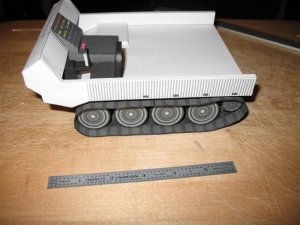
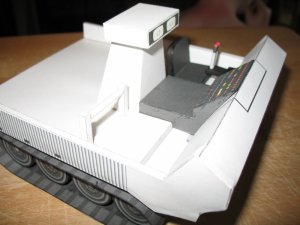
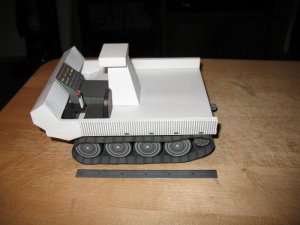
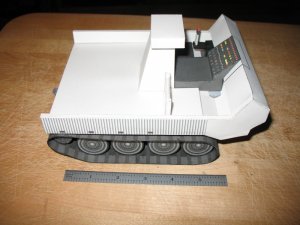
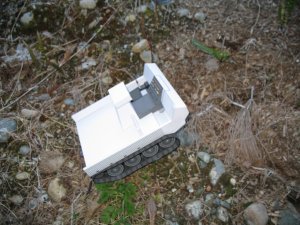
More pictures. This time I built from the inside out, I glued part 60 and 60 to the "Inside" laminate parts 62/63. Then fitting the inside parts to length around the road wheels. Once the length and shape was set, I shaped and applied the outside track 61 and 61. This worked better then the first side, where I built from the outside in. Remember to dress the edges and gaps :thumb:
Attachments

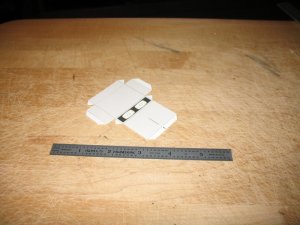
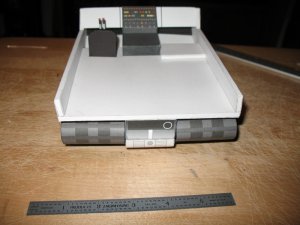
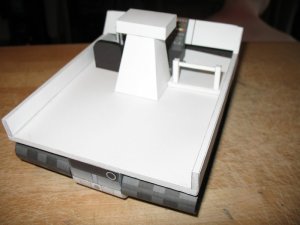
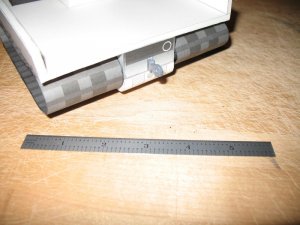
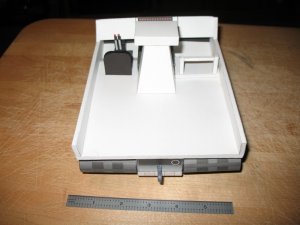
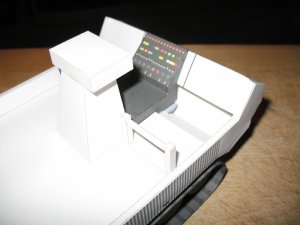
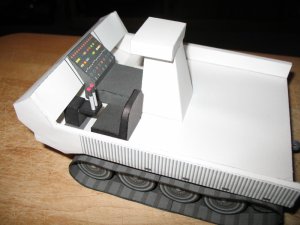
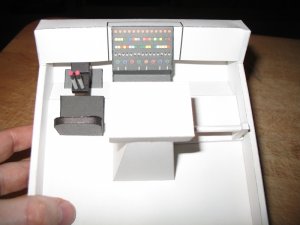
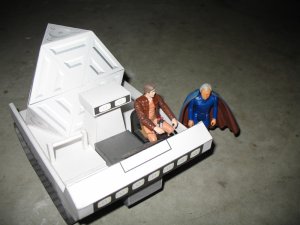
Then I built up the patch parts, an amendment to the passenger seat and a more correct light post. I did measure the post side to side and mark a center line, same with the bottom of the lights, then I matched up the lines.
Attachments
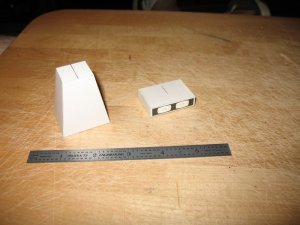
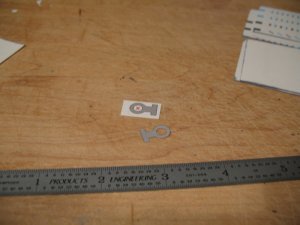
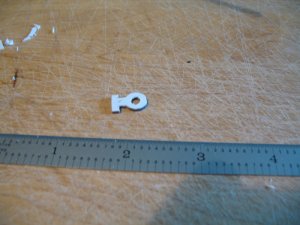
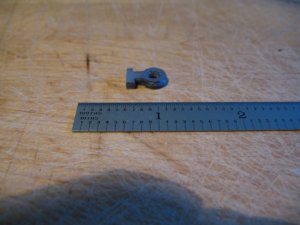
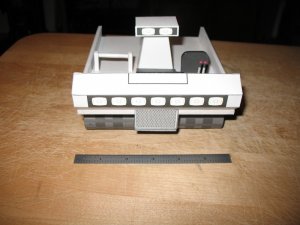
Laminated the trailer hasp, it took 12 layers of 110# (if I counted correctly). So here it is, finished. Revell Fan Designed a great model!
Attachments
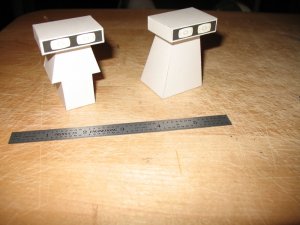
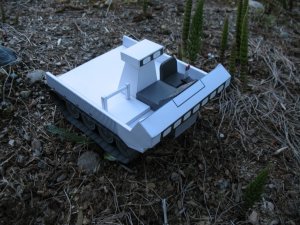
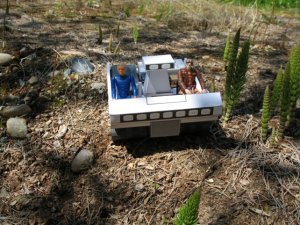
So, go and build it! Just remember, Adama never gave the keys to Zack, but Apollo got to borrow the Chariot every Friday night.
Attachments
Congratulations on a job well done my friend.
That is FANTASTIC!!!
I am really looking forward to building this model.
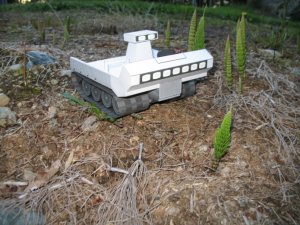
The pictures in the "wild" are a great touch.
That is FANTASTIC!!!
I am really looking forward to building this model.
The pictures in the "wild" are a great touch.
Thank you! I will get more "free range" pictures soon.Congratulations on a job well done my friend.
That is FANTASTIC!!!
I am really looking forward to building this model.
The pictures in the "wild" are a great touch.
I forgot to mention ASC's build tip: when aligning the side rails (parts 14/15 and 17/19) carefully line up the front, that is the critical feature, then work the back of the bed. If you line up the bed end, then the front will not align to the folds.
I'm looking forward to see builds of this as soon as it is released :thumb:
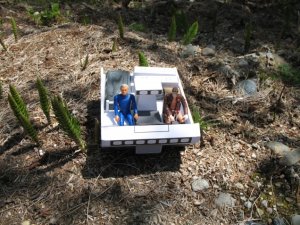
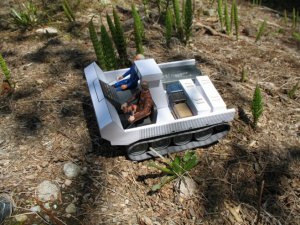
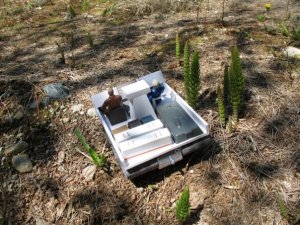
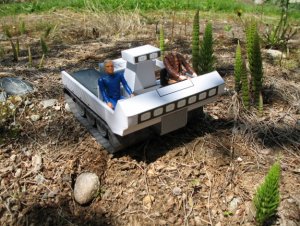
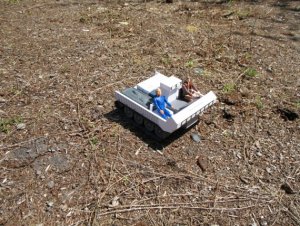
Guess what? Another beautiful day in the Puget Sound! So I got some more free range pictures.
Attachments
NICE, very NICE indeed.
You could easily make your own little comic strip with these guys.
Keep up the GREAT work.
You could easily make your own little comic strip with these guys.
Keep up the GREAT work.
And they sold their haul to a scrap metal merchant for seeds sign1Sadly ,when Boba Fett made a "pit stop" at his local Fill Yer Fuel Cell & Go station, two unidentified males stole his bounty.:shock:
Great work, ASC! You have done well. It looks exactly as designed. I'm looking forward to seeing the energizer on its back! Keep it on! :thumb::thumb::thumb: