Hello guys!!
After half an hours rest....it's time to start the next big project!
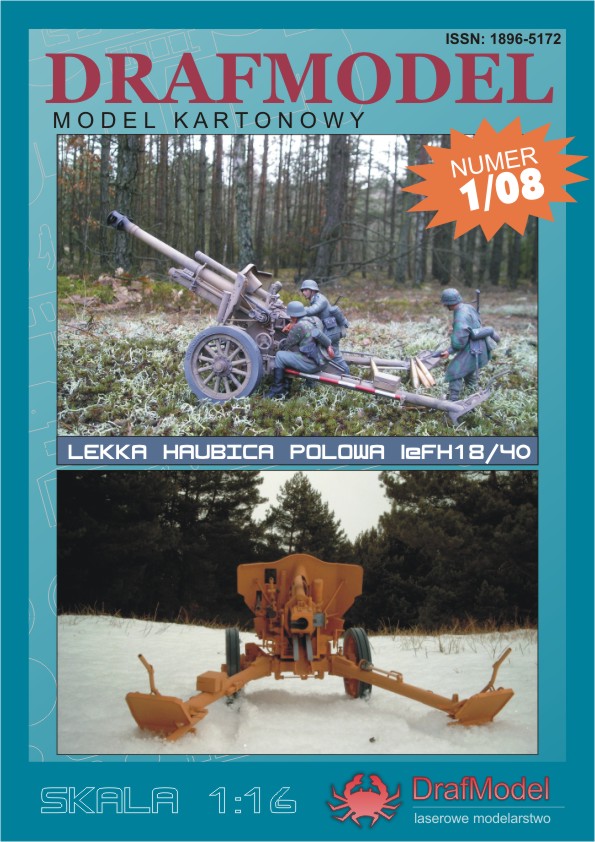
Since my first model from Draf was IMHO 100% perfectly designed, I just had to make the next model from Rafal as well!
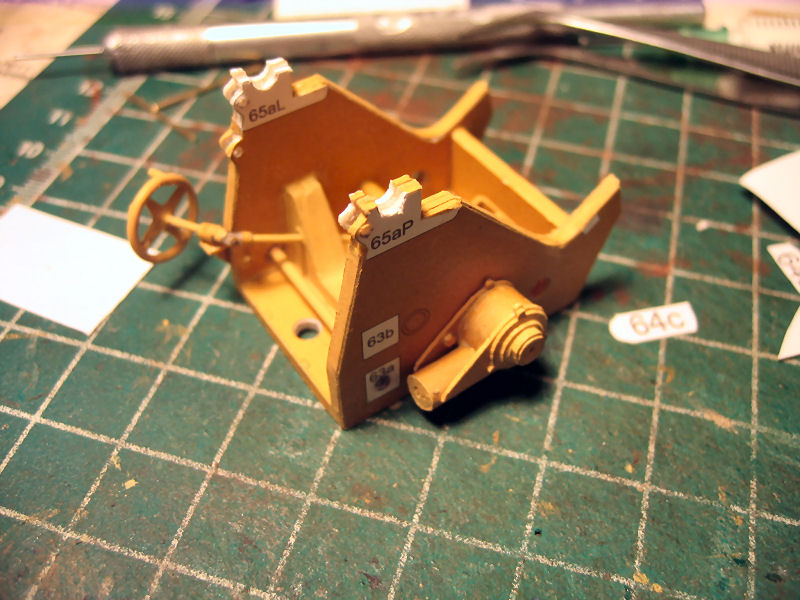
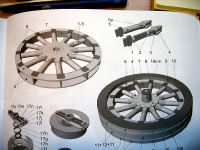
This time the LeFh 18/40 (leichte Feldhaubitze 18/40) kal.105mm
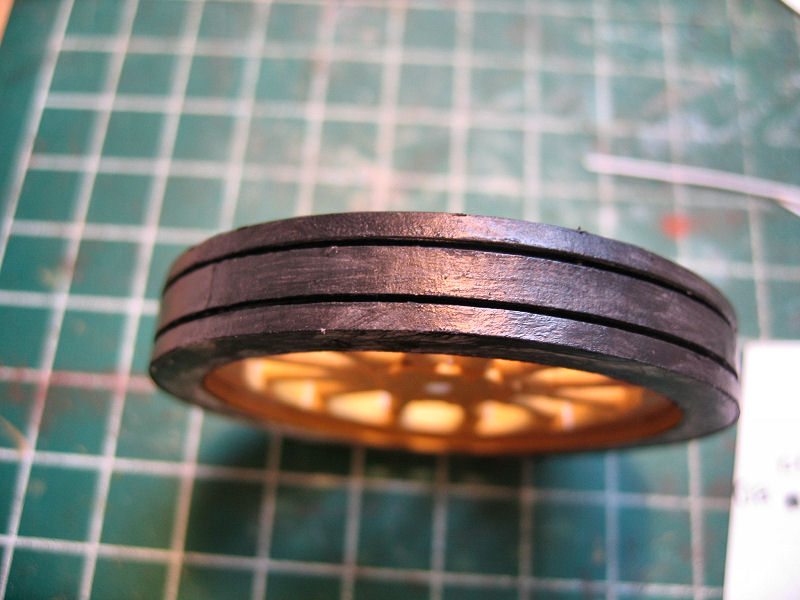
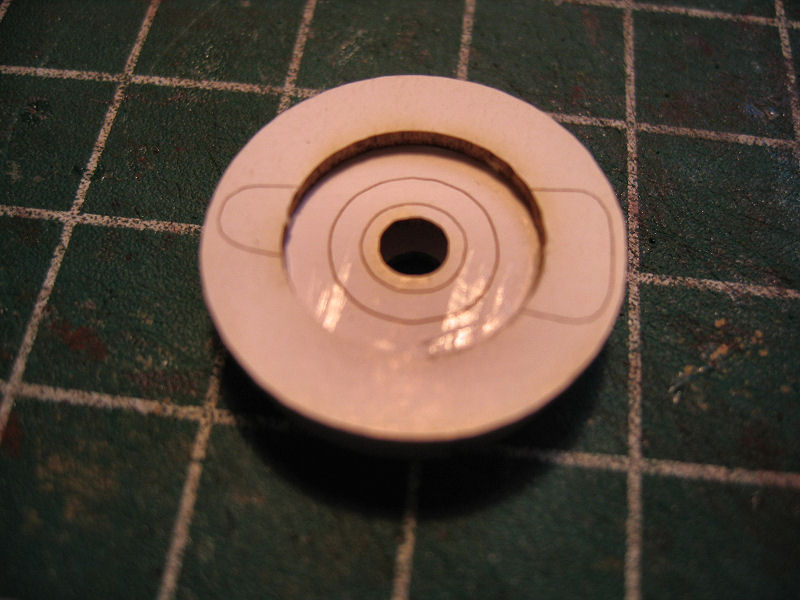
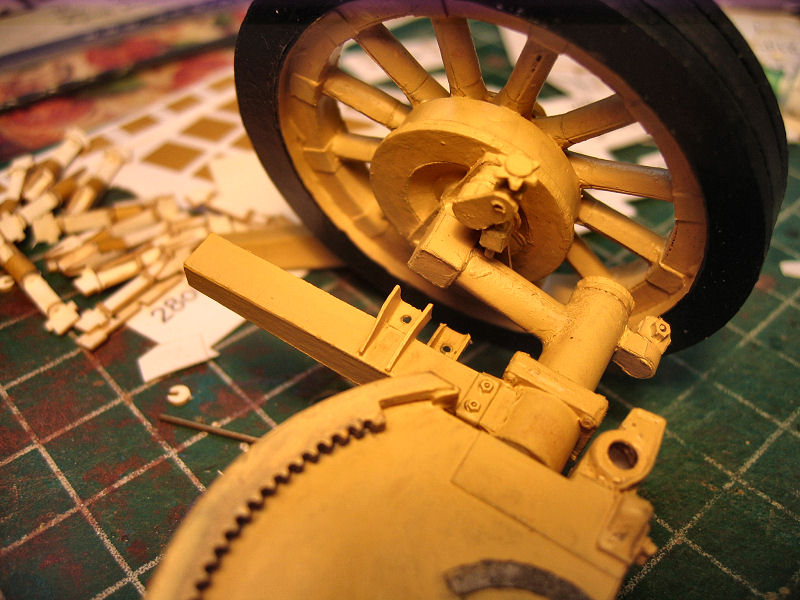
I will start with the wheels.
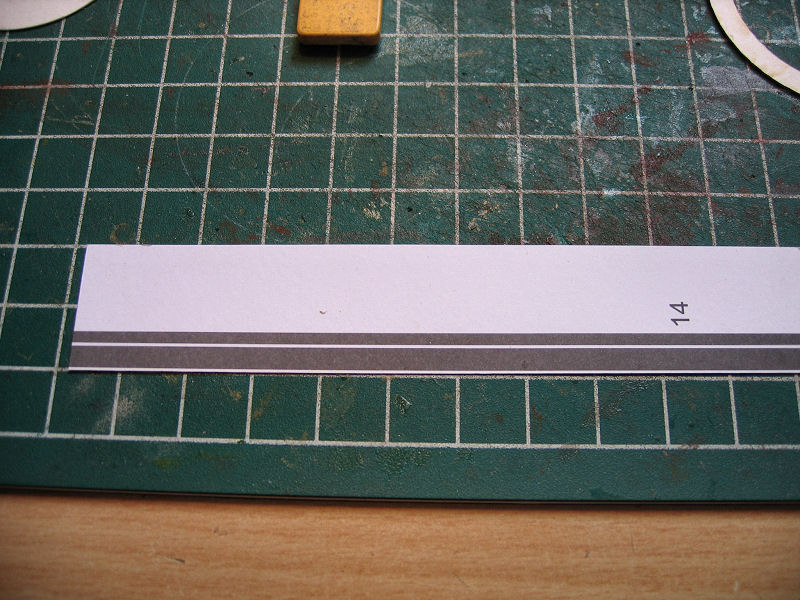
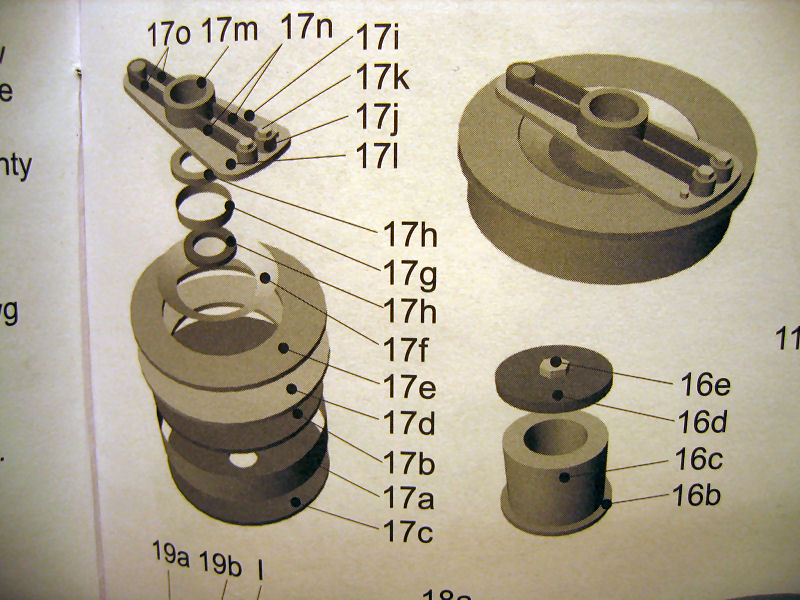
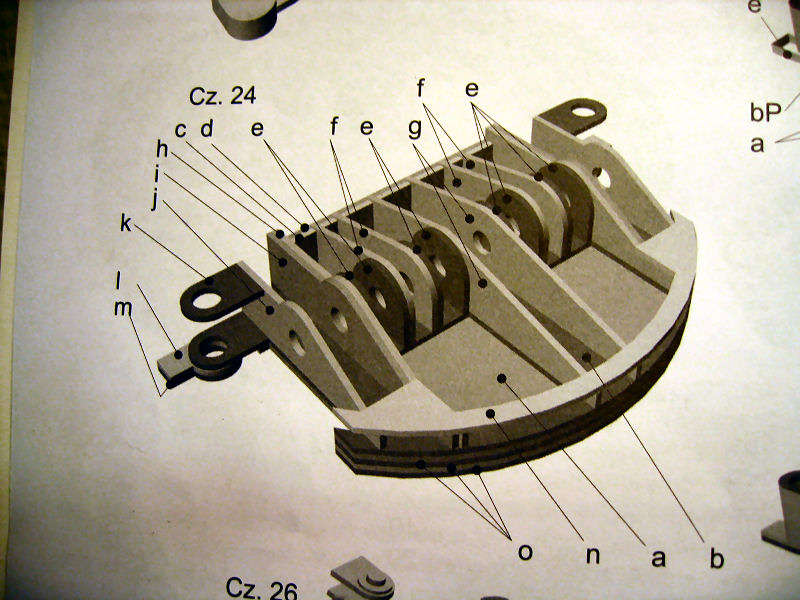
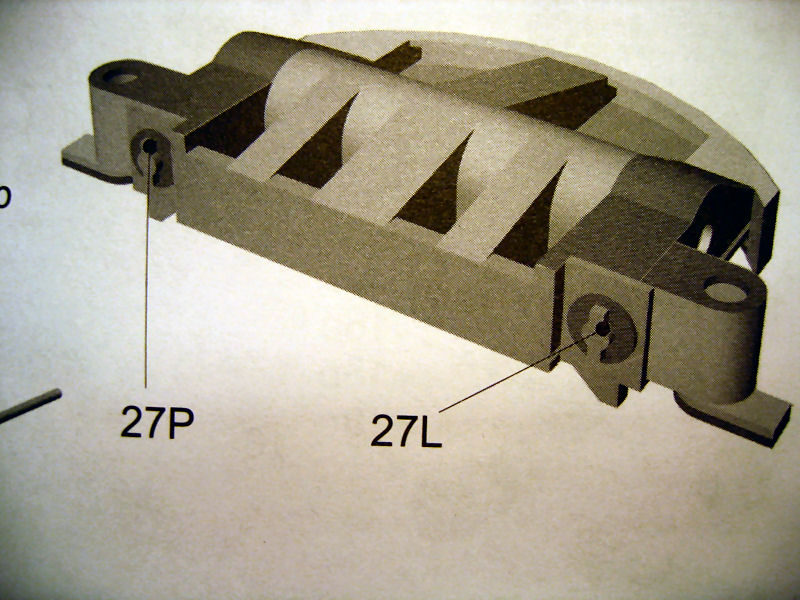
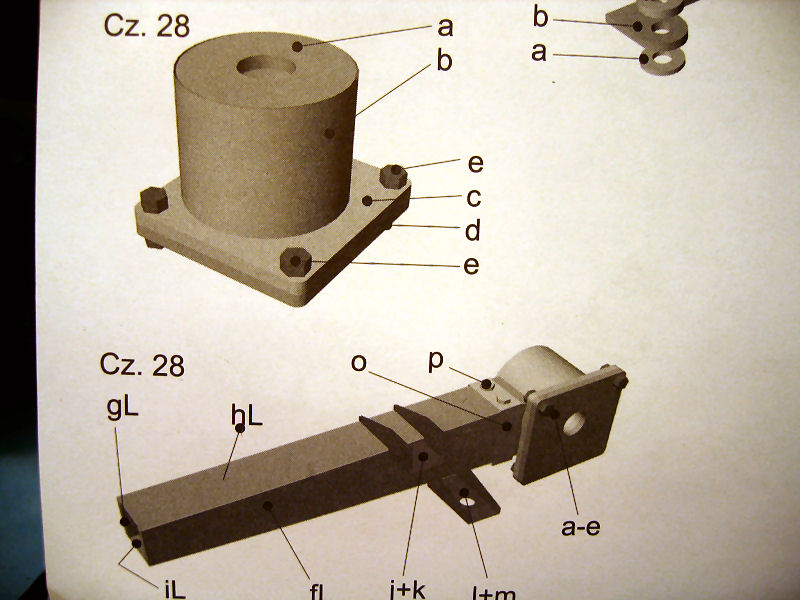
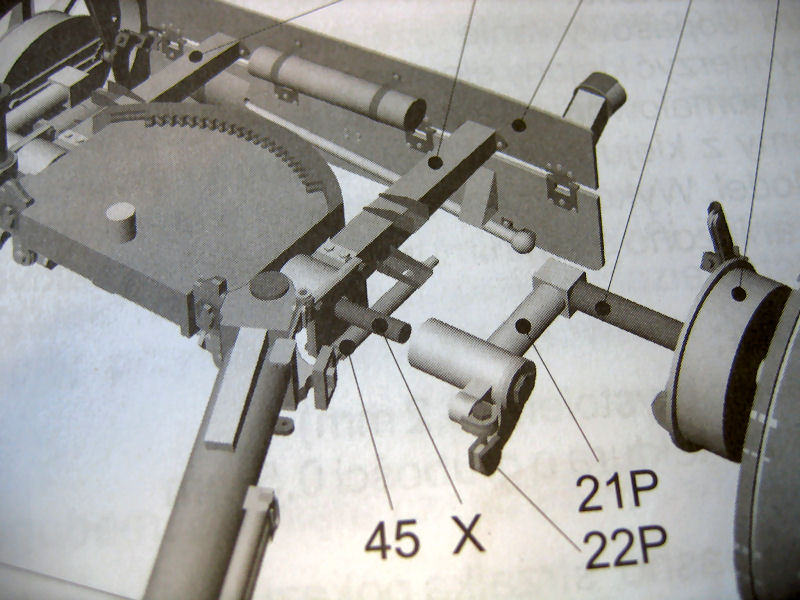
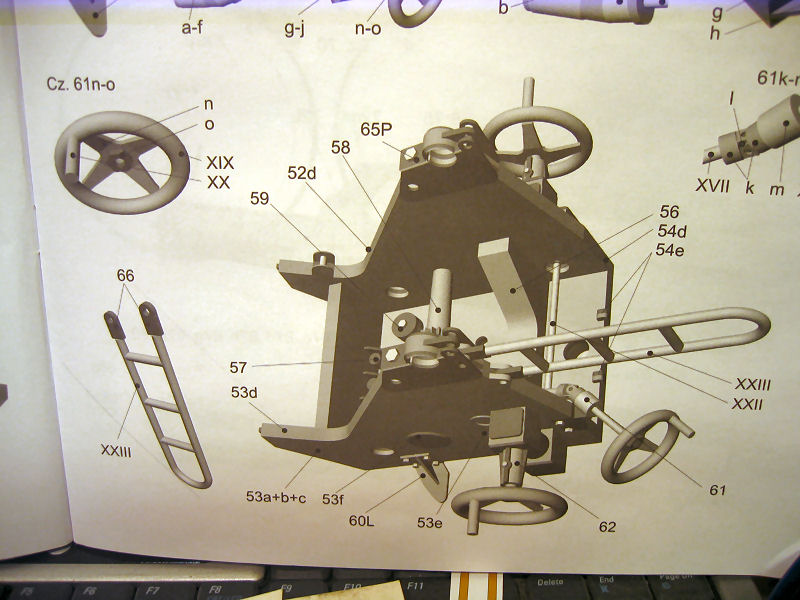
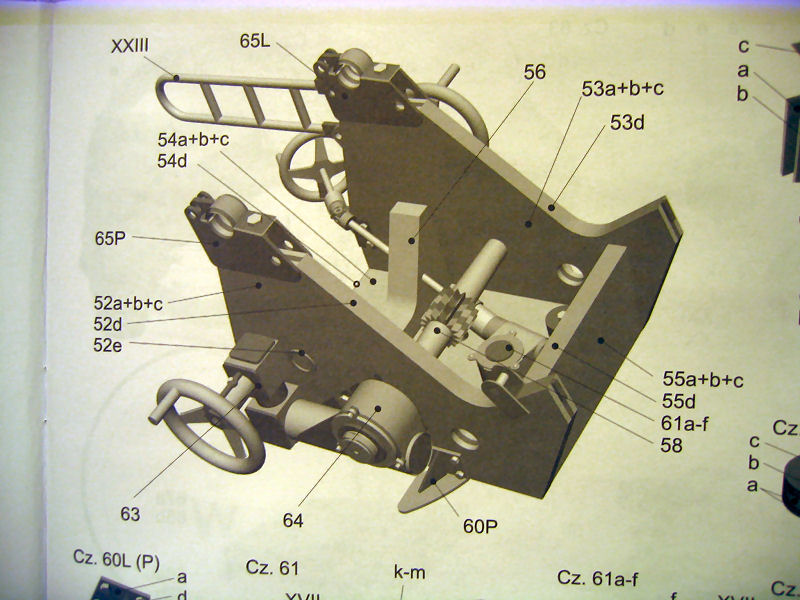
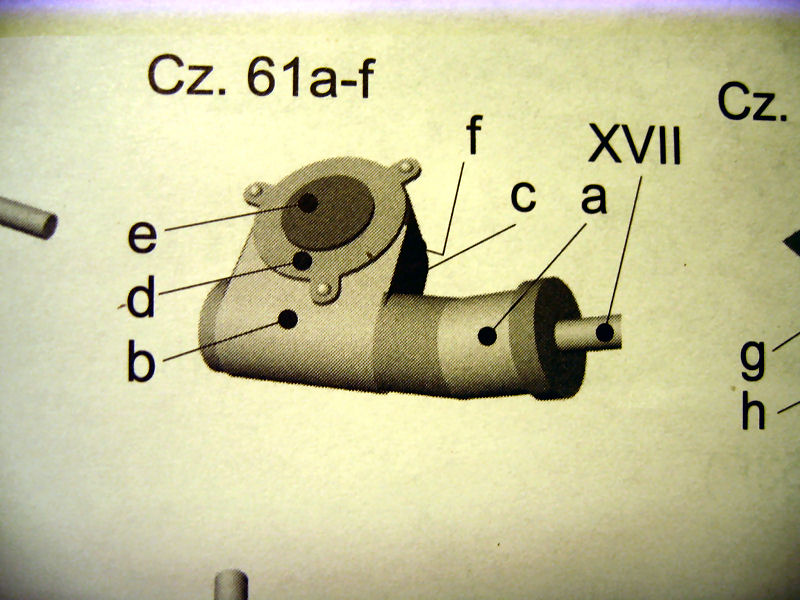
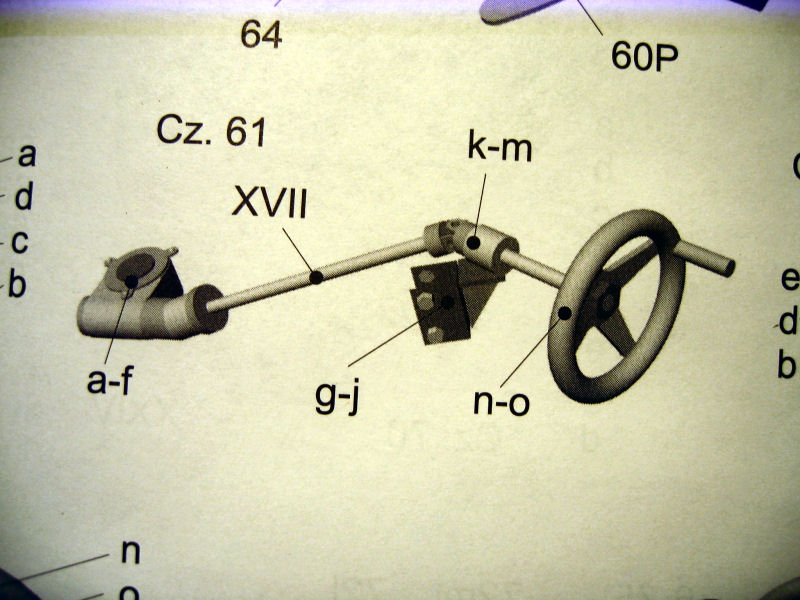
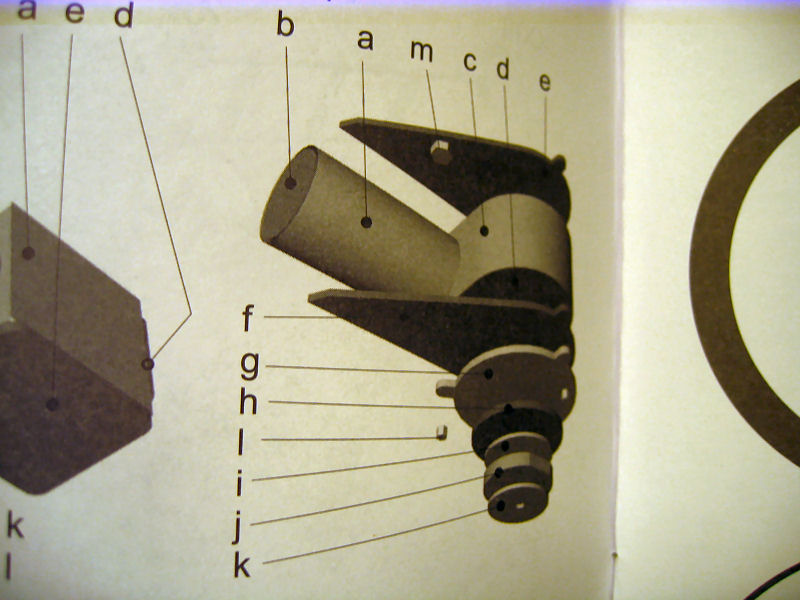
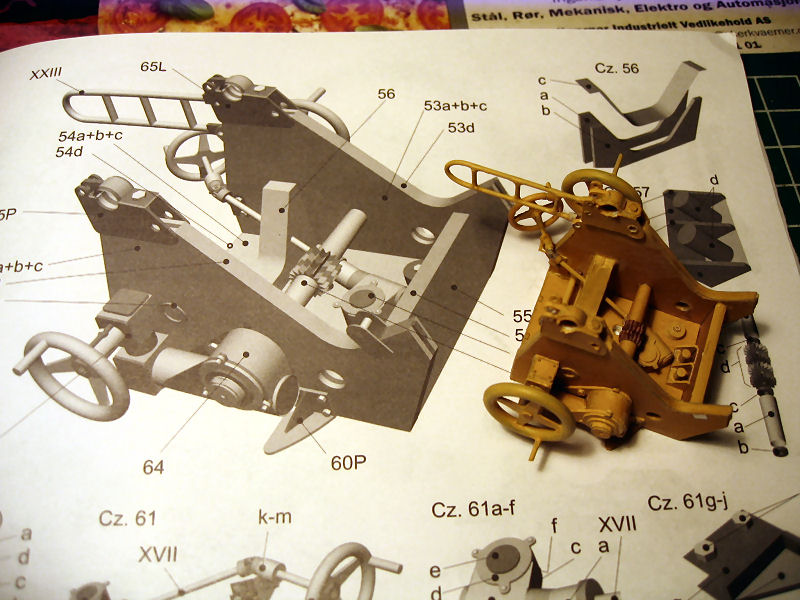
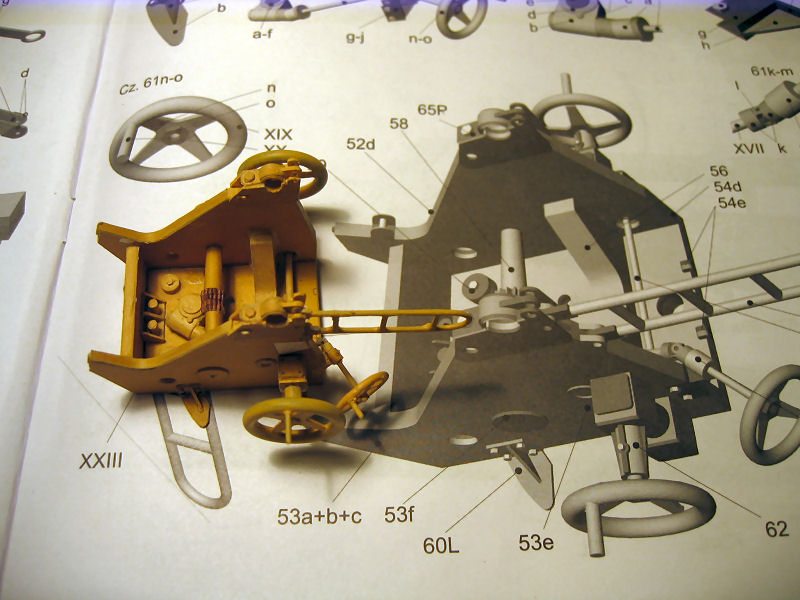
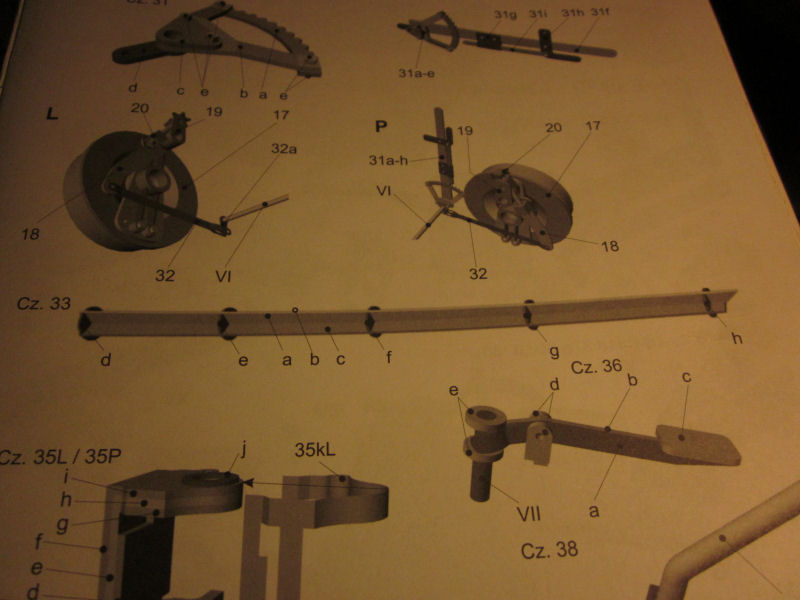
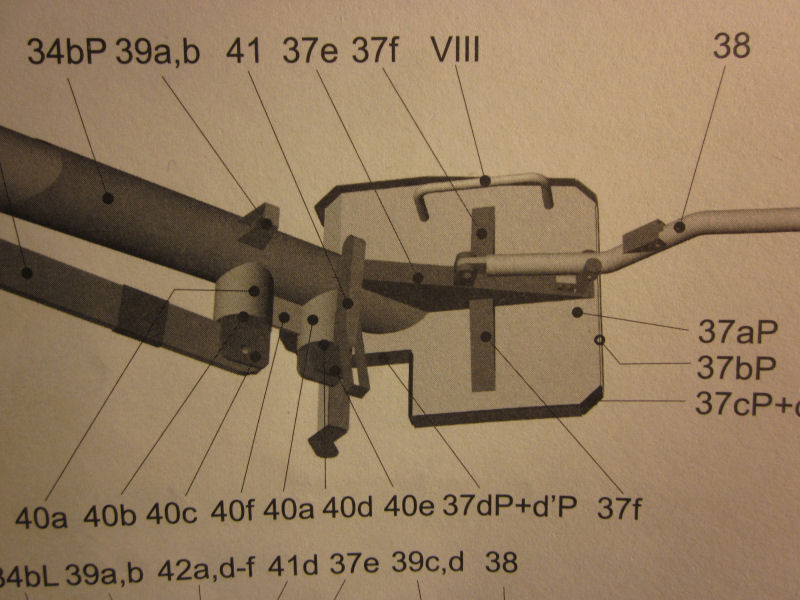
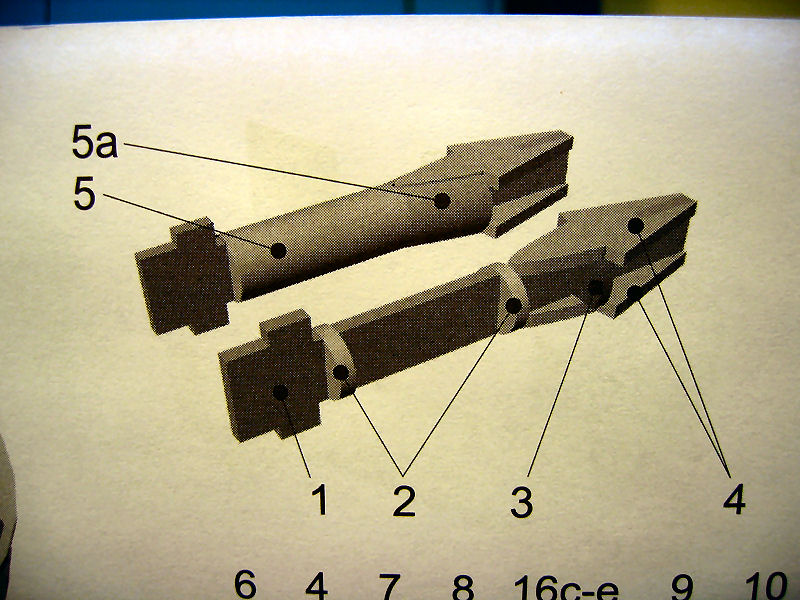
Here is the drawing.
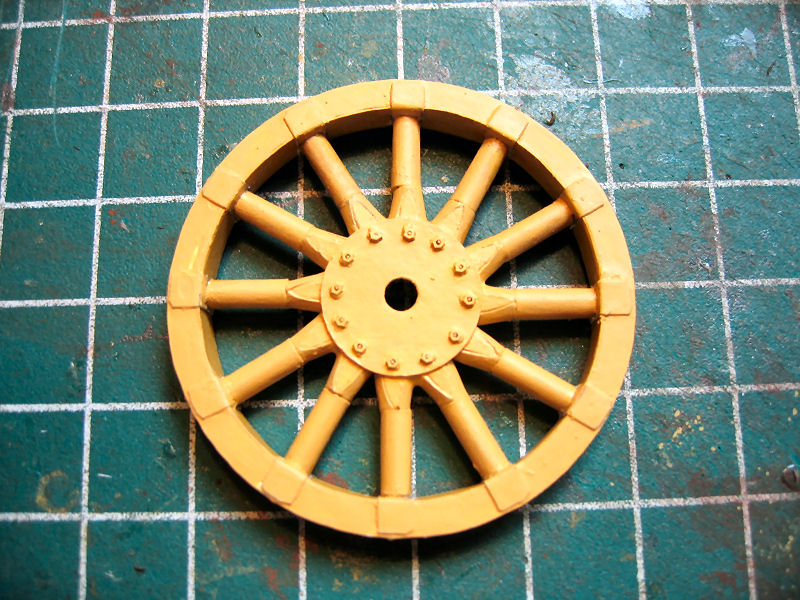
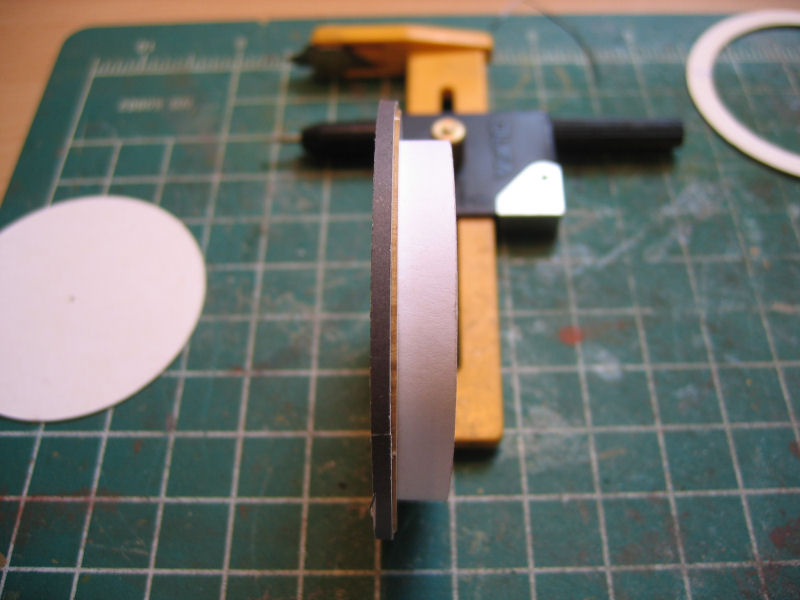
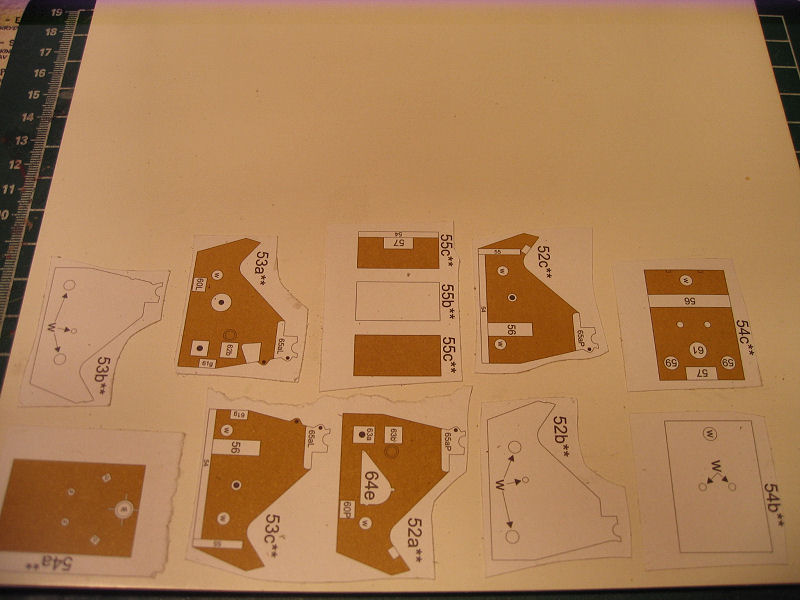
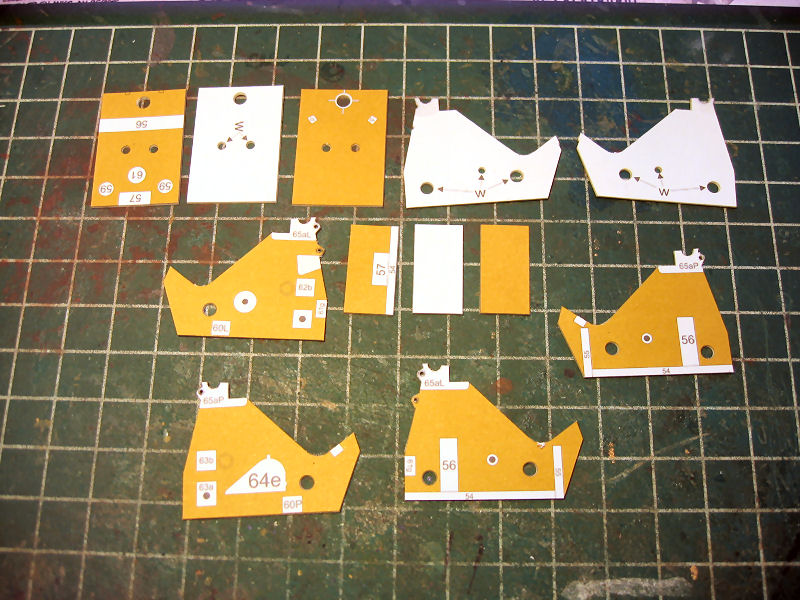
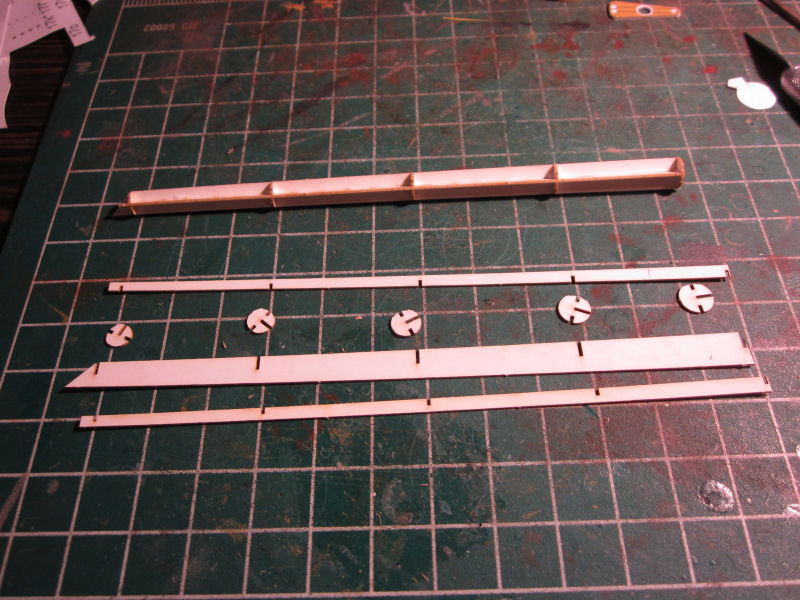
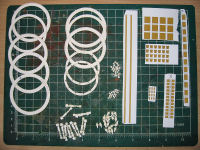
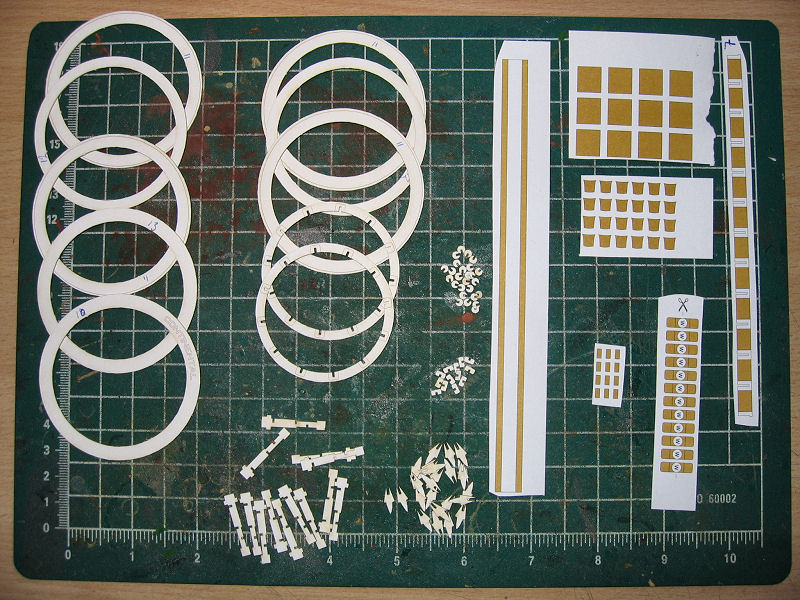
And the parts for ONE wheel ready.....157 parts just for the rim and spokes..
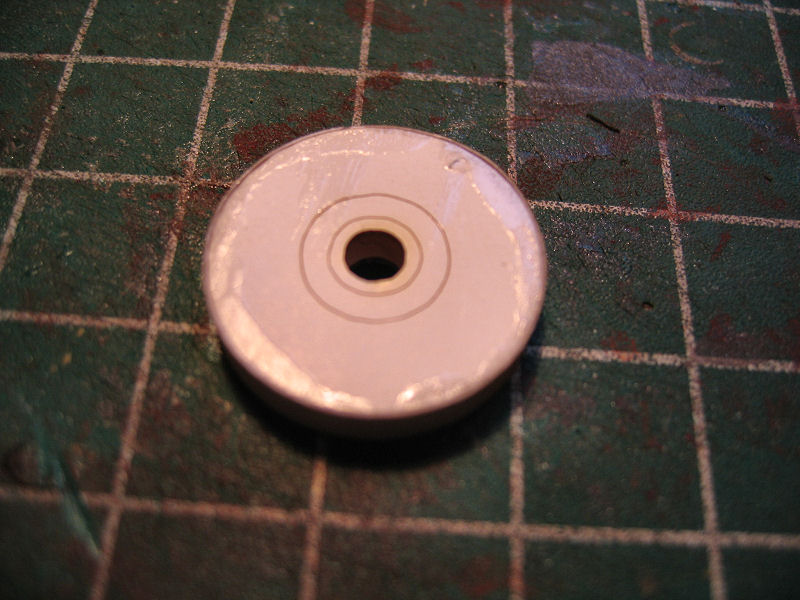
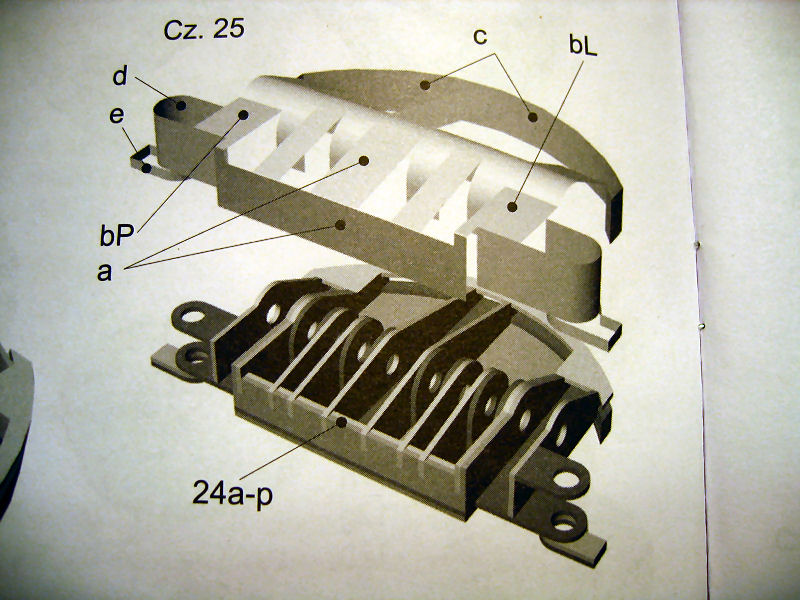
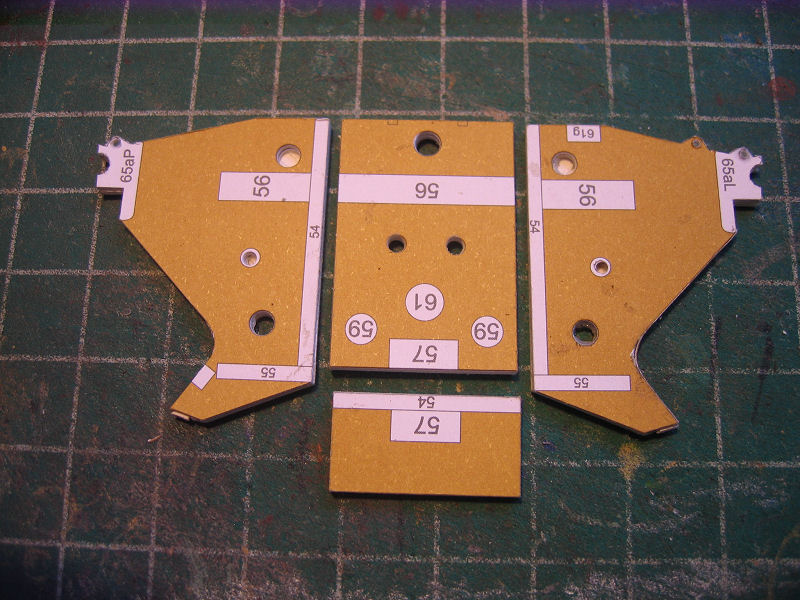
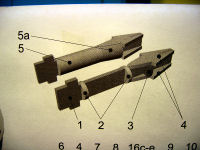
First out are the spokes.Each spoke contains 9 parts.
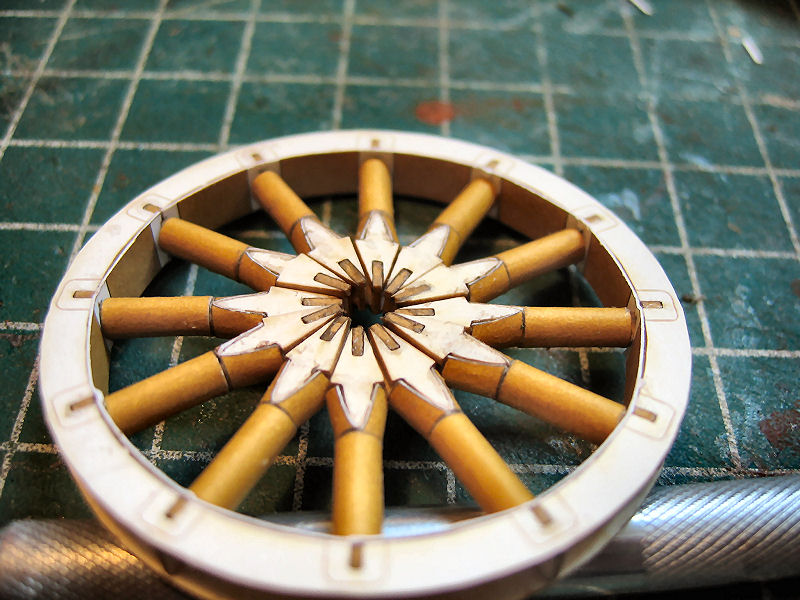
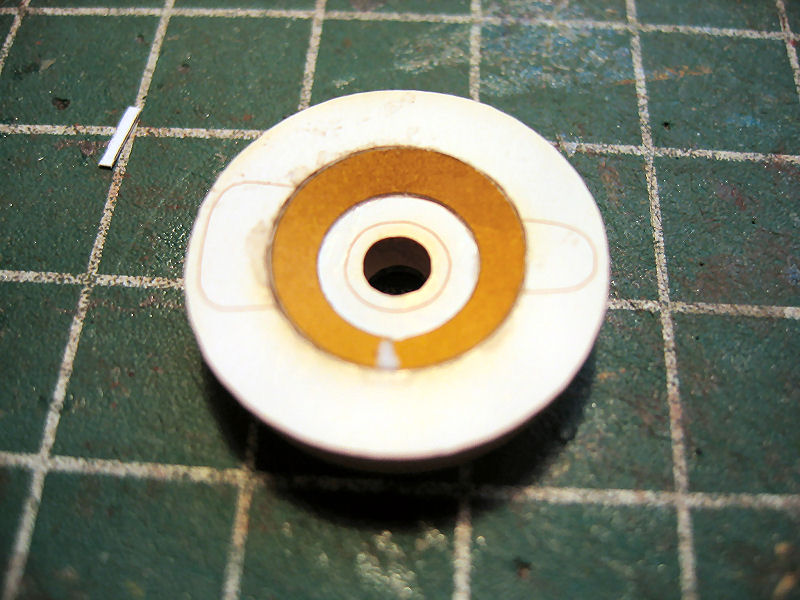
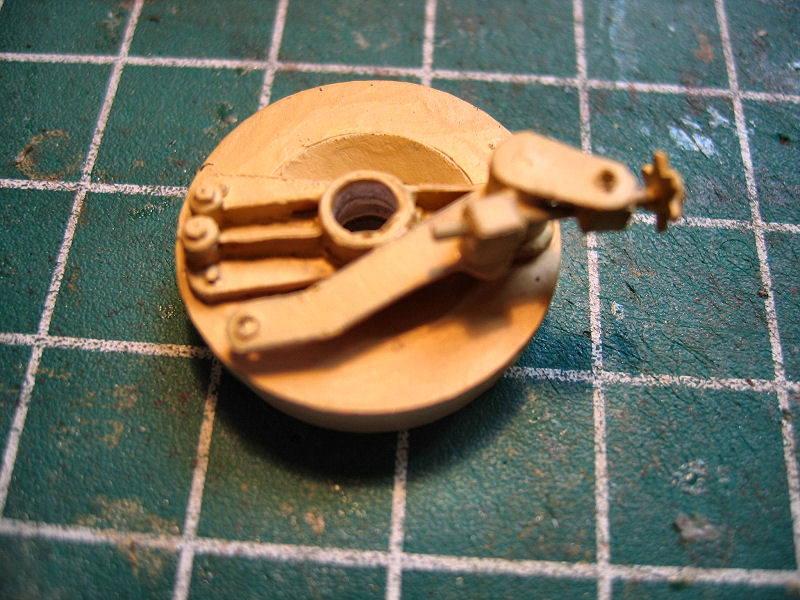
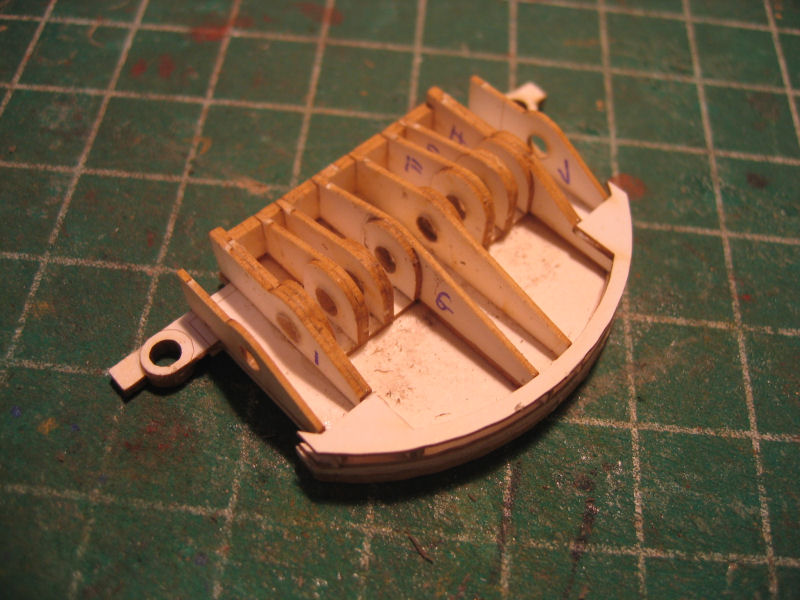
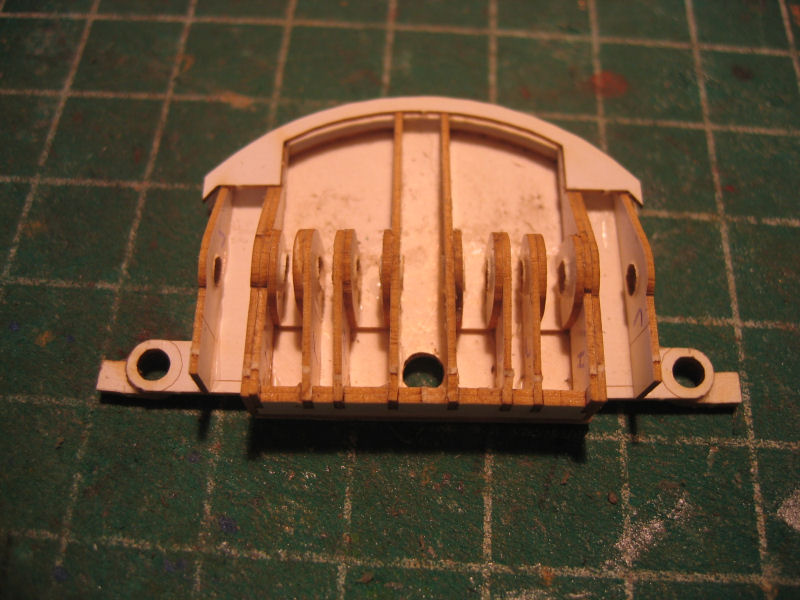
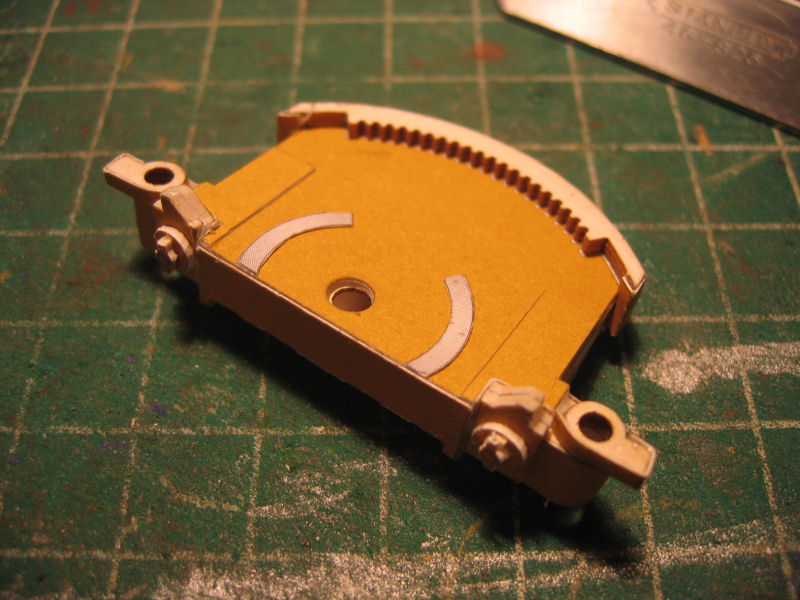
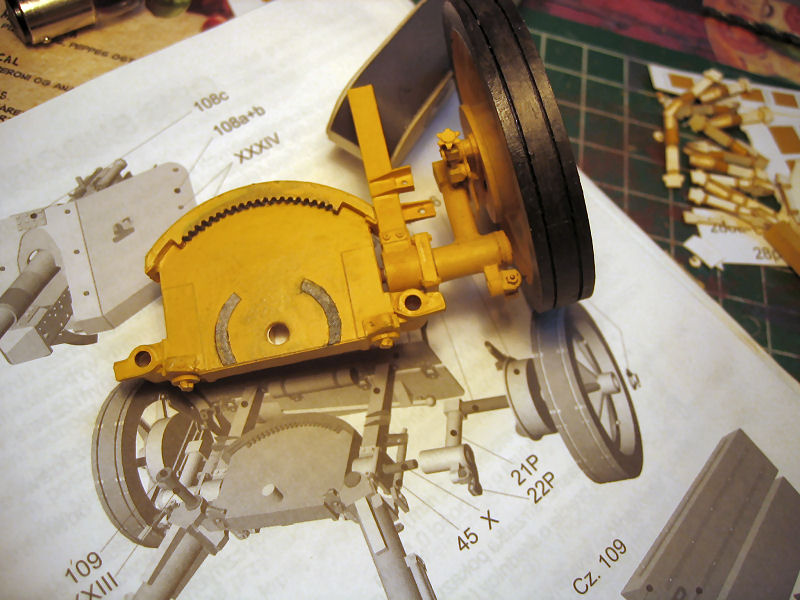
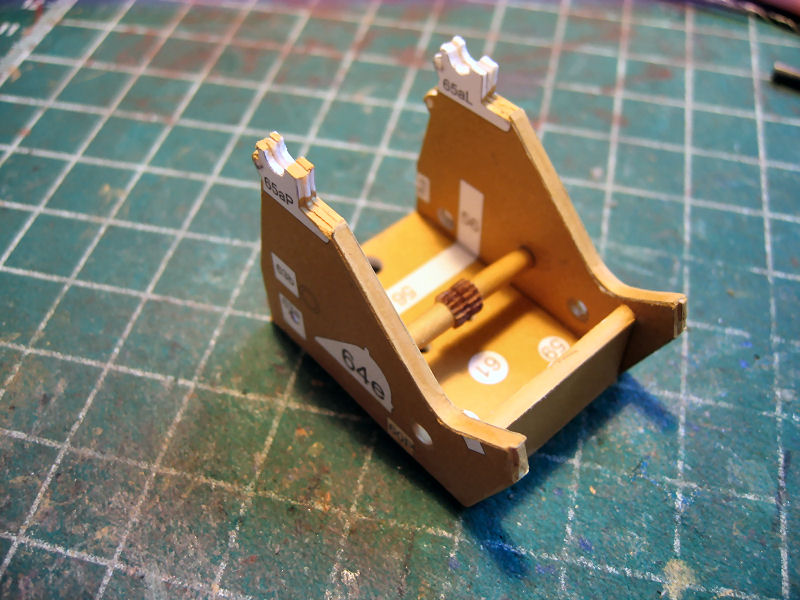
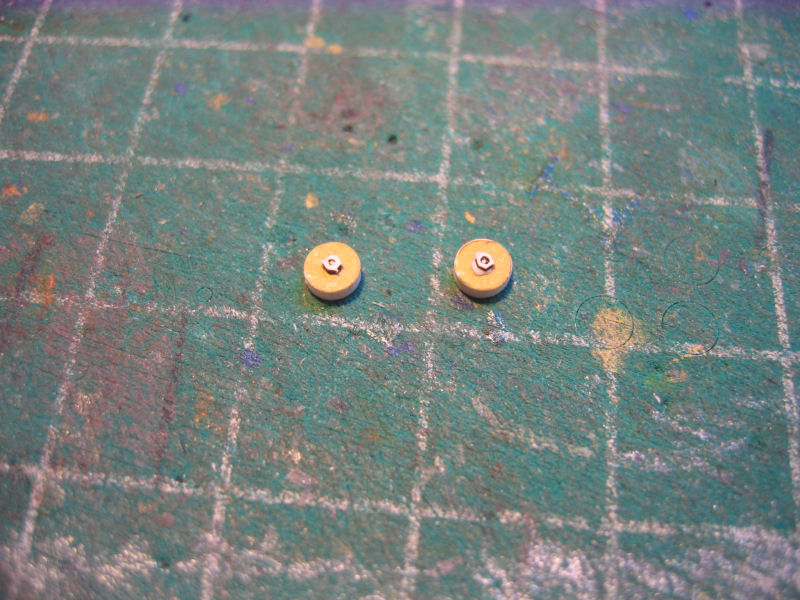
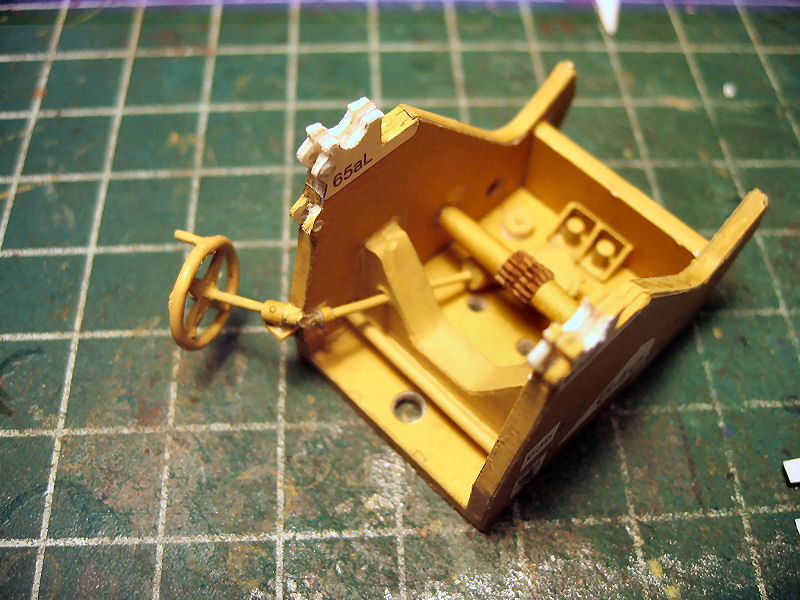
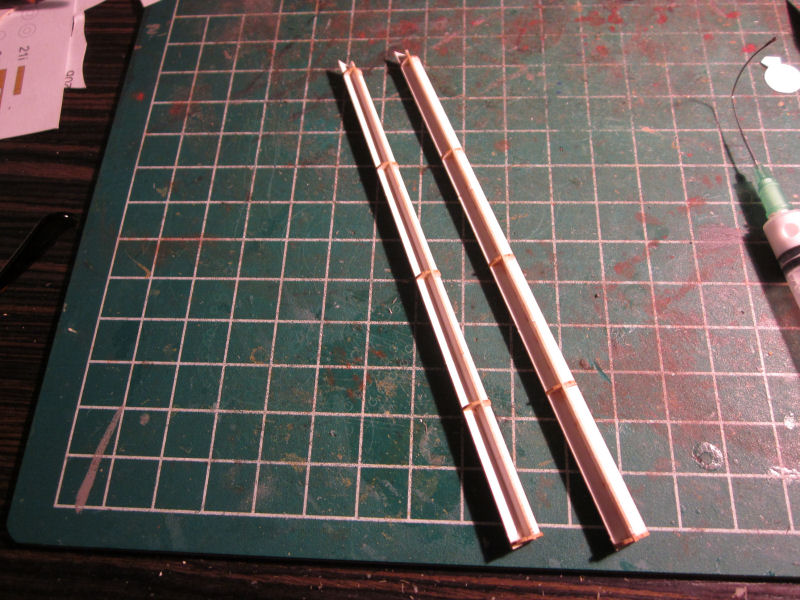
First I assembled the inner structure.
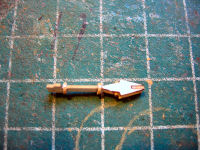
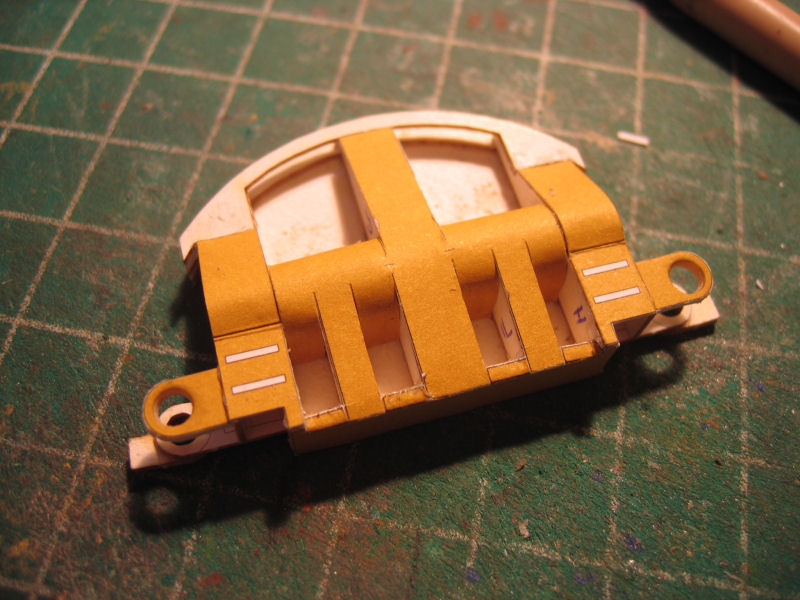
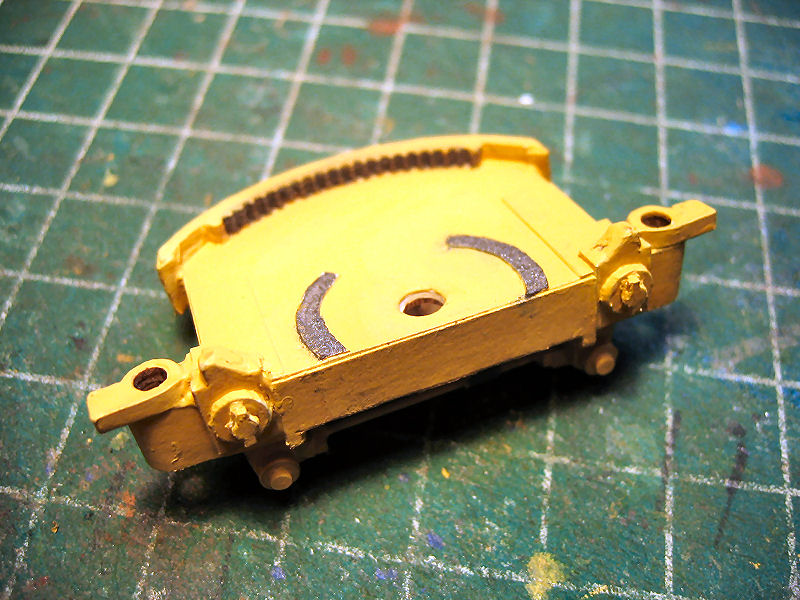
Then I started to put the 3 covers on.
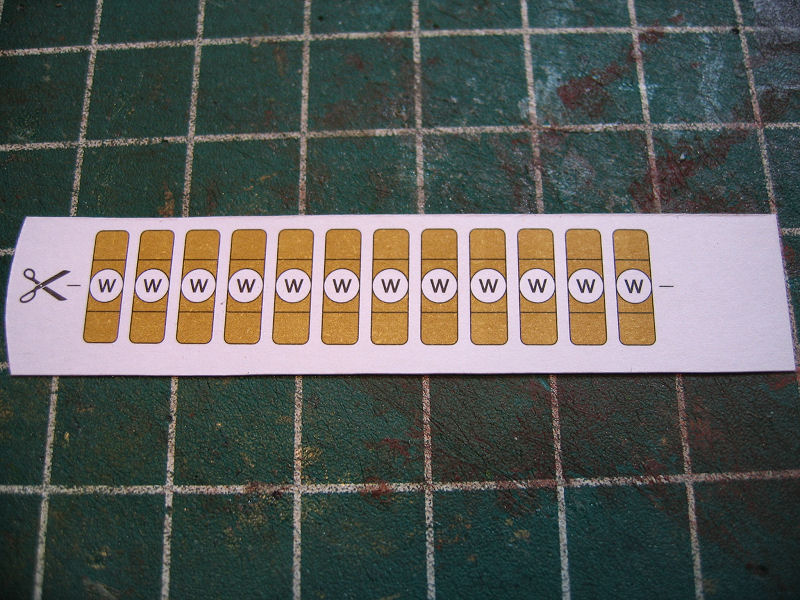
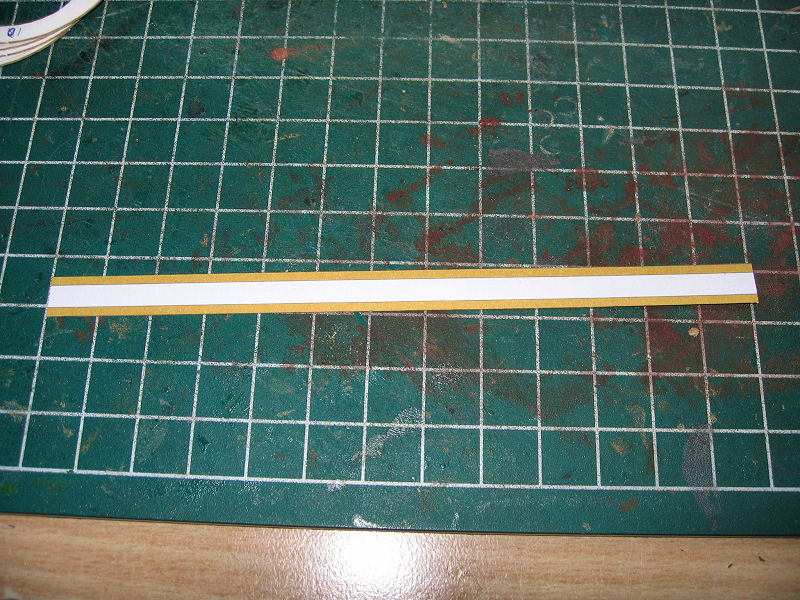
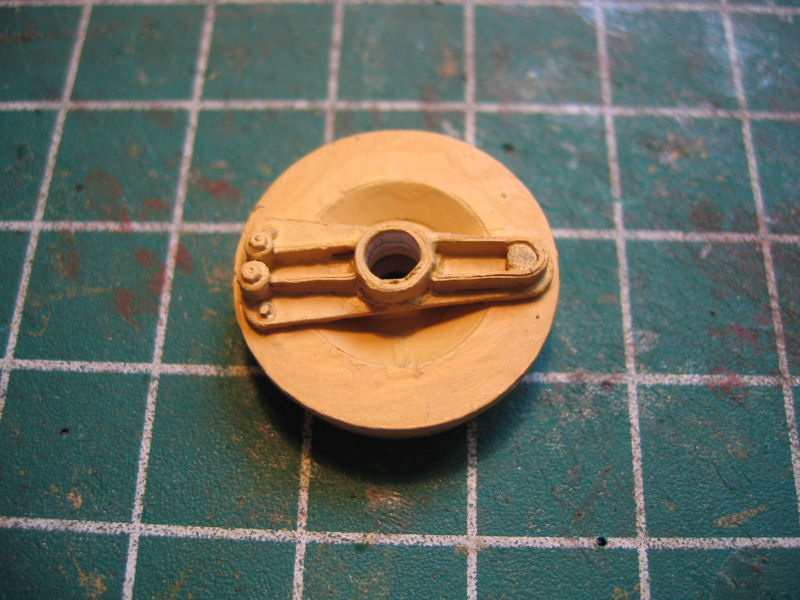
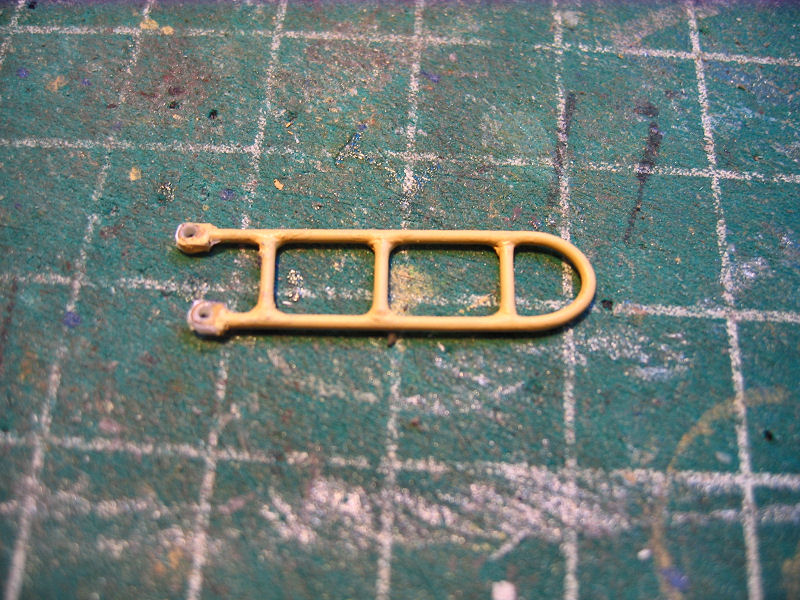
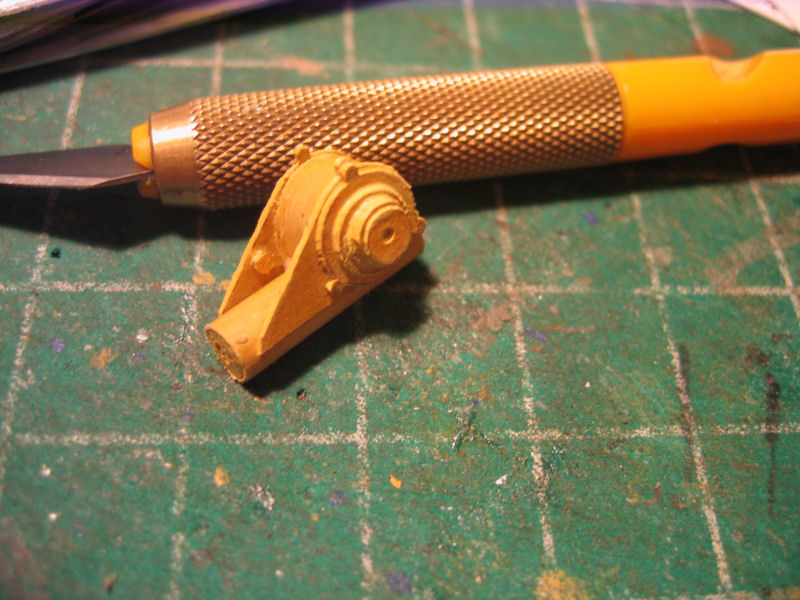
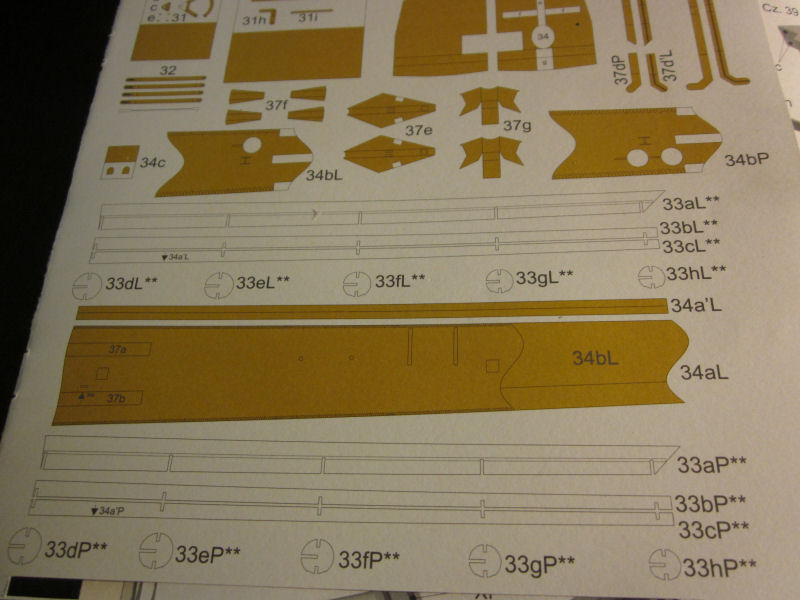
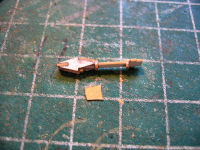
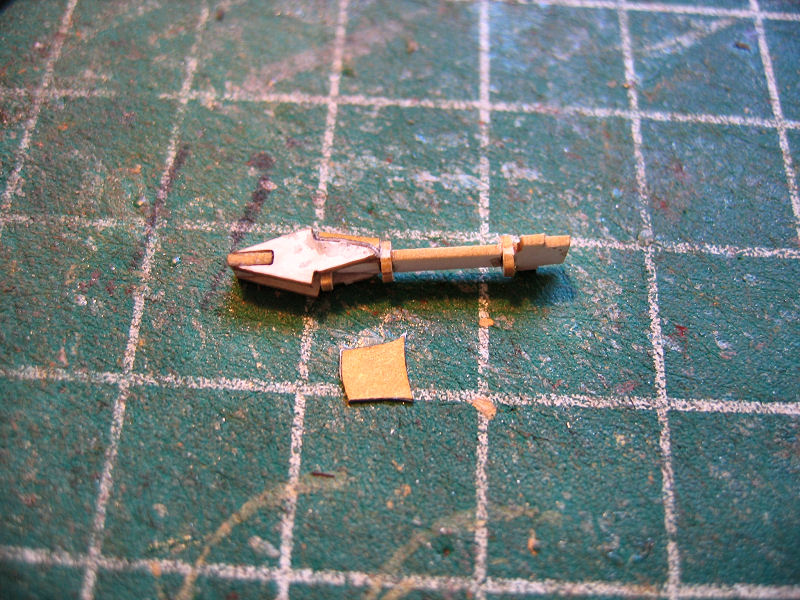
Here are the parts for the front part of the spoke

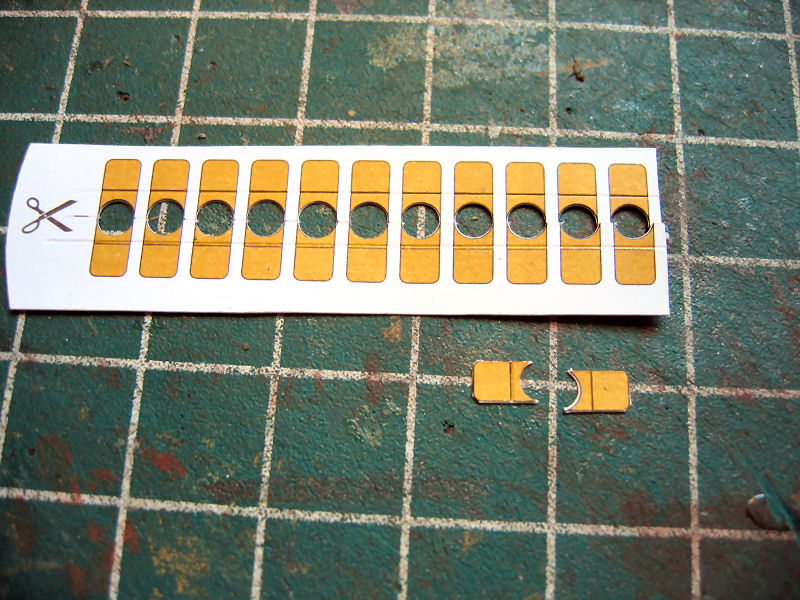
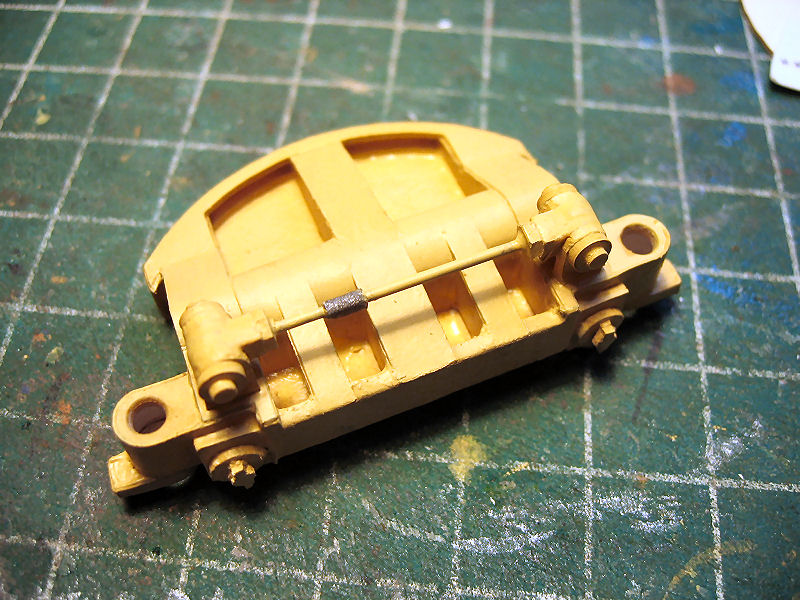
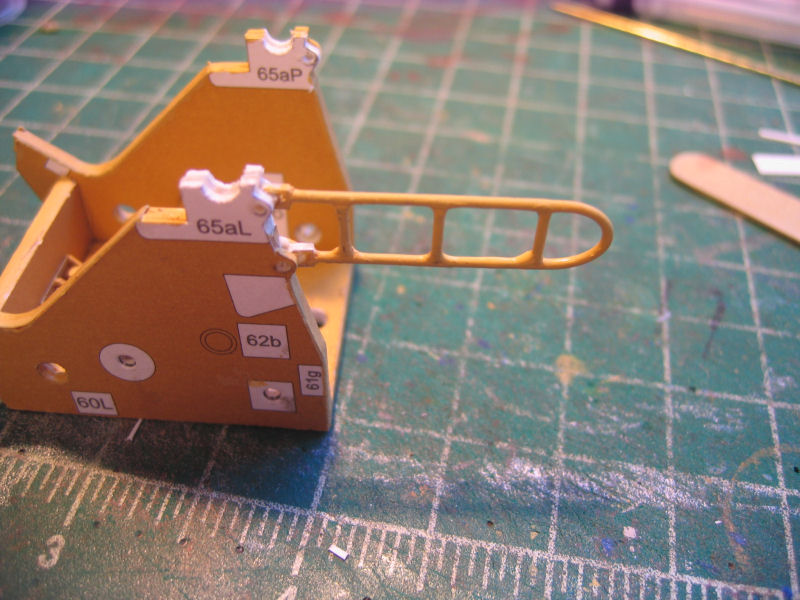
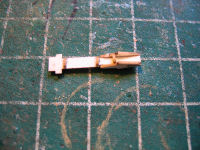
The part is cutted out and I will shape it half tubed
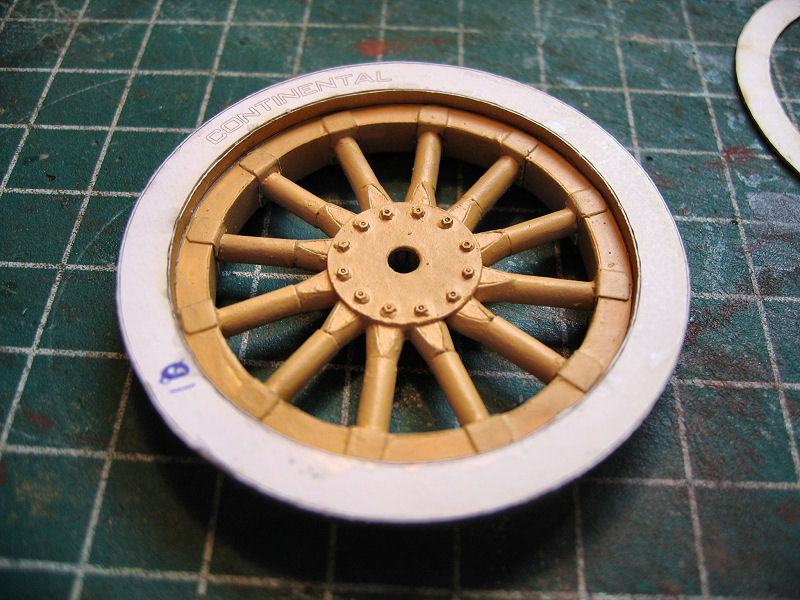
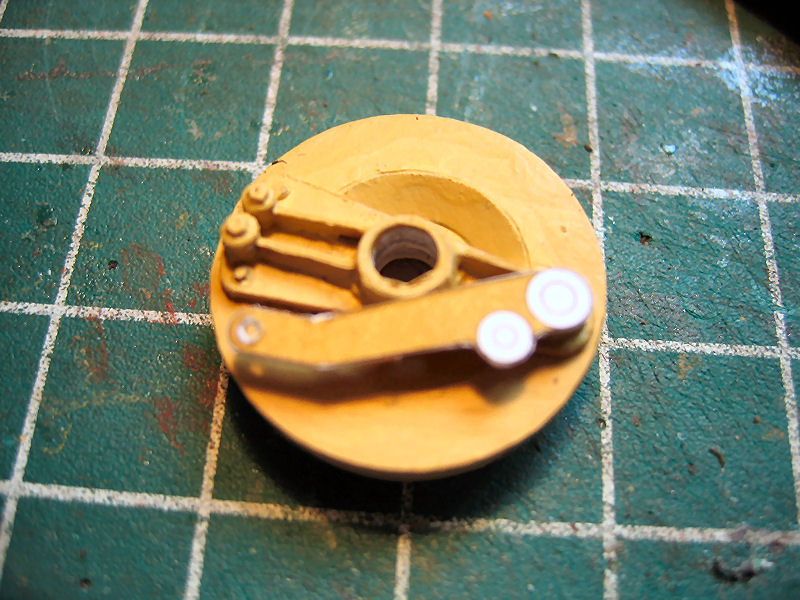
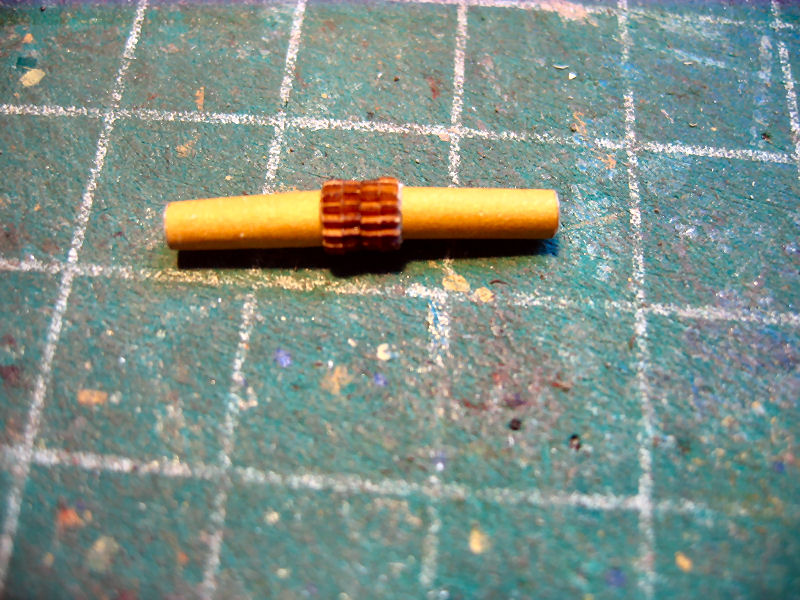
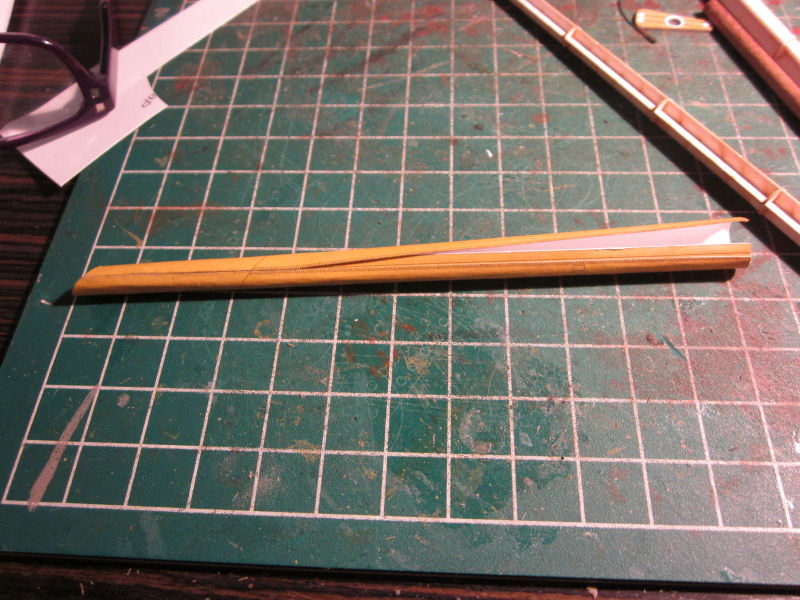
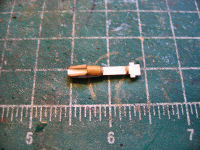
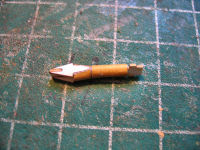
When the two front parts are in place,the tube that will cover the rest of the spoke is shaped

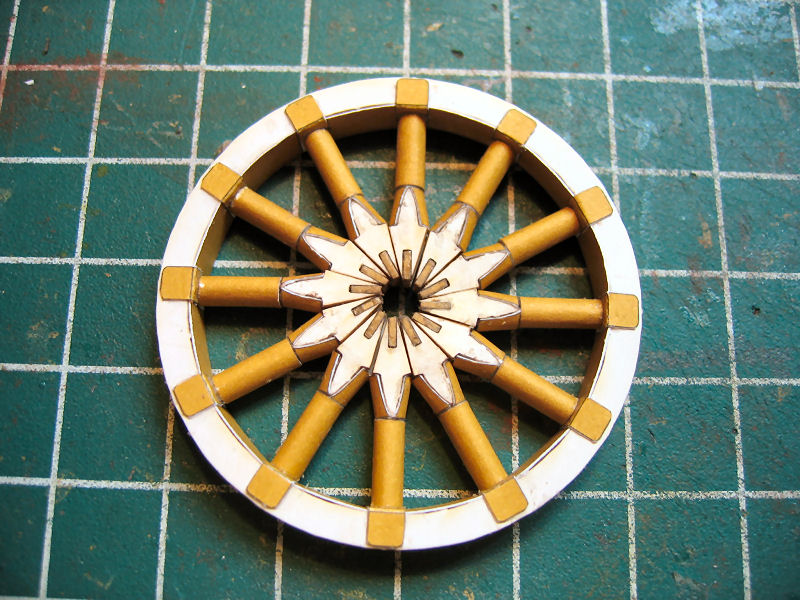
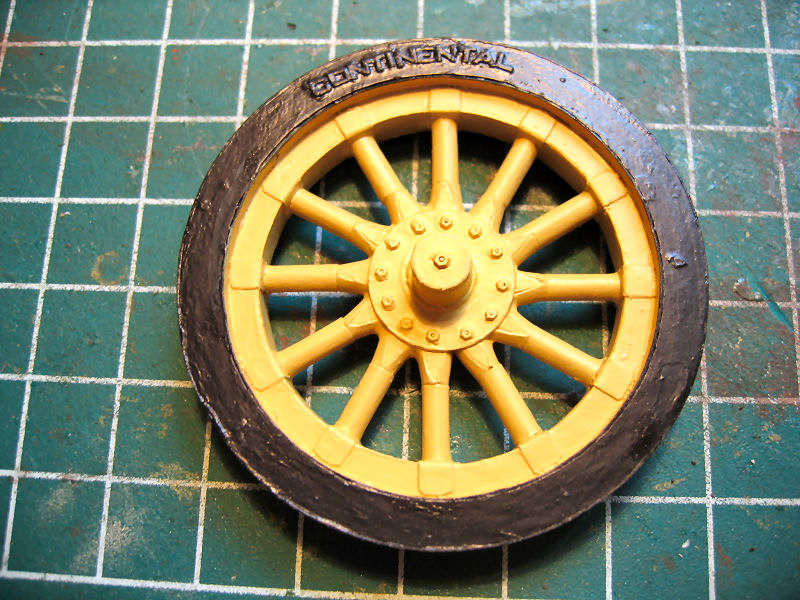
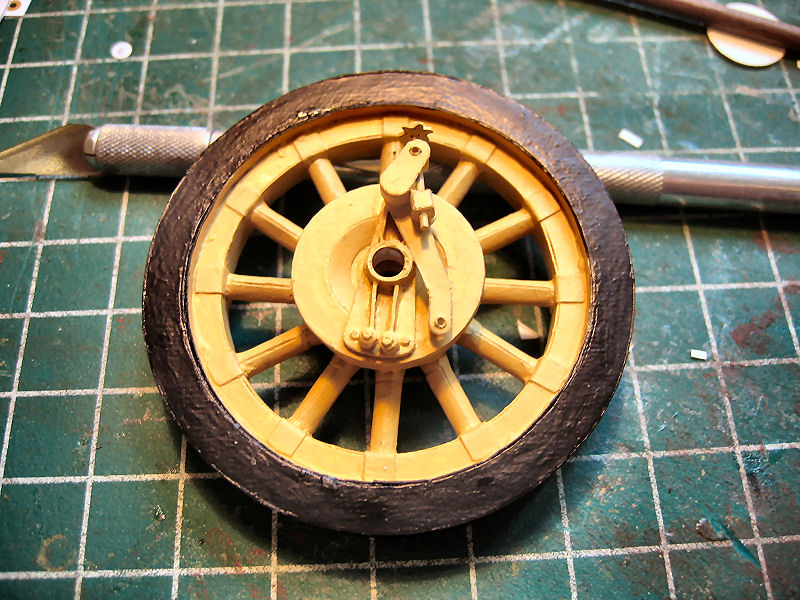
And the spoke is done....11 to go...
After half an hours rest....it's time to start the next big project!
Since my first model from Draf was IMHO 100% perfectly designed, I just had to make the next model from Rafal as well!
This time the LeFh 18/40 (leichte Feldhaubitze 18/40) kal.105mm
The Kit

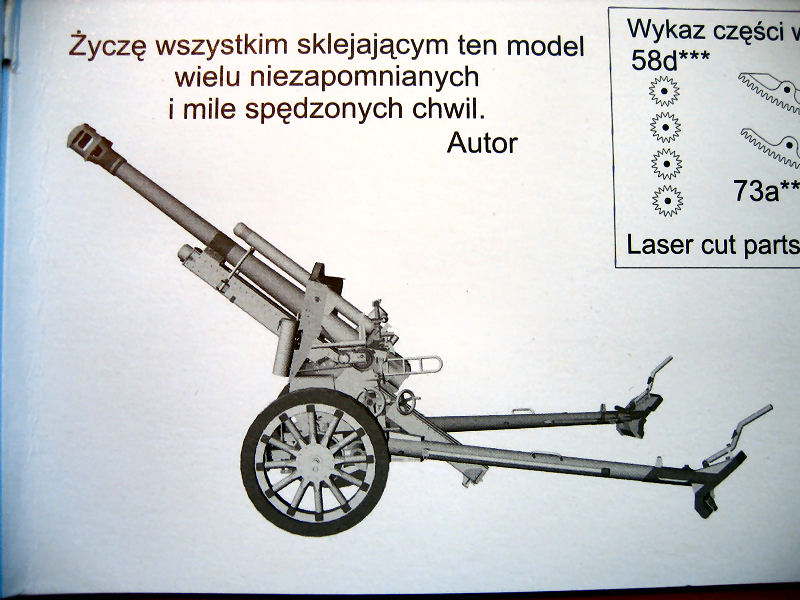
I will start with the wheels.
Here is the drawing.
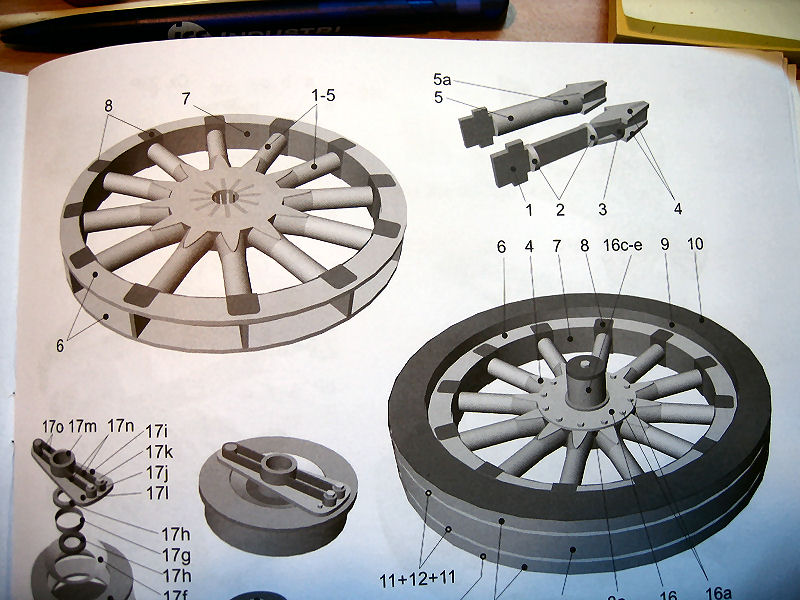
And the parts for ONE wheel ready.....157 parts just for the rim and spokes..
First out are the spokes.Each spoke contains 9 parts.
First I assembled the inner structure.


Then I started to put the 3 covers on.

Here are the parts for the front part of the spoke

The part is cutted out and I will shape it half tubed
When the two front parts are in place,the tube that will cover the rest of the spoke is shaped
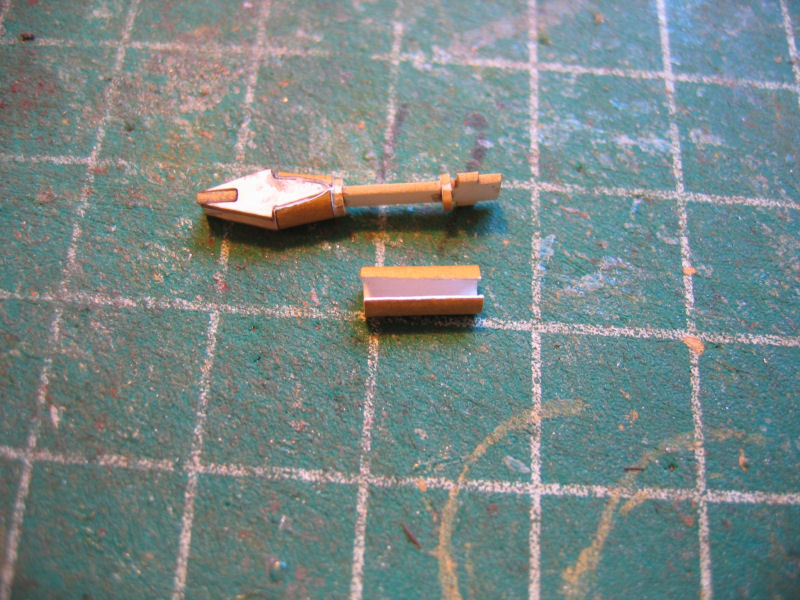
And the spoke is done....11 to go...