Hello again,
A couple of weeks ago, I attended a sizable model show. There were lots of very impressive plastic models as well as some scratch-built ships. I did not see one paper model at the show. I am convinced that the awareness of this hobby is small, but growing.
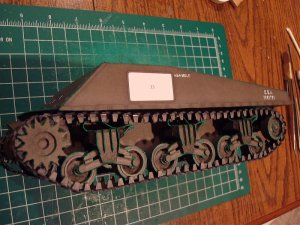
I decided that for next year's show, I will be entering GPM's Sherman and the GPM Dragon Wagon. I have both kits and they are AWESOME.
Starting with the Sherman:
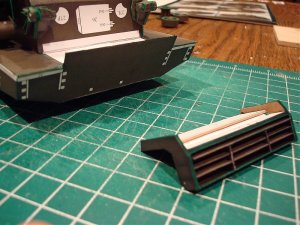
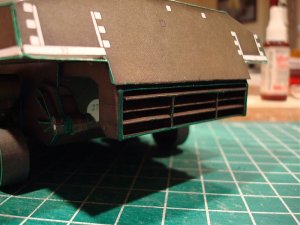
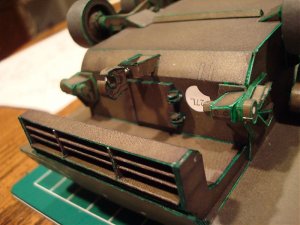
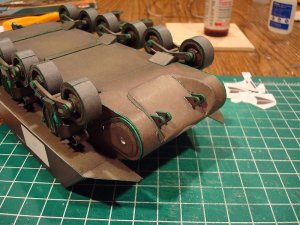
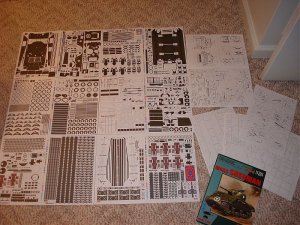
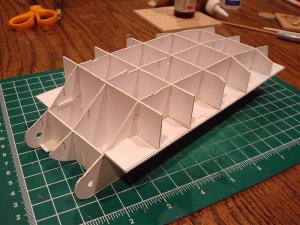
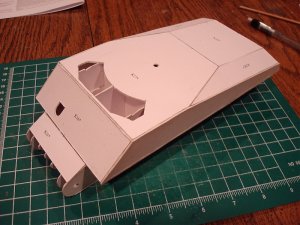
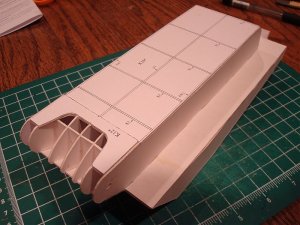
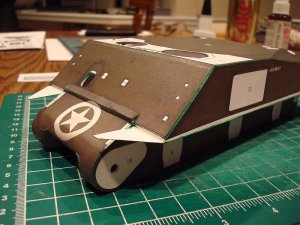
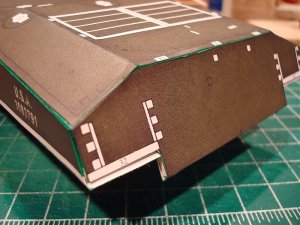
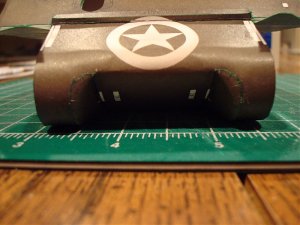
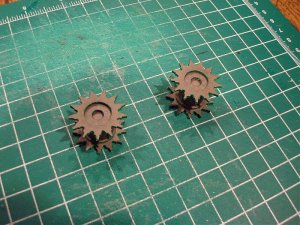
Note the number of pages in this kit. Lots of parts, but not as large as some of the Modelik subjects I have seen. The rest of the pictures show the eggcrate construction of the Sherman. The instructions calls for an odd thickness for the cardboard (.75 to .90 mm thk). I glued up 3 pieces of thin poster board to attain this thickness. If I would have used the standard 1mm thick cardboard, I would have had some fit issues for sure.
Ken
A couple of weeks ago, I attended a sizable model show. There were lots of very impressive plastic models as well as some scratch-built ships. I did not see one paper model at the show. I am convinced that the awareness of this hobby is small, but growing.
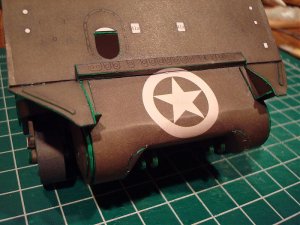
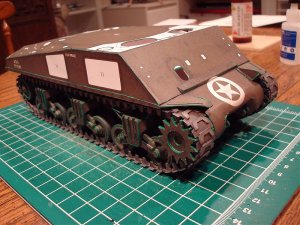
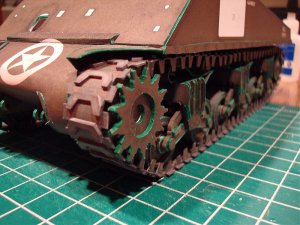
I decided that for next year's show, I will be entering GPM's Sherman and the GPM Dragon Wagon. I have both kits and they are AWESOME.
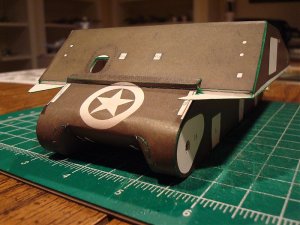
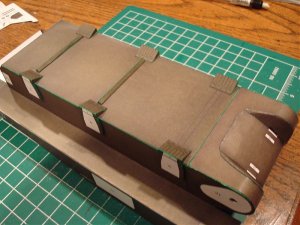
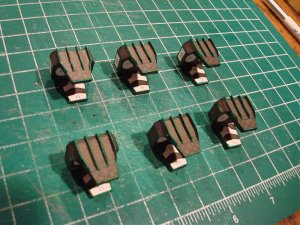
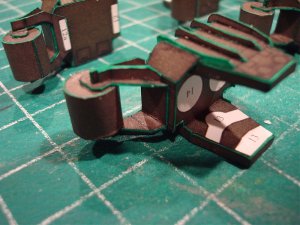
Starting with the Sherman:
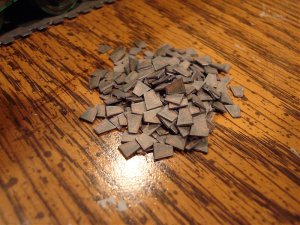
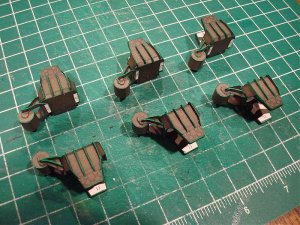
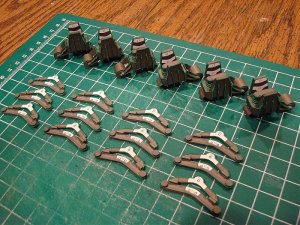
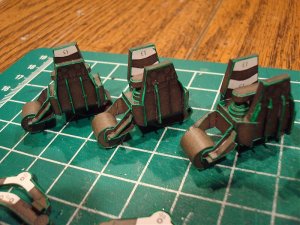
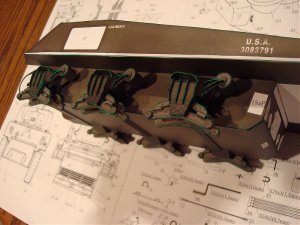
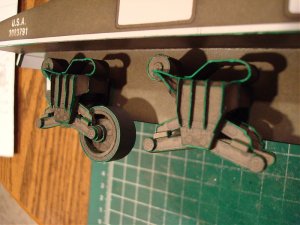
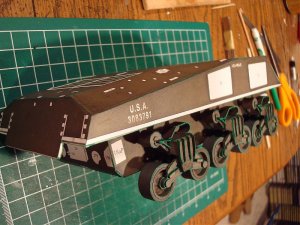
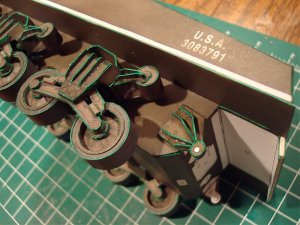
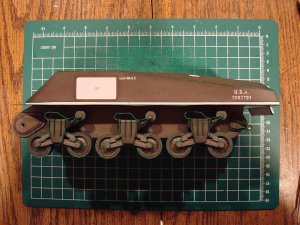
Note the number of pages in this kit. Lots of parts, but not as large as some of the Modelik subjects I have seen. The rest of the pictures show the eggcrate construction of the Sherman. The instructions calls for an odd thickness for the cardboard (.75 to .90 mm thk). I glued up 3 pieces of thin poster board to attain this thickness. If I would have used the standard 1mm thick cardboard, I would have had some fit issues for sure.
Ken


 Ken
Ken